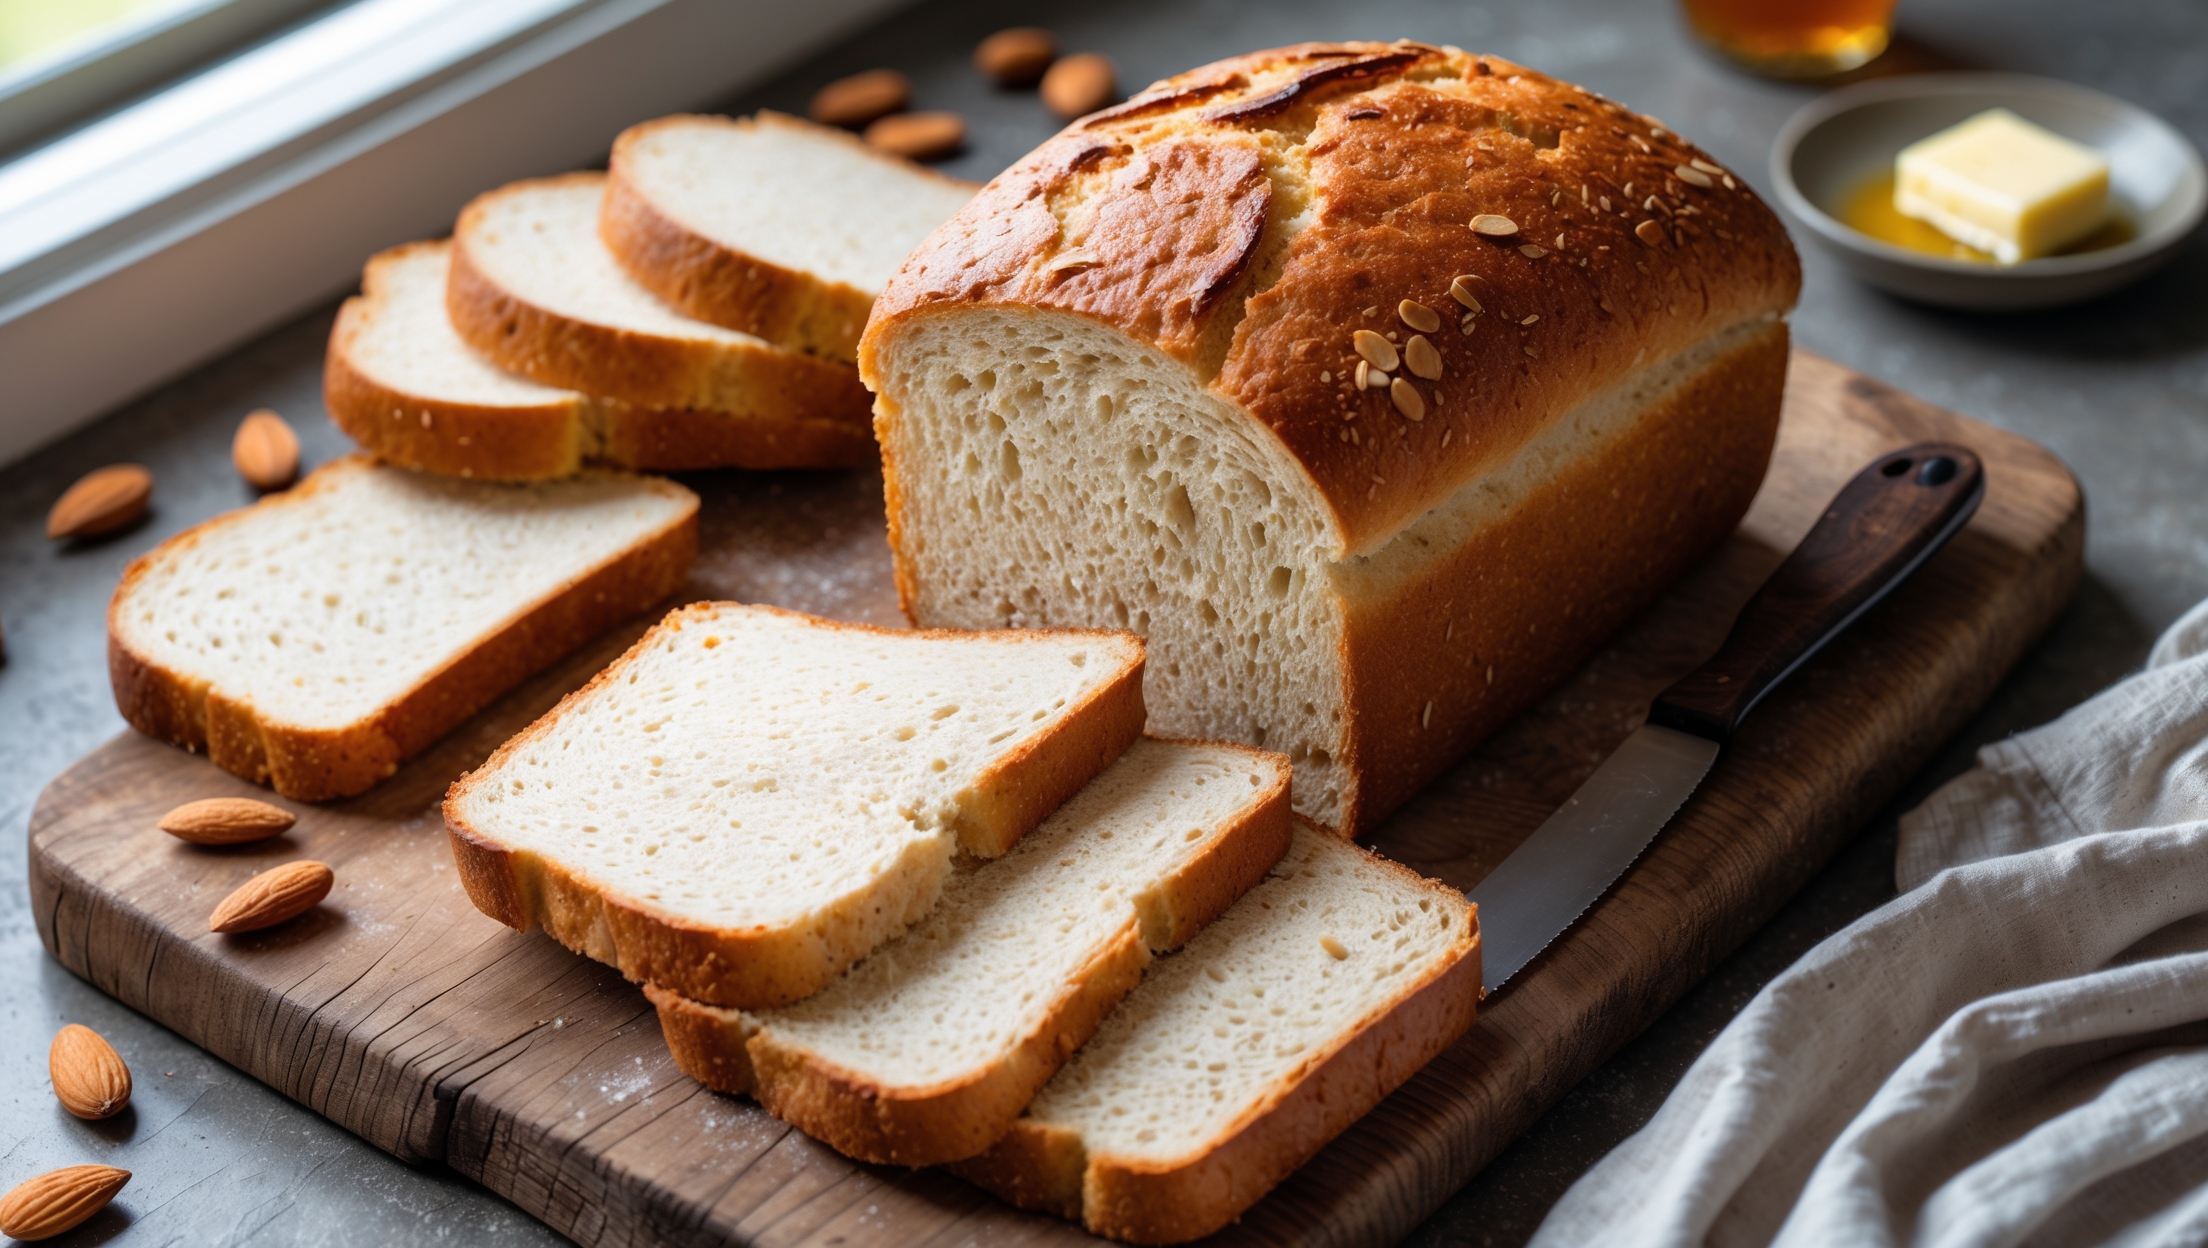
Amish White Bread Recipe
Ingredients
Equipment
Directions
FAQs
Find answers to your most pressing questions about this delicious recipe right here.
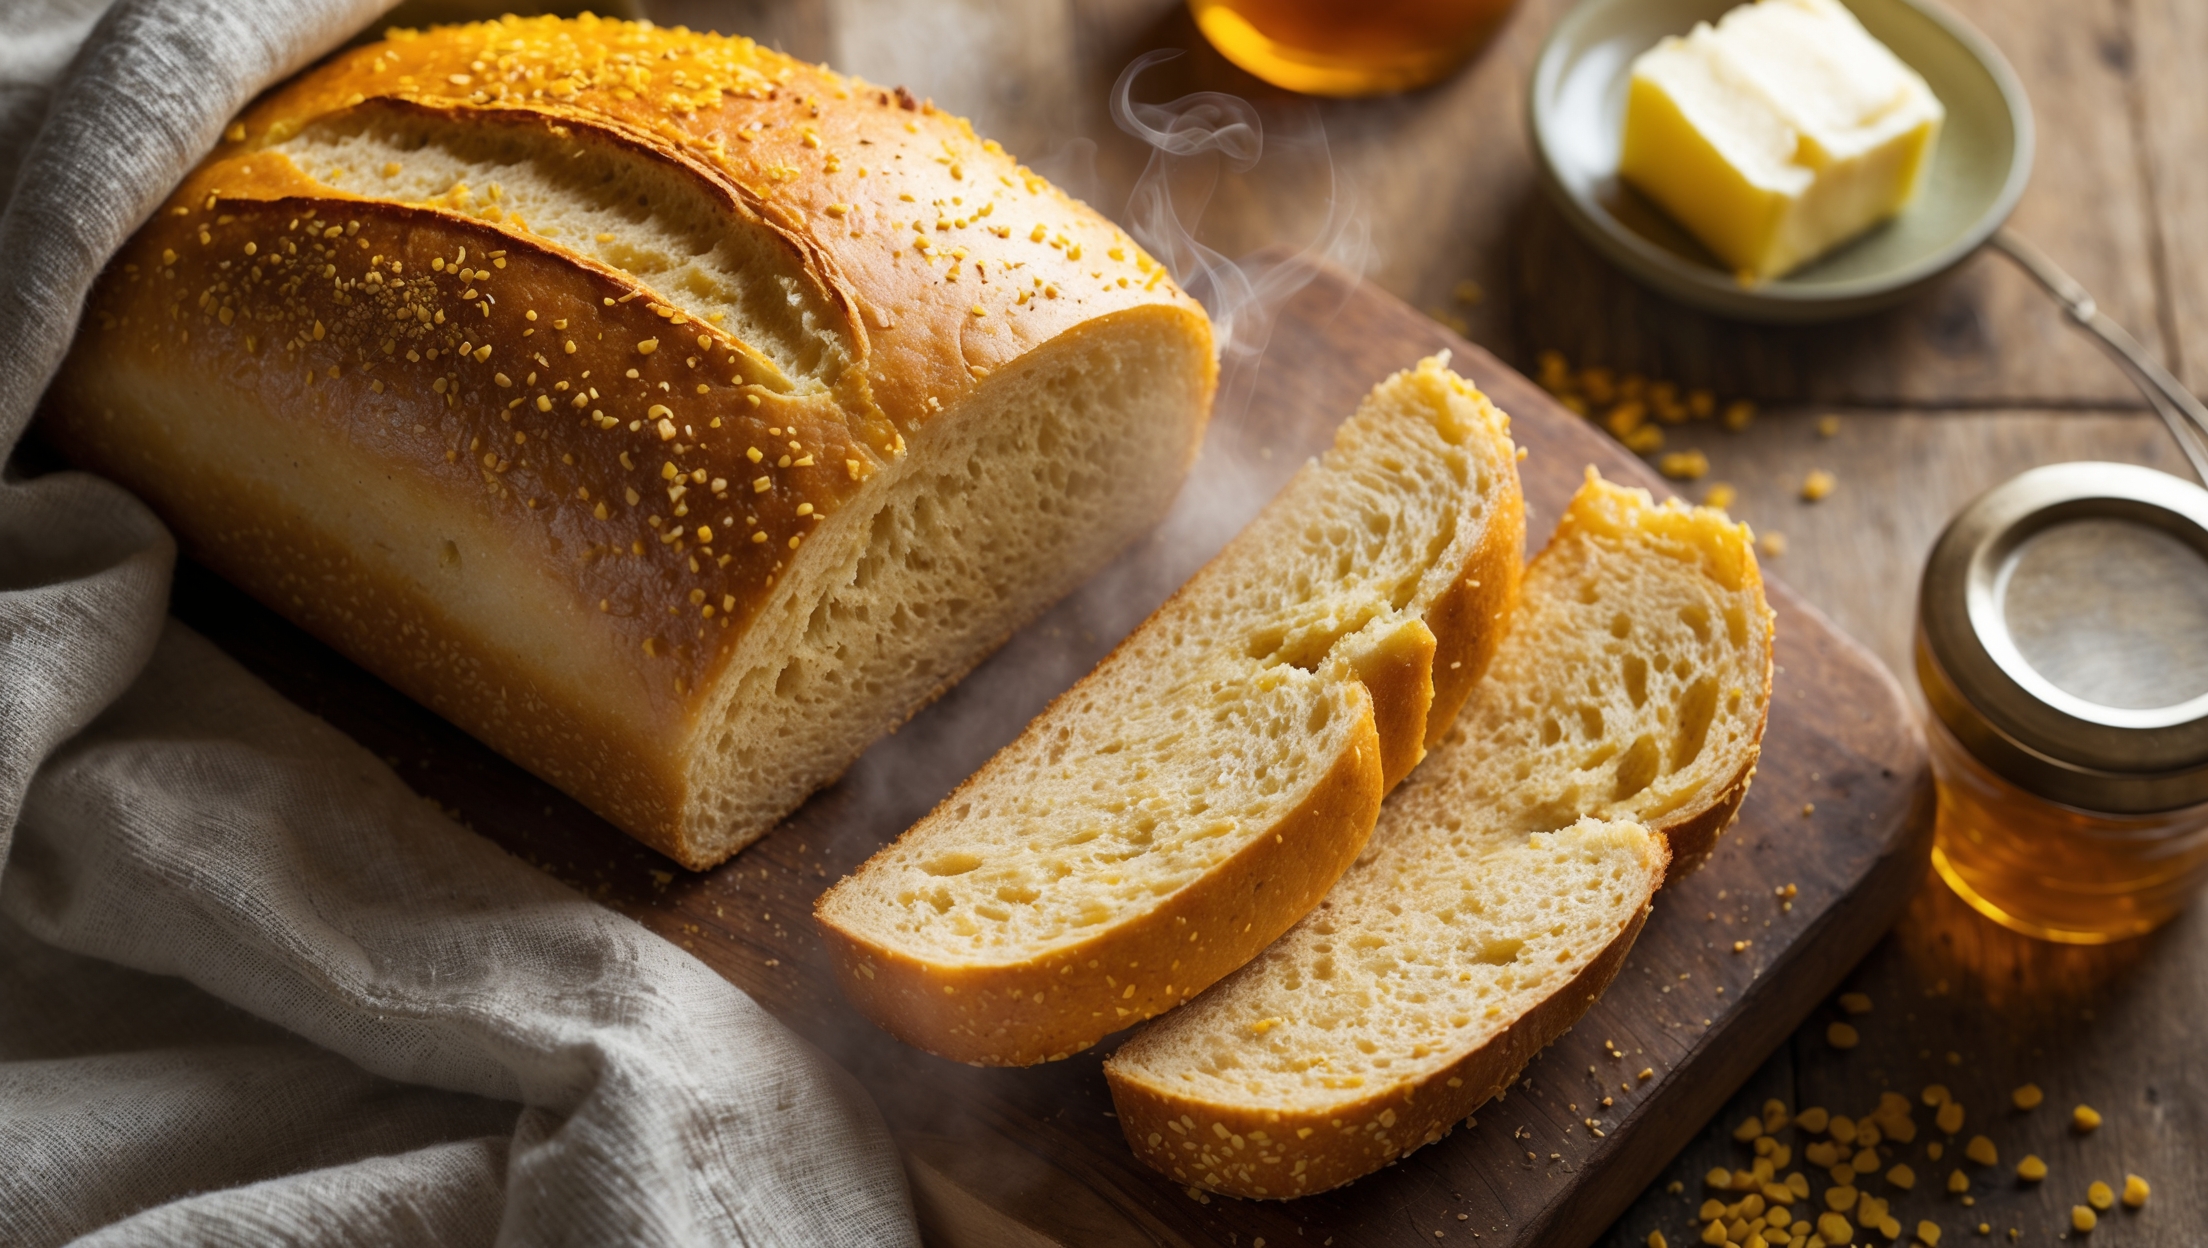
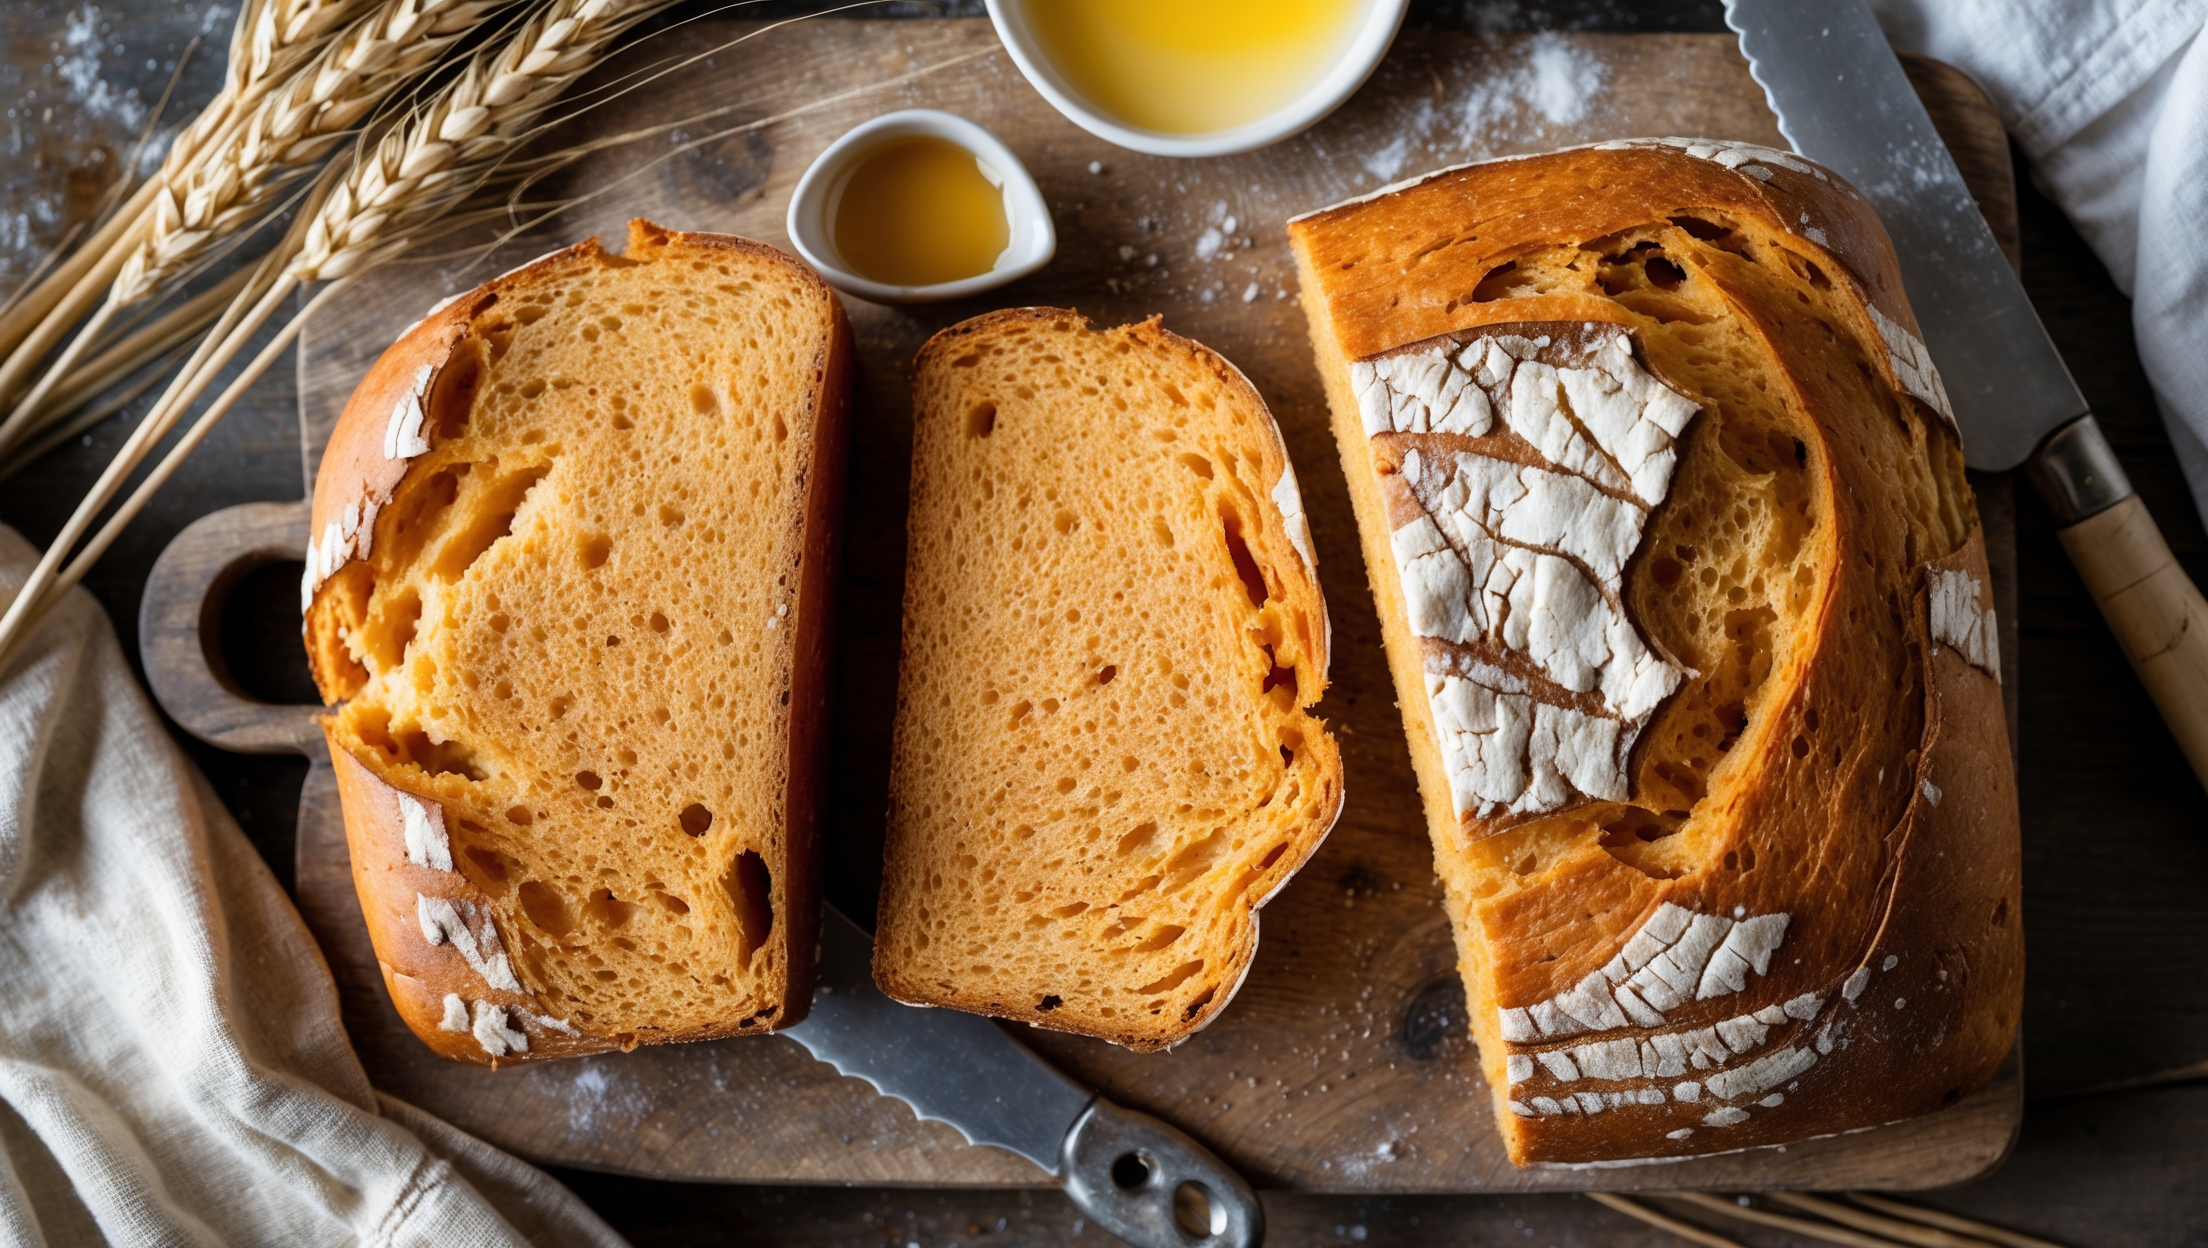
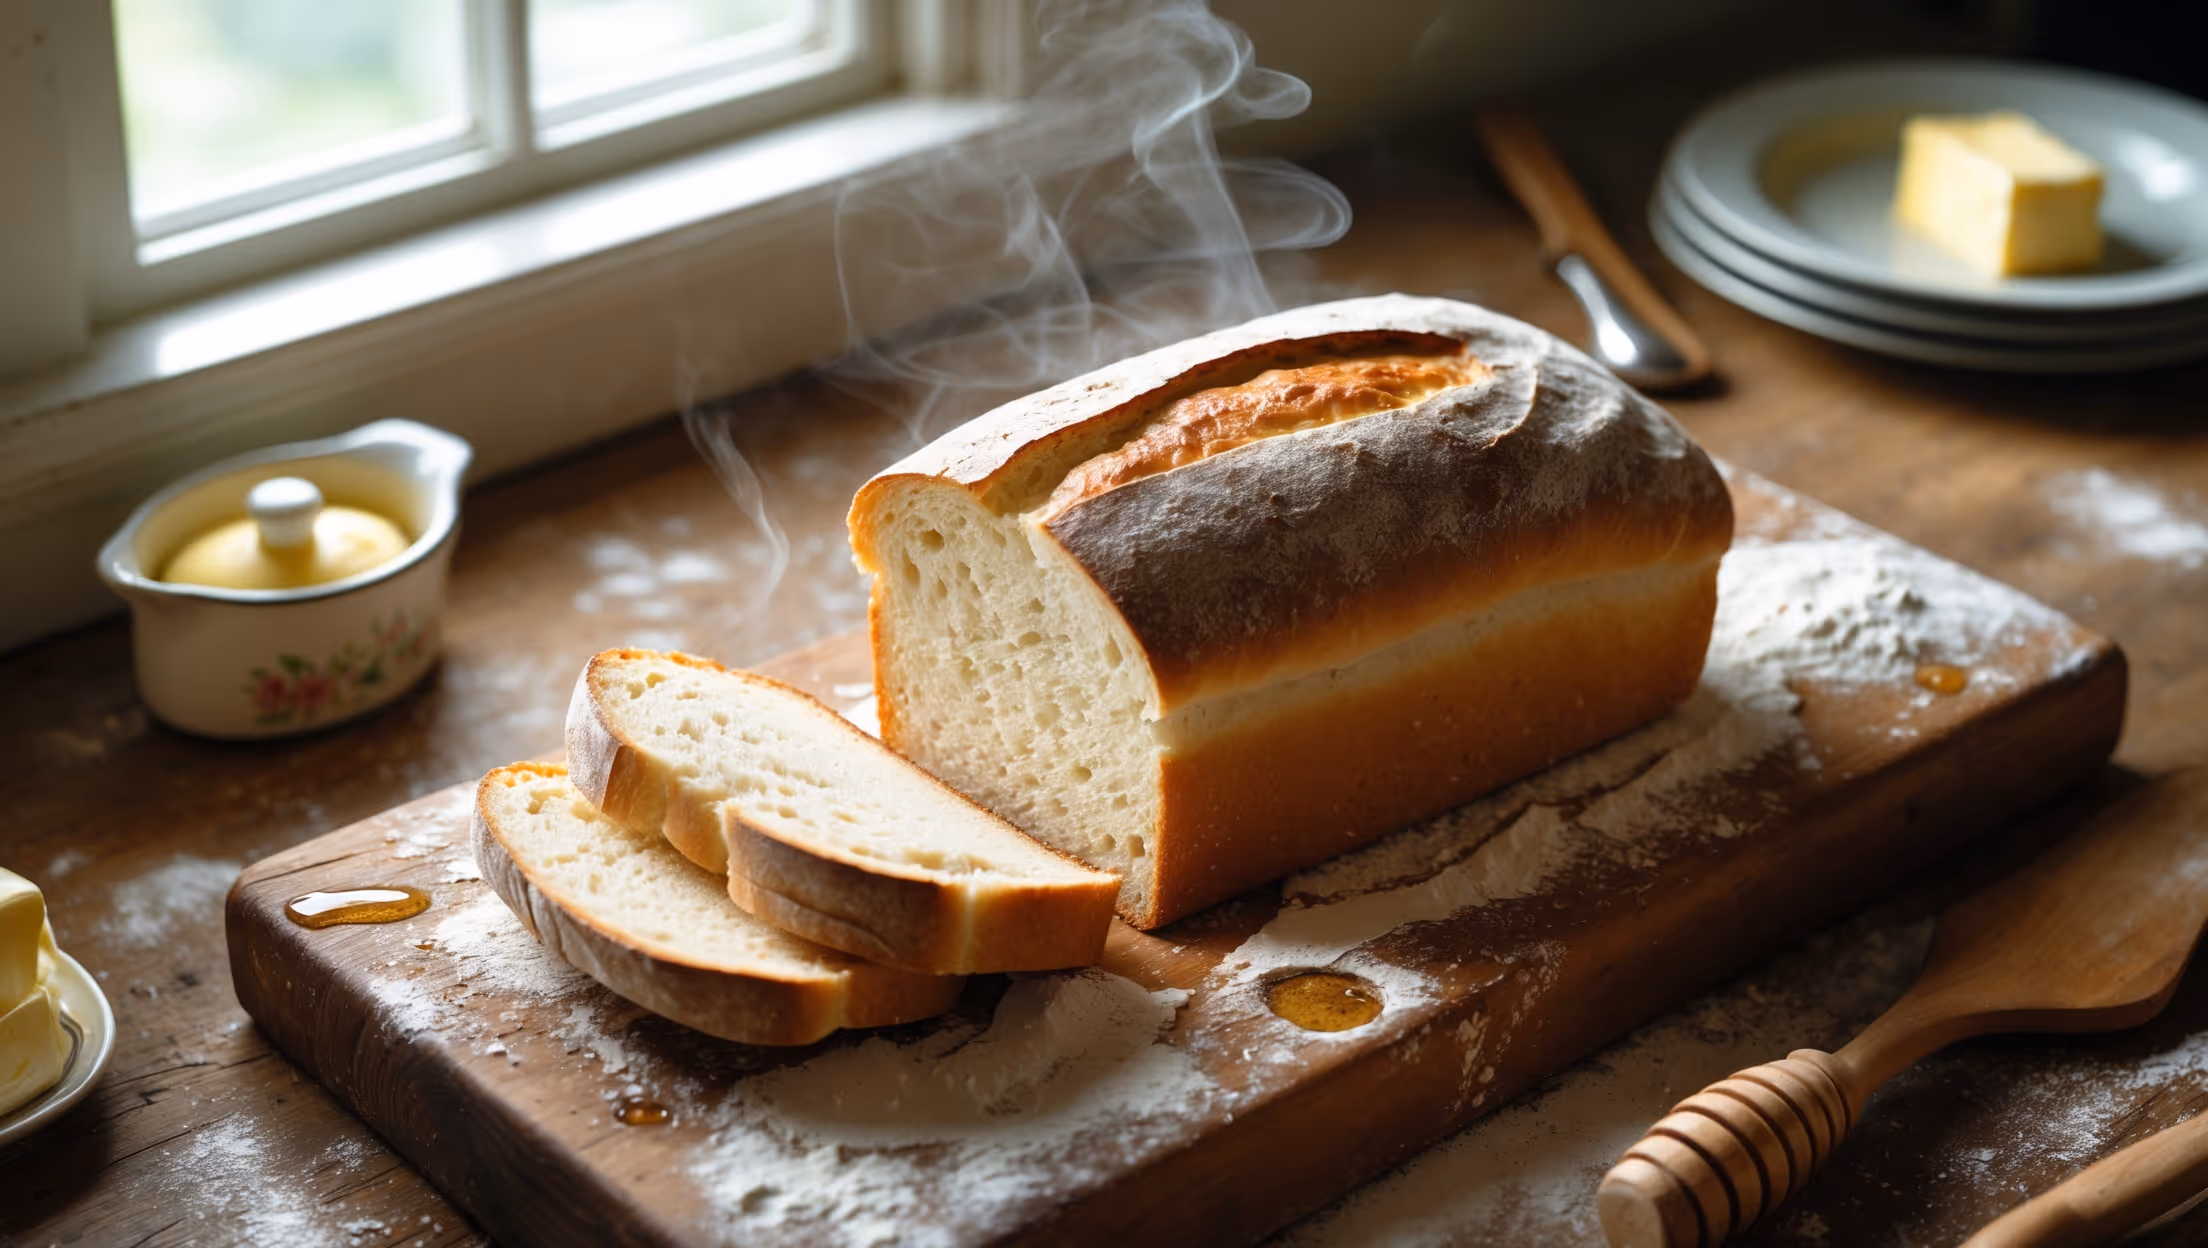
Amish White Bread requires simple pantry staples: bread flour (or all-purpose flour), active dry yeast, warm water, warm milk, granulated sugar, salt, and vegetable oil (or melted butter). These basic ingredients create an exceptionally soft, slightly sweet loaf perfect for sandwiches.
Learn how to cook Amish White Bread Recipe by activating yeast in warm water, mixing with sugar, milk, oil and flour, kneading until elastic, allowing two rises (one in the bowl, one in loaf pans), and baking at 180°C (350°F) for 30 minutes until golden brown. The process takes about 2.5 hours total, including rising time, but only requires 20 minutes of hands-on preparation.
Dense bread typically results from under-kneading (insufficient gluten development), under-rising (not giving dough enough time to double), or using old yeast. Ensure your yeast is fresh and active, knead thoroughly for 8-10 minutes, and allow proper rising time in a warm environment for light, fluffy results.
Yes! This bread freezes beautifully for up to 3 months. Allow loaves to cool completely, then wrap tightly in cling film followed by foil or place in freezer bags. Thaw at room temperature for a few hours or overnight in the refrigerator. Refresh slightly in a warm oven before serving for that fresh-baked taste.
The perfect texture comes from proper kneading (developing gluten), adequate rising time (creating air pockets), correct hydration (balance of liquid to flour), and proper baking temperature. The slightly higher sugar content in this recipe also contributes to its signature softness by retaining moisture and tenderizing the crumb.
Sandwich Bread
Try following recommended recipes