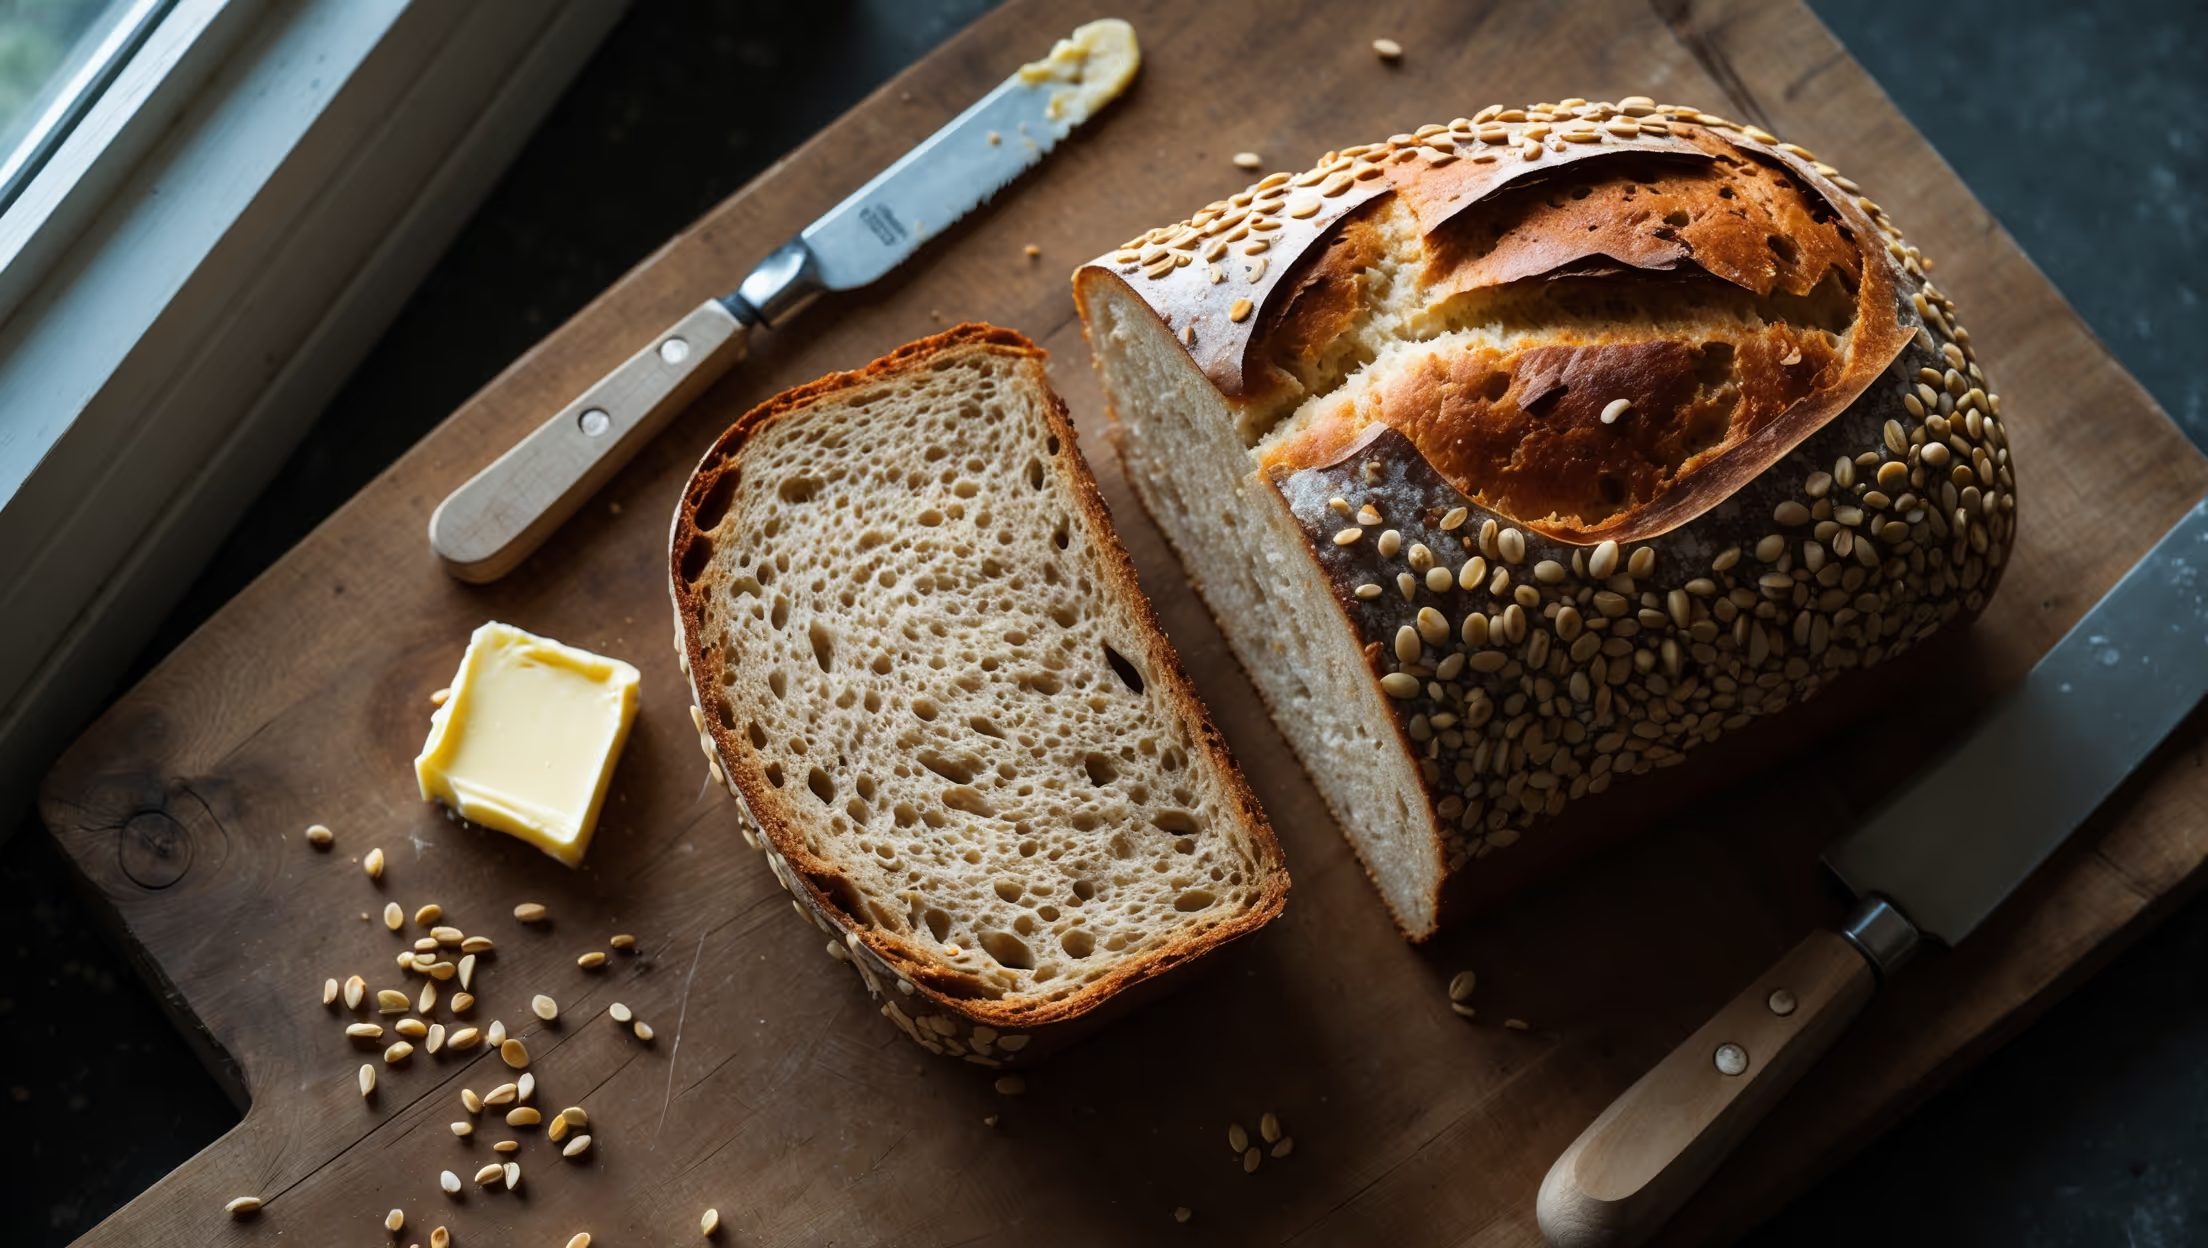
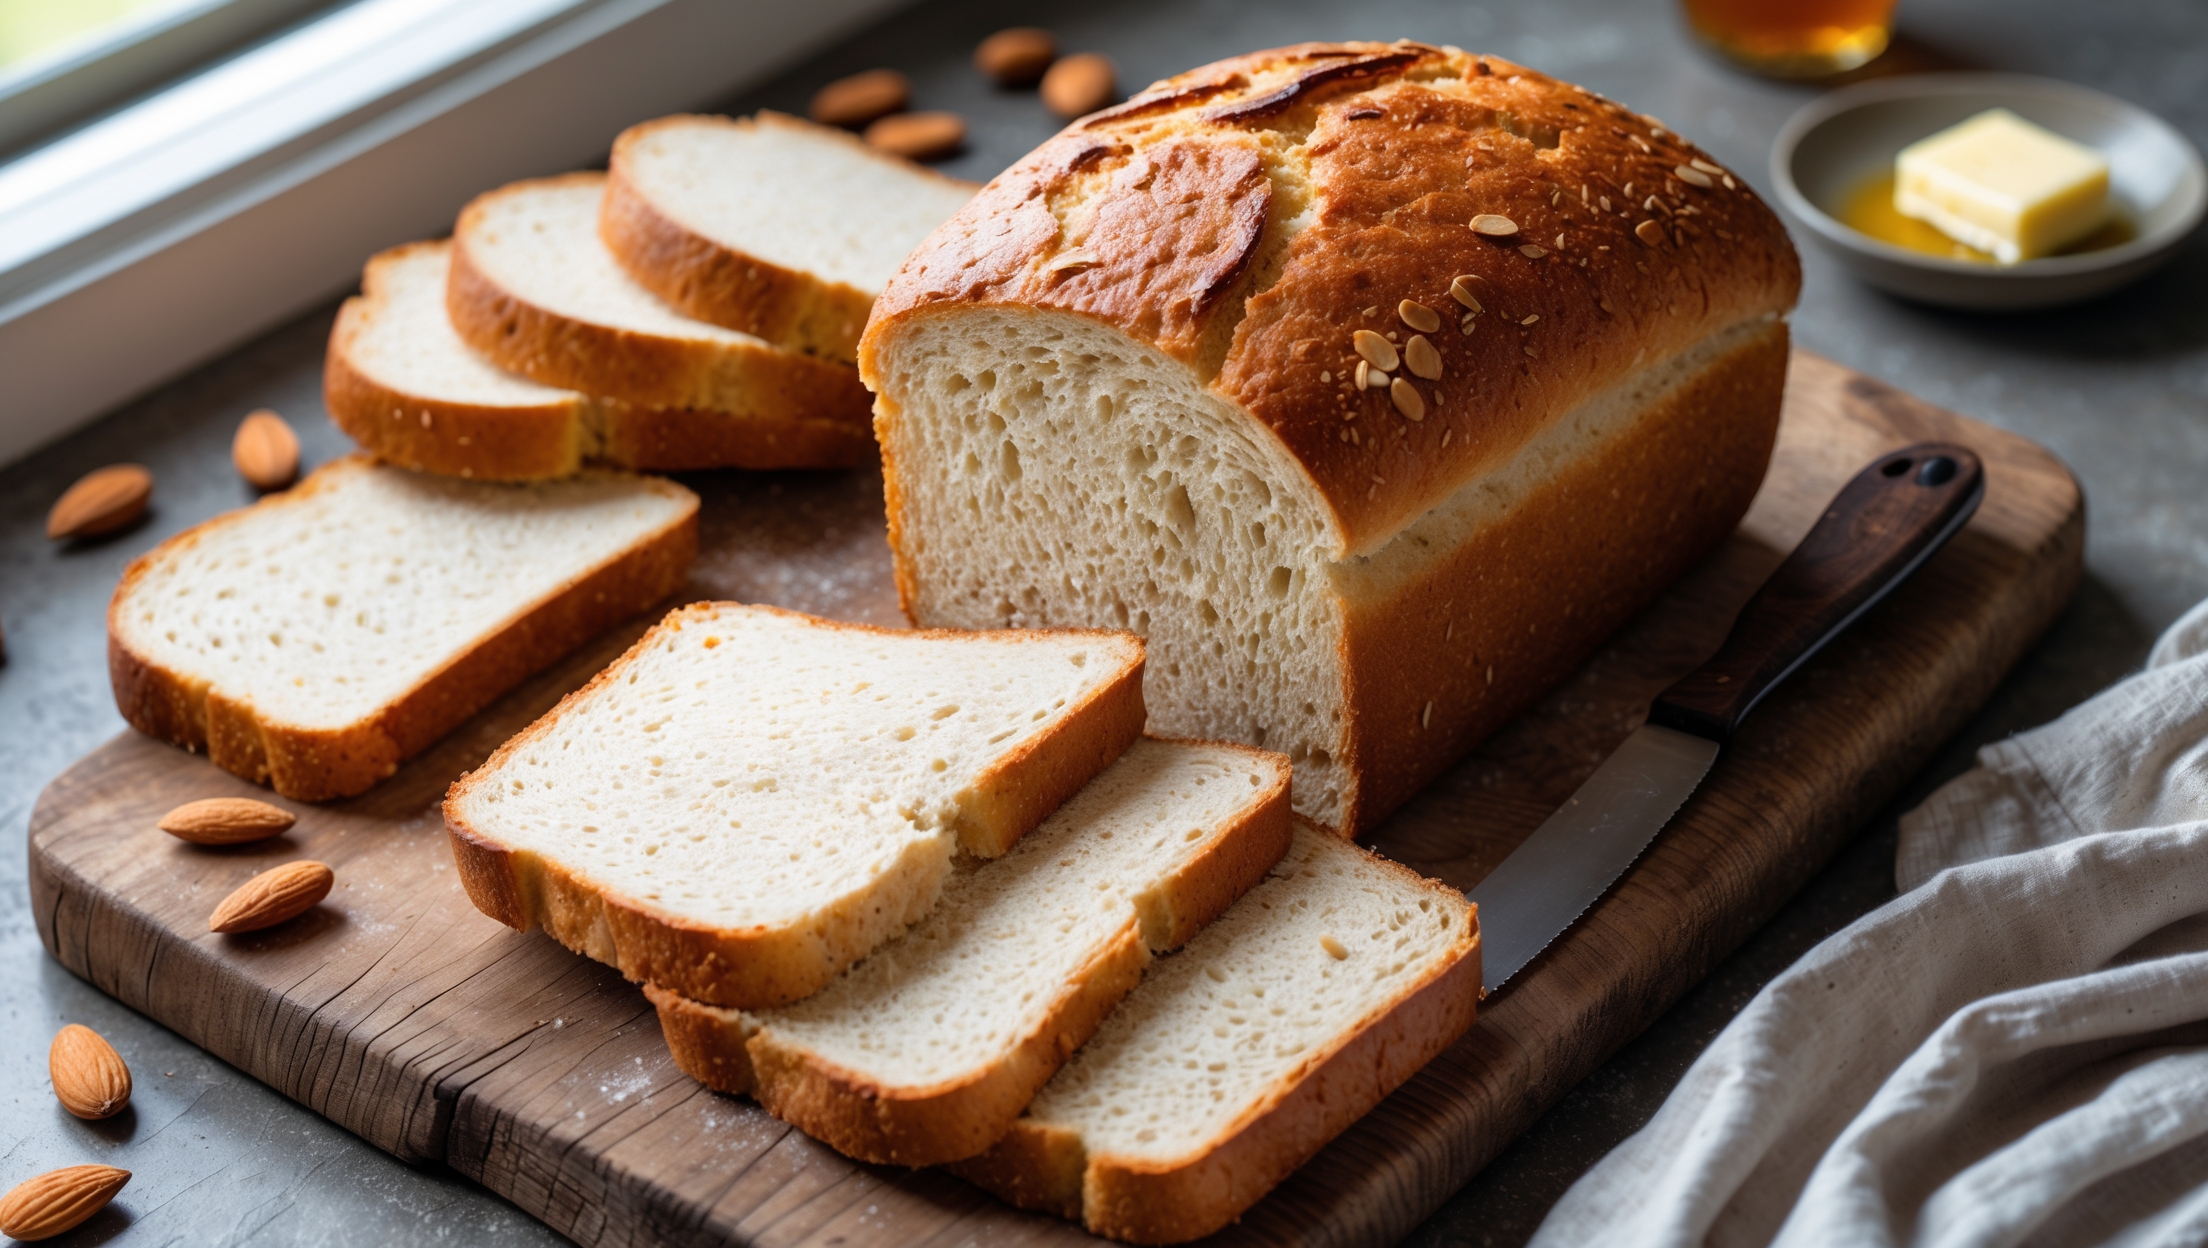
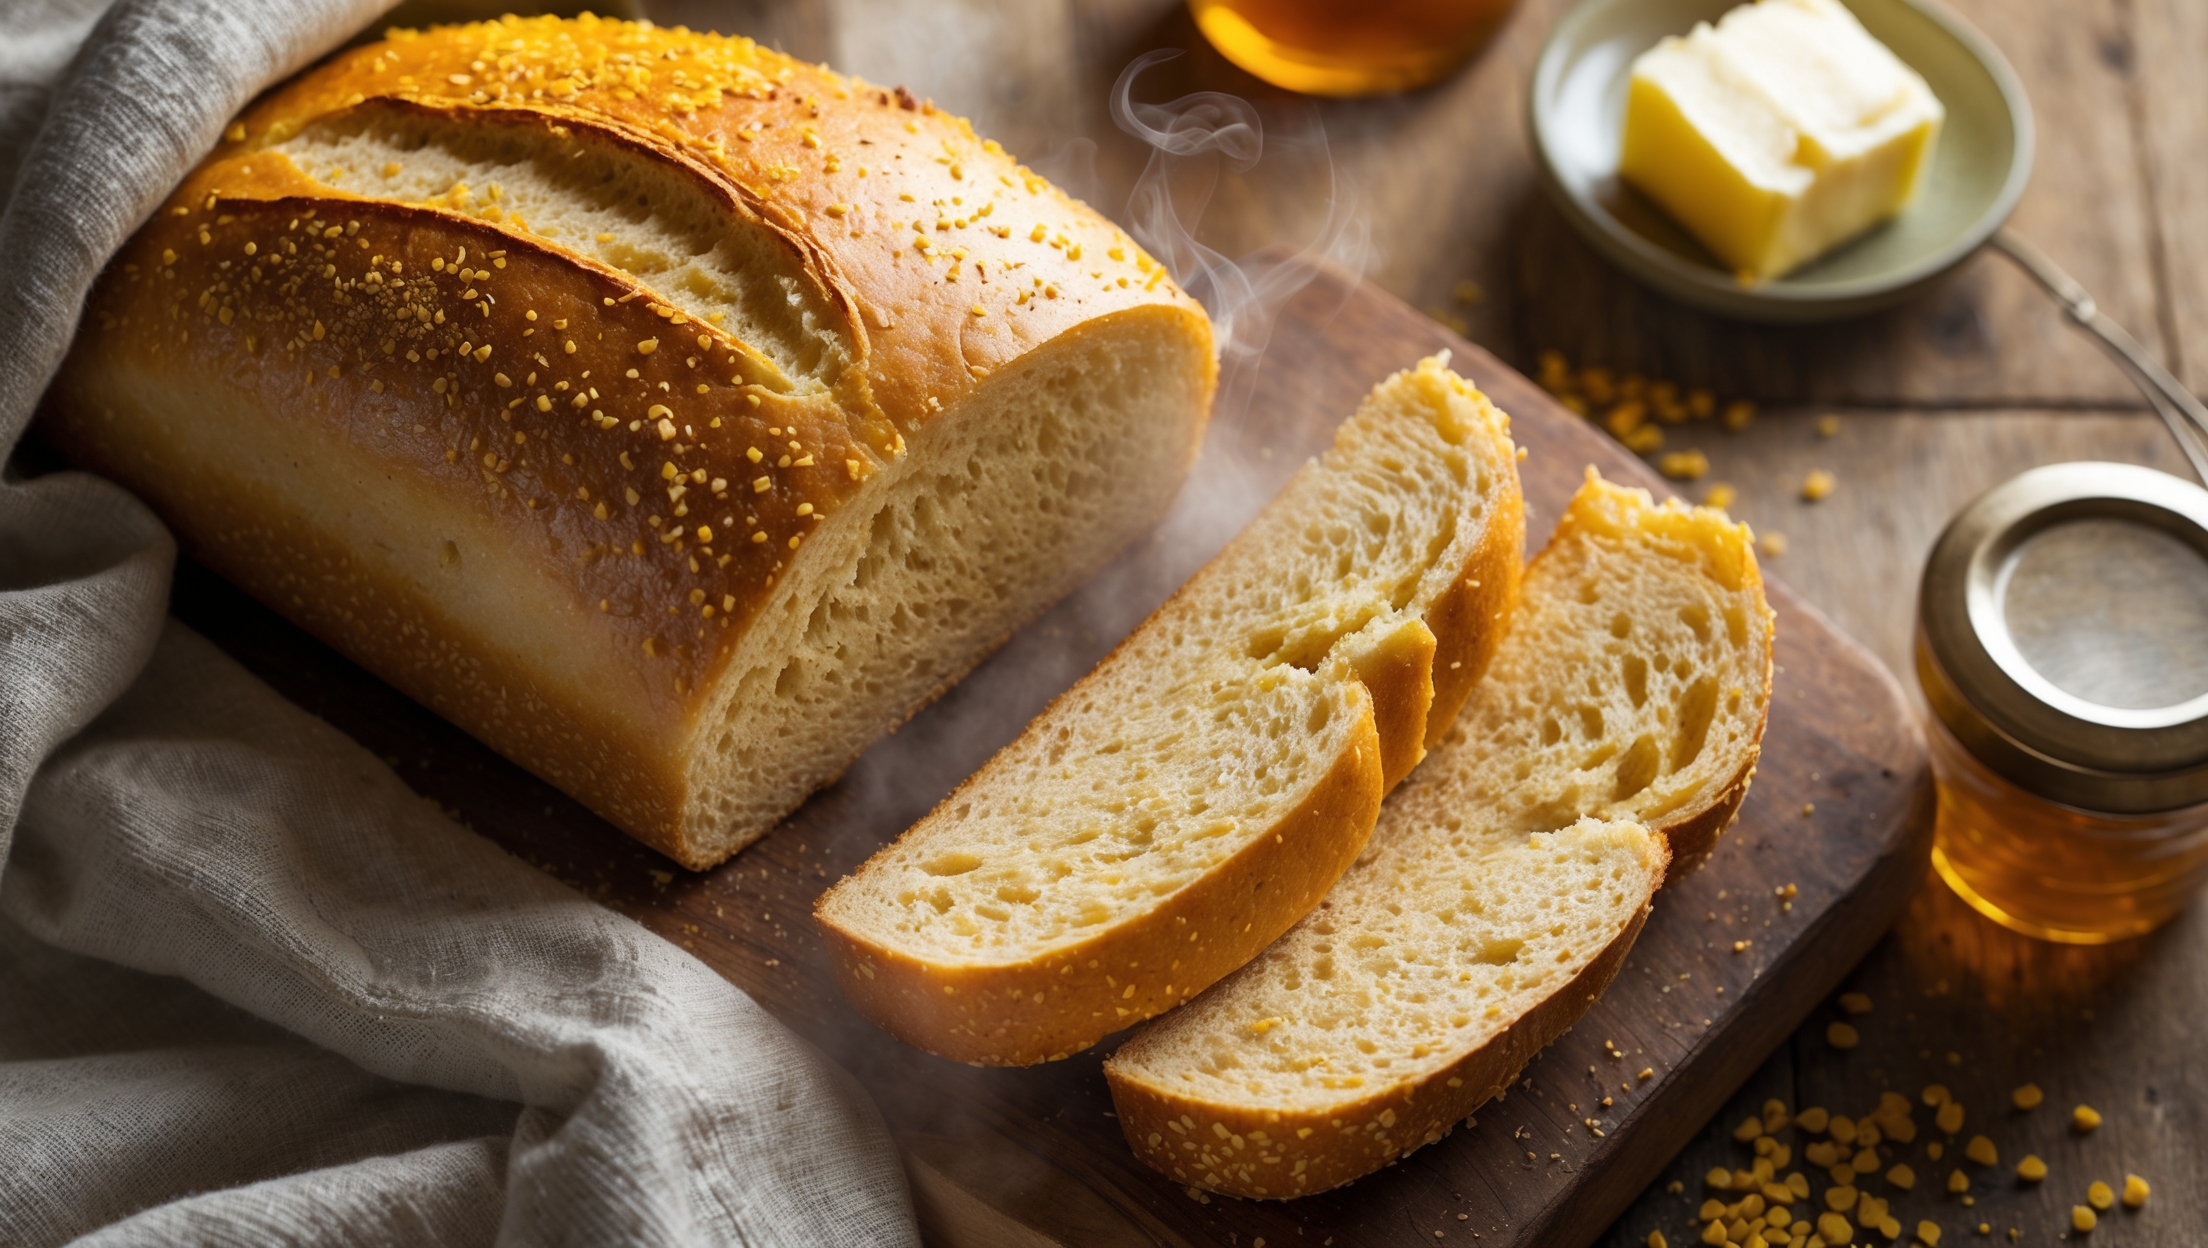
Directions
<ol class="no-list-style"><li class="MethodStepper"><h4 class="step-title">Step 1</h4>The night before baking, prepare the grain soaker. Place the 9-grain cereal mix in a medium heatproof bowl and pour the boiling water over it. Stir to combine, making sure all grains are fully hydrated. Cover with plastic wrap and let sit at room temperature overnight (or at least 6 hours). This soaking process softens the grains and releases their flavors while preventing them from absorbing moisture from your dough later.</li><li class="MethodStepper"><h4 class="step-title">Step 2</h4>The next day, combine the bread flour, whole wheat flour, and instant yeast in the bowl of your stand mixer. If using active dry yeast, activate it first in the lukewarm water with a pinch of the honey for 5-10 minutes until foamy before adding to the dry ingredients.</li><li class="MethodStepper"><h4 class="step-title">Step 3</h4>Add the grain soaker (including any unabsorbed liquid), honey, softened butter, oil, and lukewarm water to the flour mixture. Using the dough hook, mix on low speed for 2-3 minutes until ingredients are combined. Let the dough rest for 20 minutes - this autolyse period allows the flour to fully hydrate and begins gluten development.</li><li class="MethodStepper"><h4 class="step-title">Step 4</h4>Add the salt to the dough and knead on medium-low speed for 6-8 minutes until the dough becomes smooth and elastic. The dough should clear the sides of the bowl but still stick slightly to the bottom. If it's too sticky, add bread flour 1 tablespoon at a time; if too dry, add water 1 teaspoon at a time. The ideal dough temperature is around 24-26°C.</li><li class="MethodStepper"><h4 class="step-title">Step 5</h4>Turn the dough onto a lightly floured surface and knead by hand for 1-2 minutes to ensure proper gluten development. Form into a ball and place in a lightly oiled bowl, turning once to coat. Cover with plastic wrap or a damp kitchen towel and let rise in a warm place (24-26°C) for 60-90 minutes, or until nearly doubled in size.</li><li class="MethodStepper"><h4 class="step-title">Step 6</h4>Grease your loaf pan. When the dough has risen, gently deflate it and turn onto a lightly floured surface. Pat into a rectangle approximately 20cm x 30cm (8 x 12 inches). Starting from the short end, roll the dough tightly into a log, pinching the seam and ends to seal. Place the loaf seam-side down in the prepared pan. Cover loosely and let rise for 45-60 minutes, or until the dough has crowned about 2.5cm (1 inch) above the rim of the pan.</li><li class="MethodStepper"><h4 class="step-title">Step 7</h4>While the dough is in its final rise, preheat your oven to 190°C (375°F). If using a baking stone, place it on the middle rack. For the best oven spring, create a steamy environment by placing an empty metal pan on the bottom rack.</li><li class="MethodStepper"><h4 class="step-title">Step 8</h4>Just before baking, brush the top of the loaf with beaten egg white and sprinkle with mixed seeds if desired. Make a shallow slash down the center of the loaf with a sharp knife or bread lame to control the expansion during baking.</li><li class="MethodStepper"><h4 class="step-title">Step 9</h4>Place the bread in the oven and pour 240ml of hot water into the empty pan to create steam (stand back to avoid the steam). Bake for 35-40 minutes, rotating halfway through for even browning. The bread is done when it's golden brown and sounds hollow when tapped on the bottom, or when an instant-read thermometer inserted into the center registers 96-99°C (205-210°F).</li><li class="MethodStepper"><h4 class="step-title">Step 10</h4>Remove the bread from the oven and immediately turn it out onto a wire rack. If the loaf sticks, run a knife around the edges to loosen. Allow to cool completely before slicing - at least 2 hours. This cooling period is crucial as it allows the crumb structure to set and prevents the bread from becoming gummy when sliced.</li><li class="MethodStepper"><h4 class="step-title">Step 11</h4>Once cooled, slice with a good serrated knife. Store in an airtight container or bread bag at room temperature for up to 3 days. For longer storage, slice the entire loaf and freeze in a freezer bag for up to 3 months, taking out slices as needed. This bread makes exceptional toast and sandwiches with its nutty flavor and substantial texture.</li></ol>