Triple-Layered Temperature Gradient Custard Tarts Recipe
Ingredients
Equipment
Directions
FAQs
Find answers to your most pressing questions about this delicious recipe right here.
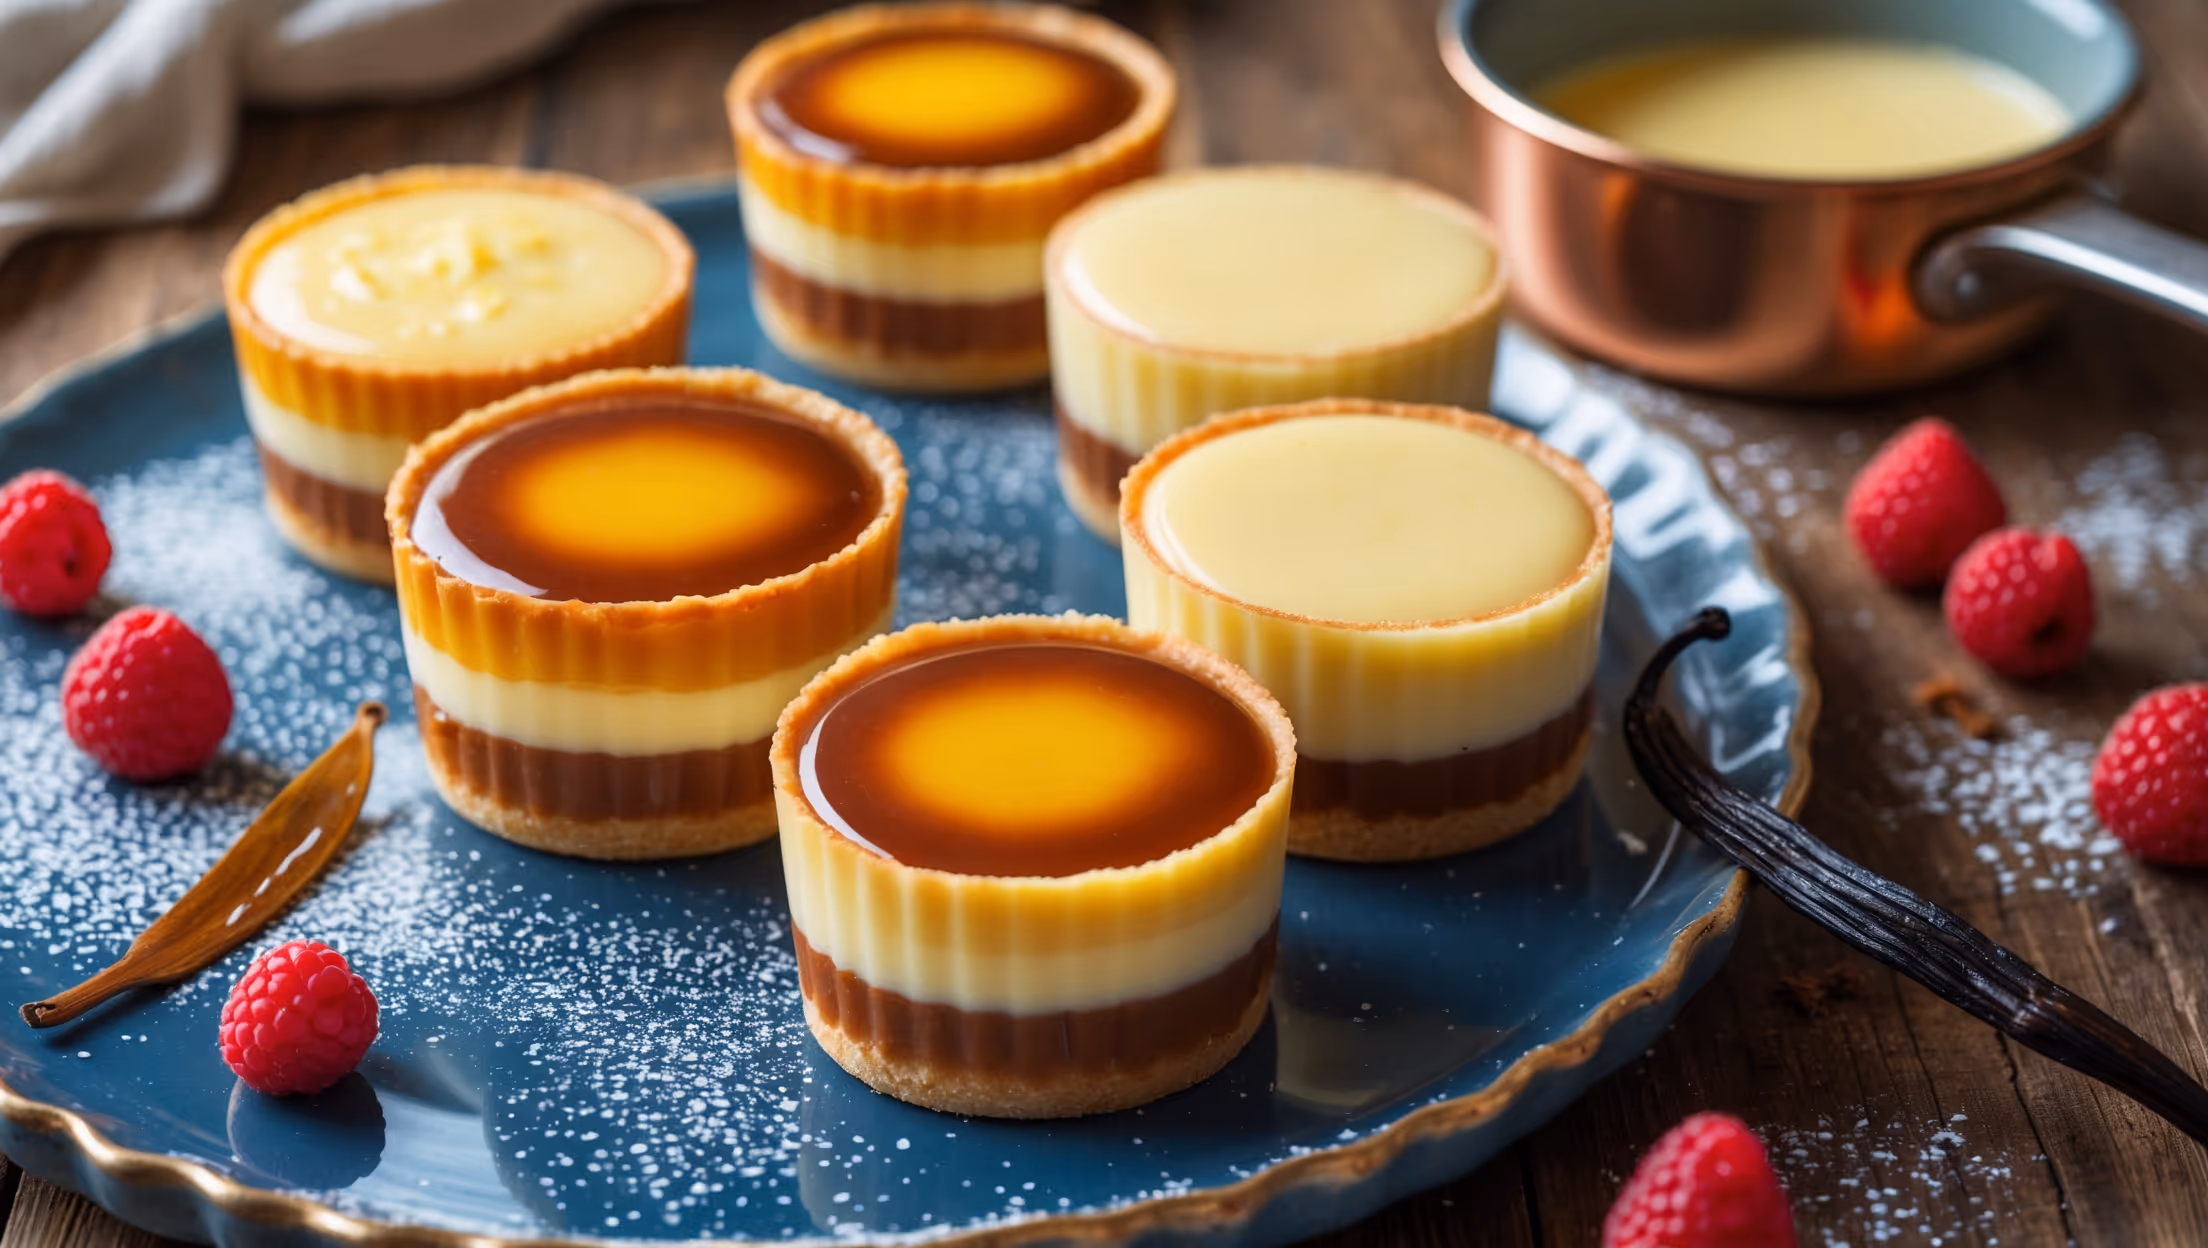
These elegant tarts require ingredients for three distinct custard layers plus pastry. You'll need flour, butter, sugar, eggs, vanilla, double cream, whole milk, cornflour, lemon zest, and sea salt. The layering technique creates a unique temperature and flavour gradient experience.
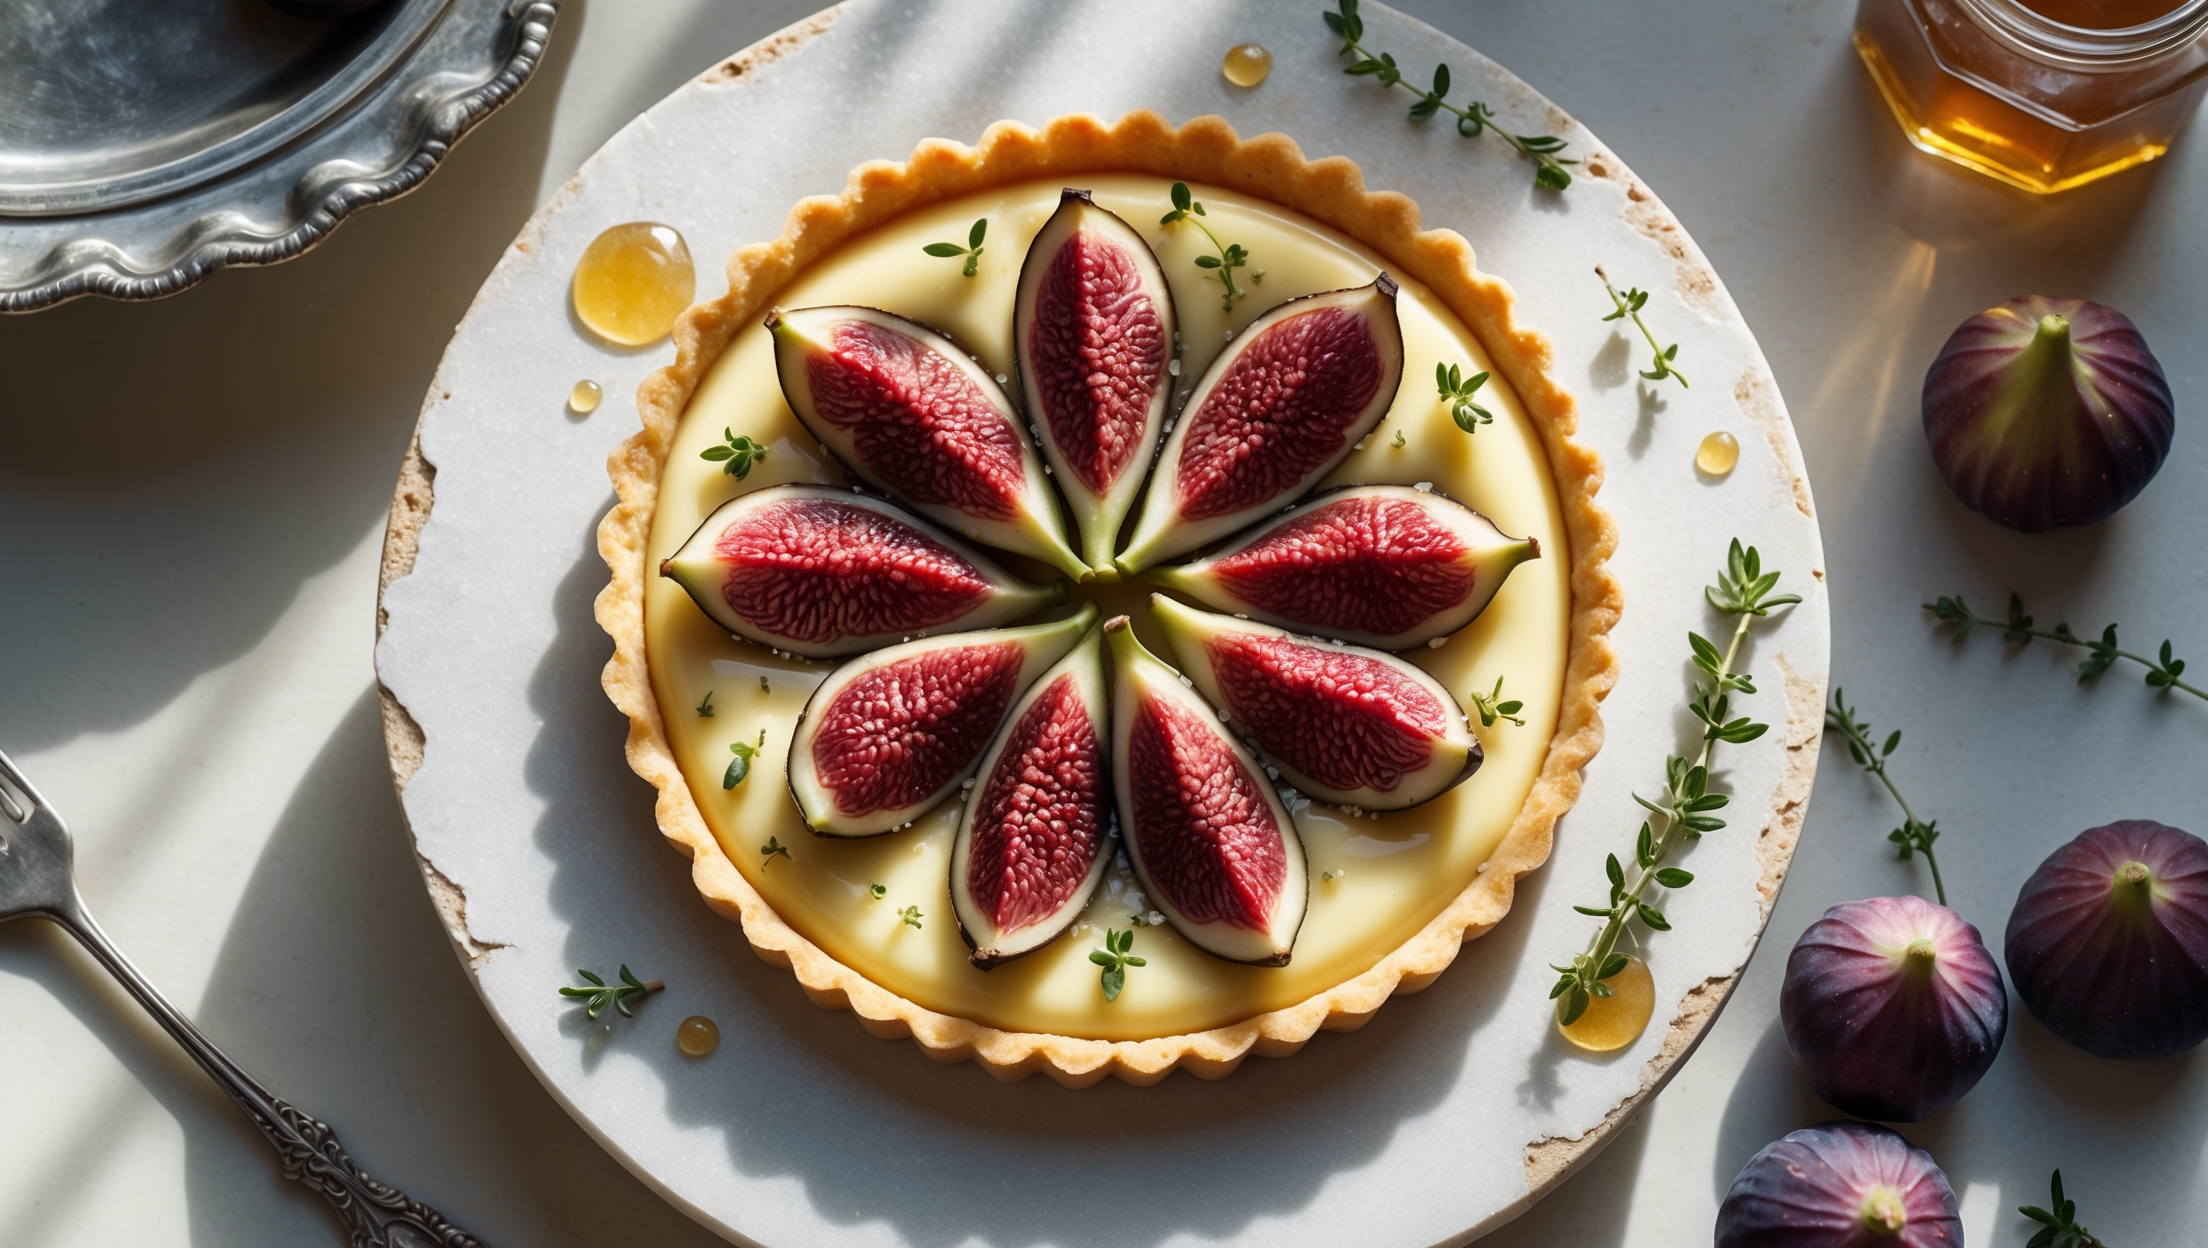
Learn how to cook Triple-Layered Temperature Gradient Custard Tarts by first making and blind-baking buttery pastry shells. Then create three distinct custard layers: a warm caramel base, a temperate vanilla middle, and a chilled lemon-infused top layer. The key technique involves warming the bottom of the tarts before serving to maintain the temperature gradient.
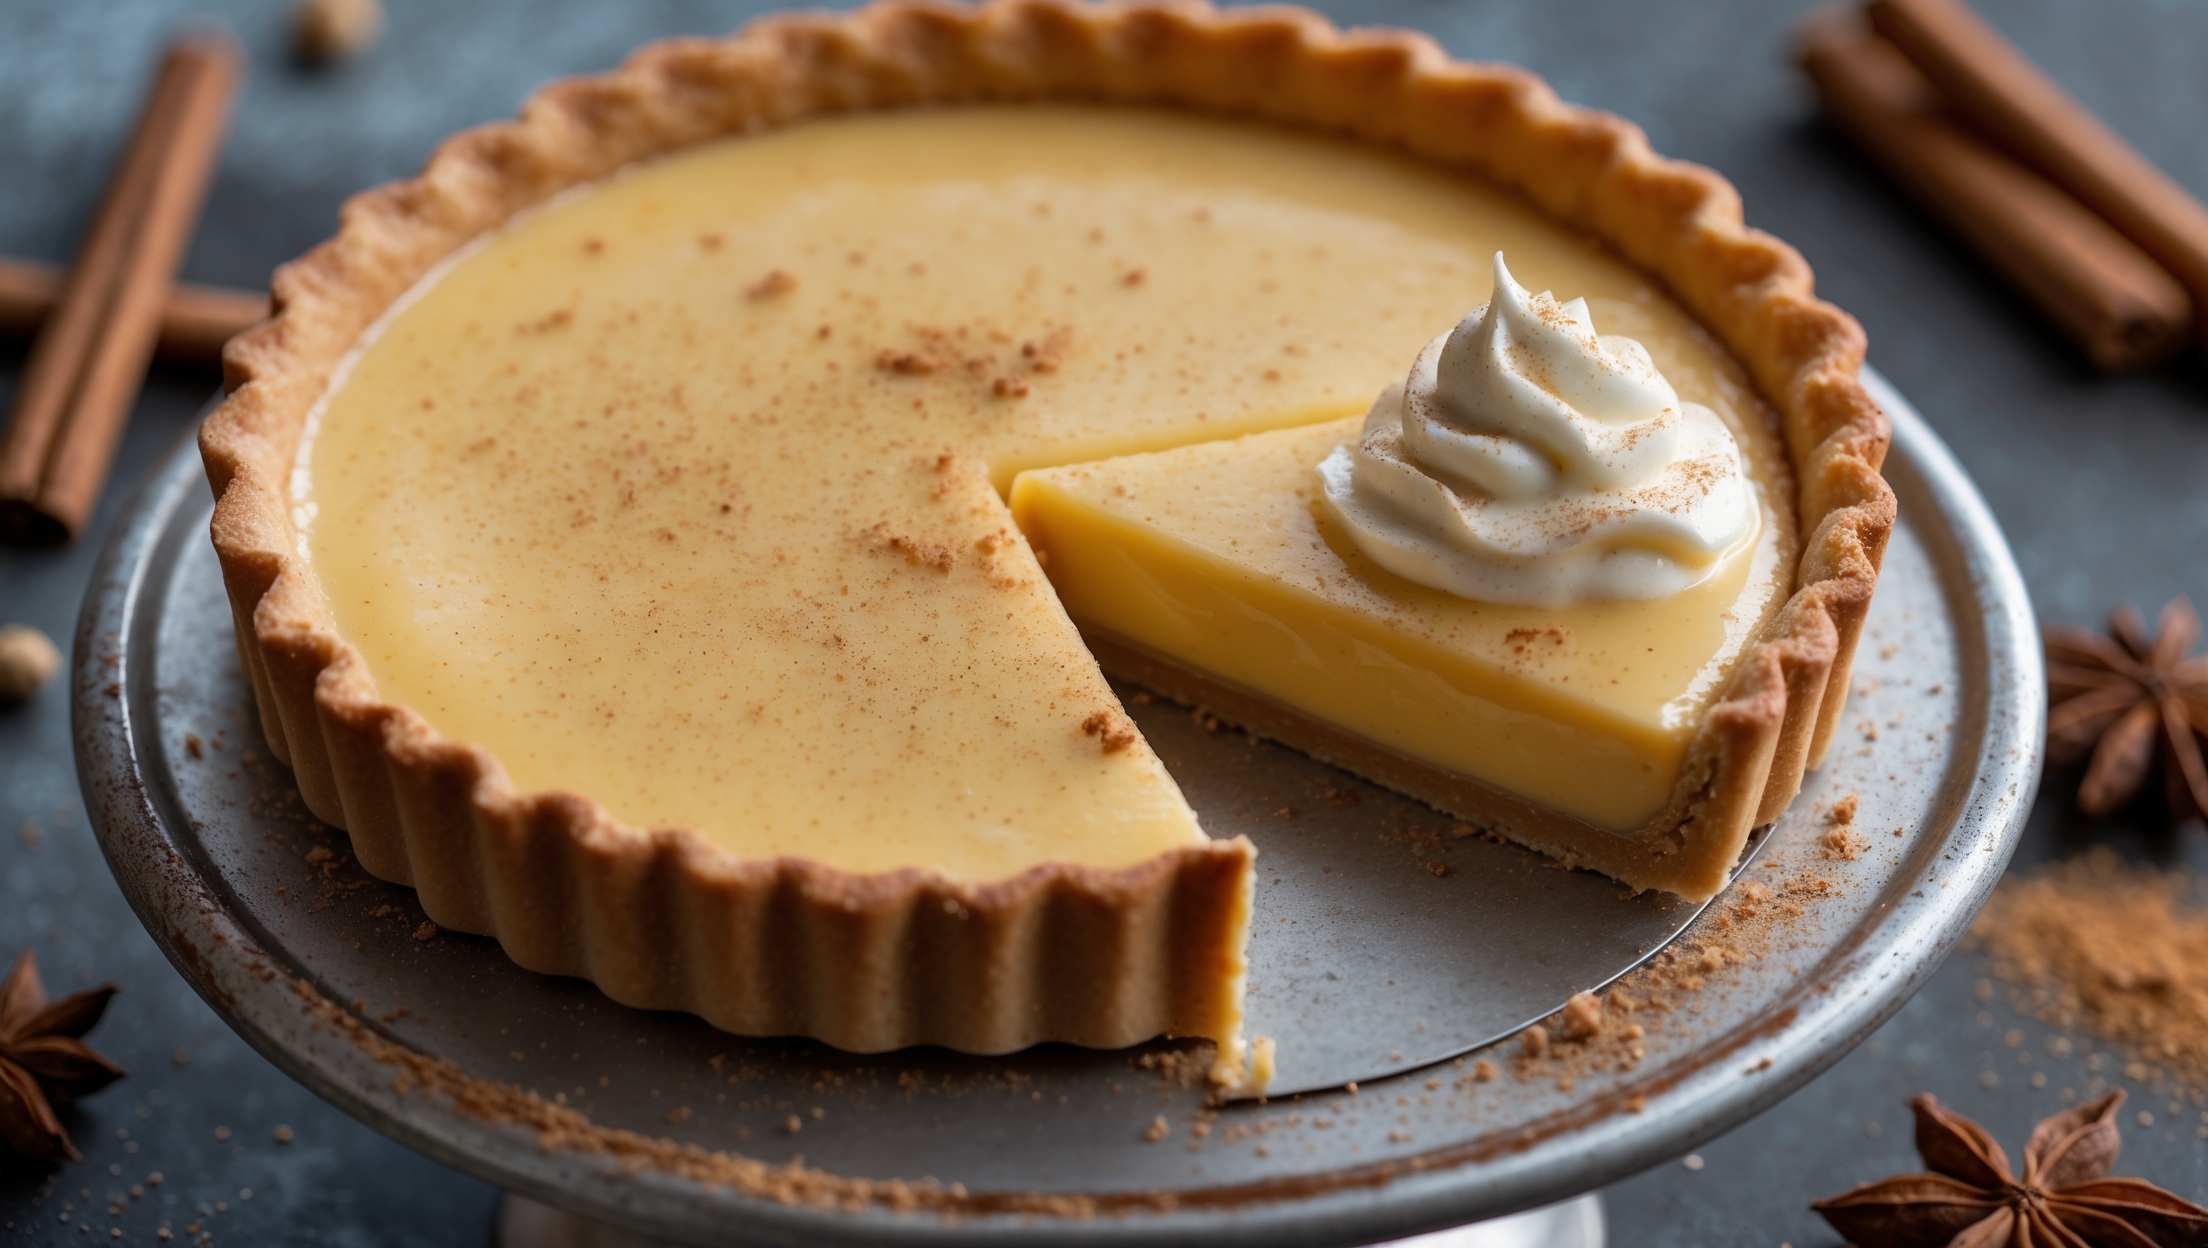
Custard tarts crack when baked at too high a temperature or for too long. Bake at a moderate temperature (around 160°C) and remove from the oven when the custard still has a slight wobble in the centre. The residual heat will continue cooking the custard without causing cracks.
Yes! You can prepare the tarts up to 24 hours ahead and keep refrigerated. The key is to warm the bottom layer just before serving to create the temperature gradient. This makes them perfect for entertaining as most of the work can be done well in advance.
To avoid soggy bottoms in custard tarts, thoroughly blind bake your pastry cases until golden and crisp before adding any fillings. Using cooled fillings rather than hot ones also helps, as does ensuring your oven is properly preheated and baking on a lower rack to direct more heat to the base.
Custard Tarts
Try following recommended recipes