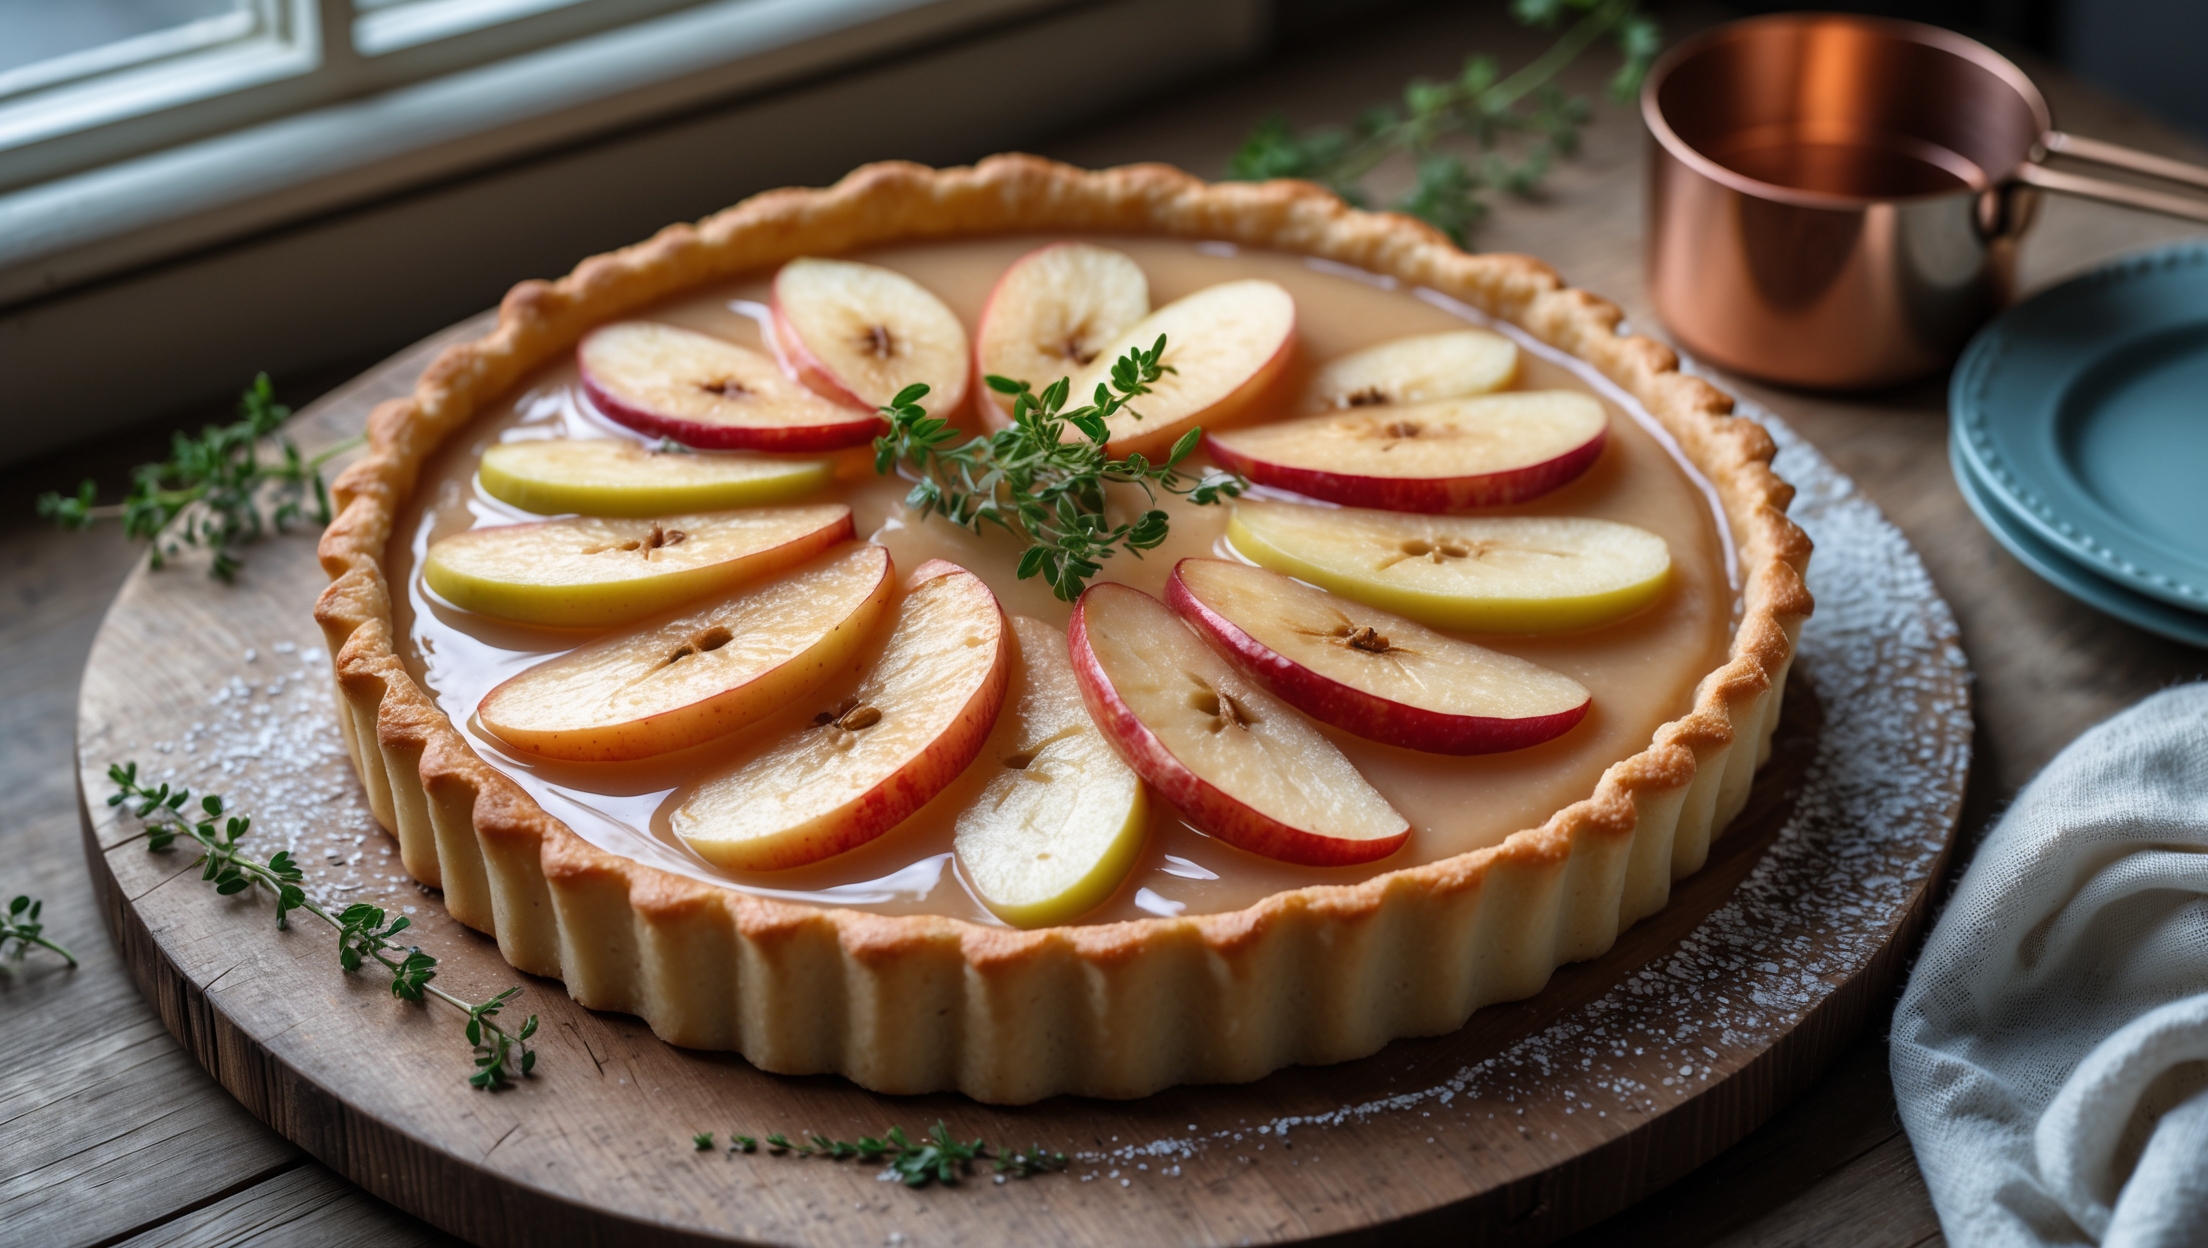
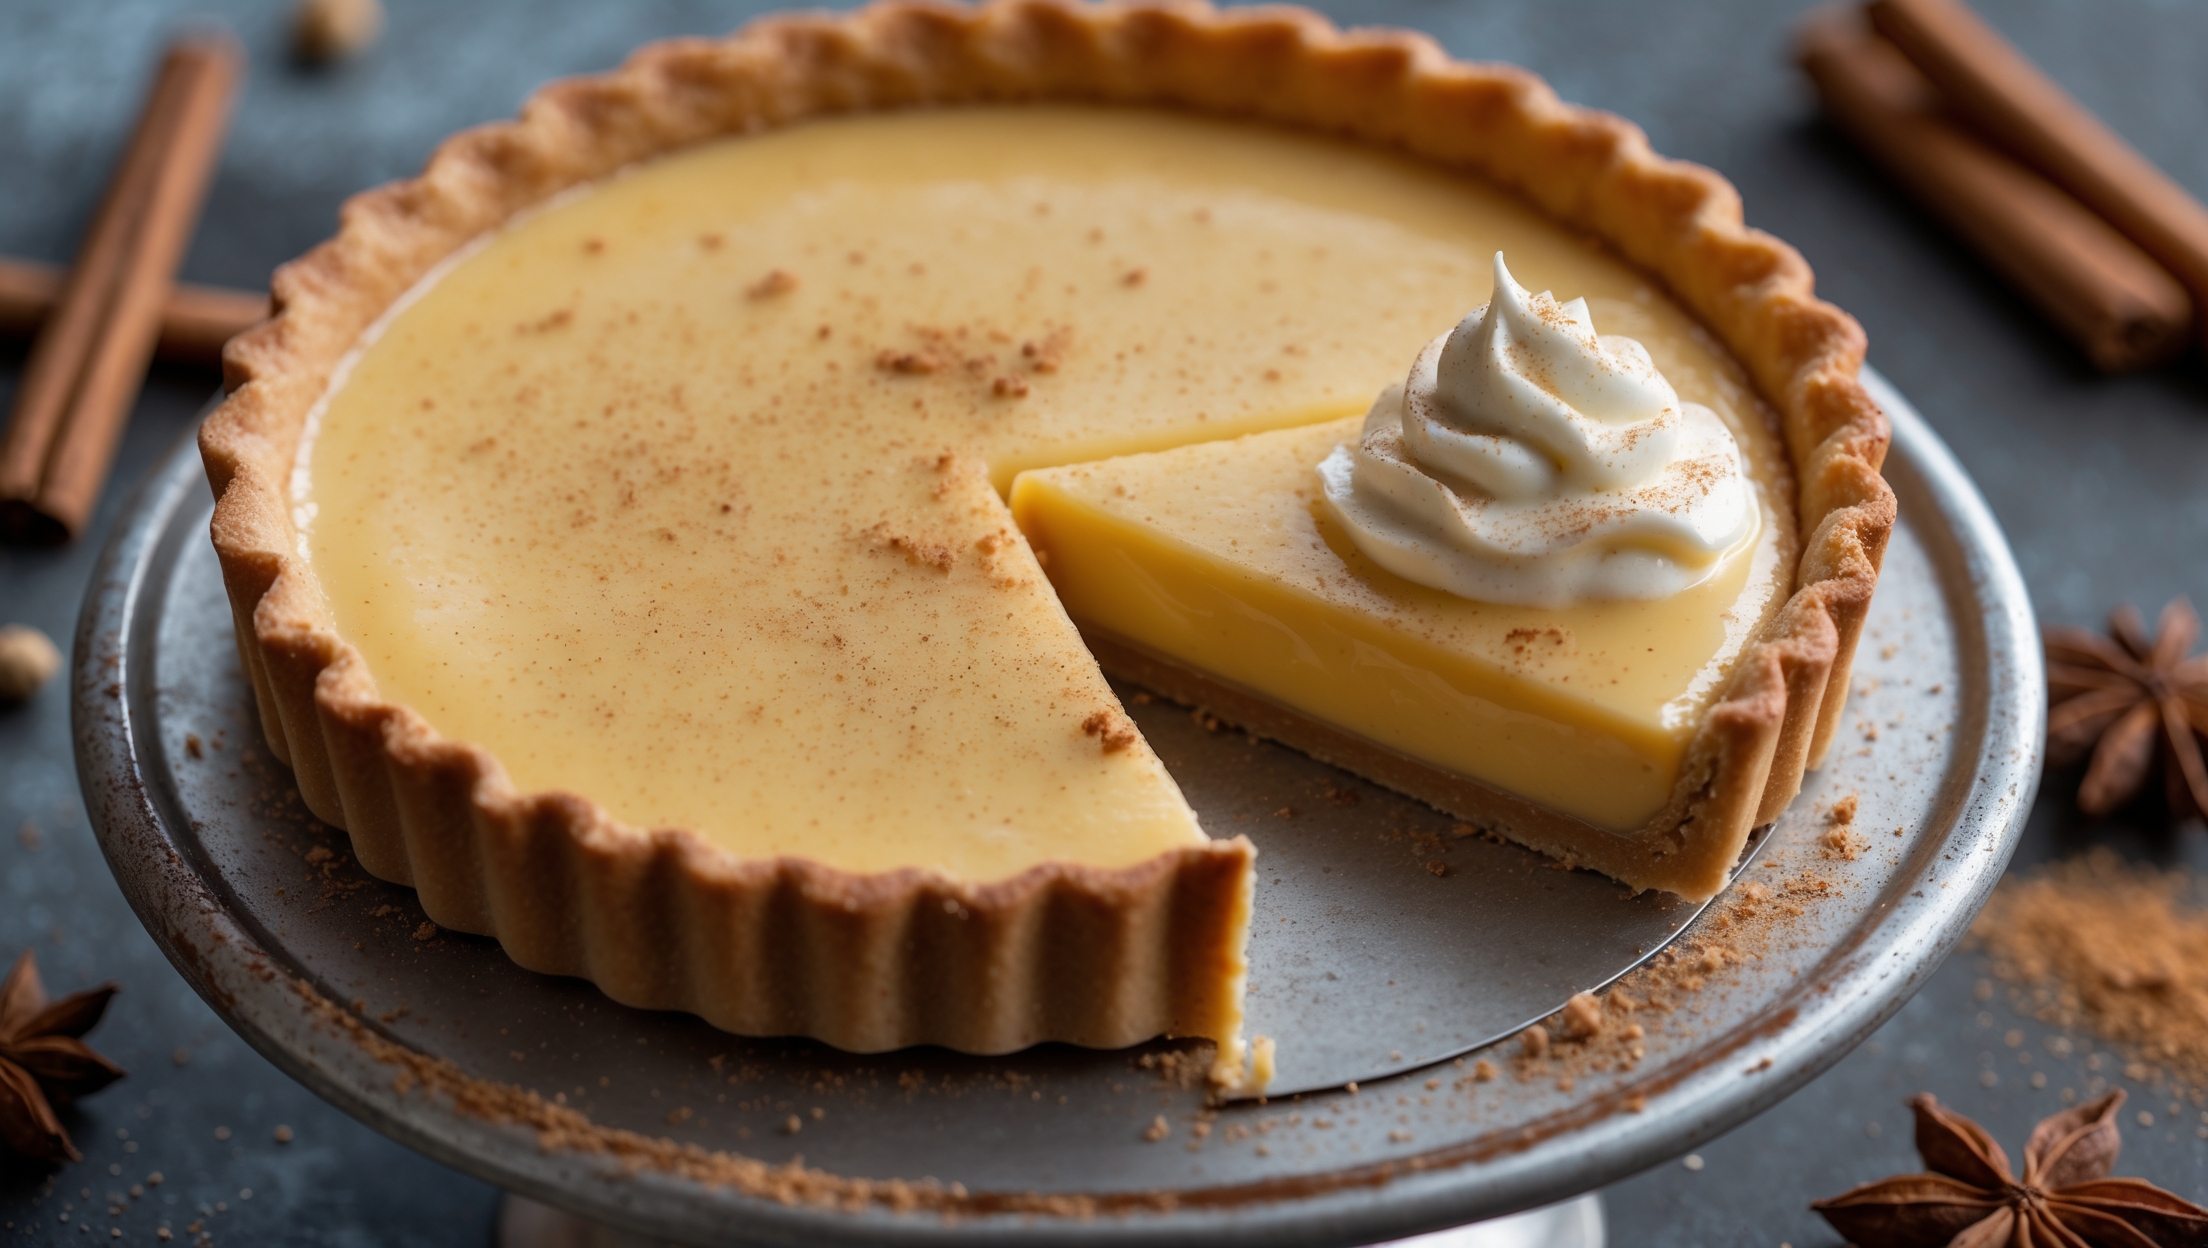
Directions
<ol class="no-list-style"><li class="MethodStepper"><h4 class="step-title">Step 1</h4>Start by making the pastry. Place the flour, butter and salt in a food processor and pulse until the mixture resembles fine breadcrumbs. Alternatively, rub the butter into the flour with your fingertips. The cooler your hands (and ingredients), the flakier your pastry will be as the butter remains in small pieces rather than melting.</li><li class="MethodStepper"><h4 class="step-title">Step 2</h4>Add the sugar, egg yolk and 2 tablespoons of ice-cold water. Pulse or mix with a knife until the dough just comes together, adding the extra tablespoon of water if needed. The dough should hold together when pressed but shouldn't be sticky. Work the pastry as little as possible to prevent it becoming tough.</li><li class="MethodStepper"><h4 class="step-title">Step 3</h4>Form the dough into a disc, wrap in cling film and refrigerate for at least 30 minutes. This resting period allows the gluten to relax and prevents shrinkage during baking.</li><li class="MethodStepper"><h4 class="step-title">Step 4</h4>Preheat your oven to 180°C (160°C fan/gas mark 4). Roll out the chilled pastry on a lightly floured surface to about 3mm thickness and use it to line your tart tin. Press the pastry gently into the fluted edges. Trim any excess, leaving a slight overhang to allow for shrinkage.</li><li class="MethodStepper"><h4 class="step-title">Step 5</h4>Prick the base all over with a fork to prevent air bubbles forming, then line with baking parchment and fill with baking beans or rice. Blind bake for 15 minutes, then remove the beans and paper and bake for a further 5-10 minutes until the pastry is golden and crisp. The bottom should look dry, not doughy. Set aside to cool while you make the custard.</li><li class="MethodStepper"><h4 class="step-title">Step 6</h4>For the custard, pour the milk into a saucepan. If using a vanilla pod, scrape the seeds into the milk and add the pod too. Heat gently until almost boiling, then remove from heat and, if using the pod, allow to infuse for 10 minutes before removing.</li><li class="MethodStepper"><h4 class="step-title">Step 7</h4>In a large bowl, whisk together the egg yolks, sugar and cornflour until pale and thick. This creates a stable emulsion that will help your custard set properly. Gradually whisk in the hot milk, starting with just a little to temper the eggs and prevent scrambling.</li><li class="MethodStepper"><h4 class="step-title">Step 8</h4>Return the mixture to the saucepan and cook over medium-low heat, whisking constantly, until it thickens significantly - about 5-7 minutes. Don't rush this step; slow cooking develops better flavor and texture. The custard is ready when it coats the back of a spoon and a finger drawn through leaves a clear path.</li><li class="MethodStepper"><h4 class="step-title">Step 9</h4>Pass the custard through a fine-mesh sieve to ensure a silky smooth texture. If using vanilla extract instead of a pod, stir it in now. Cover the surface directly with cling film to prevent a skin forming and allow to cool slightly for 10-15 minutes.</li><li class="MethodStepper"><h4 class="step-title">Step 10</h4>Pour the warm (not hot) custard into the cooled tart case, spreading it evenly. Refrigerate for at least 3 hours or until fully set. The custard should be firm enough to hold its shape when sliced but still creamy in texture.</li><li class="MethodStepper"><h4 class="step-title">Step 11</h4>When ready to serve, arrange the halved figs decoratively on top of the set custard. For the best presentation, place them cut-side up to showcase their beautiful interior pattern.</li><li class="MethodStepper"><h4 class="step-title">Step 12</h4>In a small saucepan, gently warm the honey with the lemon juice until runny. If using thyme, add a sprig to infuse as you warm the honey, then remove. The lemon juice balances the sweetness and helps prevent the honey from crystallizing.</li><li class="MethodStepper"><h4 class="step-title">Step 13</h4>Carefully brush the honey mixture over the figs. If you like a more caramelized finish, place the tart under a hot grill for 1-2 minutes, watching carefully to ensure the figs don't burn. The natural sugars in the figs will begin to caramelize, intensifying their flavor.</li><li class="MethodStepper"><h4 class="step-title">Step 14</h4>Just before serving, dust with icing sugar and scatter over a few fresh thyme leaves if using. The tart is best enjoyed on the day it's assembled, though the pastry case and custard can be prepared a day ahead and stored separately until needed.</li></ol>