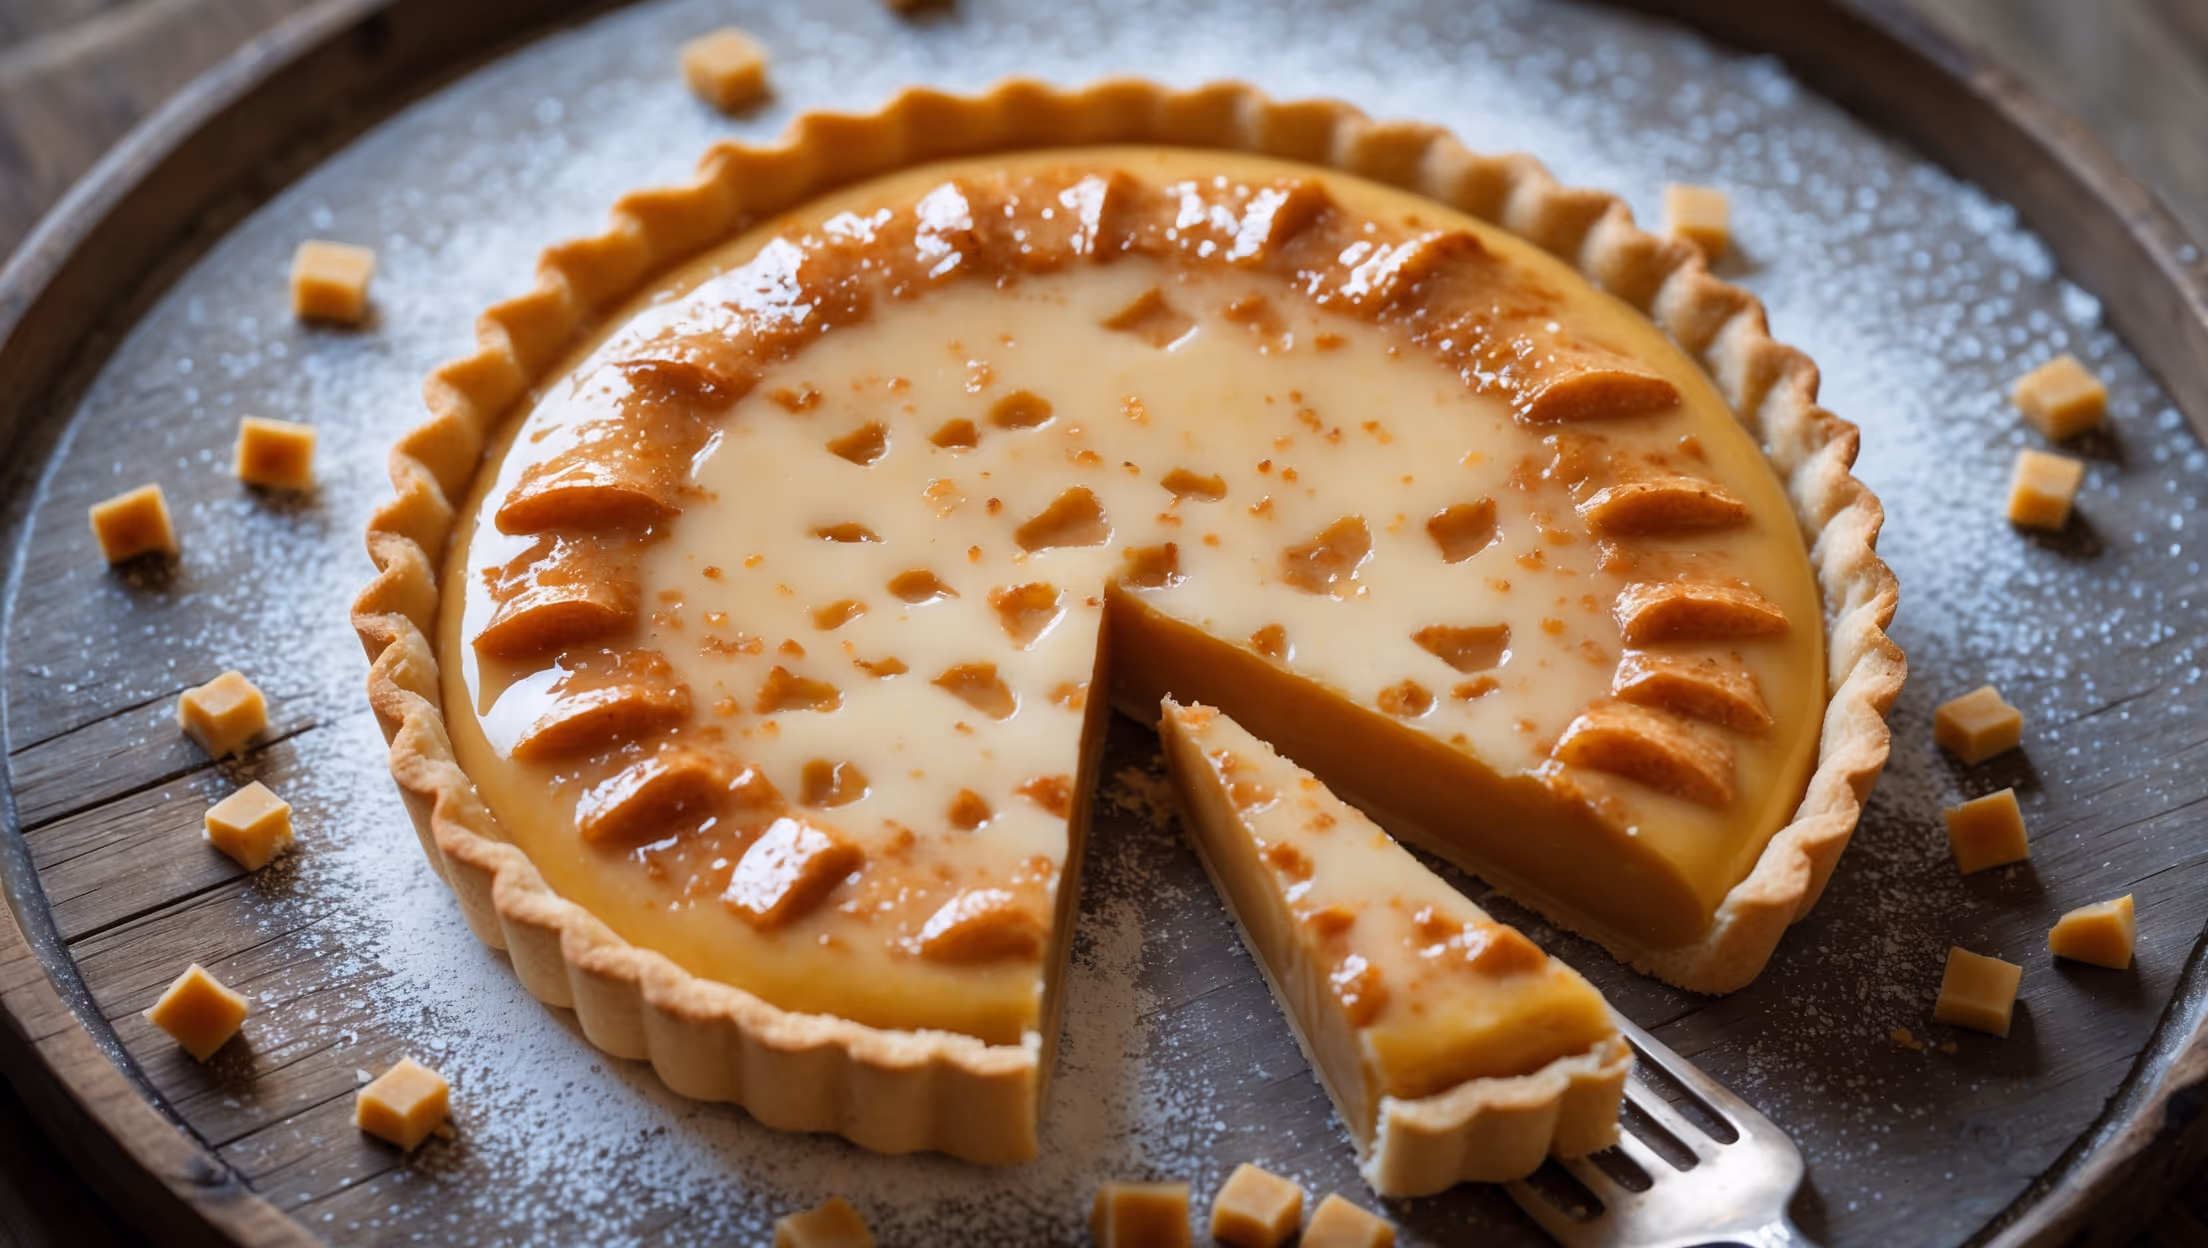
Toffee Custard Tart Recipe
Ingredients
Equipment
Directions
FAQs
Find answers to your most pressing questions about this delicious recipe right here.
The Toffee Custard Tart requires shortcrust pastry ingredients (flour, butter, sugar, egg), homemade toffee components (sugar, butter, golden syrup), and custard elements (milk, vanilla, eggs, sugar, cornflour). These combine to create a rich, silky dessert with contrasting textures.
Learn how to cook Toffee Custard Tart at home by first blind-baking a buttery shortcrust pastry shell, then making homemade toffee pieces before preparing a silky vanilla custard. The custard, studded with toffee pieces, is poured into the pastry case and baked until just set with a slight wobble before cooling completely to achieve the perfect texture.
Custard tarts crack when baked at too high a temperature or for too long. For perfect results, bake at 160°C (140°C fan) and remove from the oven when the filling still has a slight wobble in the centre. The custard will continue setting as it cools, resulting in a silky-smooth finish.
Absolutely! While a food processor makes quick work of the pastry, you can use the traditional rubbing-in method with your fingertips. Simply rub the cold butter into the flour until it resembles breadcrumbs, then add the remaining ingredients and gently bring together with minimal handling.
Achieve a crisp base by thoroughly blind baking your pastry case. Line the chilled pastry with parchment and baking beans, bake for 15 minutes, then remove the beans and paper and bake for another 5-7 minutes until the base is dry and lightly golden before adding your custard filling.
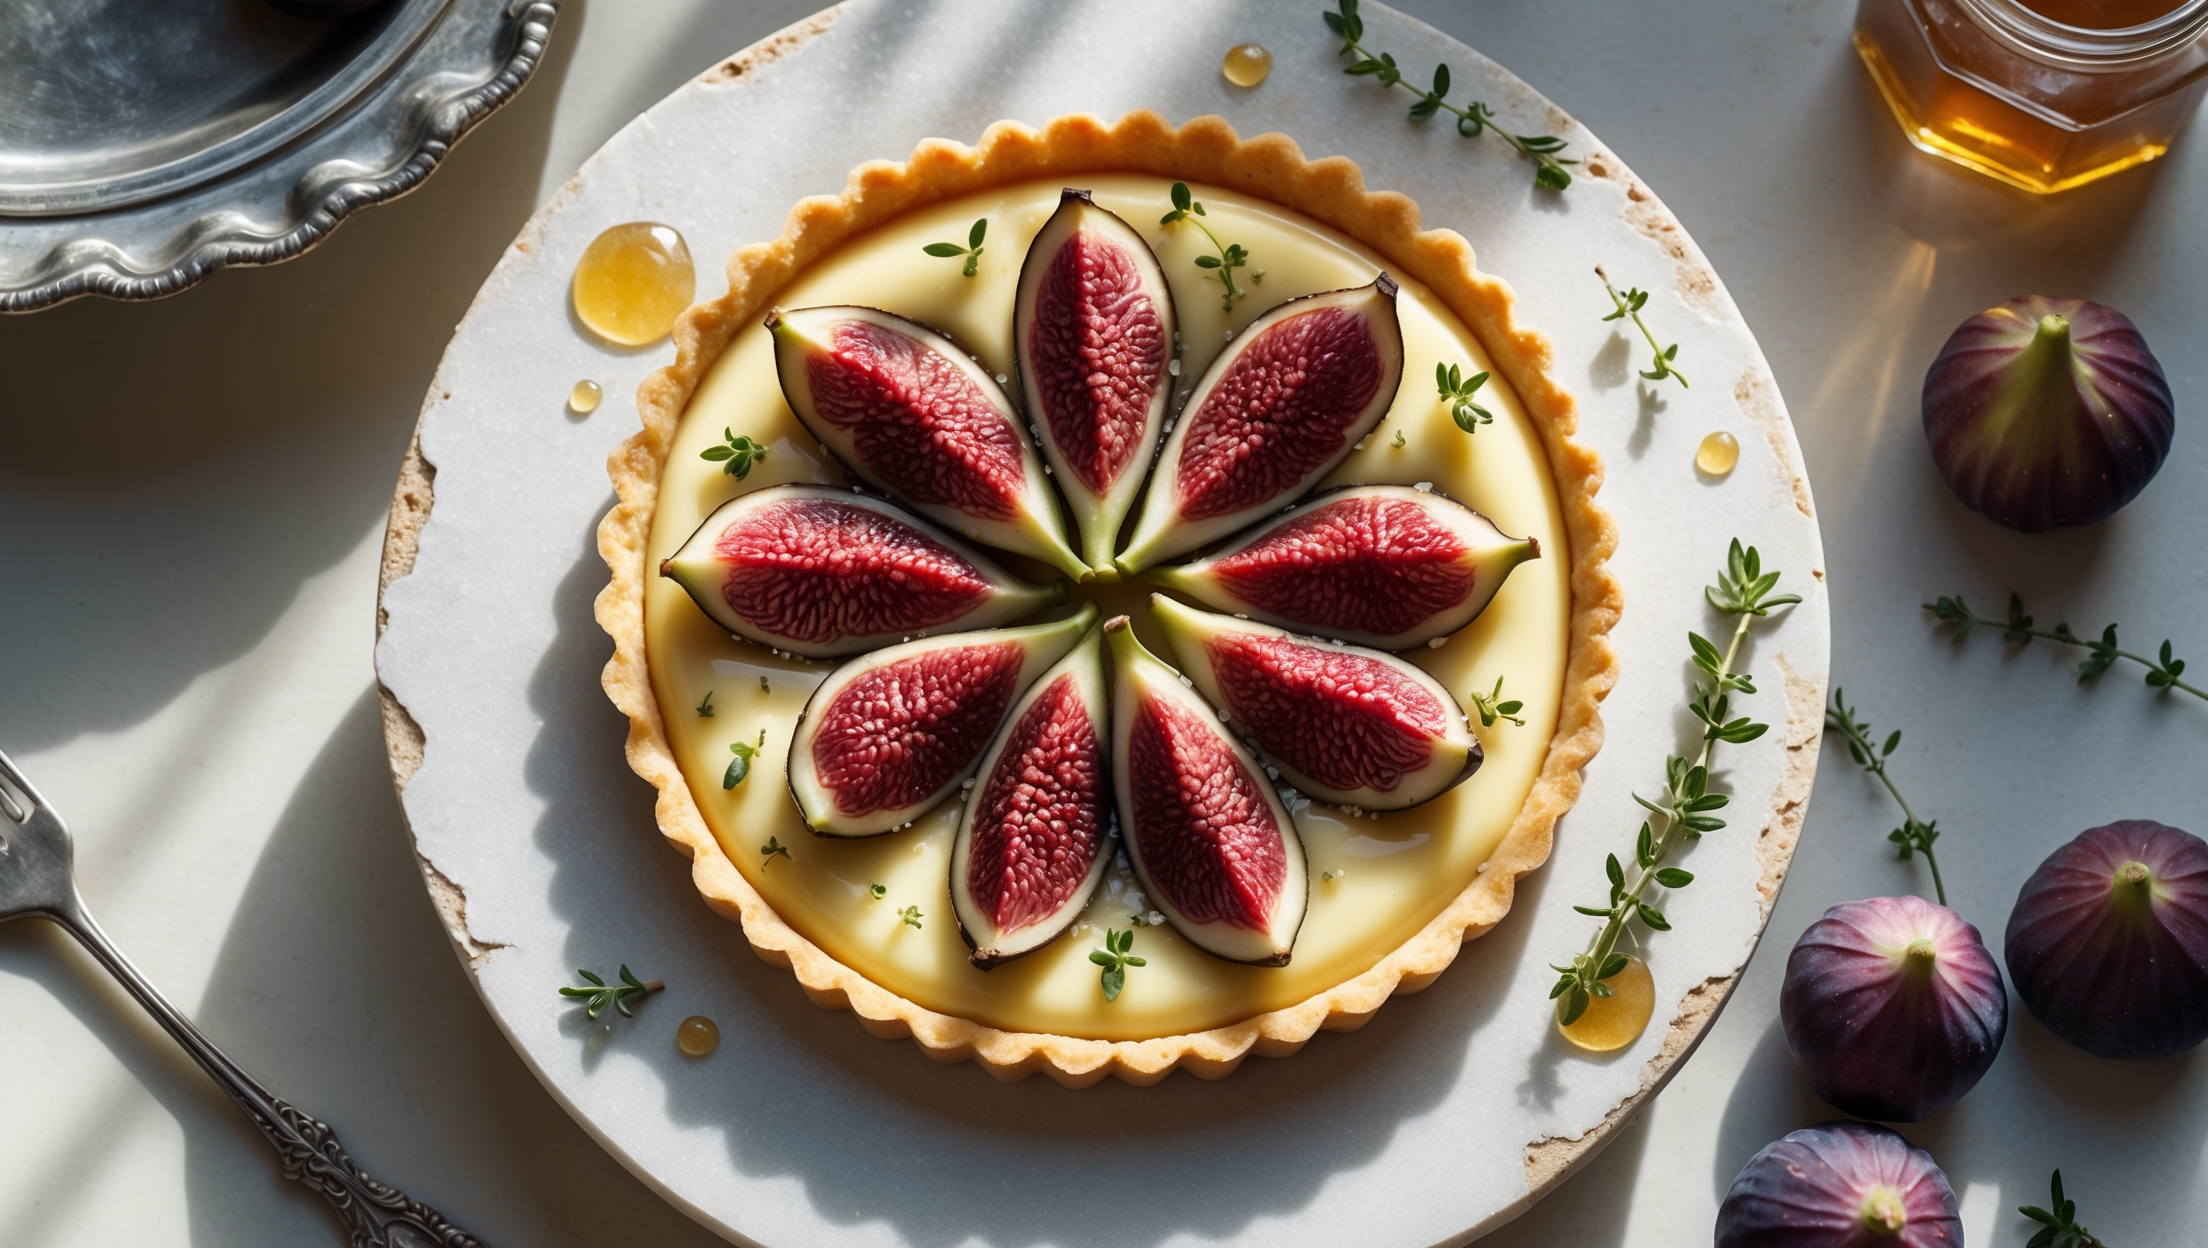
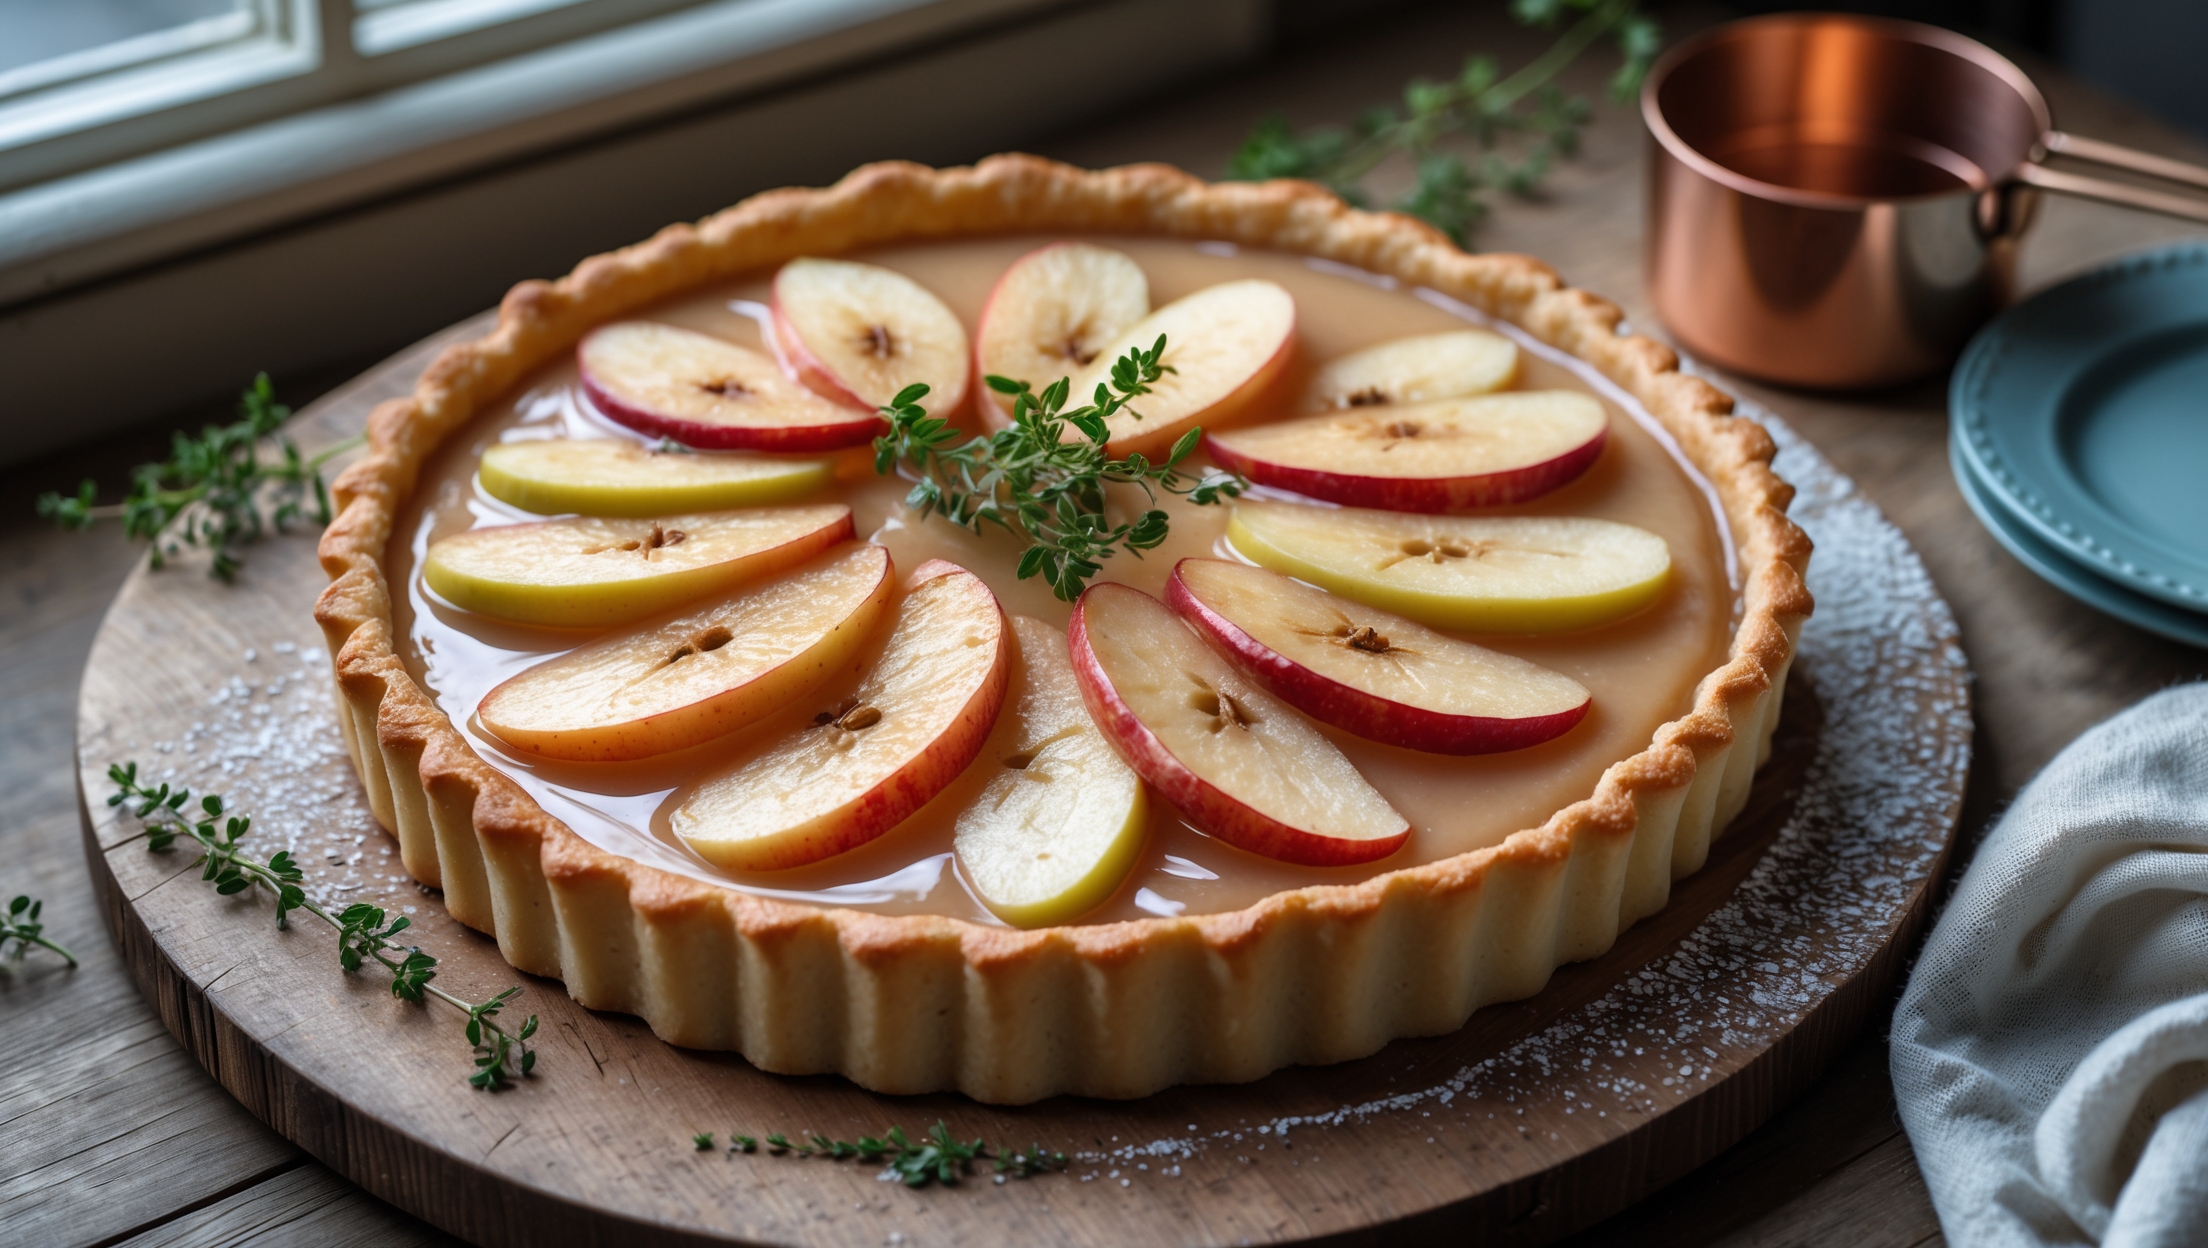
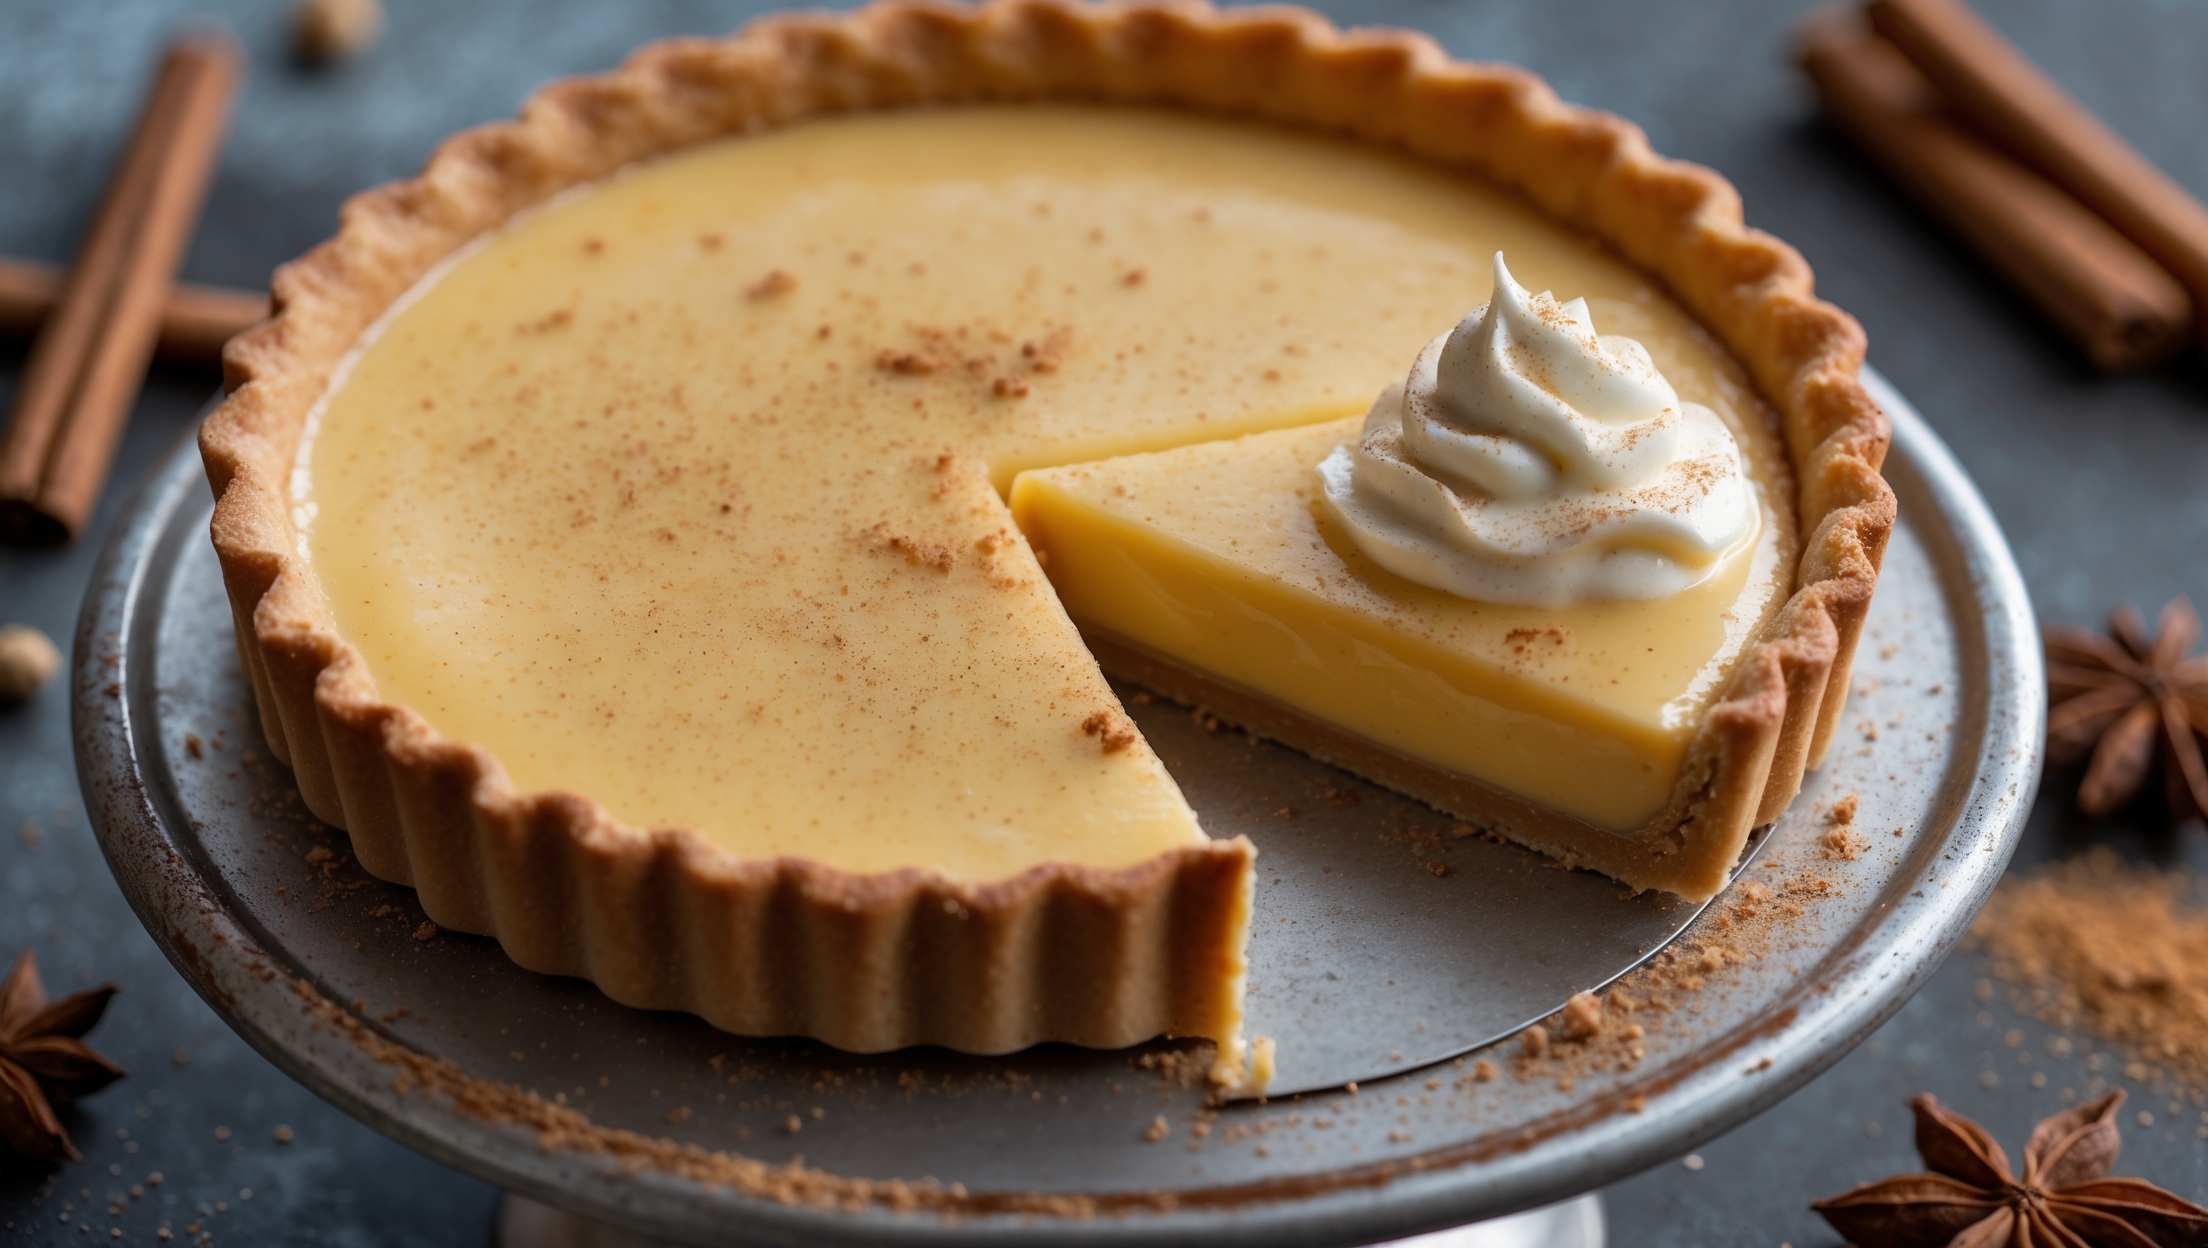
Custard Tarts
Try following recommended recipes