Directions
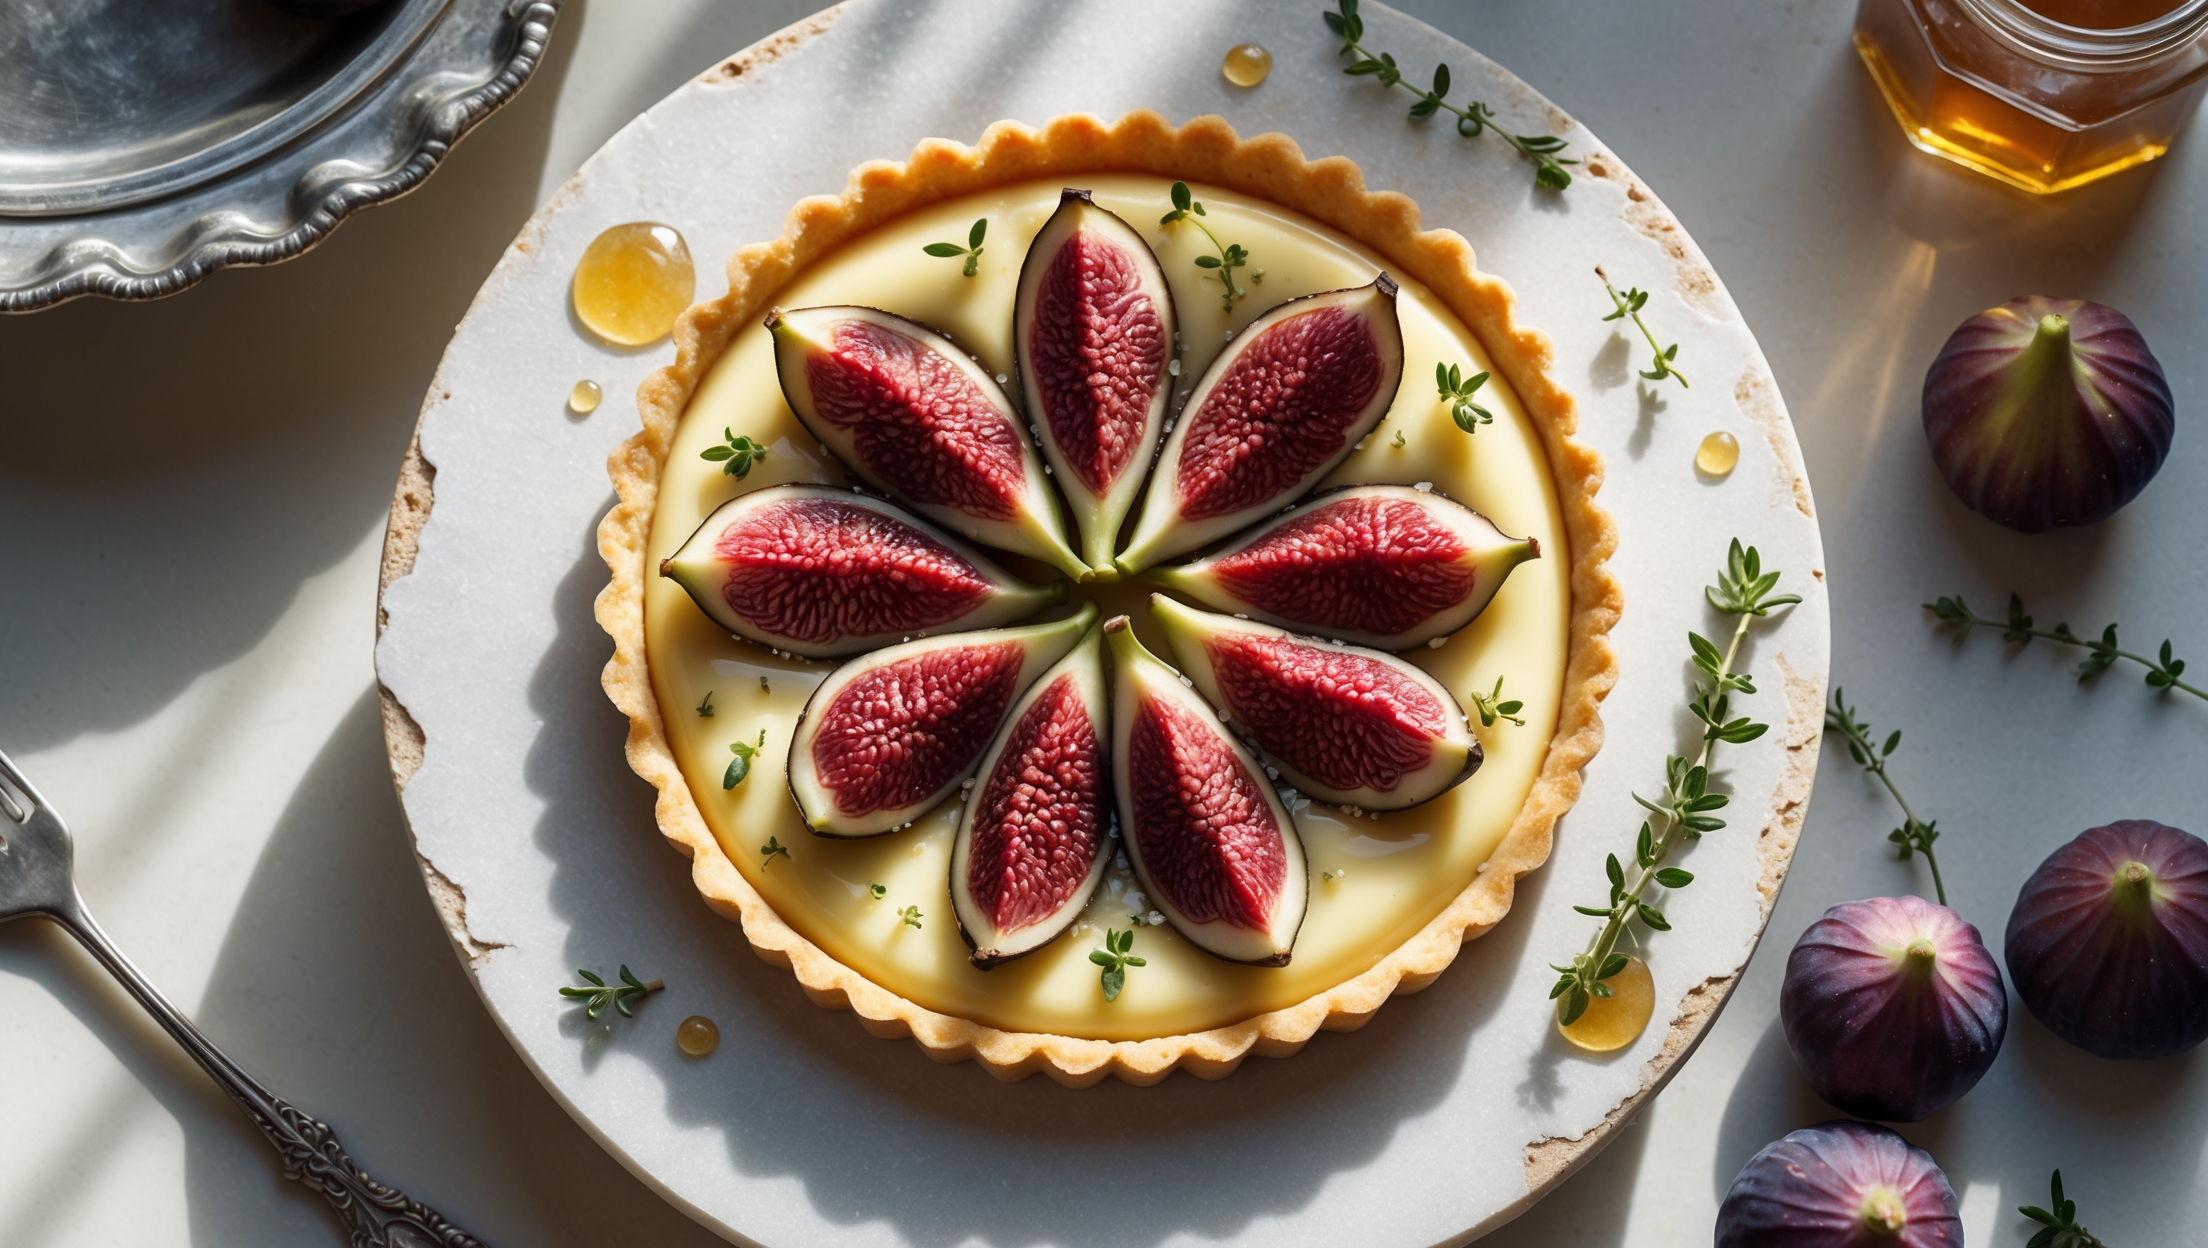
<ol class="no-list-style"><li class="MethodStepper"><h4 class="step-title">Step 1</h4>Begin by making the pastry. Place the flour, salt and butter in a food processor and pulse until the mixture resembles fine breadcrumbs (alternatively, rub the butter into the flour using your fingertips). The small pieces of butter will create pockets of steam during baking, resulting in a flaky texture.</li><li class="MethodStepper"><h4 class="step-title">Step 2</h4>Add the icing sugar and pulse briefly to combine. Add the egg yolk and enough ice-cold water to bring the dough together (cold ingredients prevent the butter from melting, which is crucial for a crisp pastry). The dough should just come together but not be sticky.</li><li class="MethodStepper"><h4 class="step-title">Step 3</h4>Turn the dough onto a lightly floured surface, shape into a disc, wrap in cling film and refrigerate for at least 30 minutes. This resting period allows the gluten to relax, preventing shrinkage during baking.</li><li class="MethodStepper"><h4 class="step-title">Step 4</h4>Preheat your oven to 180°C (160°C fan/350°F/Gas 4). Roll out the chilled pastry on a floured surface to about 3mm thickness, making it large enough to line your tart tin. Be gentle but work quickly to keep the pastry cool.</li><li class="MethodStepper"><h4 class="step-title">Step 5</h4>Carefully lift the pastry over the tin and press it into the corners without stretching. Trim the excess leaving a slight overhang (this allows for shrinkage). Prick the base with a fork to prevent air bubbles forming, then chill for another 15 minutes.</li><li class="MethodStepper"><h4 class="step-title">Step 6</h4>Line the chilled pastry case with baking parchment and fill with baking beans or rice. Blind bake for 15 minutes, then remove the beans and parchment and return to the oven for another 10-12 minutes until the pastry is golden and dry to the touch. The blind baking ensures your pastry base is fully cooked and doesn't become soggy when filled.</li><li class="MethodStepper"><h4 class="step-title">Step 7</h4>While the pastry cools, prepare the custard. Pour the milk into a saucepan, add the vanilla pod and seeds. Heat gently until it just begins to simmer, then remove from heat and allow the vanilla to infuse for 10 minutes before removing the pod.</li><li class="MethodStepper"><h4 class="step-title">Step 8</h4>In a bowl, whisk the egg yolks, sugar, and cornflour until pale and thick. This aeration helps create a lighter custard. Gradually add the warm milk, whisking constantly to prevent lumps forming.</li><li class="MethodStepper"><h4 class="step-title">Step 9</h4>Return the mixture to the pan and cook over medium heat, stirring continuously with a wooden spoon or silicone spatula. The custard will thicken suddenly around 82-85°C – this is the temperature at which the egg proteins and cornflour fully set. Keep stirring until the custard coats the back of your spoon and holds a line when you run your finger through it.</li><li class="MethodStepper"><h4 class="step-title">Step 10</h4>Remove from heat and stir in the butter until melted and incorporated, which adds richness and a glossy finish. Transfer to a bowl, cover the surface directly with cling film to prevent a skin forming, and allow to cool to room temperature.</li><li class="MethodStepper"><h4 class="step-title">Step 11</h4>Once both the pastry case and custard are completely cool, give the custard a good whisk to loosen it, then spoon into the pastry case, spreading evenly with an offset spatula. Chill in the refrigerator for at least 1 hour to set the custard firmly.</li><li class="MethodStepper"><h4 class="step-title">Step 12</h4>For the topping, slice most of the strawberries and arrange them decoratively over the custard surface, starting from the outside and working your way in. Reserve a few beautiful whole berries for the center for visual impact.</li><li class="MethodStepper"><h4 class="step-title">Step 13</h4>Warm the strawberry jam with the water in a small saucepan until runny. Strain if necessary, then use a pastry brush to gently glaze the strawberries. This glaze not only makes the fruit shine beautifully but also creates a protective barrier that keeps the berries fresh longer.</li><li class="MethodStepper"><h4 class="step-title">Step 14</h4>Return to the refrigerator for at least 30 minutes to set the glaze and allow the flavors to meld. Don't leave it too long before serving (ideally within 24 hours) as the moisture from the fruit will eventually soften the pastry.</li><li class="MethodStepper"><h4 class="step-title">Step 15</h4>When ready to serve, carefully remove from the tart tin and transfer to a serving plate. Garnish with fresh mint leaves if desired. For the cleanest slices, dip your knife in hot water and wipe clean between cuts. Your beautiful strawberry custard tart is ready to impress!</li></ol>