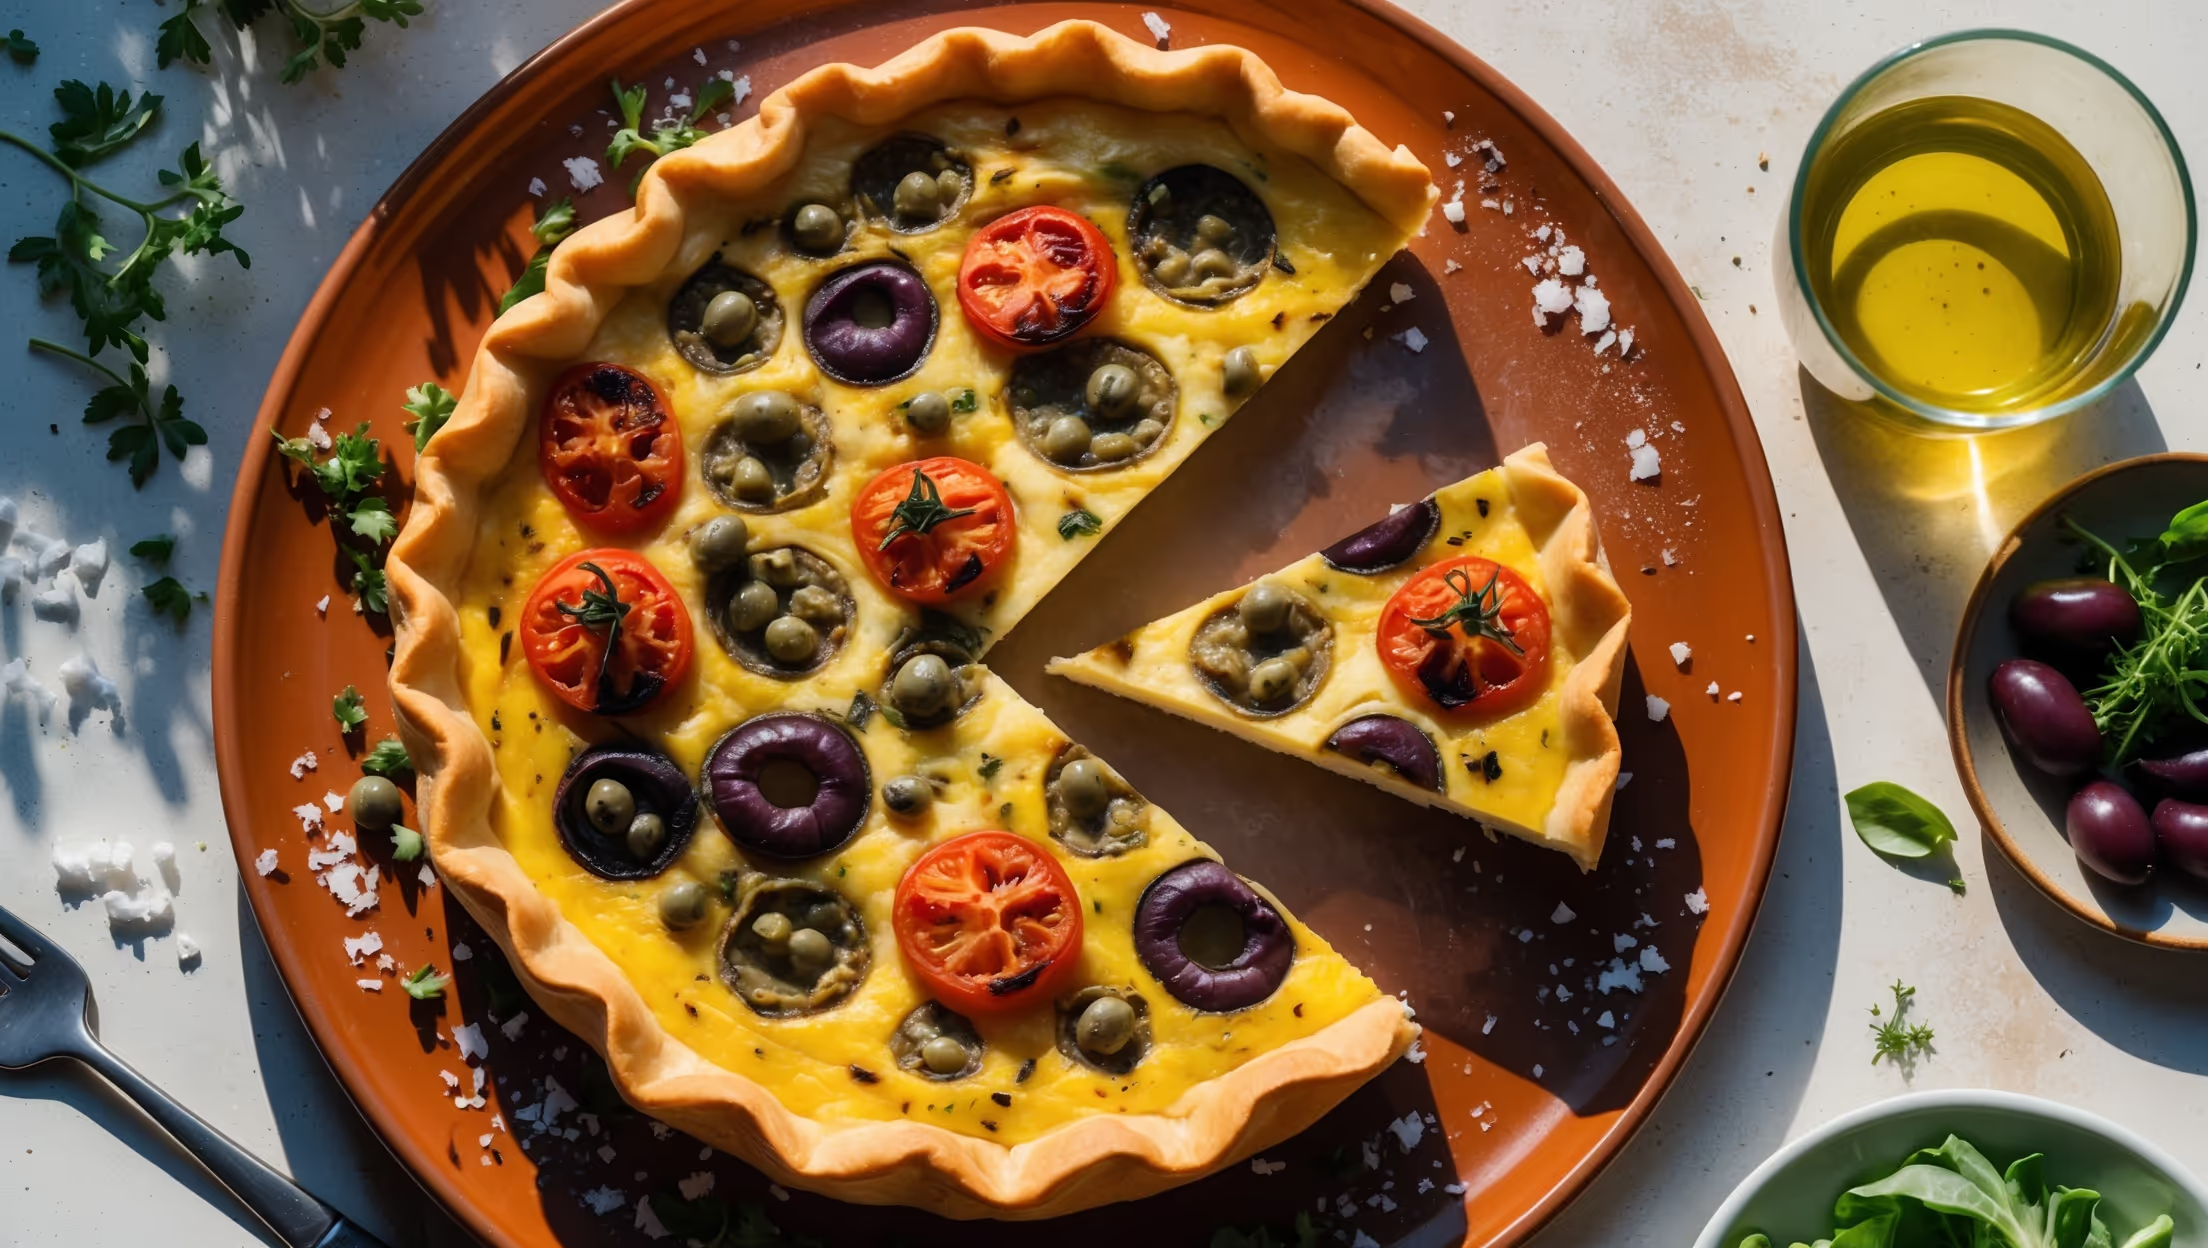
Directions
<ol class="no-list-style"><li class="MethodStepper"><h4 class="step-title">Step 1</h4>Make the pastry by placing the flour, salt and butter in a food processor and pulse until the mixture resembles fine breadcrumbs. Alternatively, rub the butter into the flour using your fingertips. This technique keeps the pastry flaky by preventing the butter from melting completely into the flour.</li><li class="MethodStepper"><h4 class="step-title">Step 2</h4>Add the ice-cold water gradually, 1 tablespoon at a time, pulsing or mixing gently until the dough just comes together. Cold water helps prevent the gluten in the flour from developing too much, which would make the pastry tough rather than tender.</li><li class="MethodStepper"><h4 class="step-title">Step 3</h4>Form the dough into a disk, wrap in cling film, and chill in the refrigerator for at least 30 minutes. This resting period allows the gluten to relax and the butter to firm up again, ensuring a better texture.</li><li class="MethodStepper"><h4 class="step-title">Step 4</h4>Preheat your oven to 190°C (170°C fan/gas mark 5). Roll out the chilled pastry on a lightly floured surface to about 3-4mm thickness, creating a circle large enough to line your tart tin with a slight overhang.</li><li class="MethodStepper"><h4 class="step-title">Step 5</h4>Carefully lift the pastry into the tin, pressing it gently into the fluted edges. Use a small piece of excess dough to push the pastry into the corners without tearing it. Trim any excessive overhanging pastry, leaving just a small amount to allow for shrinkage.</li><li class="MethodStepper"><h4 class="step-title">Step 6</h4>Line the pastry case with baking parchment and fill with baking beans or rice. Blind bake for 15 minutes, then remove the beans and parchment and bake for another 5-7 minutes until the base is lightly golden but not fully cooked. This partial baking ensures the bottom doesn't become soggy once filled.</li><li class="MethodStepper"><h4 class="step-title">Step 7</h4>While the pastry is baking, prepare the filling. Heat the olive oil in a large frying pan over medium heat. Add the sliced onion and cook gently for about 8-10 minutes until soft and translucent but not browned.</li><li class="MethodStepper"><h4 class="step-title">Step 8</h4>Add the minced garlic and sliced peppers to the pan, cooking for a further 5-7 minutes until the peppers have softened. Add the chorizo and cook for 2-3 minutes until it releases its oils and becomes slightly crisp. The fat from the chorizo will infuse the vegetables with a delicious smoky flavor.</li><li class="MethodStepper"><h4 class="step-title">Step 9</h4>Remove the vegetable and chorizo mixture from the heat and allow to cool slightly while you prepare the egg custard. This cooling step is crucial as adding hot filling to raw eggs could start cooking them prematurely.</li><li class="MethodStepper"><h4 class="step-title">Step 10</h4>In a large jug, whisk together the eggs, double cream, milk, smoked paprika, dried oregano, salt and pepper until fully combined. Stir in half of the grated cheese.</li><li class="MethodStepper"><h4 class="step-title">Step 11</h4>Spread the chorizo and vegetable mixture evenly over the base of the partially baked pastry case. Pour the egg mixture carefully over the filling, ensuring it's evenly distributed. Sprinkle the remaining cheese on top.</li><li class="MethodStepper"><h4 class="step-title">Step 12</h4>Lower the oven temperature to 170°C (150°C fan/gas mark 3) and bake the quiche for 30-35 minutes until the filling is just set with a slight wobble in the center. A lower temperature ensures even, gentle cooking that prevents the eggs from becoming rubbery.</li><li class="MethodStepper"><h4 class="step-title">Step 13</h4>Remove from the oven and allow to cool in the tin for 10-15 minutes before carefully removing. This cooling period allows the custard to set completely, making it easier to slice cleanly.</li><li class="MethodStepper"><h4 class="step-title">Step 14</h4>Sprinkle with fresh parsley if using, then slice and serve warm or at room temperature. The quiche can also be chilled and enjoyed cold the next day, when the flavors will have developed even further.</li></ol>