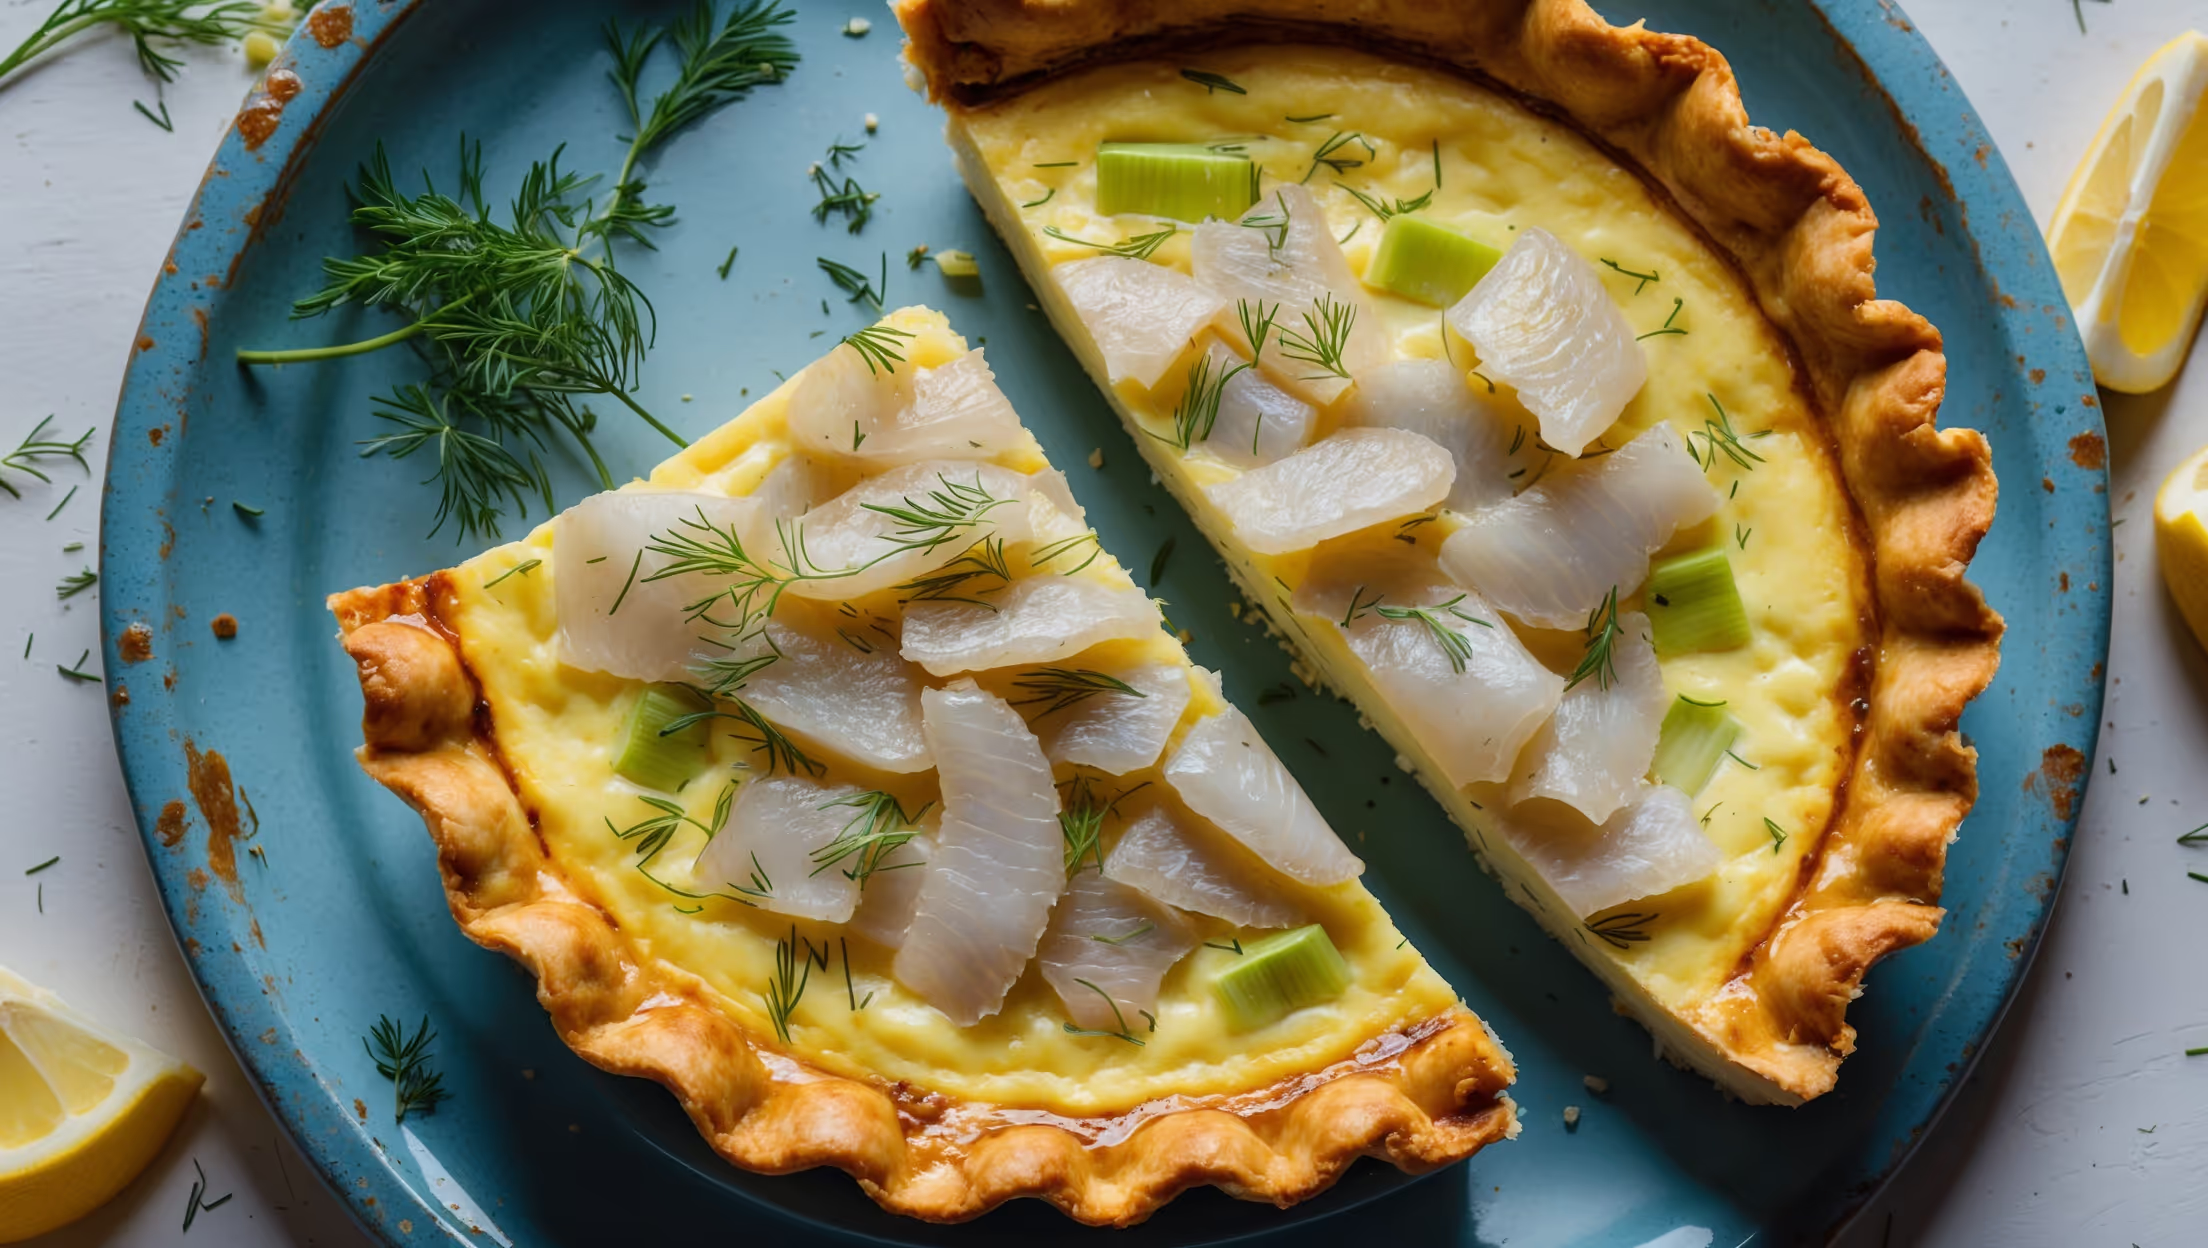
Directions
<ol class="no-list-style"><li class="MethodStepper"><h4 class="step-title">Step 1</h4>Start with the pastry. In a large bowl or food processor, combine the flour and salt. Add the cold cubed butter and rub with your fingertips (or pulse if using a processor) until the mixture resembles fine breadcrumbs. Working with cold butter is crucial as it creates steam pockets during baking, resulting in flaky layers.</li><li class="MethodStepper"><h4 class="step-title">Step 2</h4>Gradually add the ice-cold water, one tablespoon at a time, mixing until the dough just comes together into a ball. Be careful not to overwork the dough or add too much water as this will make your pastry tough. The dough should be slightly crumbly but hold together when pressed.</li><li class="MethodStepper"><h4 class="step-title">Step 3</h4>Flatten the dough into a disc, wrap in cling film, and chill in the refrigerator for at least 30 minutes. This resting period allows the gluten to relax and prevents shrinkage during baking.</li><li class="MethodStepper"><h4 class="step-title">Step 4</h4>Preheat your oven to 180°C (160°C fan/gas mark 4). On a lightly floured surface, roll out the chilled pastry to about 3-4mm thickness and large enough to line your tart tin with a little overhang. Carefully drape the pastry over your rolling pin to transfer it to the tin.</li><li class="MethodStepper"><h4 class="step-title">Step 5</h4>Gently press the pastry into the corners of the tin without stretching it. Trim the excess pastry leaving a small overhang to allow for shrinkage. Prick the base all over with a fork, then chill for another 15 minutes. This double-chilling process helps maintain the pastry shape during baking.</li><li class="MethodStepper"><h4 class="step-title">Step 6</h4>Line the chilled pastry case with baking parchment and fill with baking beans or rice. Blind bake for 15 minutes, then remove the beans and parchment and bake for a further 5 minutes until the base is just beginning to color but not fully cooked. The pastry should look dry but be only lightly golden.</li><li class="MethodStepper"><h4 class="step-title">Step 7</h4>While the pastry is baking, prepare your filling. In a frying pan over medium-low heat, gently cook the diced red onion until soft but not colored, about 5 minutes. Set aside to cool slightly. This pre-cooking removes the raw onion flavor that would otherwise dominate the delicate salmon.</li><li class="MethodStepper"><h4 class="step-title">Step 8</h4>In a large bowl, whisk together the eggs and double cream until well combined. Stir in the cooled onions, chopped dill, lemon zest, salt, and pepper. The lemon zest brightens the rich filling while complementing the salmon perfectly.</li><li class="MethodStepper"><h4 class="step-title">Step 9</h4>Arrange the smoked salmon pieces and small chunks of cream cheese evenly over the base of the partially baked pastry case. Scatter the capers over the top if using. The cream cheese will create delicious pockets of tanginess throughout the quiche.</li><li class="MethodStepper"><h4 class="step-title">Step 10</h4>Carefully pour the egg mixture over the salmon and cream cheese. Fill to about 5mm below the pastry rim to allow for expansion. If you have any pastry overhang, you can fold it inward slightly for a rustic look.</li><li class="MethodStepper"><h4 class="step-title">Step 11</h4>Bake the quiche in the preheated oven for 25-30 minutes until the filling is set with just a slight wobble in the center. It should be golden on top but not too dark. The quiche will continue cooking slightly as it cools, so don't worry if the center still has a gentle tremor.</li><li class="MethodStepper"><h4 class="step-title">Step 12</h4>Allow the quiche to cool in the tin for at least 15 minutes before removing. This resting period allows the filling to set properly and makes slicing cleaner. Garnish with extra fresh dill sprigs and serve warm or at room temperature for the best flavor.</li></ol>