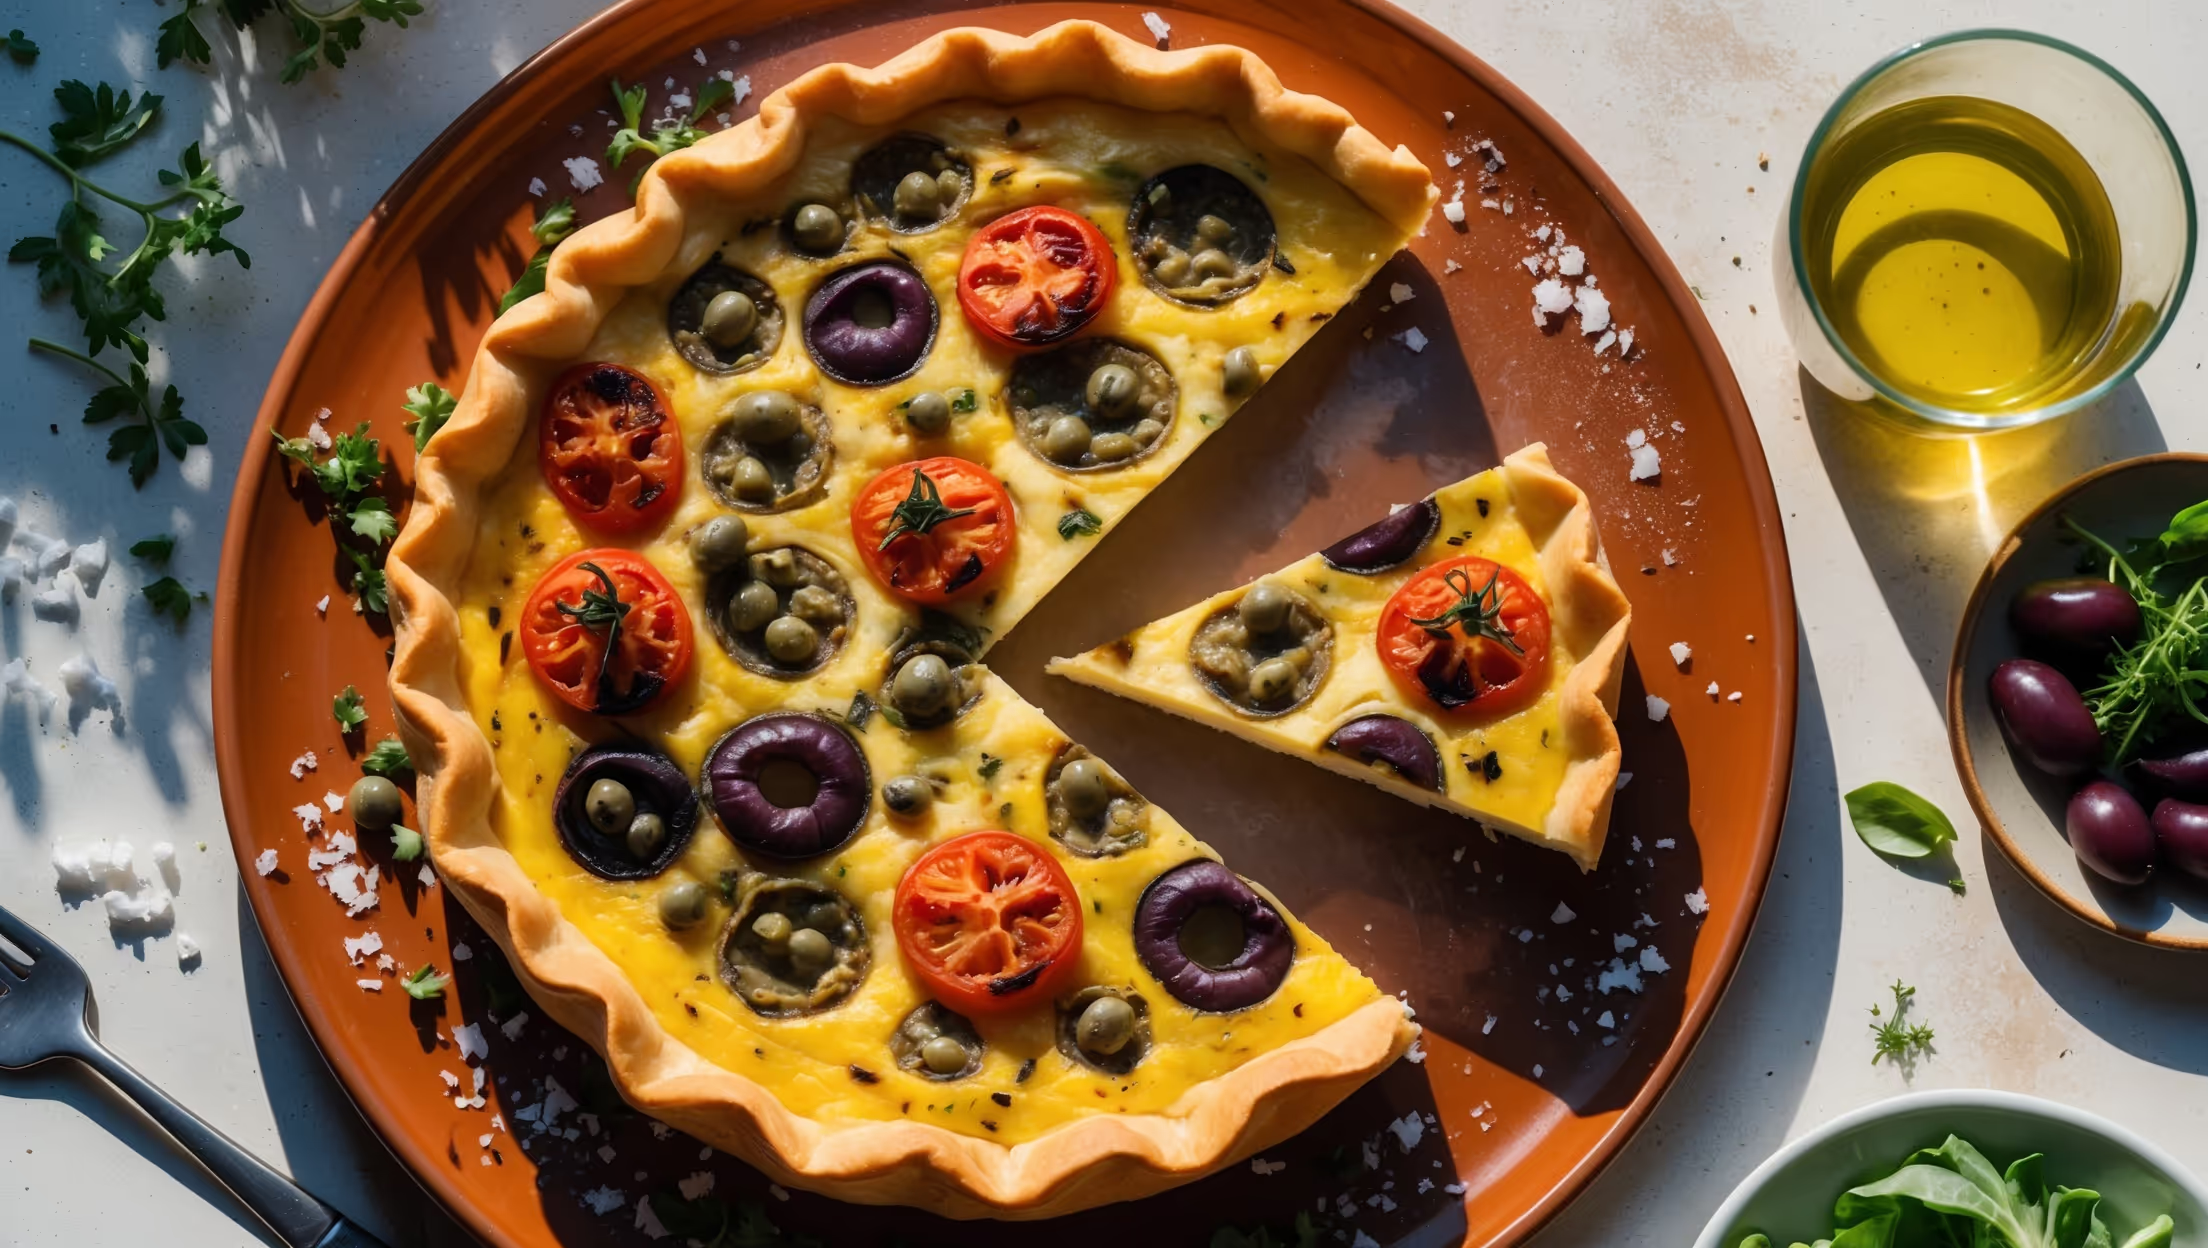
Directions
<ol class="no-list-style"><li class="MethodStepper"><h4 class="step-title">Step 1</h4>To make the pastry, place the flour and salt in a large bowl. Add the cold cubed butter and rub it into the flour using your fingertips until the mixture resembles fine breadcrumbs. Working with cold butter is crucial as it creates steam pockets during baking, resulting in a flakier crust.</li><li class="MethodStepper"><h4 class="step-title">Step 2</h4>Add the egg yolk and 2 tablespoons of ice-cold water, then mix with a knife to bring the dough together. If the mixture seems too dry, add the remaining tablespoon of water. Once the dough starts to come together, gently knead it into a smooth ball. Be careful not to overwork the dough as this will develop the gluten and make your pastry tough.</li><li class="MethodStepper"><h4 class="step-title">Step 3</h4>Flatten the dough into a disc, wrap in cling film, and refrigerate for at least 30 minutes. This resting period allows the gluten to relax and the butter to firm up, preventing shrinkage during baking.</li><li class="MethodStepper"><h4 class="step-title">Step 4</h4>Preheat your oven to 190°C (170°C fan). On a lightly floured surface, roll out the pastry to about 3-4mm thickness, making it large enough to line your tart tin with a slight overhang. Gently lift the pastry into the tin, pressing it into the corners without stretching it. Trim any excess, leaving about 1cm overhang to allow for shrinkage.</li><li class="MethodStepper"><h4 class="step-title">Step 5</h4>Line the pastry case with parchment paper and fill with baking beans or dried rice. Blind bake for 15 minutes, then remove the beans and paper and bake for a further 5-7 minutes until the base is just starting to color. The blind baking ensures your pastry cooks through completely, preventing the dreaded "soggy bottom".</li><li class="MethodStepper"><h4 class="step-title">Step 6</h4>While the pastry is baking, prepare the filling. Heat olive oil in a pan over medium heat and sauté the diced onion until soft and translucent, about 5 minutes. Add the garlic and cook for another minute until fragrant. Transfer to a plate to cool slightly.</li><li class="MethodStepper"><h4 class="step-title">Step 7</h4>In the same pan, quickly sauté the shrimp for 1-2 minutes until they just turn pink - they'll continue cooking in the quiche. Remove from heat, roughly chop two-thirds of the shrimp into bite-sized pieces, leaving some whole for visual appeal.</li><li class="MethodStepper"><h4 class="step-title">Step 8</h4>For the custard, whisk together the eggs, cream, and milk until well combined. Stir in the grated cheese, herbs, nutmeg, salt, pepper, and cayenne if using. The proteins in the eggs will set during baking, while the fat in the cream provides richness and helps prevent the eggs from curdling.</li><li class="MethodStepper"><h4 class="step-title">Step 9</h4>Scatter the onion mixture over the base of the pastry case, then arrange the chopped and whole shrimp evenly throughout. Carefully pour the custard mixture over the filling, making sure the herbs and shrimp are evenly distributed. Leave about 5mm from the top to prevent overflow.</li><li class="MethodStepper"><h4 class="step-title">Step 10</h4>Reduce the oven temperature to 180°C (160°C fan). Bake the quiche for 25-30 minutes until the filling is just set with a slight wobble in the center. The residual heat will continue cooking the custard as it cools. If the pastry edges are browning too quickly, cover them with foil.</li><li class="MethodStepper"><h4 class="step-title">Step 11</h4>Allow the quiche to cool in the tin for at least 20 minutes before removing. This resting time allows the custard to set completely, making it easier to slice cleanly. Serve warm or at room temperature with a crisp green salad. The quiche will keep refrigerated for up to 3 days and can be gently reheated in a 160°C oven for 10 minutes.</li></ol>