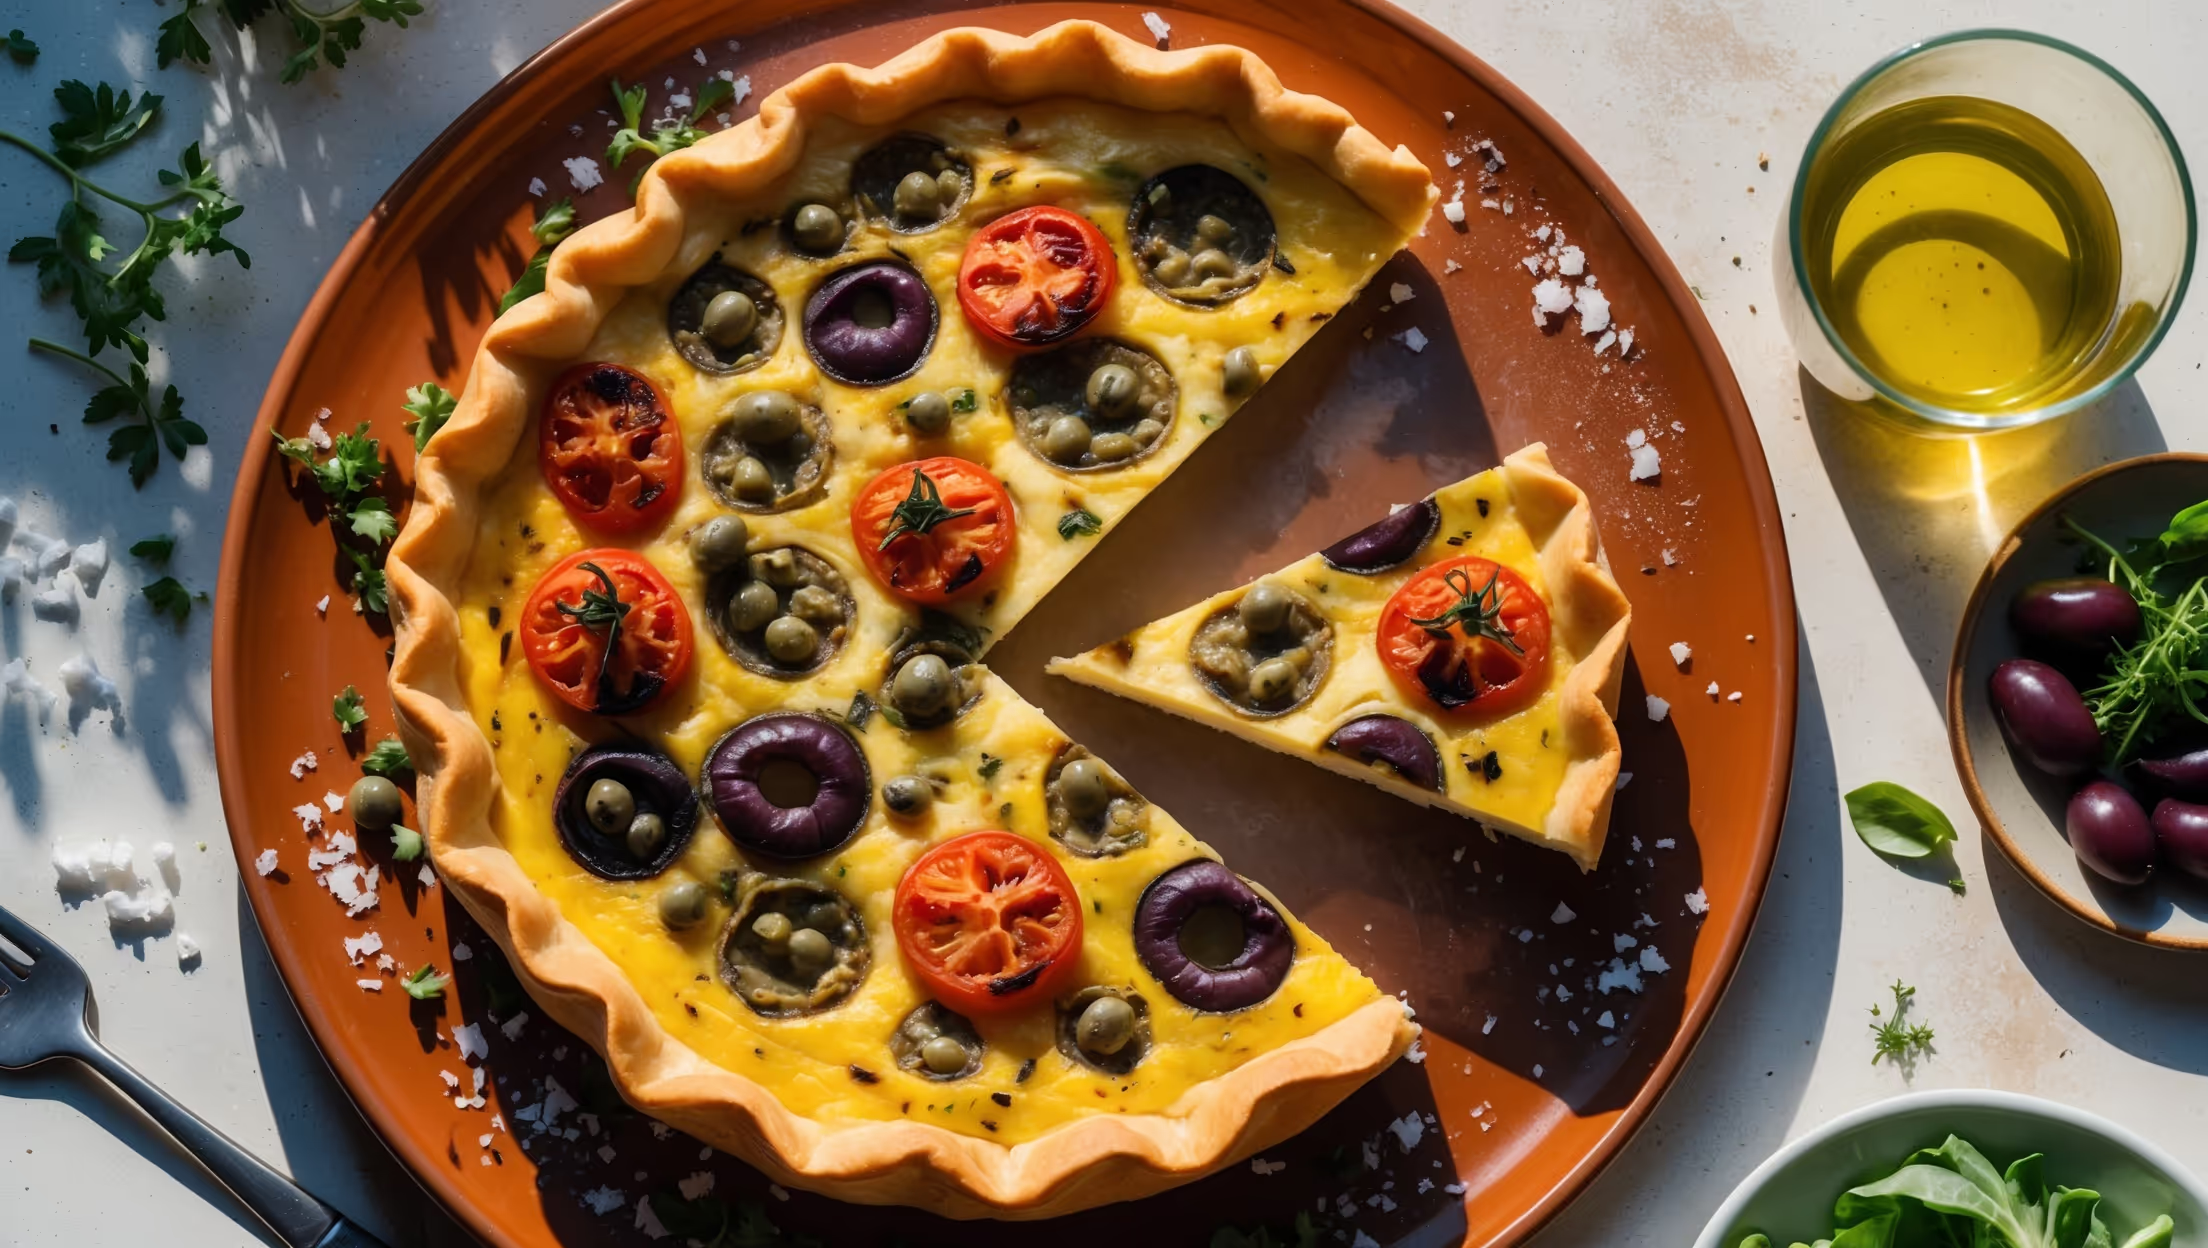
Directions
<ol class="no-list-style"><li class="MethodStepper"><h4 class="step-title">Step 1</h4>Preheat your oven to 200°C (180°C fan). To make the pastry, place the flour, butter and salt in a food processor and pulse until the mixture resembles fine breadcrumbs (alternatively, rub the butter into the flour with your fingertips). Add cold water, one tablespoon at a time, pulsing in between, until the dough just comes together. The correct hydration is crucial here – too dry and the pastry will crack, too wet and it'll be tough. Wrap the dough in cling film and refrigerate for at least 30 minutes. Cold pastry is easier to work with and produces a flakier texture as the cold butter creates steam pockets during baking.</li><li class="MethodStepper"><h4 class="step-title">Step 2</h4>While the pastry chills, prepare the vegetables. Toss the sliced peppers, courgette, and red onion with olive oil, thyme, salt and pepper on a large baking sheet. Spread them out in a single layer – overcrowding will cause them to steam rather than roast. Bake for 25-30 minutes until the vegetables are tender and beginning to caramelize at the edges. This caramelization develops complex flavor compounds through Maillard reactions, adding sweetness and depth to your quiche.</li><li class="MethodStepper"><h4 class="step-title">Step 3</h4>Roll out the chilled pastry on a lightly floured surface to about 3-4mm thickness, making it large enough to line your tart tin with a little overhang. Carefully drape the pastry over your rolling pin to transfer it to the tin, then gently press it into the corners without stretching (stretching leads to shrinkage). Trim the excess, leaving a 1cm overhang (this allows for shrinkage). Prick the base all over with a fork and return to the refrigerator for 15 minutes. This chilling relaxes the gluten and helps prevent shrinkage.</li><li class="MethodStepper"><h4 class="step-title">Step 4</h4>Reduce the oven temperature to 190°C (170°C fan). Line the chilled pastry case with baking parchment and fill with baking beans or dried rice. Blind bake for 15 minutes, then remove the beans and parchment and bake for a further 5-7 minutes until the base is just beginning to color. This creates a moisture barrier that prevents the dreaded "soggy bottom." Trim any remaining overhang with a sharp knife.</li><li class="MethodStepper"><h4 class="step-title">Step 5</h4>Reduce the oven temperature to 180°C (160°C fan). In a large bowl, whisk together the eggs, cream, milk, salt, pepper, and nutmeg until well combined. The protein structure of the eggs combined with the fat from the dairy creates a custard that will set to a silky texture when baked at the right temperature.</li><li class="MethodStepper"><h4 class="step-title">Step 6</h4>Scatter half the grated cheese over the base of the pastry case, then arrange the roasted vegetables evenly. Pour the egg mixture carefully over the vegetables – pour slowly from the center to avoid disturbing your arrangement. Sprinkle the remaining cheese on top.</li><li class="MethodStepper"><h4 class="step-title">Step 7</h4>Place the quiche on a baking sheet (to catch any potential leaks) and bake for 25-30 minutes until the filling is just set with a slight wobble in the center. A perfectly baked quiche should tremble like jelly when gently shaken – if it ripples like a liquid, it needs more time. The residual heat will continue cooking it as it cools. Remember, an overcooked quiche becomes rubbery as the proteins in the eggs tighten too much.</li><li class="MethodStepper"><h4 class="step-title">Step 8</h4>Allow the quiche to cool in its tin for at least 15 minutes before removing. This resting period allows the proteins to set completely and makes slicing cleaner. Serve warm or at room temperature for the best flavor – refrigeration can dull the taste. Garnish with fresh herbs if desired. The quiche will keep for 3-4 days refrigerated or can be frozen for up to 2 months.</li></ol>