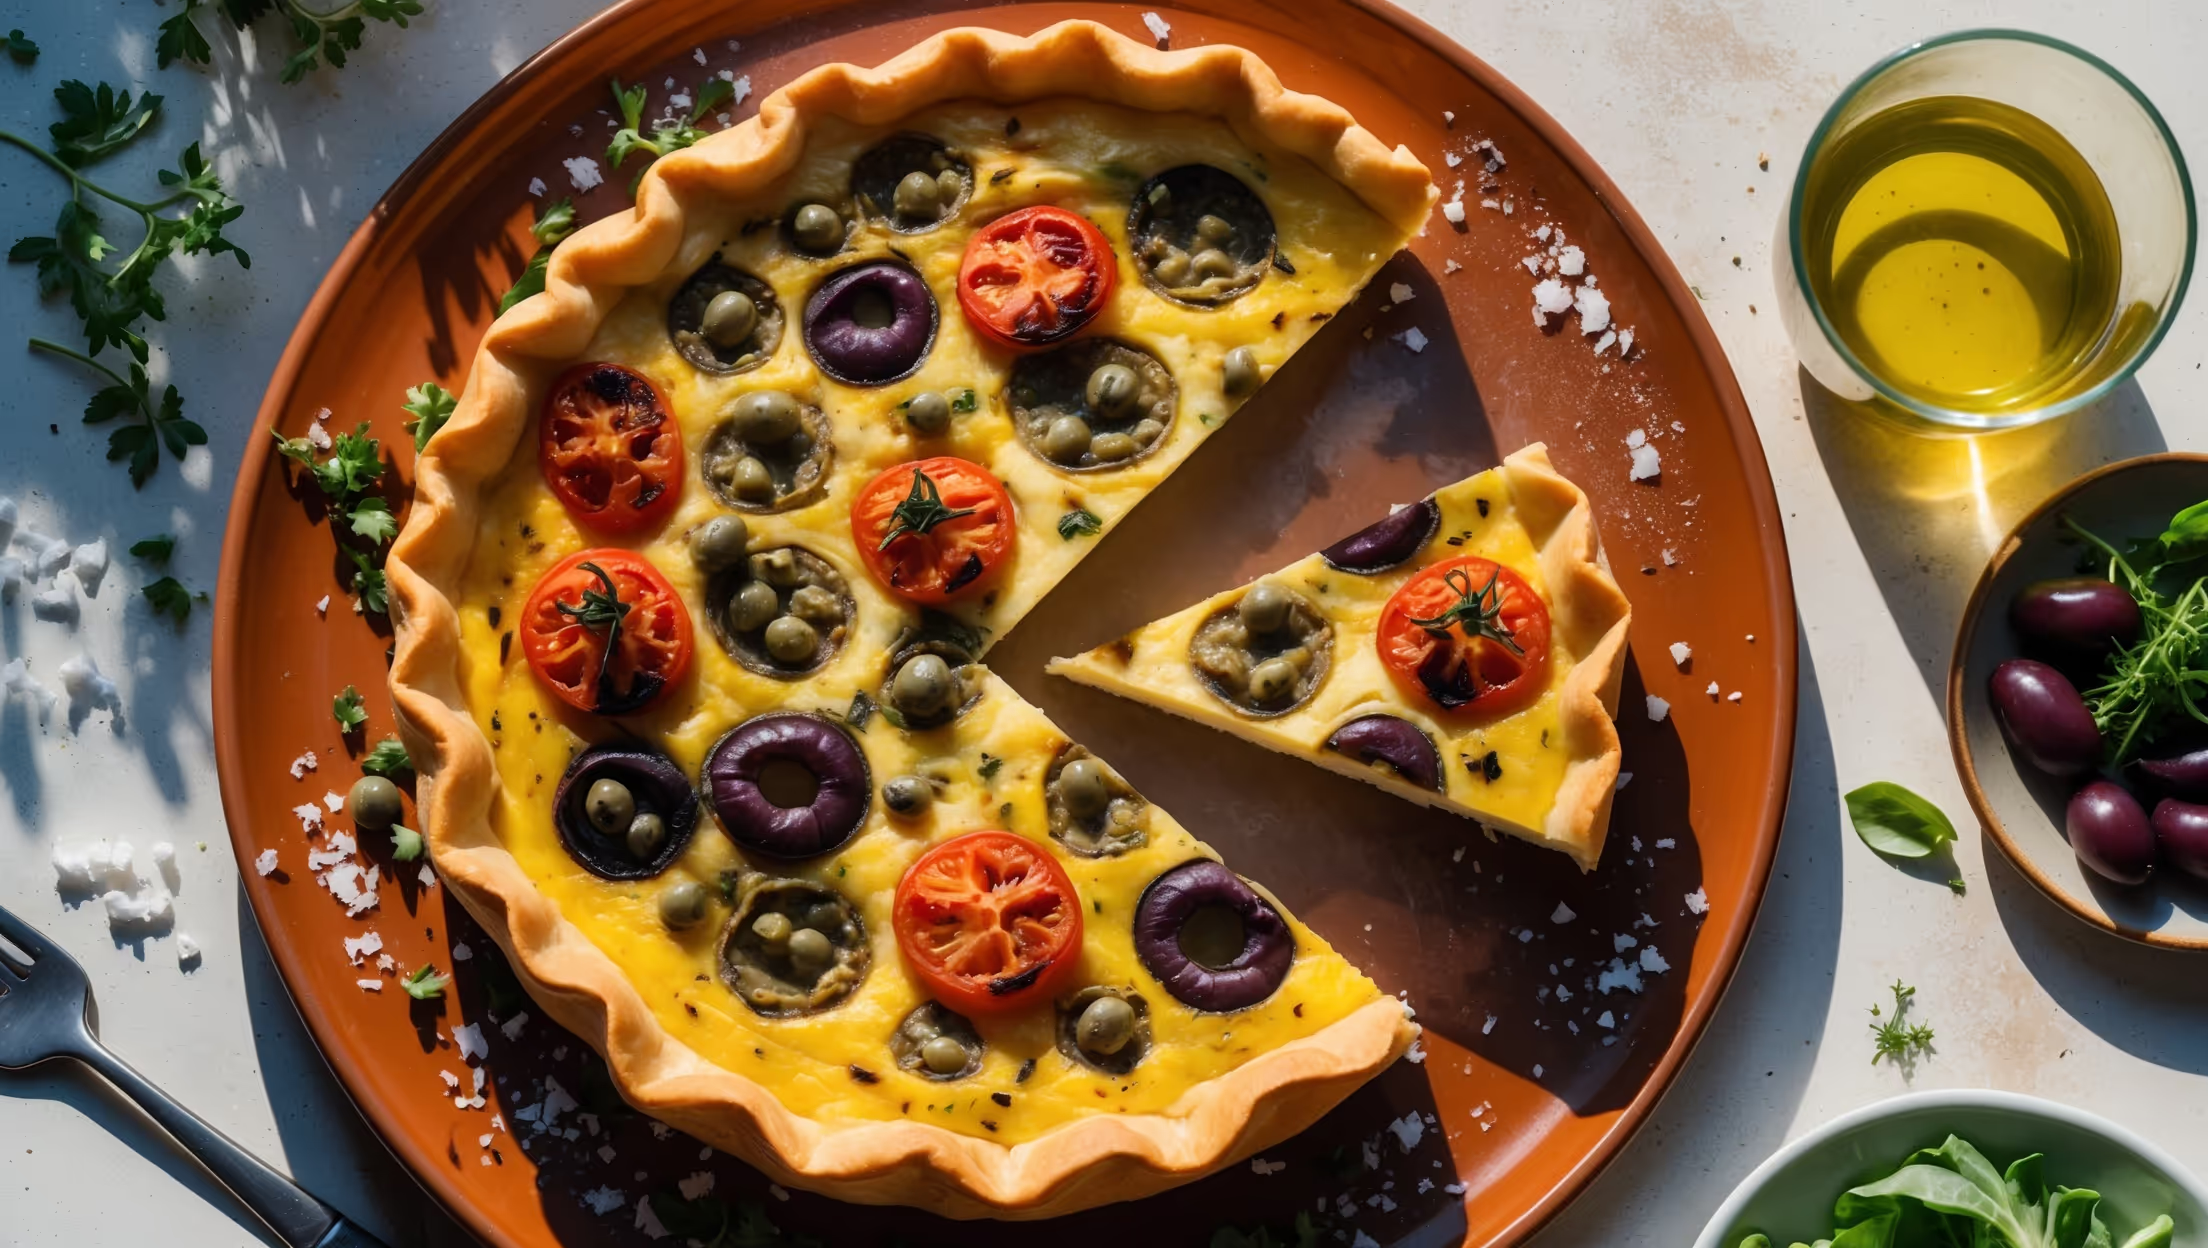
Directions
<ol class="no-list-style"><li class="MethodStepper"><h4 class="step-title">Step 1</h4>Preheat your oven to 180°C. To roast the garlic, slice the top off each bulb to expose the cloves, place them on a sheet of aluminum foil, drizzle with olive oil, and wrap tightly. Roast for 45 minutes until cloves are golden and butter-soft. This slow roasting transforms the garlic's sharp flavor into a sweet, caramelized delight. Set aside to cool.</li><li class="MethodStepper"><h4 class="step-title">Step 2</h4>While the garlic roasts, prepare your pastry. In a large bowl, combine flour and salt, then add the cold cubed butter. Using your fingertips, rub the butter into the flour until the mixture resembles breadcrumbs (keeping ingredients cold prevents the butter from melting, which is essential for a flaky crust). Gradually add ice water, one tablespoon at a time, mixing until the dough just comes together – be careful not to overwork it, as this develops gluten and toughens the pastry.</li><li class="MethodStepper"><h4 class="step-title">Step 3</h4>Form the dough into a disc, wrap in cling film and chill in the refrigerator for at least 30 minutes. This resting period allows the gluten to relax and the butter to firm up, ensuring your pastry will remain flaky when baked.</li><li class="MethodStepper"><h4 class="step-title">Step 4</h4>Increase oven temperature to 190°C. Roll the chilled pastry on a lightly floured surface to a 30cm circle about 3mm thick. Carefully transfer to your tart pan, gently pressing into the edges. Trim excess dough, leaving a slight overhang which will help prevent shrinkage. Prick the base all over with a fork (this prevents air bubbles from forming).</li><li class="MethodStepper"><h4 class="step-title">Step 5</h4>Line the pastry case with parchment paper and fill with baking beans or pie weights. Blind bake for 15 minutes, then remove the paper and weights and bake for another 5-7 minutes until the base is just beginning to color. This pre-baking ensures your crust won't become soggy when filled with the custard.</li><li class="MethodStepper"><h4 class="step-title">Step 6</h4>While the pastry cools slightly, prepare your filling. Squeeze the roasted garlic cloves from their skins into a bowl and break them up gently with a fork. In a separate large bowl, whisk together eggs, cream, and milk until well combined. The high fat content in the cream creates a silky, rich custard texture.</li><li class="MethodStepper"><h4 class="step-title">Step 7</h4>Stir the thyme, black pepper, nutmeg, and salt into the egg mixture. These herbs and spices complement both the sweet garlic and tangy goat cheese without overpowering them. Reduce oven temperature to 170°C.</li><li class="MethodStepper"><h4 class="step-title">Step 8</h4>Scatter the roasted garlic cloves evenly over the pastry base, then sprinkle three-quarters of the crumbled goat cheese on top. Pour the egg mixture carefully over everything, then dot the remaining goat cheese on top – this creates beautiful pockets of tangy cheese in the finished quiche.</li><li class="MethodStepper"><h4 class="step-title">Step 9</h4>Place the tart pan on a baking sheet (to catch any potential overflow) and bake for 35-40 minutes until the filling is just set with a slight wobble in the center. The quiche will continue cooking slightly as it cools. Look for a golden surface with puffed edges that have just begun to brown.</li><li class="MethodStepper"><h4 class="step-title">Step 10</h4>Allow the quiche to cool for at least 15 minutes before removing from the pan and slicing. This resting time lets the custard fully set for clean slices. Serve warm or at room temperature for the fullest flavor. The quiche can be covered and refrigerated for up to 3 days, or frozen for up to 1 month.</li></ol>