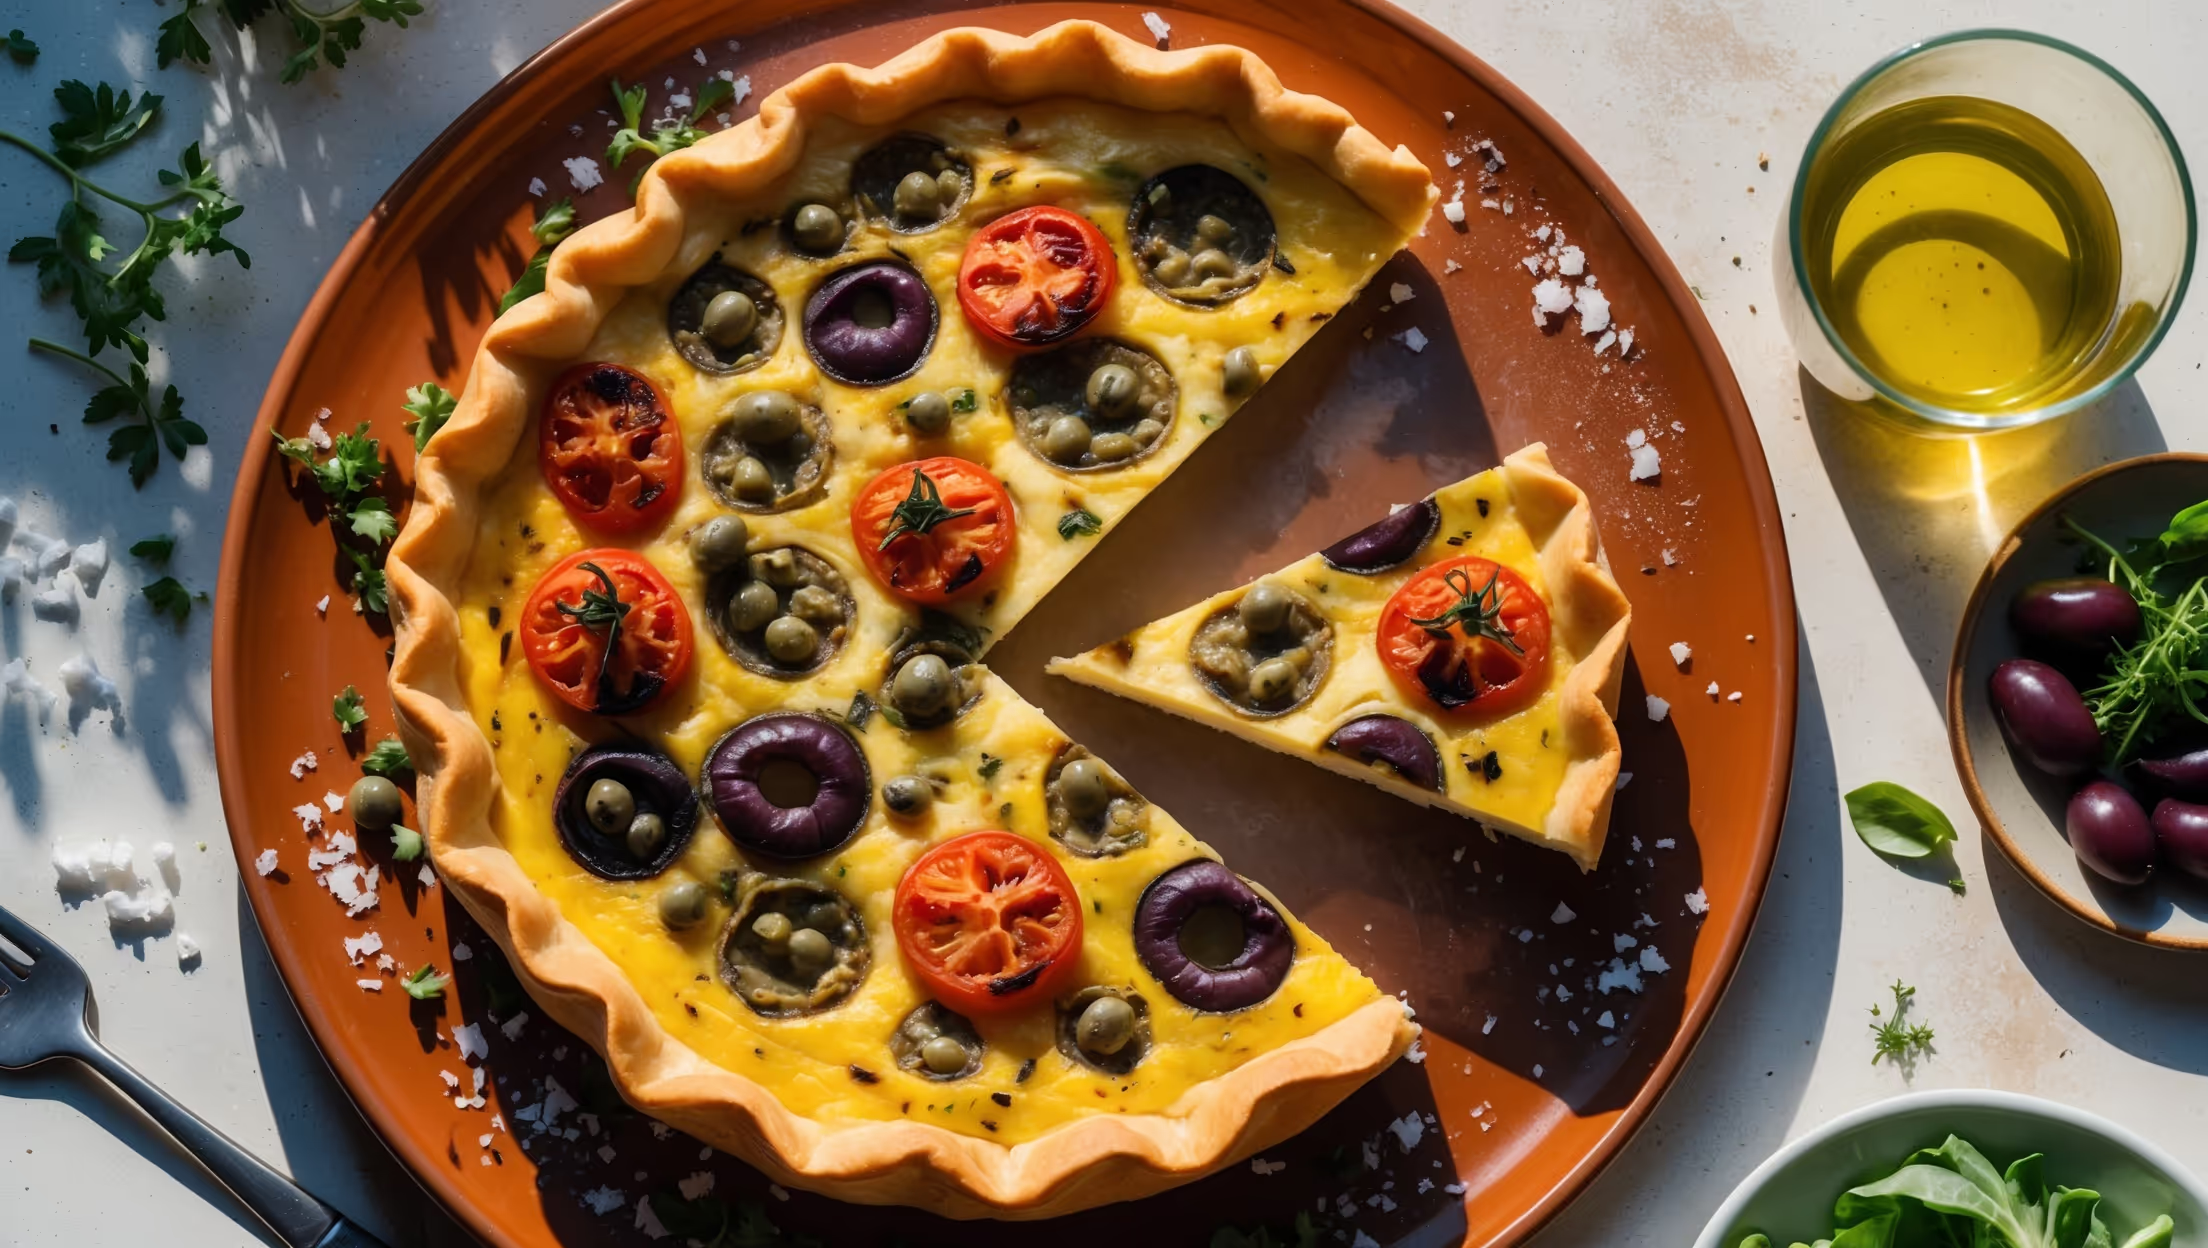
Directions
<ol class="no-list-style"> <li class="MethodStepper"> <h4 class="step-title">Step 1</h4> Start by making the pastry. Place the flour and salt in a large bowl or food processor. Add the cold cubed butter and rub in using your fingertips (or pulse in the processor) until the mixture resembles fine breadcrumbs. The cold butter creates pockets of steam during baking, resulting in a flaky texture. </li> <li class="MethodStepper"> <h4 class="step-title">Step 2</h4> Mix the egg yolk with 2 tablespoons of ice-cold water. Gradually add to the flour mixture, stirring with a knife until the dough just comes together. Add the remaining water only if needed – the dough should be firm but not sticky. Shape into a disc, wrap in cling film, and chill for at least 30 minutes. This resting time relaxes the gluten, preventing shrinkage during baking. </li> <li class="MethodStepper"> <h4 class="step-title">Step 3</h4> Preheat your oven to 190°C (170°C fan/375°F). Roll out the chilled pastry on a lightly floured surface to about 3-4mm thickness, making it large enough to line your tart tin with some overhang. Carefully transfer to the tin, gently pressing into the corners without stretching. Trim the excess, leaving a slight overhang to allow for shrinkage. </li> <li class="MethodStepper"> <h4 class="step-title">Step 4</h4> Prick the base several times with a fork, then line with baking parchment and fill with baking beans or rice. Blind bake for 15 minutes, then remove the beans and parchment and bake for a further 5 minutes until the base is lightly golden. This crucial step ensures your crust stays crisp despite the wet filling. </li> <li class="MethodStepper"> <h4 class="step-title">Step 5</h4> While the pastry case is baking, prepare your filling. In a large bowl, whisk the eggs until well combined. Add the cream, milk, salt, pepper, and nutmeg, whisking until smooth. The nutmeg adds a subtle warmth that complements the herbs beautifully. </li> <li class="MethodStepper"> <h4 class="step-title">Step 6</h4> In a separate bowl, mix the ricotta with the minced garlic, chopped herbs, and half of the grated Gruyère. Stir gently until just combined – the ricotta should maintain some texture rather than becoming completely smooth. This creates pockets of creamy richness in the finished quiche. </li> <li class="MethodStepper"> <h4 class="step-title">Step 7</h4> Spread the ricotta mixture evenly over the base of the baked pastry case. Carefully pour the egg mixture over the ricotta, allowing it to settle naturally. Sprinkle the remaining Gruyère on top. The cheese will form a beautiful golden crust as it bakes. </li> <li class="MethodStepper"> <h4 class="step-title">Step 8</h4> Reduce the oven temperature to 180°C (160°C fan/350°F). Place the quiche on a baking sheet (to catch any potential leaks) and bake for 30-35 minutes until the filling is set around the edges but still has a slight wobble in the center. A gentle wobble indicates the perfect custardy texture; overbaking will make it rubbery. </li> <li class="MethodStepper"> <h4 class="step-title">Step 9</h4> Remove from the oven and allow to cool for at least 15 minutes before serving – this resting time helps the filling to set completely for cleaner slices. The quiche can be enjoyed warm or at room temperature. Garnish with additional fresh herbs just before serving for a beautiful presentation and fresh flavor boost. </li> </ol>