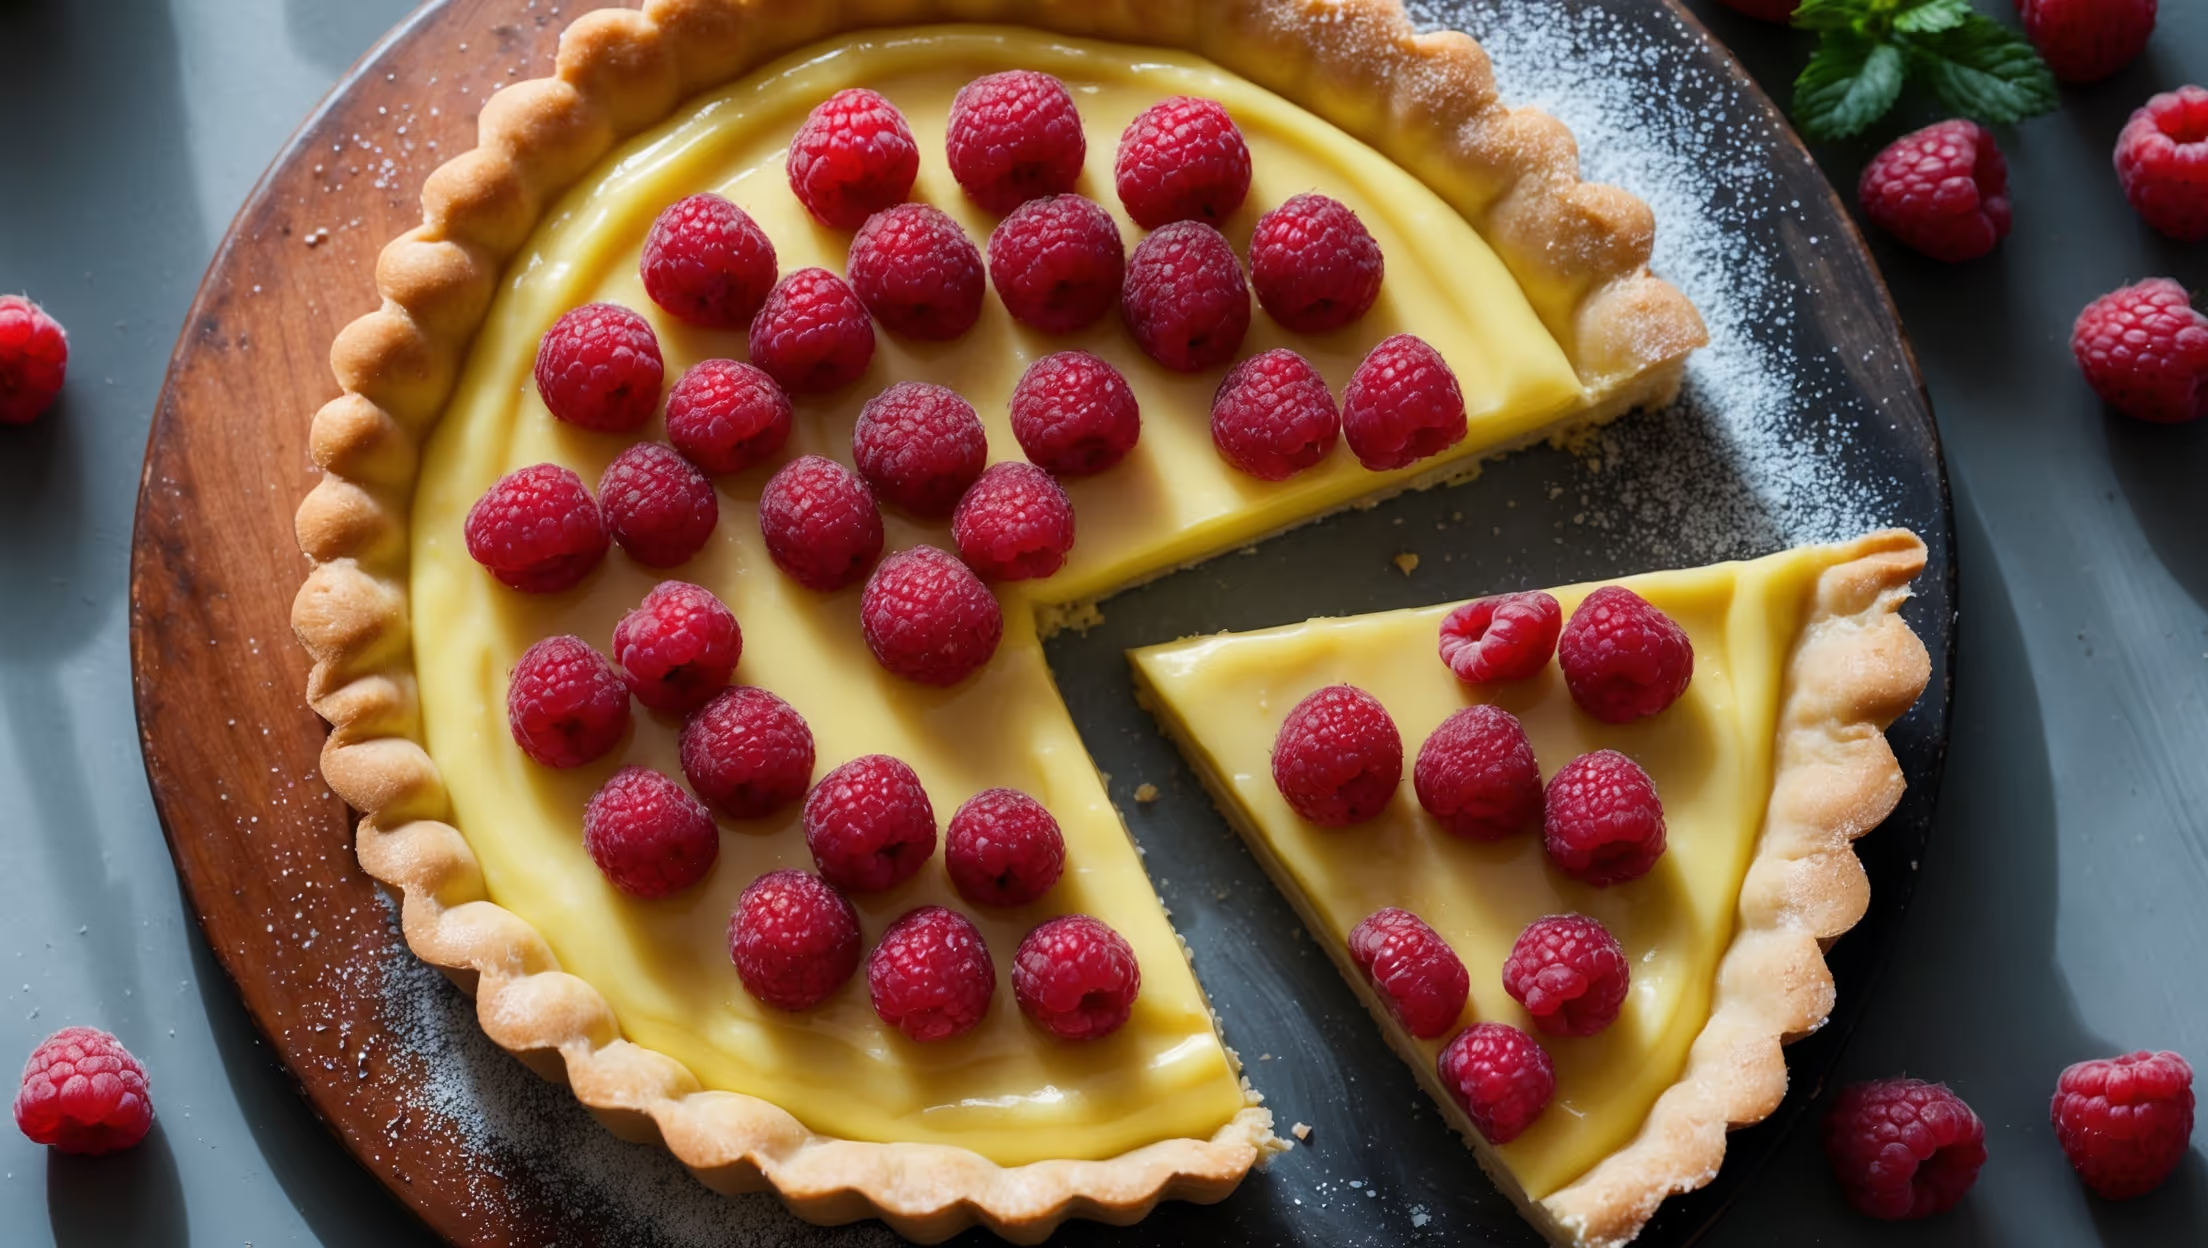
Directions
<ol class="no-list-style"><li class="MethodStepper"><h4 class="step-title">Step 1</h4>Begin by making the pastry. Place the flour, salt and cubed cold butter in a food processor and pulse until the mixture resembles fine breadcrumbs. The cold butter is crucial here as it creates flaky layers in your pastry when it melts in the oven. If working by hand, use your fingertips to rub the butter into the flour until you achieve the same texture.</li><li class="MethodStepper"><h4 class="step-title">Step 2</h4>Add the icing sugar and pulse briefly to combine. Then add the egg yolk and enough ice-cold water to bring the dough together – it should just begin to form clumps. Be careful not to add too much water or overwork the dough, as this will develop the gluten and make your pastry tough rather than tender.</li><li class="MethodStepper"><h4 class="step-title">Step 3</h4>Turn the dough onto a lightly floured surface, gather it together gently into a disc shape, wrap in cling film and refrigerate for at least 30 minutes. This resting time allows the gluten to relax and the butter to firm up again, preventing shrinkage during baking.</li><li class="MethodStepper"><h4 class="step-title">Step 4</h4>Preheat your oven to 190°C (170°C fan). Roll out the chilled pastry on a lightly floured surface to about 3mm thickness, creating a circle large enough to line your tart tin with some overhang. Carefully lift the pastry using your rolling pin and drape it over the tin, gently pressing it into the corners without stretching.</li><li class="MethodStepper"><h4 class="step-title">Step 5</h4>Trim the excess pastry leaving a slight overhang (about 1cm) to allow for shrinkage. Prick the base with a fork, line with parchment paper and fill with baking beans or rice. Blind bake for 15 minutes, then remove the beans and paper and bake for a further 5-8 minutes until the pastry is golden and crisp. The blind baking ensures your pastry base is fully cooked and not soggy once filled. Trim any excess pastry for a neat edge while still warm.</li><li class="MethodStepper"><h4 class="step-title">Step 6</h4>While the pastry case cools, make the custard. Pour the milk into a saucepan, add the vanilla seeds and pod (or extract), and heat gently until just below boiling point. Remove from heat and allow the vanilla to infuse for 5 minutes before removing the pod.</li><li class="MethodStepper"><h4 class="step-title">Step 7</h4>In a large bowl, whisk together the egg yolks and sugar until pale and slightly thickened. Add the cornflour and whisk until smooth. The cornflour acts as a thickening agent, ensuring your custard sets properly while remaining silky.</li><li class="MethodStepper"><h4 class="step-title">Step 8</h4>Gradually pour the warm milk over the egg mixture, whisking constantly to prevent the eggs from curdling. Once fully incorporated, return the mixture to the saucepan and cook over medium heat, whisking continuously, until the custard thickens enough to coat the back of a wooden spoon – about 4-5 minutes.</li><li class="MethodStepper"><h4 class="step-title">Step 9</h4>Remove from heat and stir in the butter until melted and incorporated – this gives the custard a beautiful shine and rich mouthfeel. Transfer to a clean bowl, cover the surface directly with cling film to prevent a skin forming, and allow to cool to room temperature.</li><li class="MethodStepper"><h4 class="step-title">Step 10</h4>Once the custard has cooled, whisk it briefly to loosen, then pour into the baked pastry case, spreading evenly. Refrigerate for at least 2 hours or until the custard is fully set. The custard needs to be completely set before adding the raspberries to ensure they don't sink.</li><li class="MethodStepper"><h4 class="step-title">Step 11</h4>When ready to serve, arrange the fresh raspberries in concentric circles on top of the set custard, starting from the outside edge and working your way in. For the glaze, warm the raspberry jam with a tablespoon of water in a small saucepan until melted and smooth. Allow to cool slightly then brush gently over the raspberries for a beautiful shine.</li><li class="MethodStepper"><h4 class="step-title">Step 12</h4>Refrigerate for another 30 minutes to set the glaze, then carefully remove from the tart tin. For the cleanest slices, dip your knife in hot water and wipe clean between cuts. Serve chilled – the tart is best enjoyed on the day it's assembled but will keep in the refrigerator for up to 2 days.</li></ol>