Portuguese Custard Tart (Pastel de Nata) Recipe

Ingredients
Equipment
Directions
FAQs
Find answers to your most pressing questions about this delicious recipe right here.
Portuguese Custard Tarts require pastry ingredients (flour, butter, water, salt) and custard components (milk, cream, cinnamon, lemon zest, sugar, flour, egg yolks, vanilla). These combine to create the signature flaky shell and caramelised custard filling characteristic of authentic pastéis de nata.
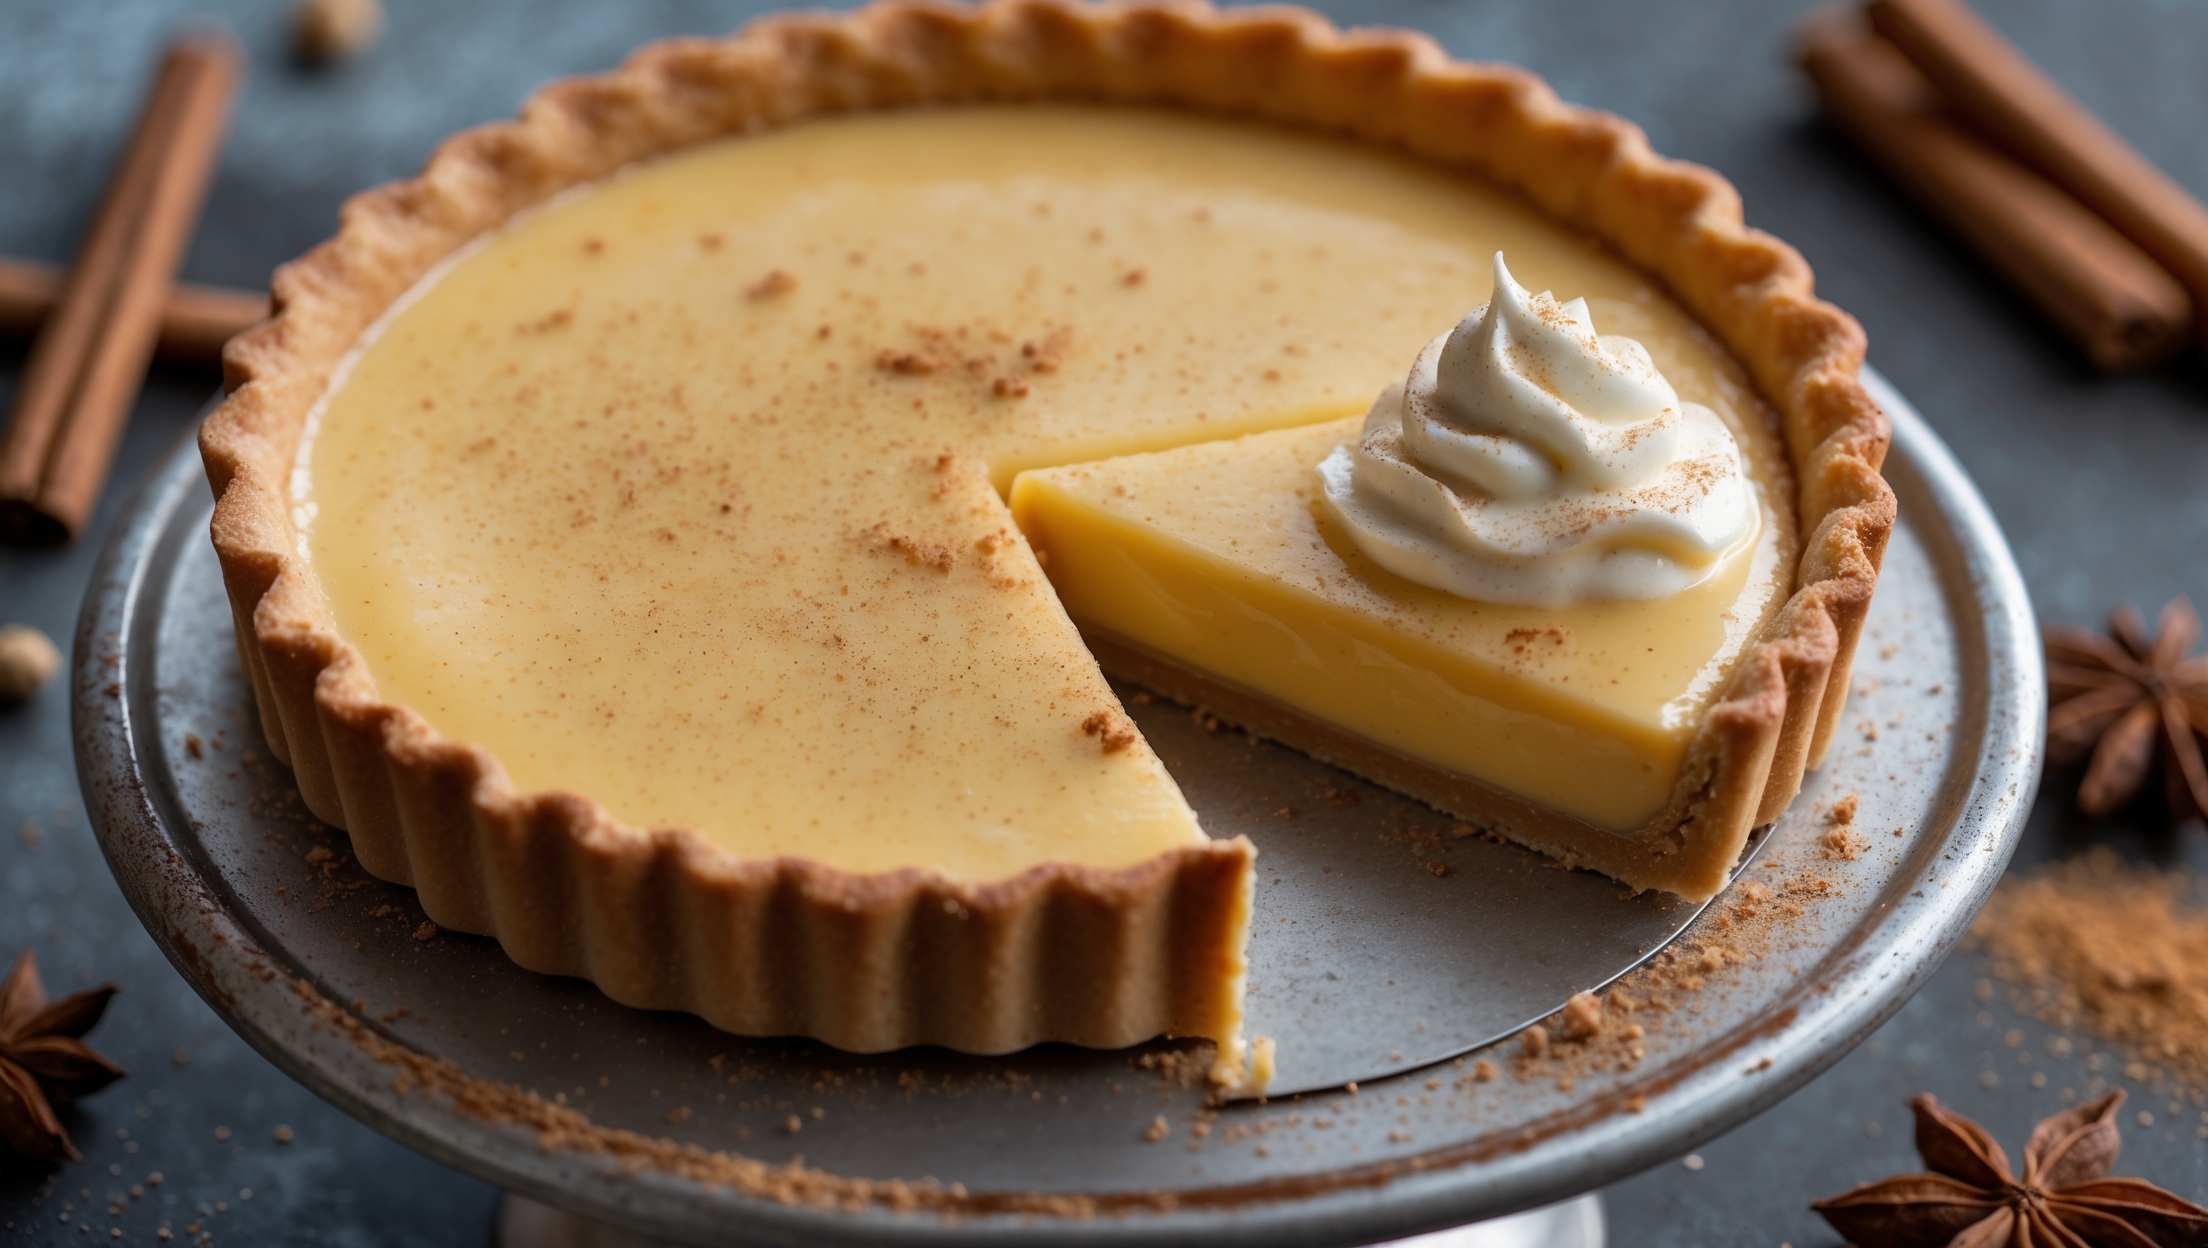
Learn how to cook Portuguese Custard Tart by creating a laminated dough for the shell and a silky custard infused with cinnamon and lemon. The secret lies in baking at extremely high temperatures (230-250°C) to achieve the signature caramelised top with dark spots. Proper technique ensures authentic pastéis with crisp, flaky shells and creamy centres worthy of a Lisbon bakery.
The characteristic dark spots on pastéis de nata result from baking at extremely high temperatures (230-250°C). This intentional caramelisation creates the signature "scorched" appearance and develops complex flavours through the Maillard reaction. Authentic Portuguese bakeries consider these spots essential for proper taste and visual appeal.
The key to flaky pastry for Portuguese tarts is proper lamination—folding cold butter into dough multiple times creates distinct layers. Working with cold ingredients, minimal handling, and allowing proper resting time between folds prevents the butter from melting prematurely, ensuring those characteristic crisp, airy layers in the final baked shells.
While pastéis de nata are best enjoyed fresh and warm, you can prepare components ahead of time. The dough can be made and laminated a day in advance, and the custard mixture can be refrigerated overnight. However, for the authentic experience, they should be baked and served the same day, ideally within hours of baking.
Custard Tarts
Try following recommended recipes