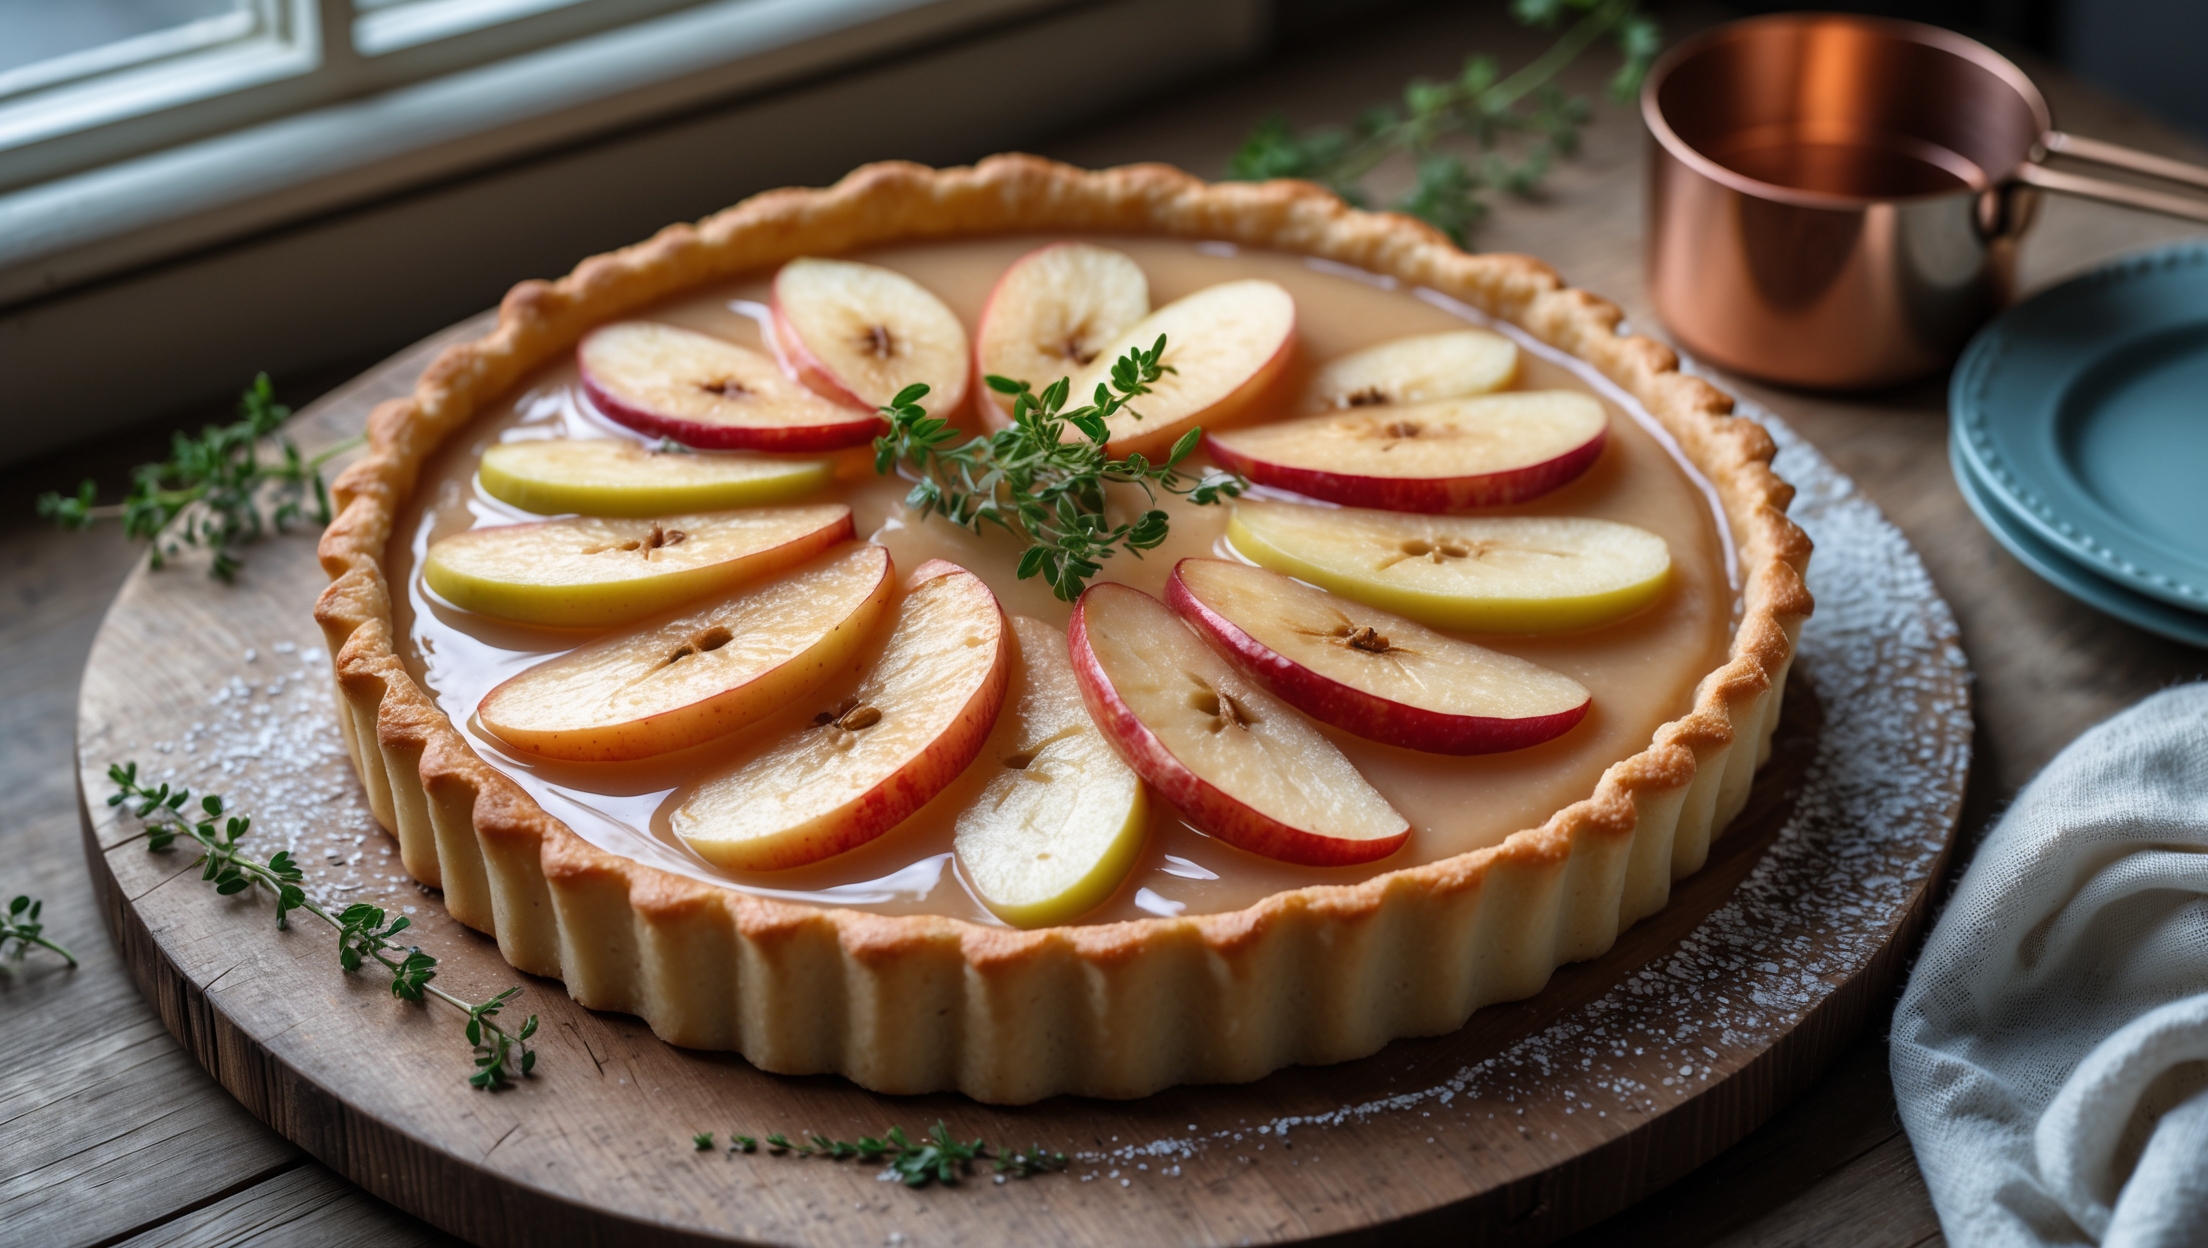
Directions
<ol class="no-list-style"> <li class="MethodStepper"> <h4 class="step-title">Step 1</h4> Begin by poaching the pears. Peel them carefully, leaving the stems intact for an elegant presentation. In a large saucepan, combine the wine, sugar, cinnamon stick, cloves, star anise, vanilla pod, and lemon zest. Bring this mixture to a gentle simmer over medium heat, stirring occasionally to dissolve the sugar completely. </li> <li class="MethodStepper"> <h4 class="step-title">Step 2</h4> Place the peeled pears into the simmering liquid. If they float, cover them with a circle of parchment paper with a small hole cut in the center to keep them submerged. Simmer gently for 20-30 minutes until the pears are tender when pierced with a knife but still hold their shape. The cooking time will vary depending on the ripeness of your pears – check them regularly to avoid overcooking. </li> <li class="MethodStepper"> <h4 class="step-title">Step 3</h4> Once tender, carefully remove the pears from the poaching liquid and set aside to cool. Continue simmering the poaching liquid until reduced by half to create a syrup-like consistency (about 15-20 minutes). Strain the syrup and set aside 3 tablespoons for the glaze if using. The remaining syrup can be refrigerated for serving with the tart or for other uses. </li> <li class="MethodStepper"> <h4 class="step-title">Step 4</h4> For the pastry, combine the flour, butter, icing sugar and salt in a food processor and pulse until the mixture resembles fine breadcrumbs (alternatively, rub the butter into the dry ingredients using your fingertips). Add the egg yolk and just enough cold water to bring the dough together – the cold ingredients help prevent the development of gluten, ensuring a tender, short texture. </li> <li class="MethodStepper"> <h4 class="step-title">Step 5</h4> Form the dough into a disc, wrap in cling film and refrigerate for at least 30 minutes. This resting period allows the gluten to relax and the butter to firm up, reducing shrinkage during baking. Meanwhile, preheat your oven to 180°C (160°C fan/350°F/Gas Mark 4). </li> <li class="MethodStepper"> <h4 class="step-title">Step 6</h4> Roll out the chilled pastry on a lightly floured surface to about 3mm thickness and use it to line your tart tin. Press the dough gently into the fluted edges and trim any excess. Refrigerate the lined tin for 15 minutes to prevent shrinkage during baking. </li> <li class="MethodStepper"> <h4 class="step-title">Step 7</h4> Line the chilled pastry case with parchment paper and fill with baking beans or rice. Blind bake for 15 minutes, then remove the paper and beans and bake for another 5-10 minutes until the pastry is pale golden and feels dry to the touch. The blind baking ensures your pastry base cooks fully without becoming soggy from the custard. Set aside to cool slightly while preparing the custard. Reduce the oven temperature to 160°C (140°C fan/325°F/Gas Mark 3). </li> <li class="MethodStepper"> <h4 class="step-title">Step 8</h4> For the custard filling, heat the milk with the vanilla pod seeds or paste in a saucepan until almost boiling, then remove from heat. In a large bowl, whisk together the egg yolks, sugar, and cornflour until pale and thick. The cornflour provides stability to the custard, preventing it from curdling during baking. </li> <li class="MethodStepper"> <h4 class="step-title">Step 9</h4> Gradually pour the hot milk over the egg mixture, whisking constantly to prevent curdling – this technique is called 'tempering' and helps maintain a smooth texture. Return the mixture to the saucepan and cook over medium-low heat, stirring constantly, until thickened enough to coat the back of a spoon. Don't let it boil or it may split. </li> <li class="MethodStepper"> <h4 class="step-title">Step 10</h4> Strain the custard through a fine sieve into a jug to remove any lumps, then pour it into the pre-baked tart shell, filling it to about 5mm below the rim – the custard will expand slightly during baking. </li> <li class="MethodStepper"> <h4 class="step-title">Step 11</h4> Cut the poached pears in half and carefully remove the cores with a melon baller or small spoon. Slice each pear half into thin, even slices, keeping the slices together to maintain the pear shape. Gently fan out each sliced pear half and arrange them on top of the custard in a circular pattern, with the narrow ends pointing toward the center. </li> <li class="MethodStepper"> <h4 class="step-title">Step 12</h4> Carefully transfer the tart to the oven and bake for 25-30 minutes until the custard is just set with a slight wobble in the center – it will continue to set as it cools. The ideal custard has a silky, creamy texture that's not too firm or rubbery, so don't overbake. </li> <li class="MethodStepper"> <h4 class="step-title">Step 13</h4> For the optional glaze, warm the reserved poaching liquid with the apricot jam in a small saucepan until melted and combined. While the tart is still warm, gently brush this glaze over the pears and exposed custard for a beautiful sheen. </li> <li class="MethodStepper"> <h4 class="step-title">Step 14</h4> Allow the tart to cool completely in its tin on a wire rack before carefully removing. For clean slices, use a sharp knife dipped in hot water and wiped clean between cuts. Serve with a drizzle of the remaining poaching syrup and perhaps a dollop of crème fraîche. The tart is best enjoyed on the day it's made but will keep in the refrigerator for up to 2 days. </li> </ol>