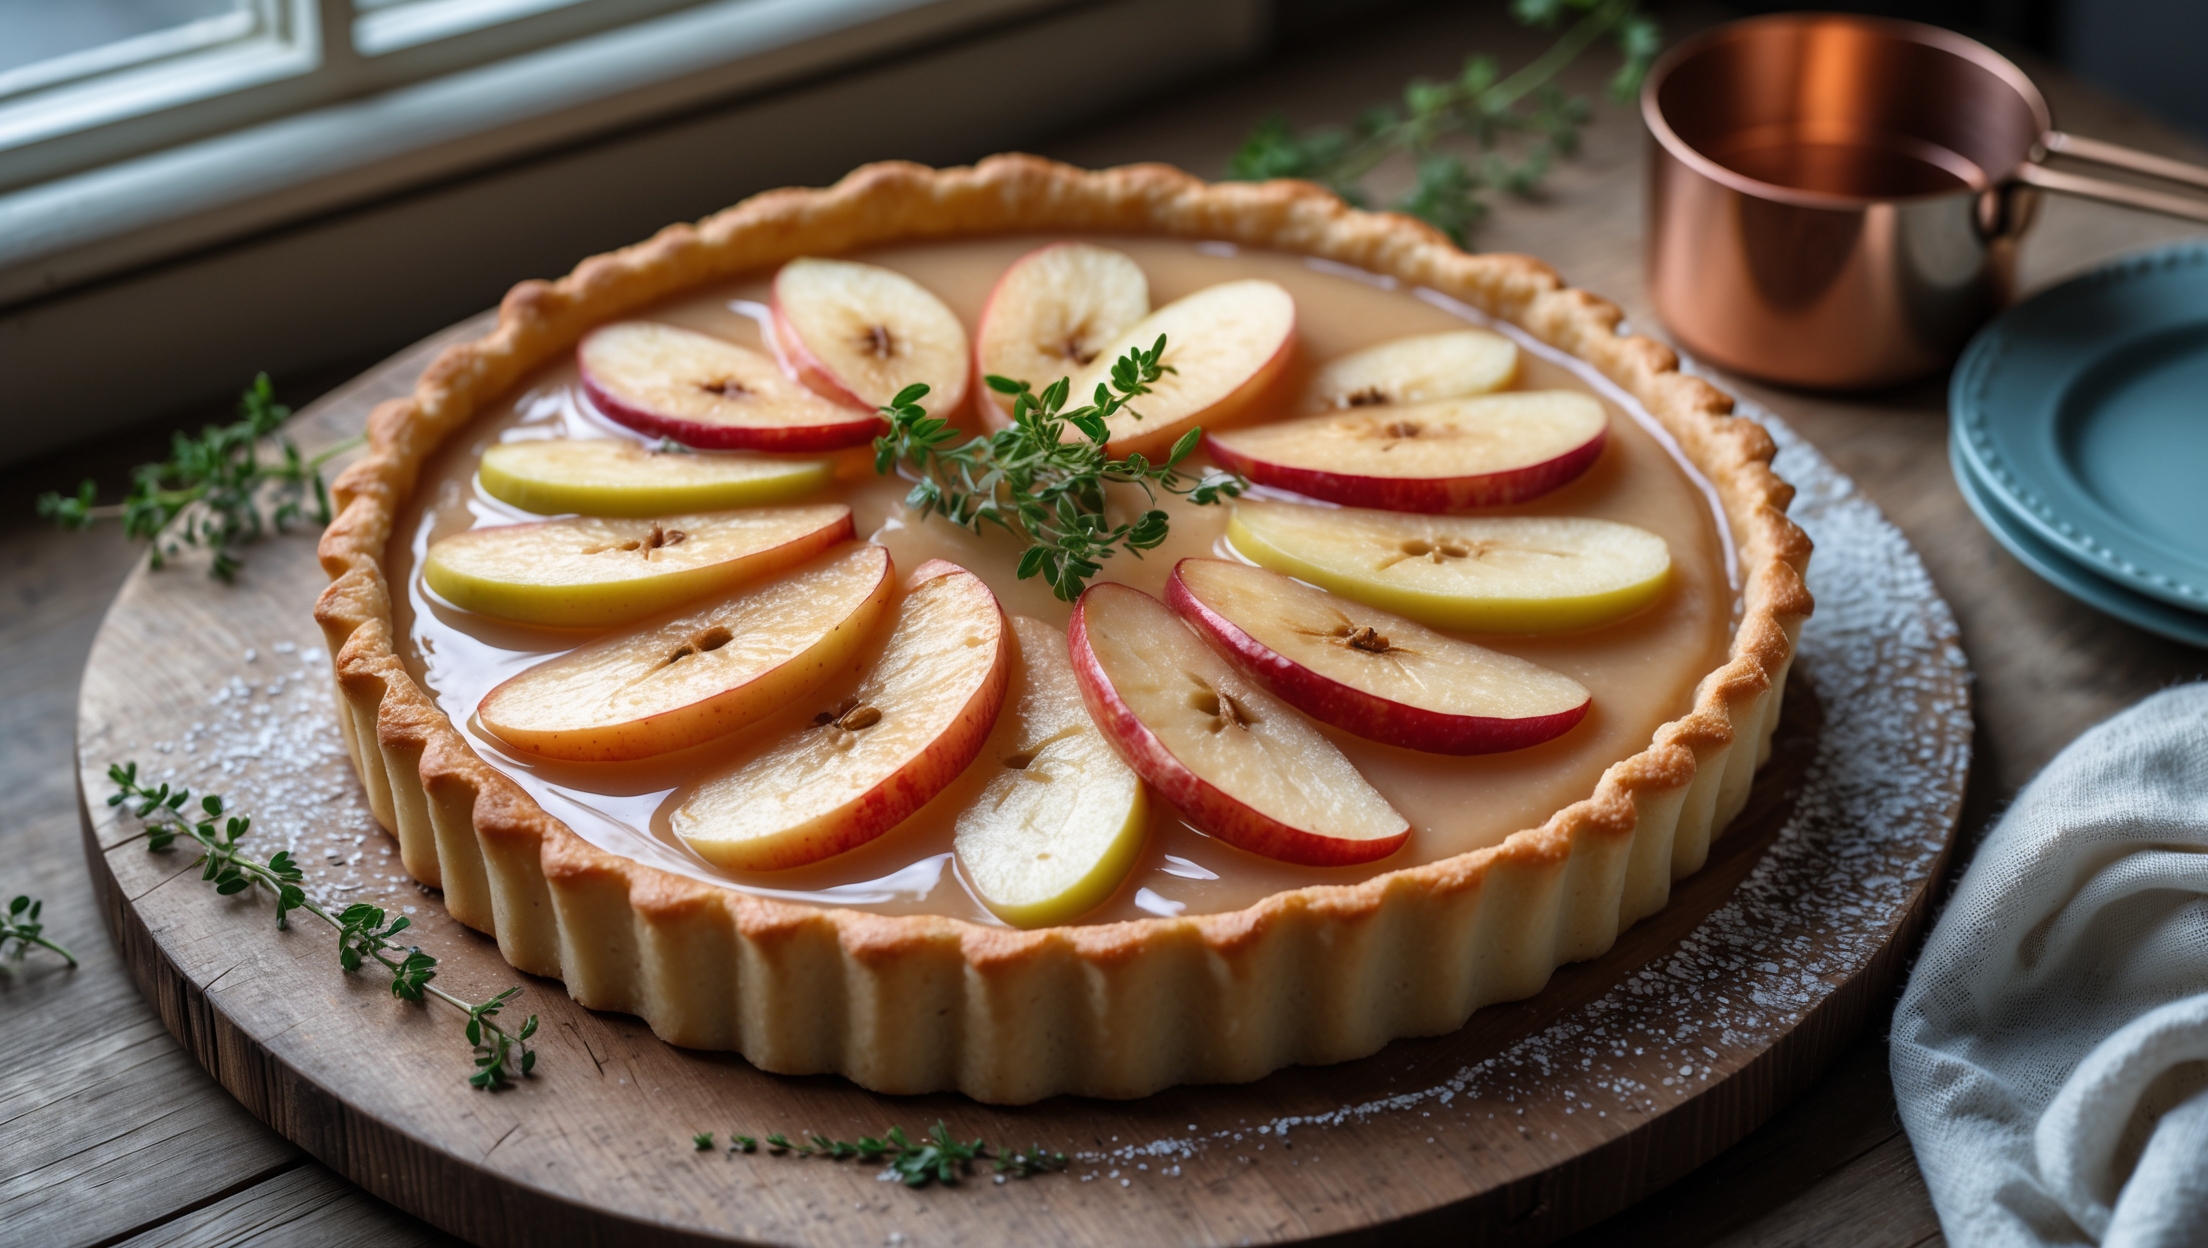
Directions
<ol class="no-list-style"><li class="MethodStepper"><h4 class="step-title">Step 1</h4>For the pastry, place the flour, salt and butter in a food processor and pulse until the mixture resembles fine breadcrumbs. This method minimizes heat transfer from your hands to the butter, resulting in a flakier crust. Alternatively, rub the butter into the flour using your fingertips until you achieve the same texture.</li><li class="MethodStepper"><h4 class="step-title">Step 2</h4>Add the sugar, egg yolk, and 2 tablespoons of ice-cold water. Pulse again or mix with a knife until the dough just starts coming together. If it seems too dry, add the remaining tablespoon of water, but be careful not to add too much or your pastry will shrink during baking. The dough should hold together when pressed but shouldn't feel sticky.</li><li class="MethodStepper"><h4 class="step-title">Step 3</h4>Turn the dough onto a lightly floured surface and gently bring it together into a disc without kneading (which would develop gluten and make the pastry tough). Wrap in cling film and refrigerate for at least 30 minutes. This resting period allows the gluten to relax and the butter to firm up, ensuring a tender, crisp crust.</li><li class="MethodStepper"><h4 class="step-title">Step 4</h4>Preheat your oven to 190°C (170°C fan/375°F/Gas 5). Once rested, roll out the pastry on a lightly floured surface to about 3mm thickness, creating a circle approximately 4cm larger than your tart tin. Use your rolling pin to help transfer the pastry to the tin, gently pressing it into the corners without stretching it.</li><li class="MethodStepper"><h4 class="step-title">Step 5</h4>Trim the excess pastry by rolling your rolling pin over the top of the tin, then prick the base all over with a fork to prevent air bubbles. Line the pastry case with baking parchment and fill with baking beans or uncooked rice. This blind baking technique ensures your pastry base cooks properly without the filling making it soggy.</li><li class="MethodStepper"><h4 class="step-title">Step 6</h4>Bake blind for 15 minutes, then remove the parchment and baking beans and return to the oven for another 5-7 minutes until the pastry is lightly golden and feels dry to the touch. Set aside to cool slightly while you prepare the custard. Reduce the oven temperature to 180°C (160°C fan/350°F/Gas 4).</li><li class="MethodStepper"><h4 class="step-title">Step 7</h4>For the custard, pour the milk into a medium saucepan. Add the vanilla seeds and the empty pod (if using vanilla extract, you'll add it later). Heat gently until just below boiling point – you'll see small bubbles forming around the edge of the pan. Remove from heat and let it infuse for 5 minutes to develop a deeper vanilla flavor.</li><li class="MethodStepper"><h4 class="step-title">Step 8</h4>In a large bowl, whisk together the egg yolks, sugar and cornflour until pale and thick. This might take 2-3 minutes by hand or 1-2 minutes with an electric whisk. The mixture should fall in ribbons when lifted.</li><li class="MethodStepper"><h4 class="step-title">Step 9</h4>Remove the vanilla pod from the milk (if used) and gradually pour the warm milk into the egg mixture, whisking constantly. This tempering process prevents the eggs from scrambling. Pour the mixture back into the saucepan and cook over medium-low heat, stirring constantly with a wooden spoon or heat-resistant spatula.</li><li class="MethodStepper"><h4 class="step-title">Step 10</h4>Continue cooking and stirring until the custard thickens enough to coat the back of a spoon – when you run your finger through it, it should leave a clear path. This typically takes 5-7 minutes. If you notice any lumps forming, immediately take the pan off the heat and whisk vigorously. Add vanilla extract at this point if you didn't use a vanilla pod.</li><li class="MethodStepper"><h4 class="step-title">Step 11</h4>Pour the custard into the cooled pastry case and smooth the surface with a spatula. Let it cool for about 15 minutes – this allows the custard to set slightly, making it easier to arrange the plums without them sinking.</li><li class="MethodStepper"><h4 class="step-title">Step 12</h4>Arrange the plum slices in a circular pattern on top of the custard, slightly overlapping them. Mix the 2 tablespoons of sugar with cinnamon (if using) and sprinkle evenly over the plums. The sugar will help caramelize the fruit during baking, enhancing both flavor and appearance.</li><li class="MethodStepper"><h4 class="step-title">Step 13</h4>Bake the tart for 25-30 minutes until the custard is set with just a slight wobble in the center and the plums have softened and begun to caramelize. The residual heat will continue to cook the custard as it cools, so it's better to slightly underbake than overbake, which would cause the custard to split.</li><li class="MethodStepper"><h4 class="step-title">Step 14</h4>Allow the tart to cool in the tin for at least 30 minutes. Once cooled, brush the warmed apricot jam over the plums to create a beautiful glossy finish that also helps preserve the fruit's color and moisture.</li><li class="MethodStepper"><h4 class="step-title">Step 15</h4>Carefully remove the tart from the tin and transfer to a serving plate. For the cleanest slices, use a sharp knife dipped in hot water and wiped clean between cuts. Serve at room temperature or slightly chilled. The tart is best enjoyed the day it's made but will keep in the refrigerator for up to 2 days.</li></ol>