Directions
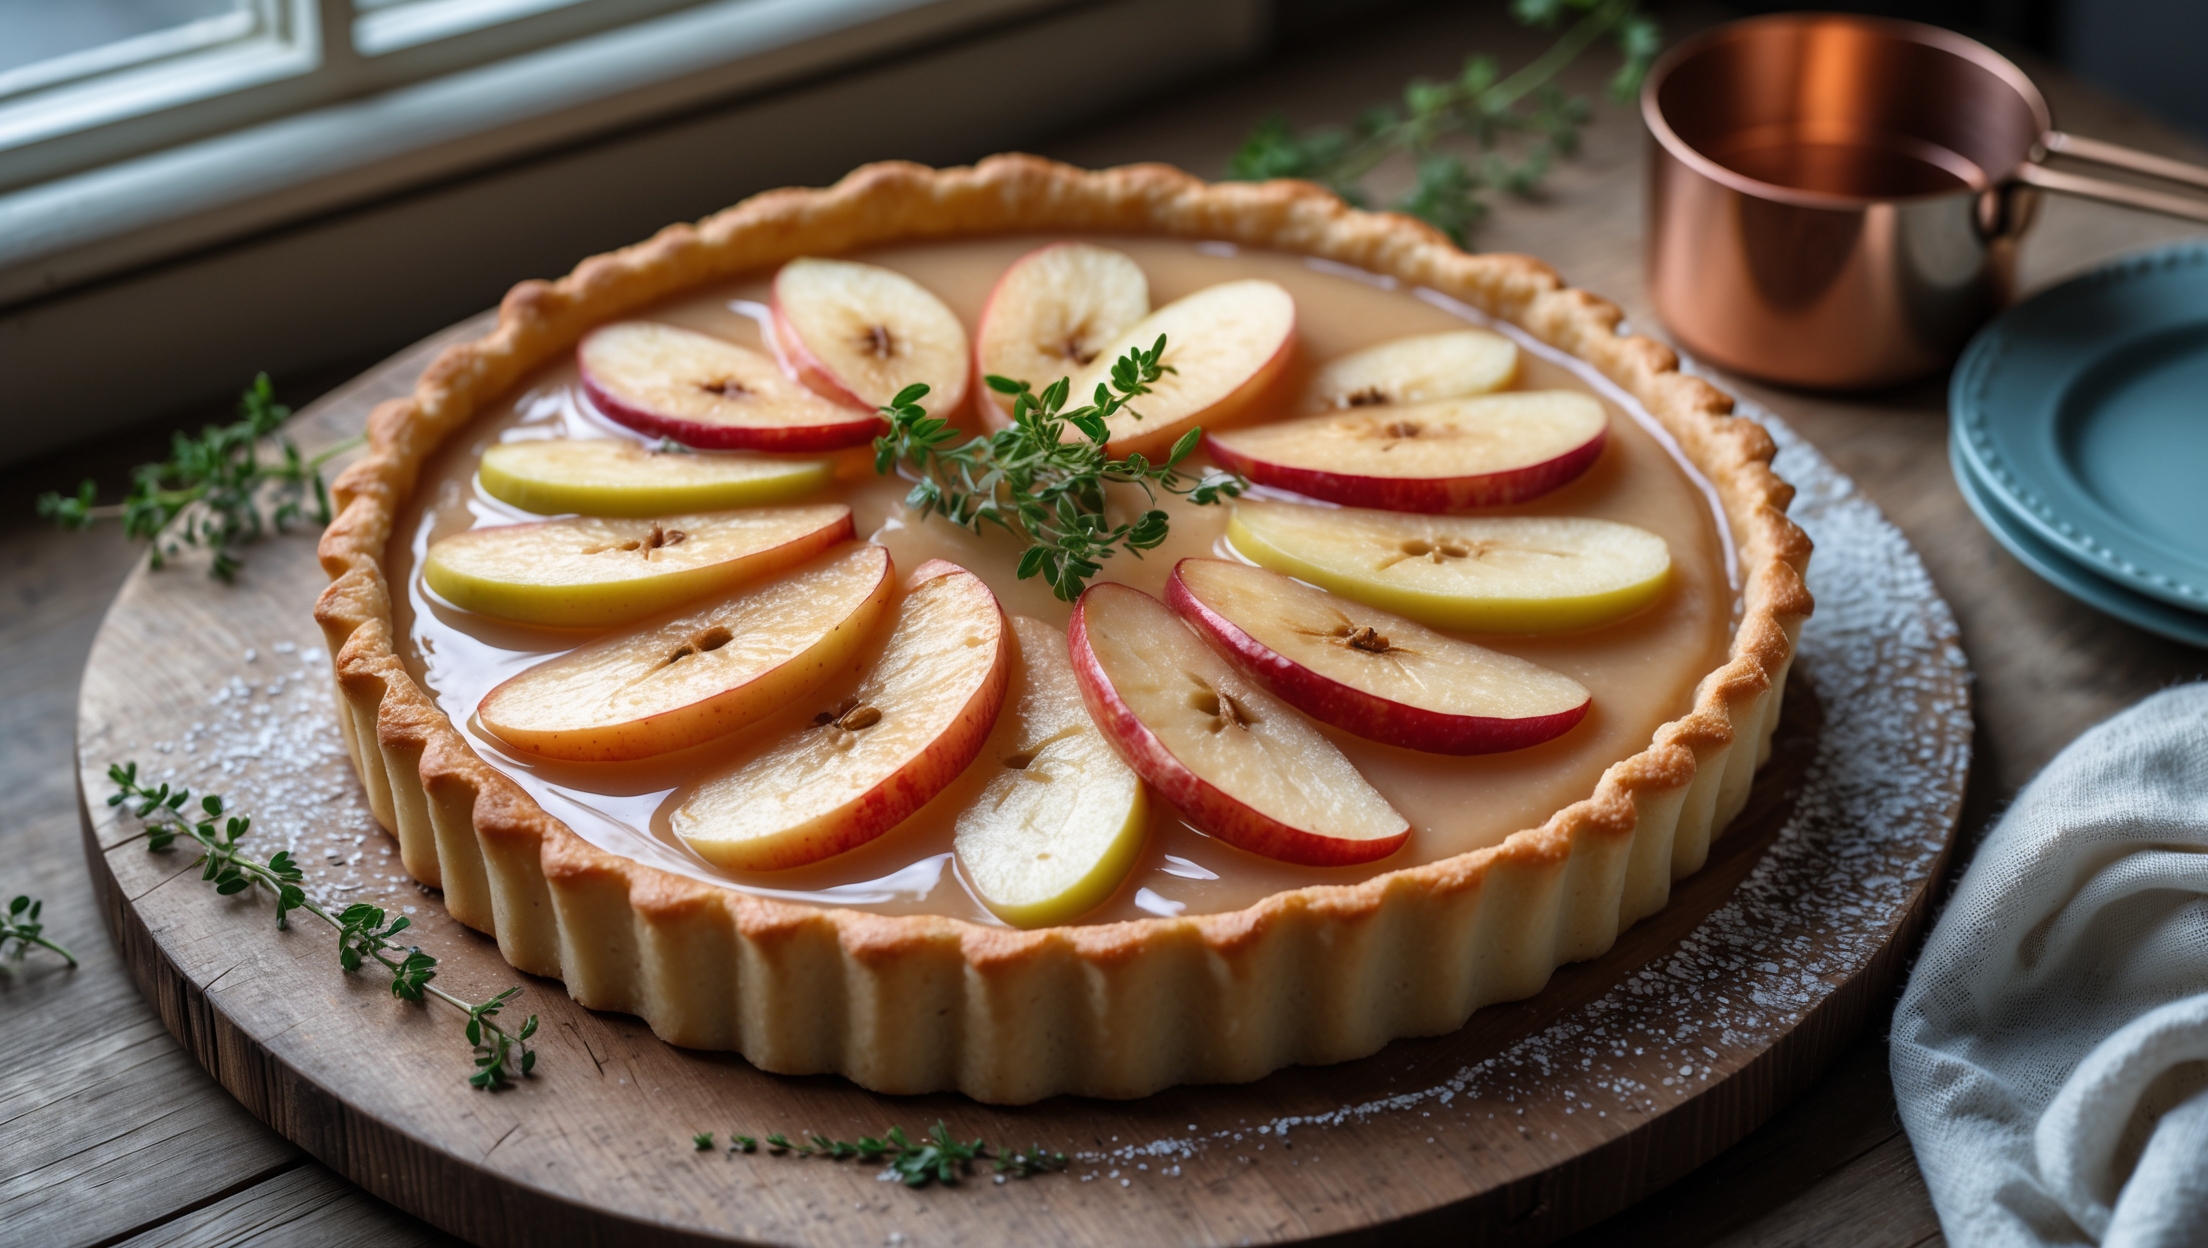
<ol class="no-list-style"><li class="MethodStepper"><h4 class="step-title">Step 1</h4>Start by making the shortcrust pastry. If using a food processor, pulse the flour, salt and cold butter until the mixture resembles fine breadcrumbs. If making by hand, rub the butter into the flour using your fingertips until you achieve the same texture. The cold butter is essential here as it creates pockets of steam during baking, resulting in a flaky texture.</li><li class="MethodStepper"><h4 class="step-title">Step 2</h4>Add the icing sugar and mix briefly to combine. Beat the egg yolk with 2 tablespoons of ice-cold water, then drizzle into the flour mixture while pulsing or stirring with a knife until the dough just starts coming together. If it seems dry, add another tablespoon of water, but be careful not to overwork the dough as this develops gluten and makes the pastry tough.</li><li class="MethodStepper"><h4 class="step-title">Step 3</h4>Form the dough into a flat disc, wrap in cling film and refrigerate for at least 30 minutes. This resting period relaxes the gluten and firms up the butter, making the pastry easier to handle and preventing shrinkage during baking.</li><li class="MethodStepper"><h4 class="step-title">Step 4</h4>Preheat your oven to 190°C (170°C fan). Roll out the chilled pastry on a lightly floured surface to about 3mm thickness, creating a circle approximately 28cm in diameter. Carefully lift the pastry over your rolling pin and drape it into the tart tin, gently pressing it into the corners without stretching. Trim the excess pastry, leaving a slight overhang which will accommodate any shrinkage.</li><li class="MethodStepper"><h4 class="step-title">Step 5</h4>Prick the base all over with a fork, then line with baking parchment and fill with baking beans or rice. Blind bake for 15 minutes, then remove the beans and parchment and return to the oven for another 5-7 minutes until the pastry is dry and pale golden. The blind baking ensures your pastry will be fully cooked and crisp, preventing the dreaded "soggy bottom."</li><li class="MethodStepper"><h4 class="step-title">Step 6</h4>While the pastry case is cooling, prepare the cardamom custard. In a medium saucepan, combine the cream, milk, and crushed cardamom pods. Heat gently until just below boiling point, then remove from heat and allow the spices to infuse for 15 minutes. The longer infusion time allows the cardamom flavor to fully develop.</li><li class="MethodStepper"><h4 class="step-title">Step 7</h4>In a large bowl, whisk together the egg yolks, caster sugar and cornflour until pale and slightly thickened. The cornflour acts as a stabilizer, helping the custard set properly without curdling. Strain the infused cream through a fine mesh sieve to remove the cardamom pods, then gradually whisk into the egg mixture, pouring slowly to prevent scrambling the eggs.</li><li class="MethodStepper"><h4 class="step-title">Step 8</h4>Return the mixture to a clean saucepan and cook over low heat, stirring constantly with a wooden spoon, until the custard thickens enough to coat the back of the spoon - you should be able to draw a line through it with your finger and have the line remain. This should take about 5-7 minutes. Be patient and keep the heat low; rush this step and you'll end up with scrambled eggs!</li><li class="MethodStepper"><h4 class="step-title">Step 9</h4>Stir in the vanilla extract, then pour the custard into the cooled pastry case, spreading it into an even layer. Allow to cool completely at room temperature, then refrigerate for at least 1 hour until the custard is set. The custard will continue to thicken as it cools.</li><li class="MethodStepper"><h4 class="step-title">Step 10</h4>When ready to serve, arrange the plum slices in a decorative pattern over the custard. You can create concentric circles, a spiral, or any design you prefer. If you'd like a more caramelized finish, sprinkle the plums with demerara sugar and place under a hot grill for 2-3 minutes until the sugar bubbles and darkens slightly.</li><li class="MethodStepper"><h4 class="step-title">Step 11</h4>For the final professional touch, warm the apricot jam with the water in a small saucepan until melted and smooth. Strain if necessary, then brush gently over the plums to create a beautiful glossy finish that also helps preserve the fruit's color and prevents it from drying out.</li><li class="MethodStepper"><h4 class="step-title">Step 12</h4>Allow the glaze to set for a few minutes before serving. The tart is best enjoyed on the day it's assembled, but can be refrigerated for up to 24 hours. For the cleanest slices, dip your knife in hot water and wipe dry between cuts. The contrast between the crisp pastry, silky cardamom custard, and juicy plums creates a truly memorable dessert.</li></ol>