Persimmon Custard Tart Recipe
Ingredients
Equipment
Directions
FAQs
Find answers to your most pressing questions about this delicious recipe right here.
This elegant tart requires plain flour, butter, icing sugar, eggs, vanilla, milk and cornflour for the pastry and custard base. The star topping features ripe Fuyu persimmons and a simple apricot jam glaze for a beautiful shine.
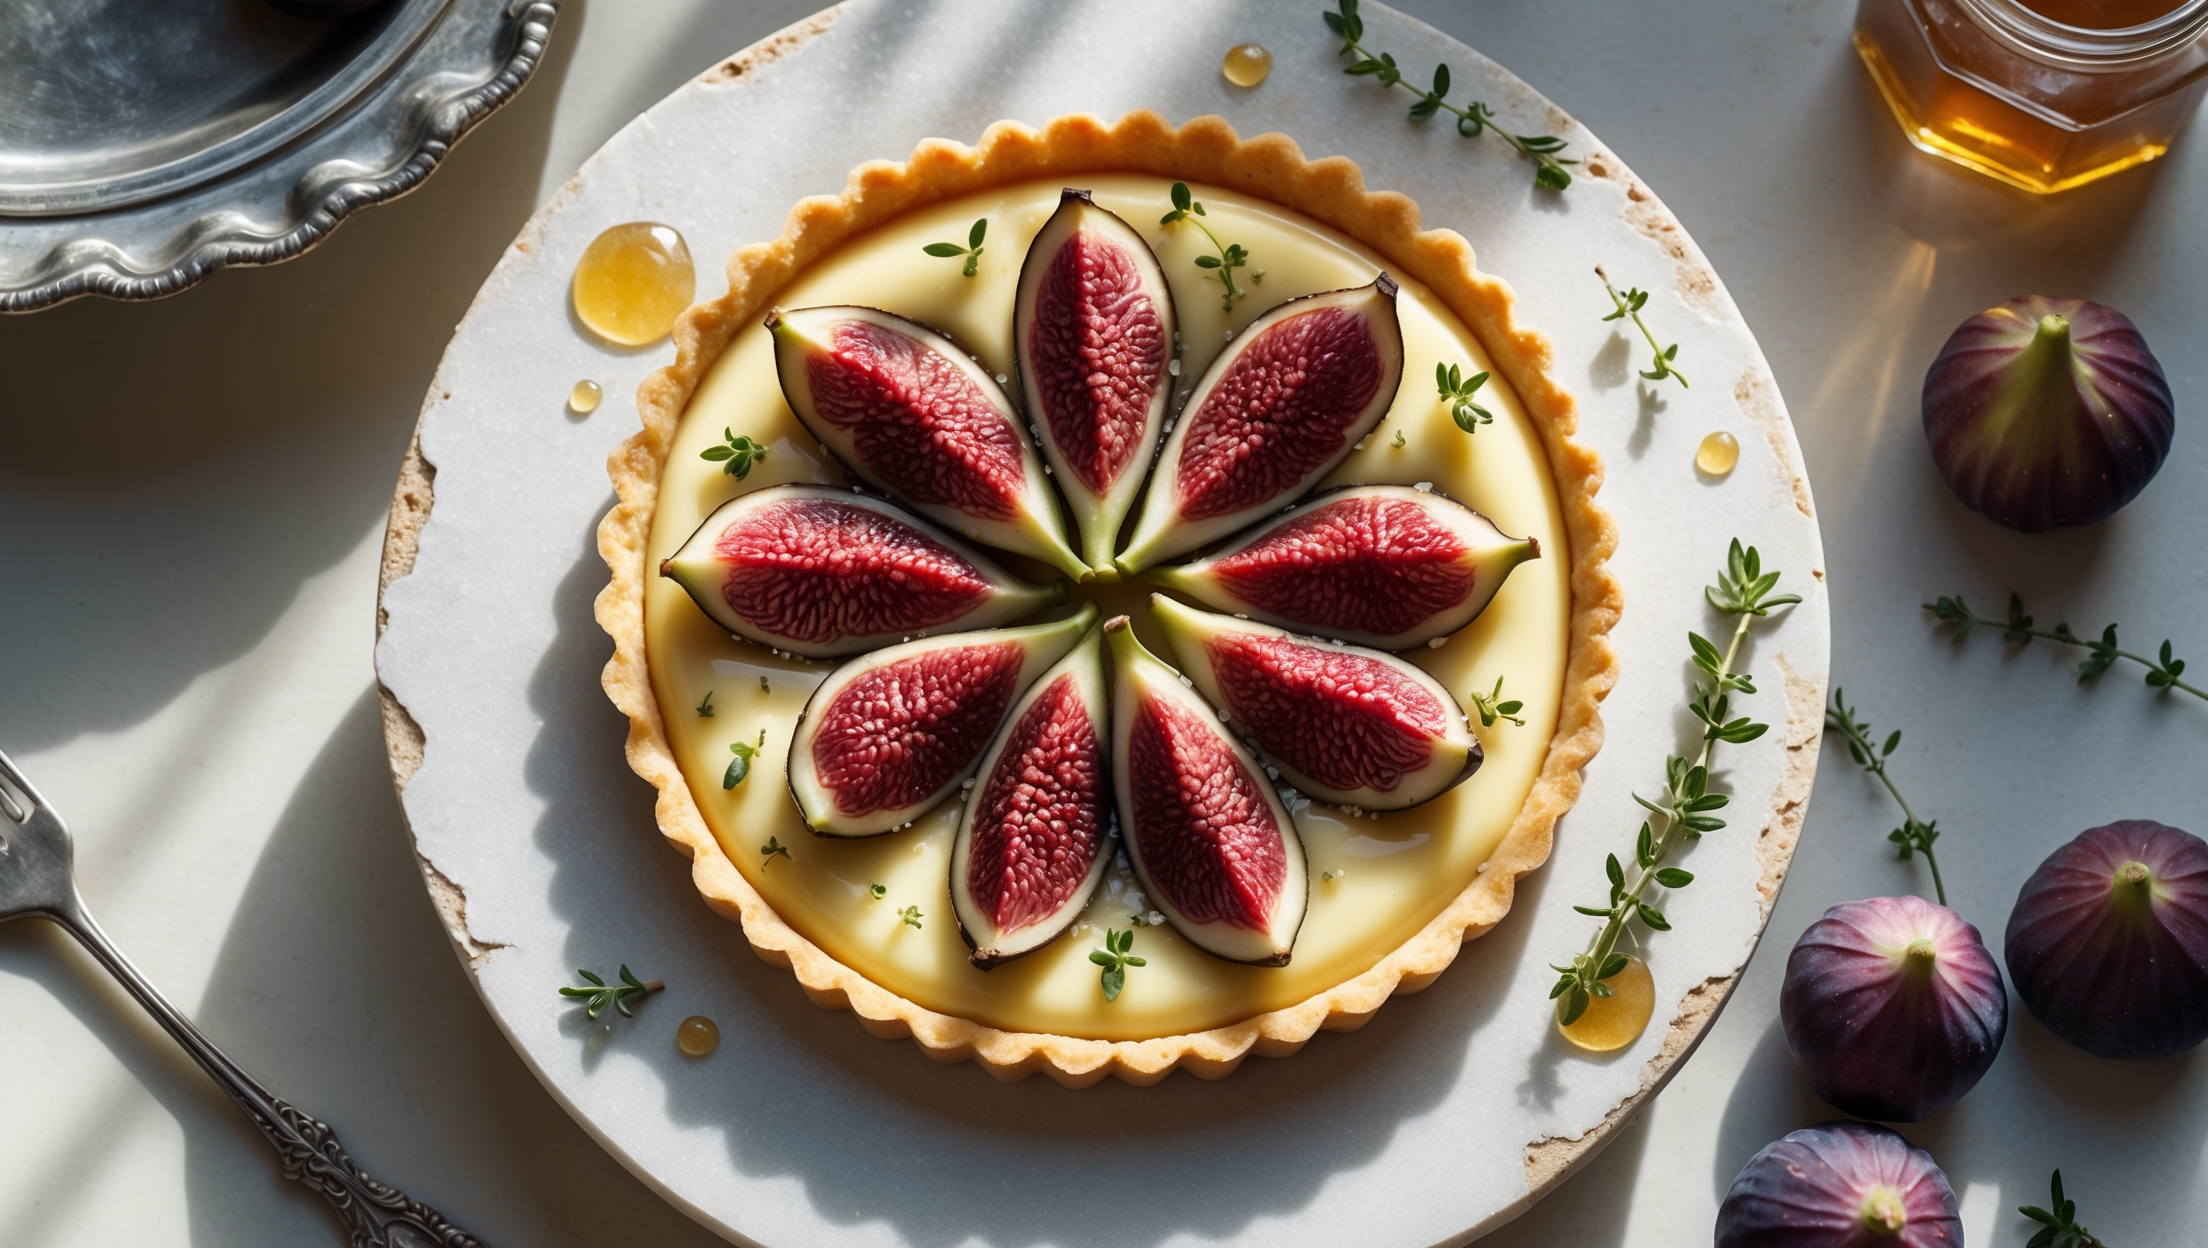
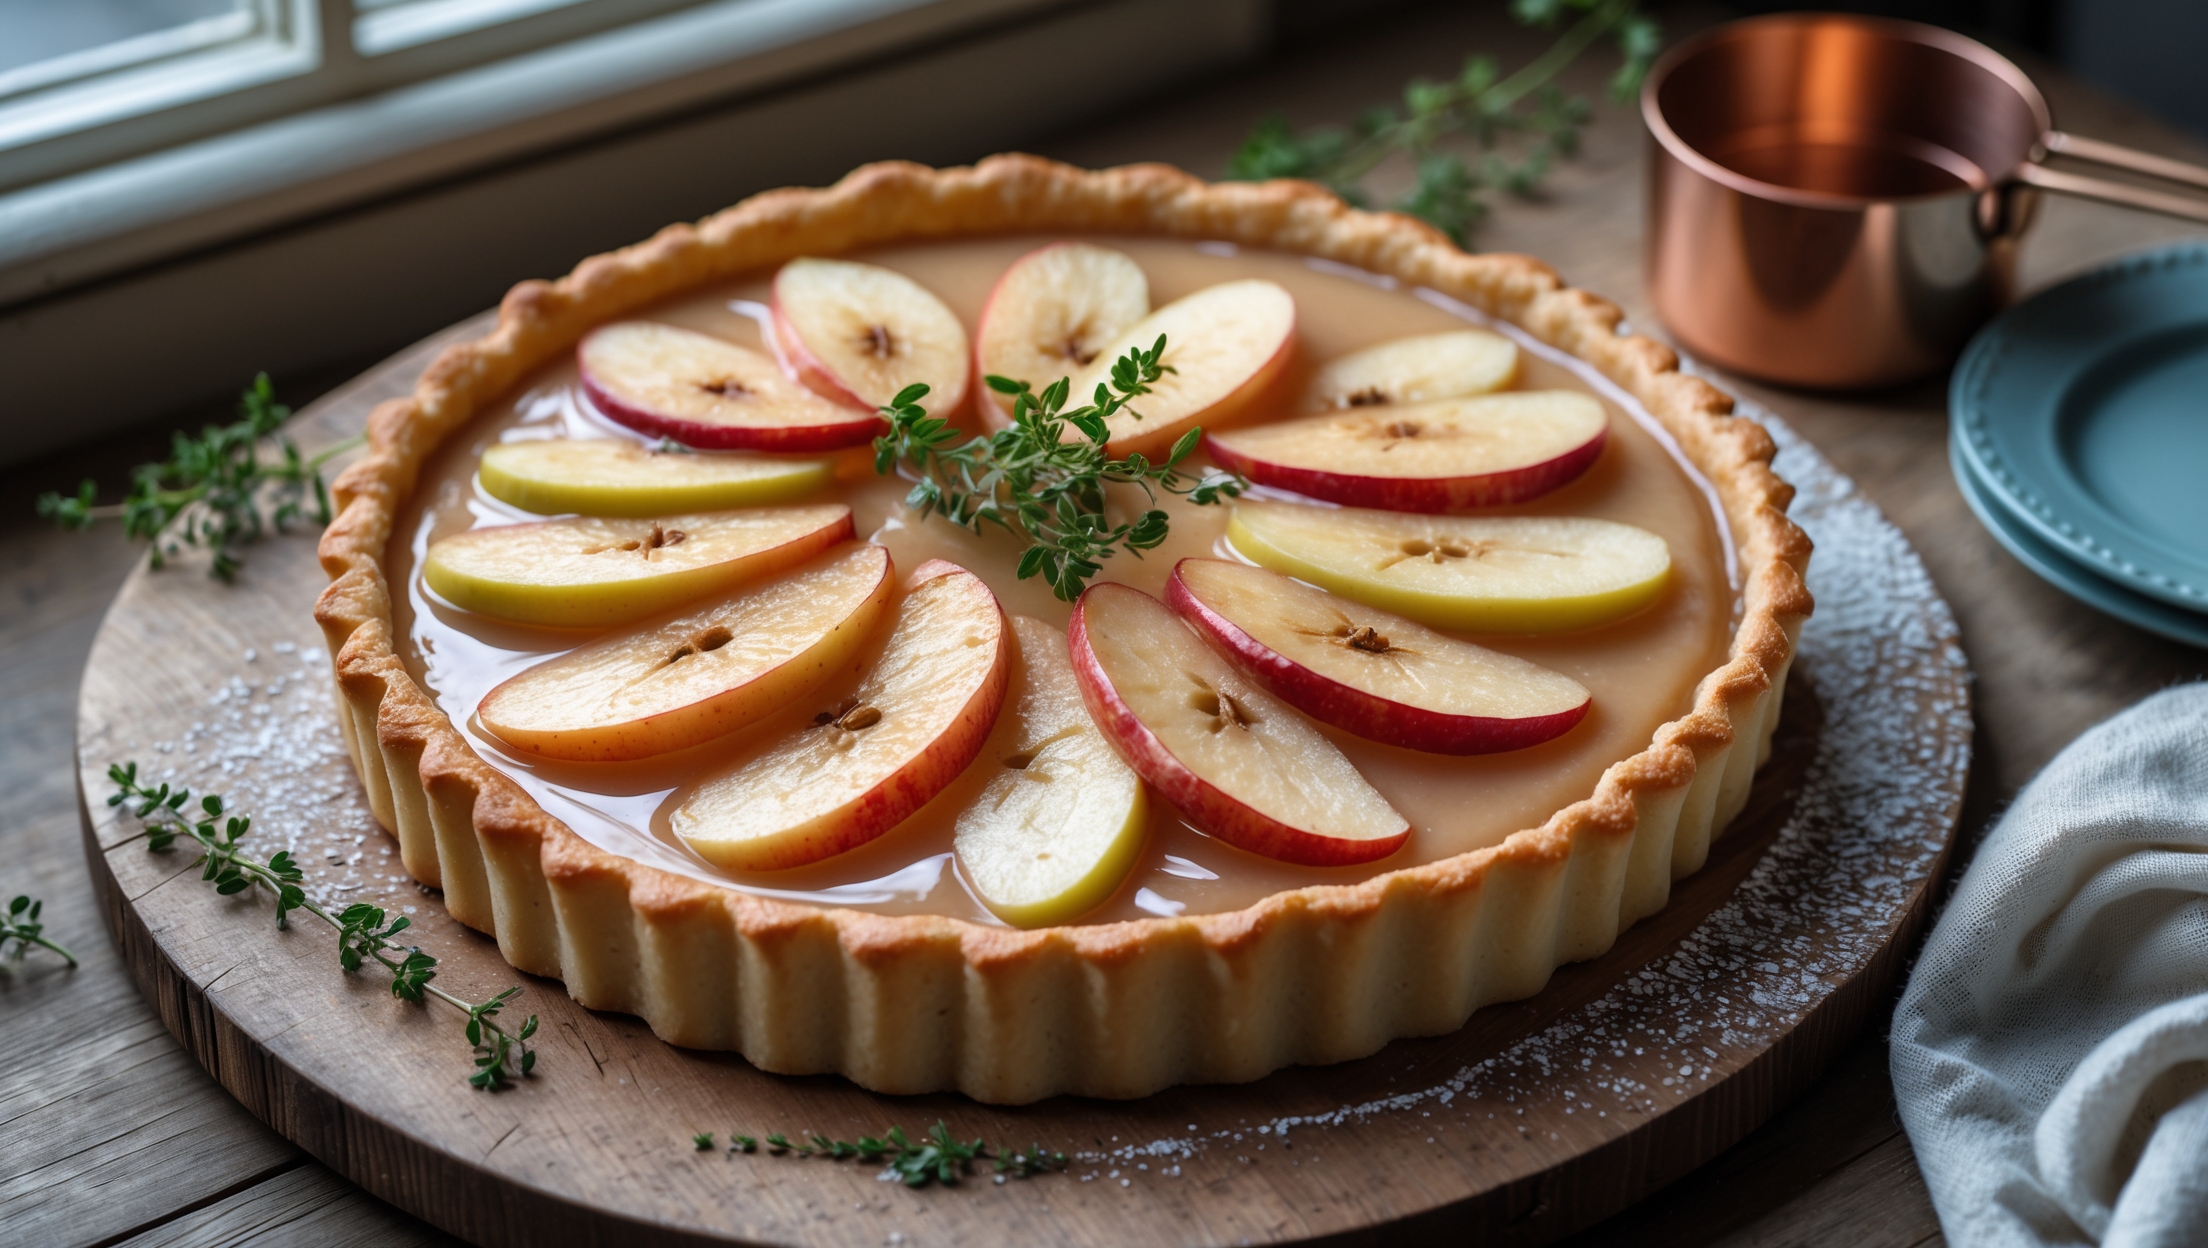
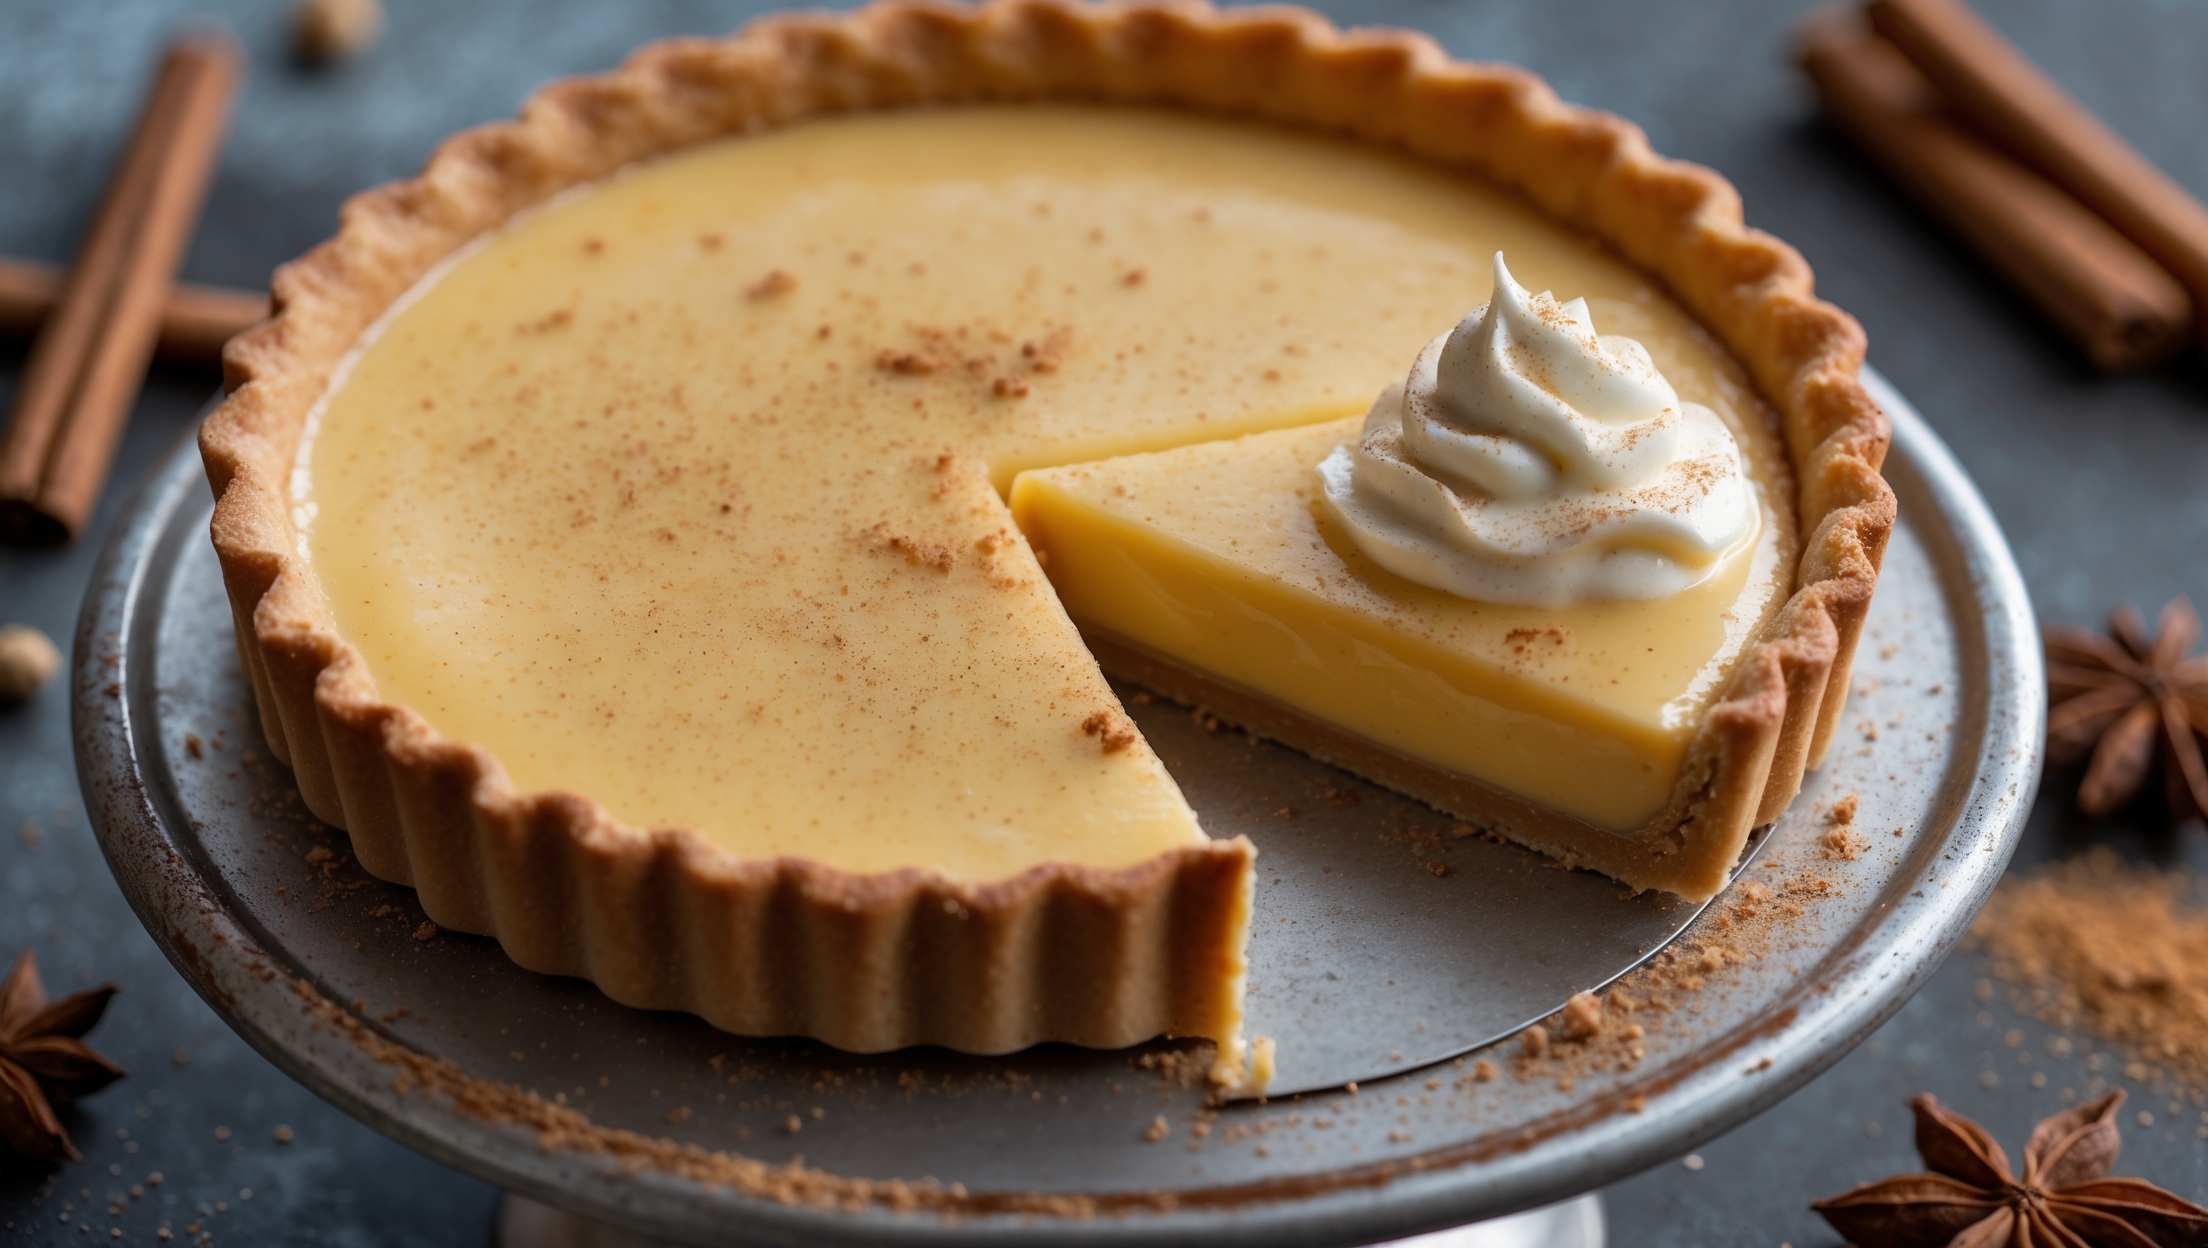
Learn how to cook Persimmon Custard Tart Recipe by first blind-baking a buttery shortcrust pastry, then filling it with a silky vanilla custard that's cooked until perfectly thickened. Once set, arrange thin persimmon slices in a decorative pattern and finish with an apricot glaze for a professional-looking dessert.
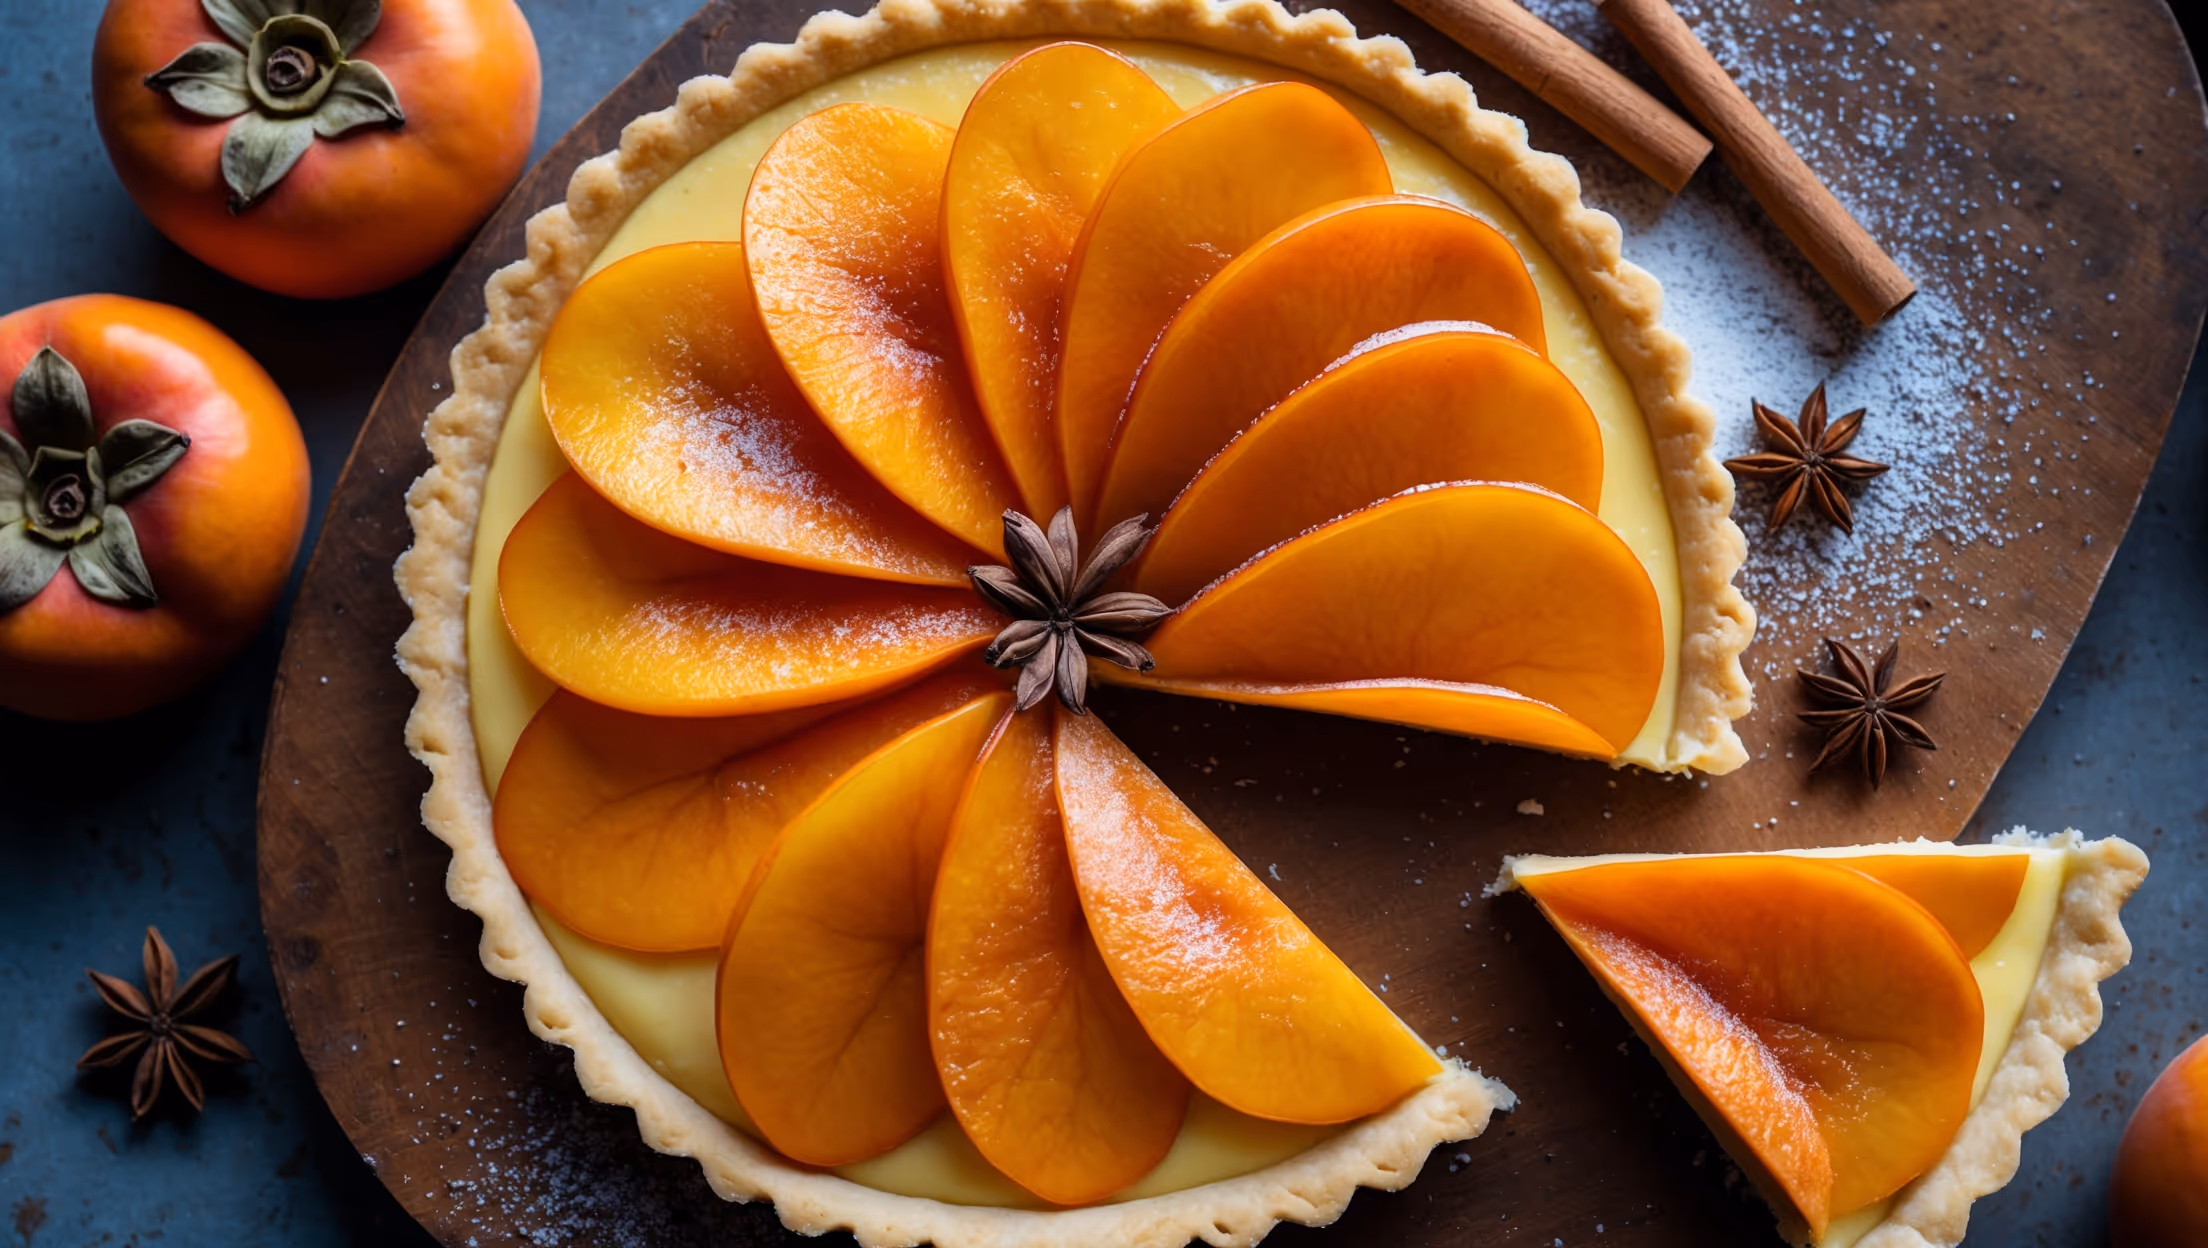
Yes, but choose carefully. Fuyu persimmons (Sharon fruit) are ideal as they're firm when ripe. Avoid Hachiya persimmons unless fully ripe, as they're astringent. For best results, select persimmons that are orange-red, slightly firm but yield to gentle pressure.
Thoroughly blind bake your pastry until golden and completely dry to the touch. Allow the case to cool fully before adding custard. Ensure your custard is thick enough when cooked, and arrange persimmon slices just before serving to prevent moisture seeping into the base.
A mandoline slicer produces the most consistent, paper-thin slices (2-3mm) that create a professional-looking finish. If using a knife, ensure it's extremely sharp. Slightly firm persimmons are easier to slice thinly than very soft ones.
Custard Tarts
Try following recommended recipes