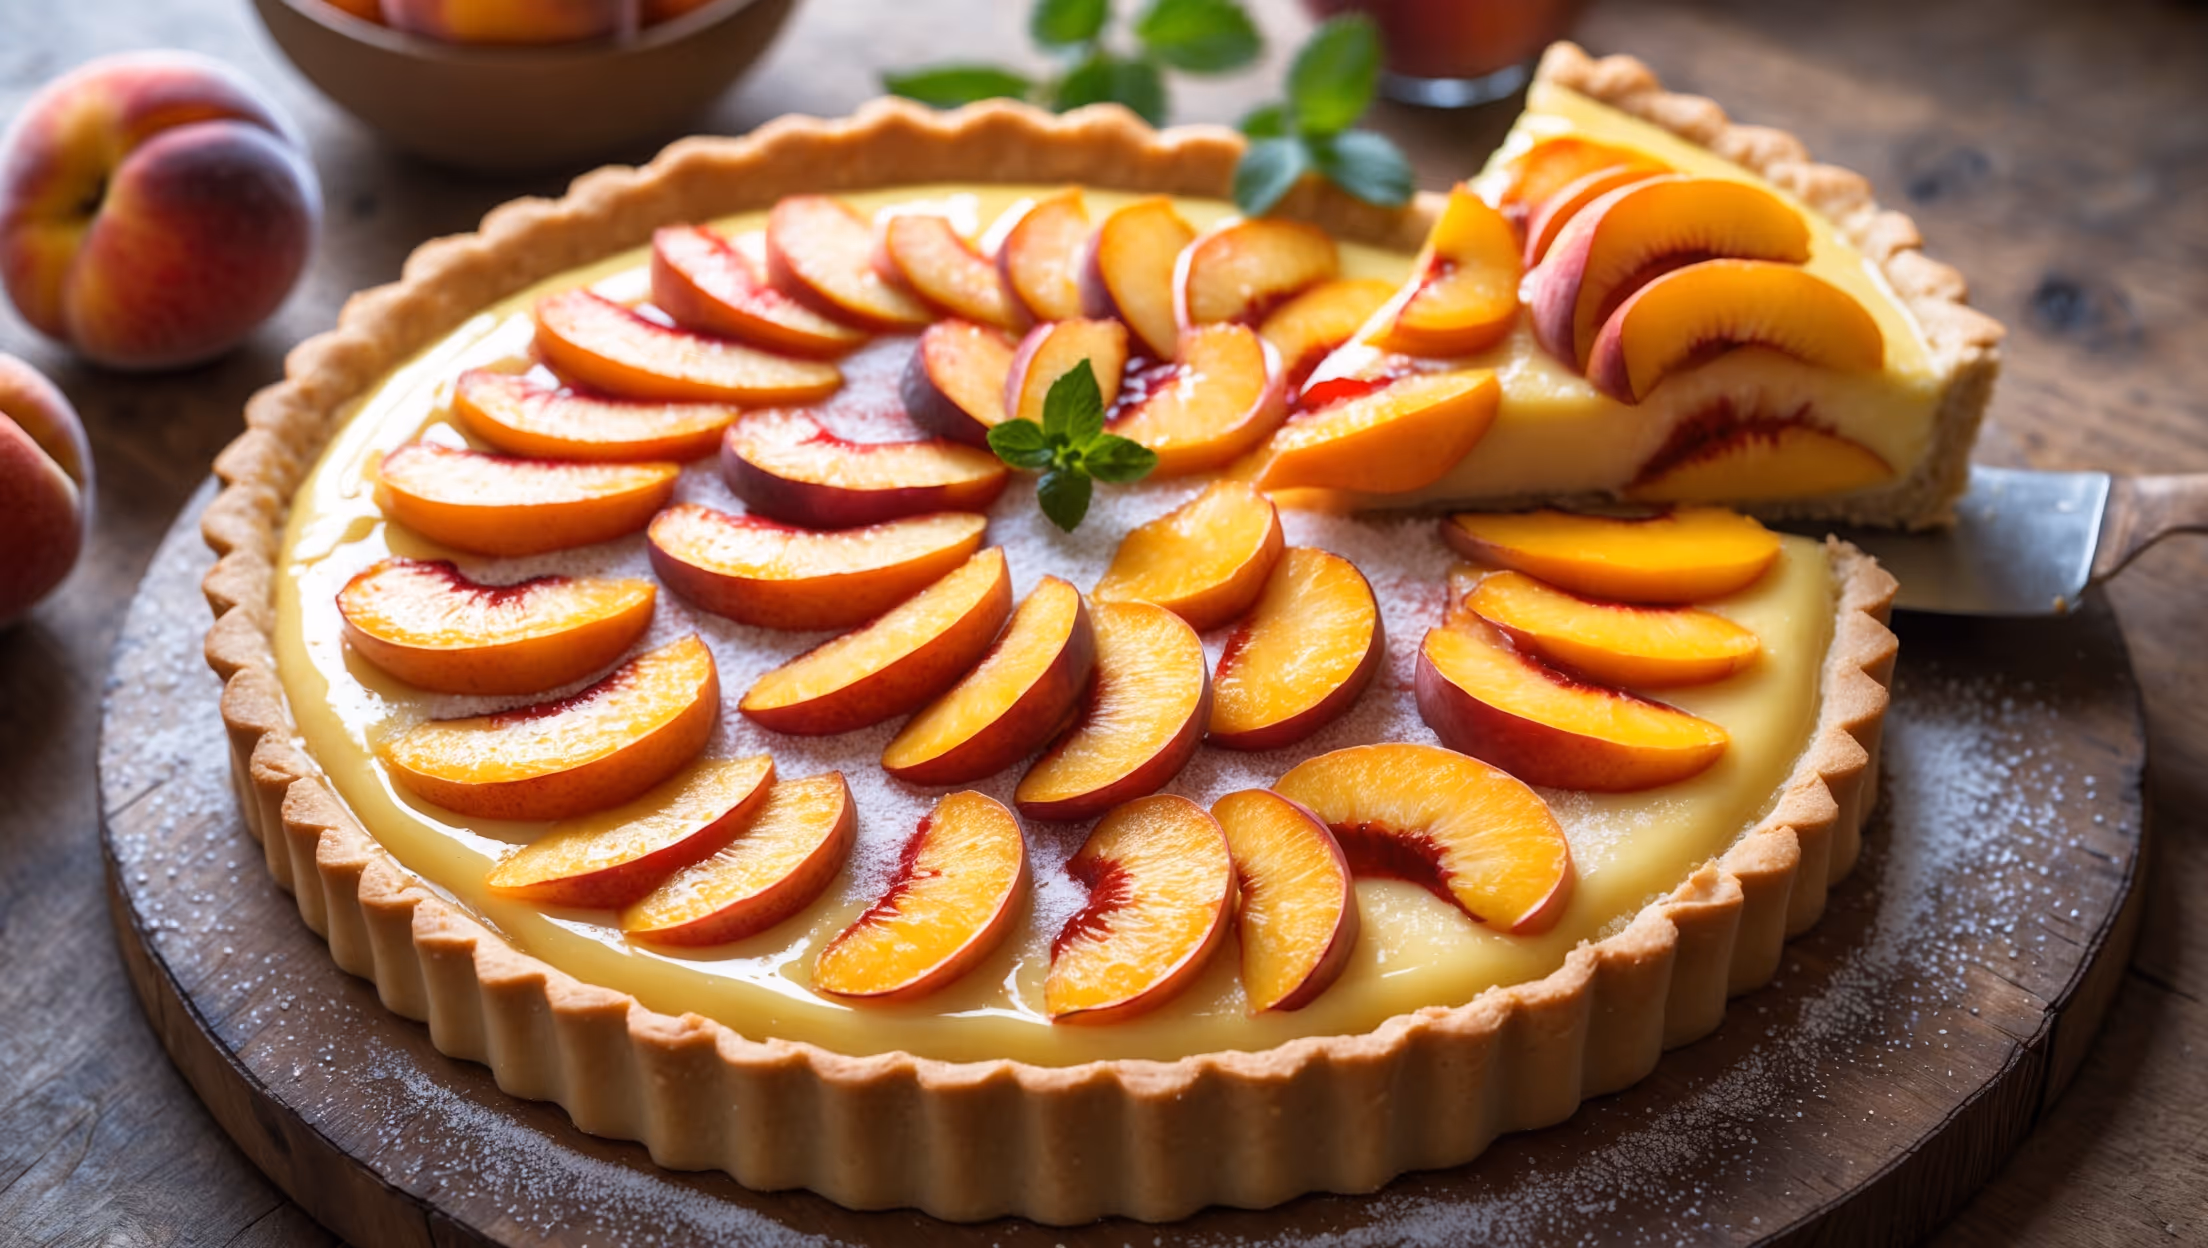
Peach Custard Tart Recipe
Ingredients
Equipment
Directions
FAQs
Find answers to your most pressing questions about this delicious recipe right here.
This tart requires plain flour, butter, icing sugar, egg yolks, whole milk, vanilla, caster sugar, cornflour, fresh peaches, and apricot jam. The pastry needs cold butter for flakiness, while the silky custard combines milk, vanilla, egg yolks and cornflour for the perfect set.
Learn how to cook Peach Custard Tart by first making buttery shortcrust pastry, blind baking until golden, then preparing a silky vanilla bean custard. Once the filled tart has set, arrange fresh peach slices in an overlapping pattern and finish with a glossy apricot glaze. The result is a professional-looking dessert with perfect layers and balanced flavours.
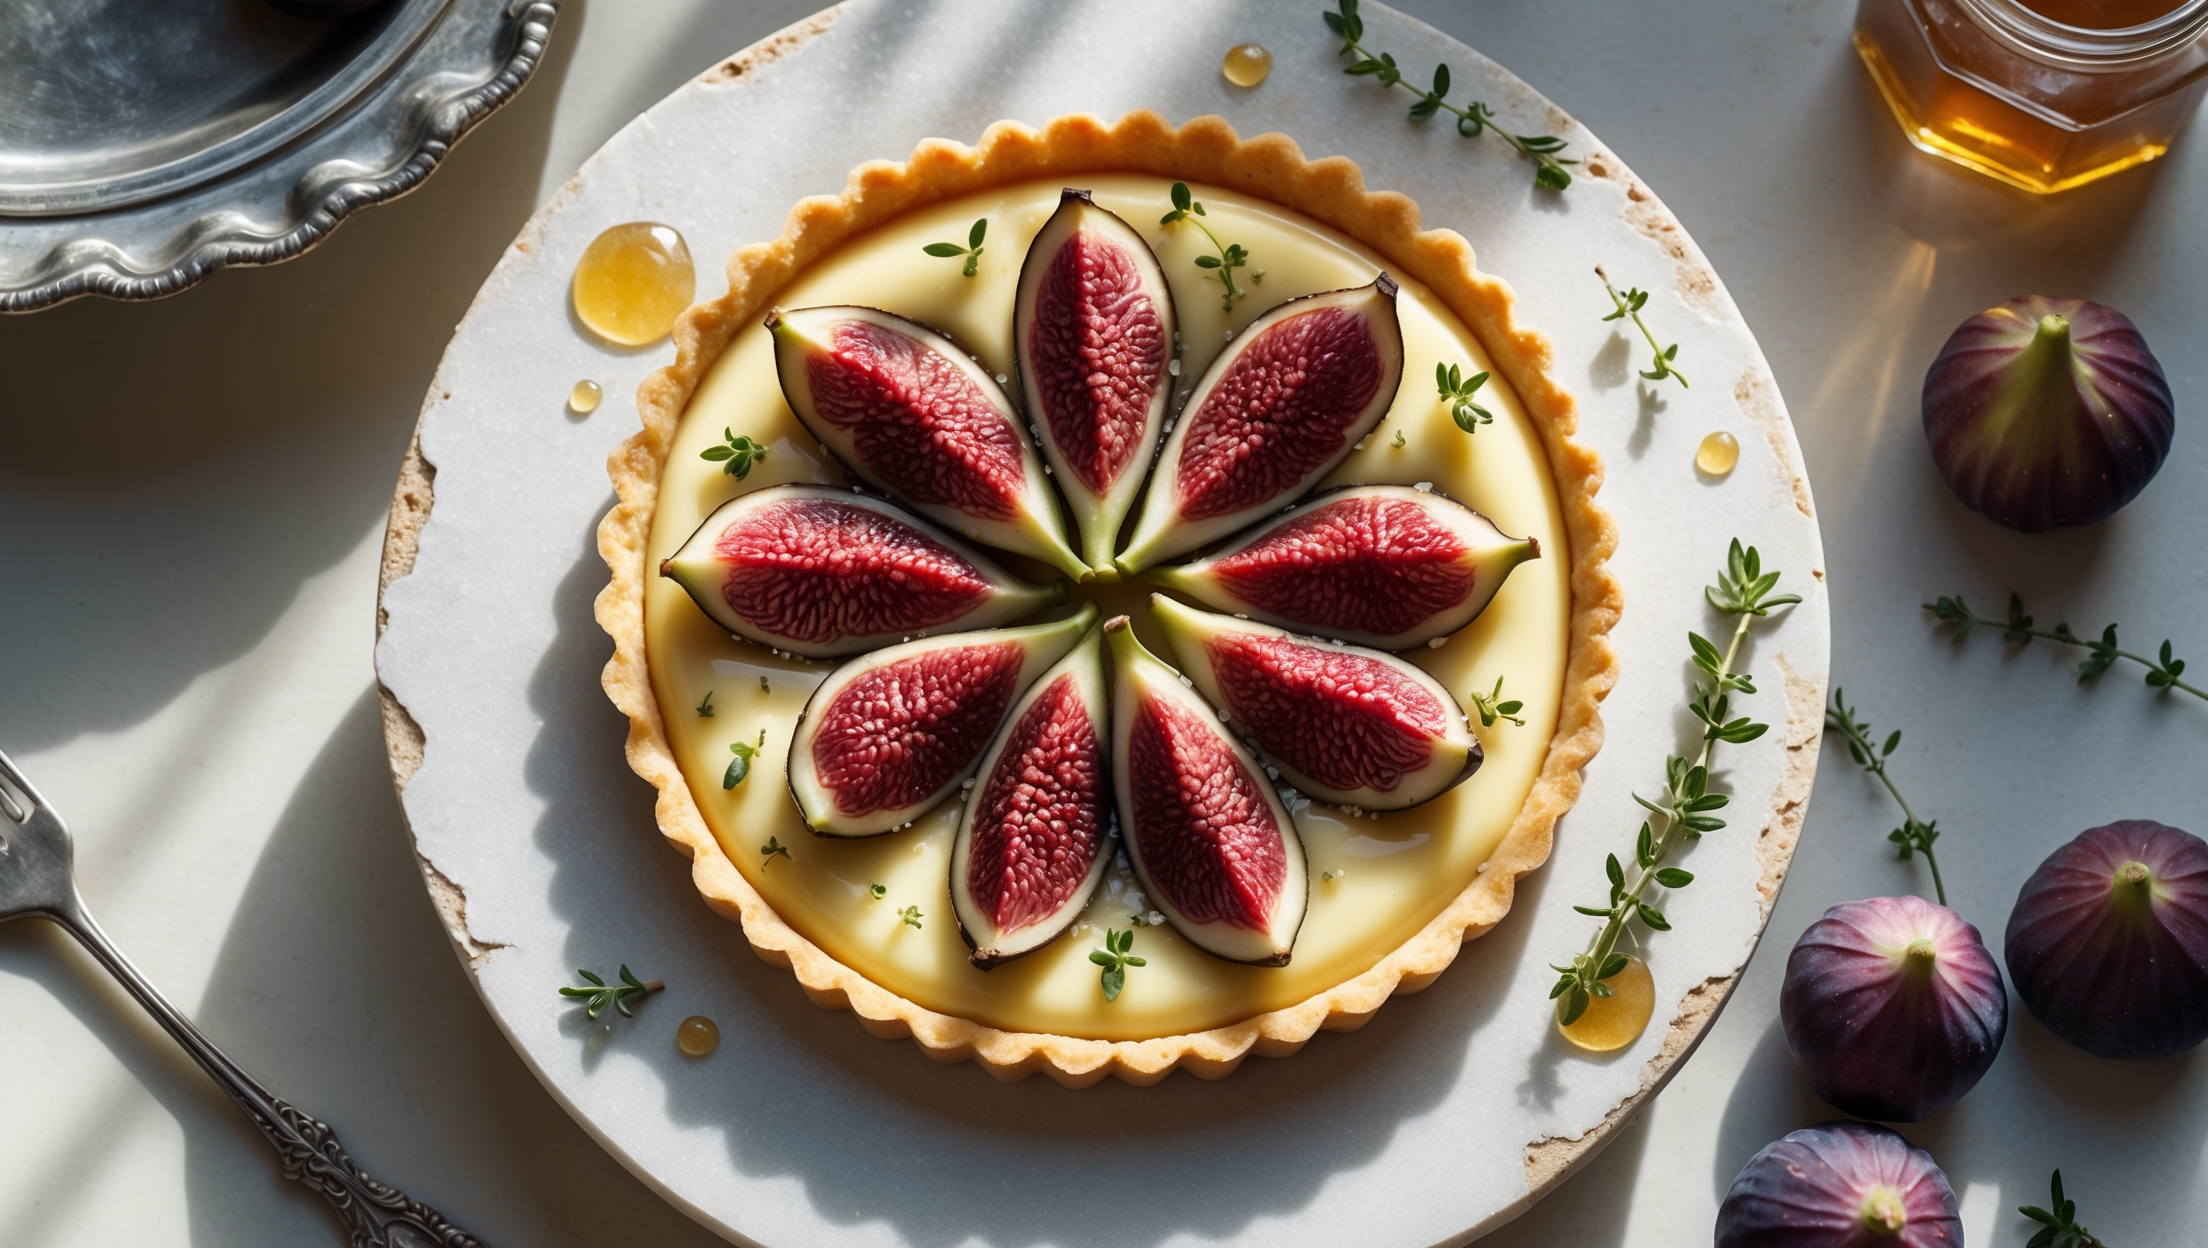
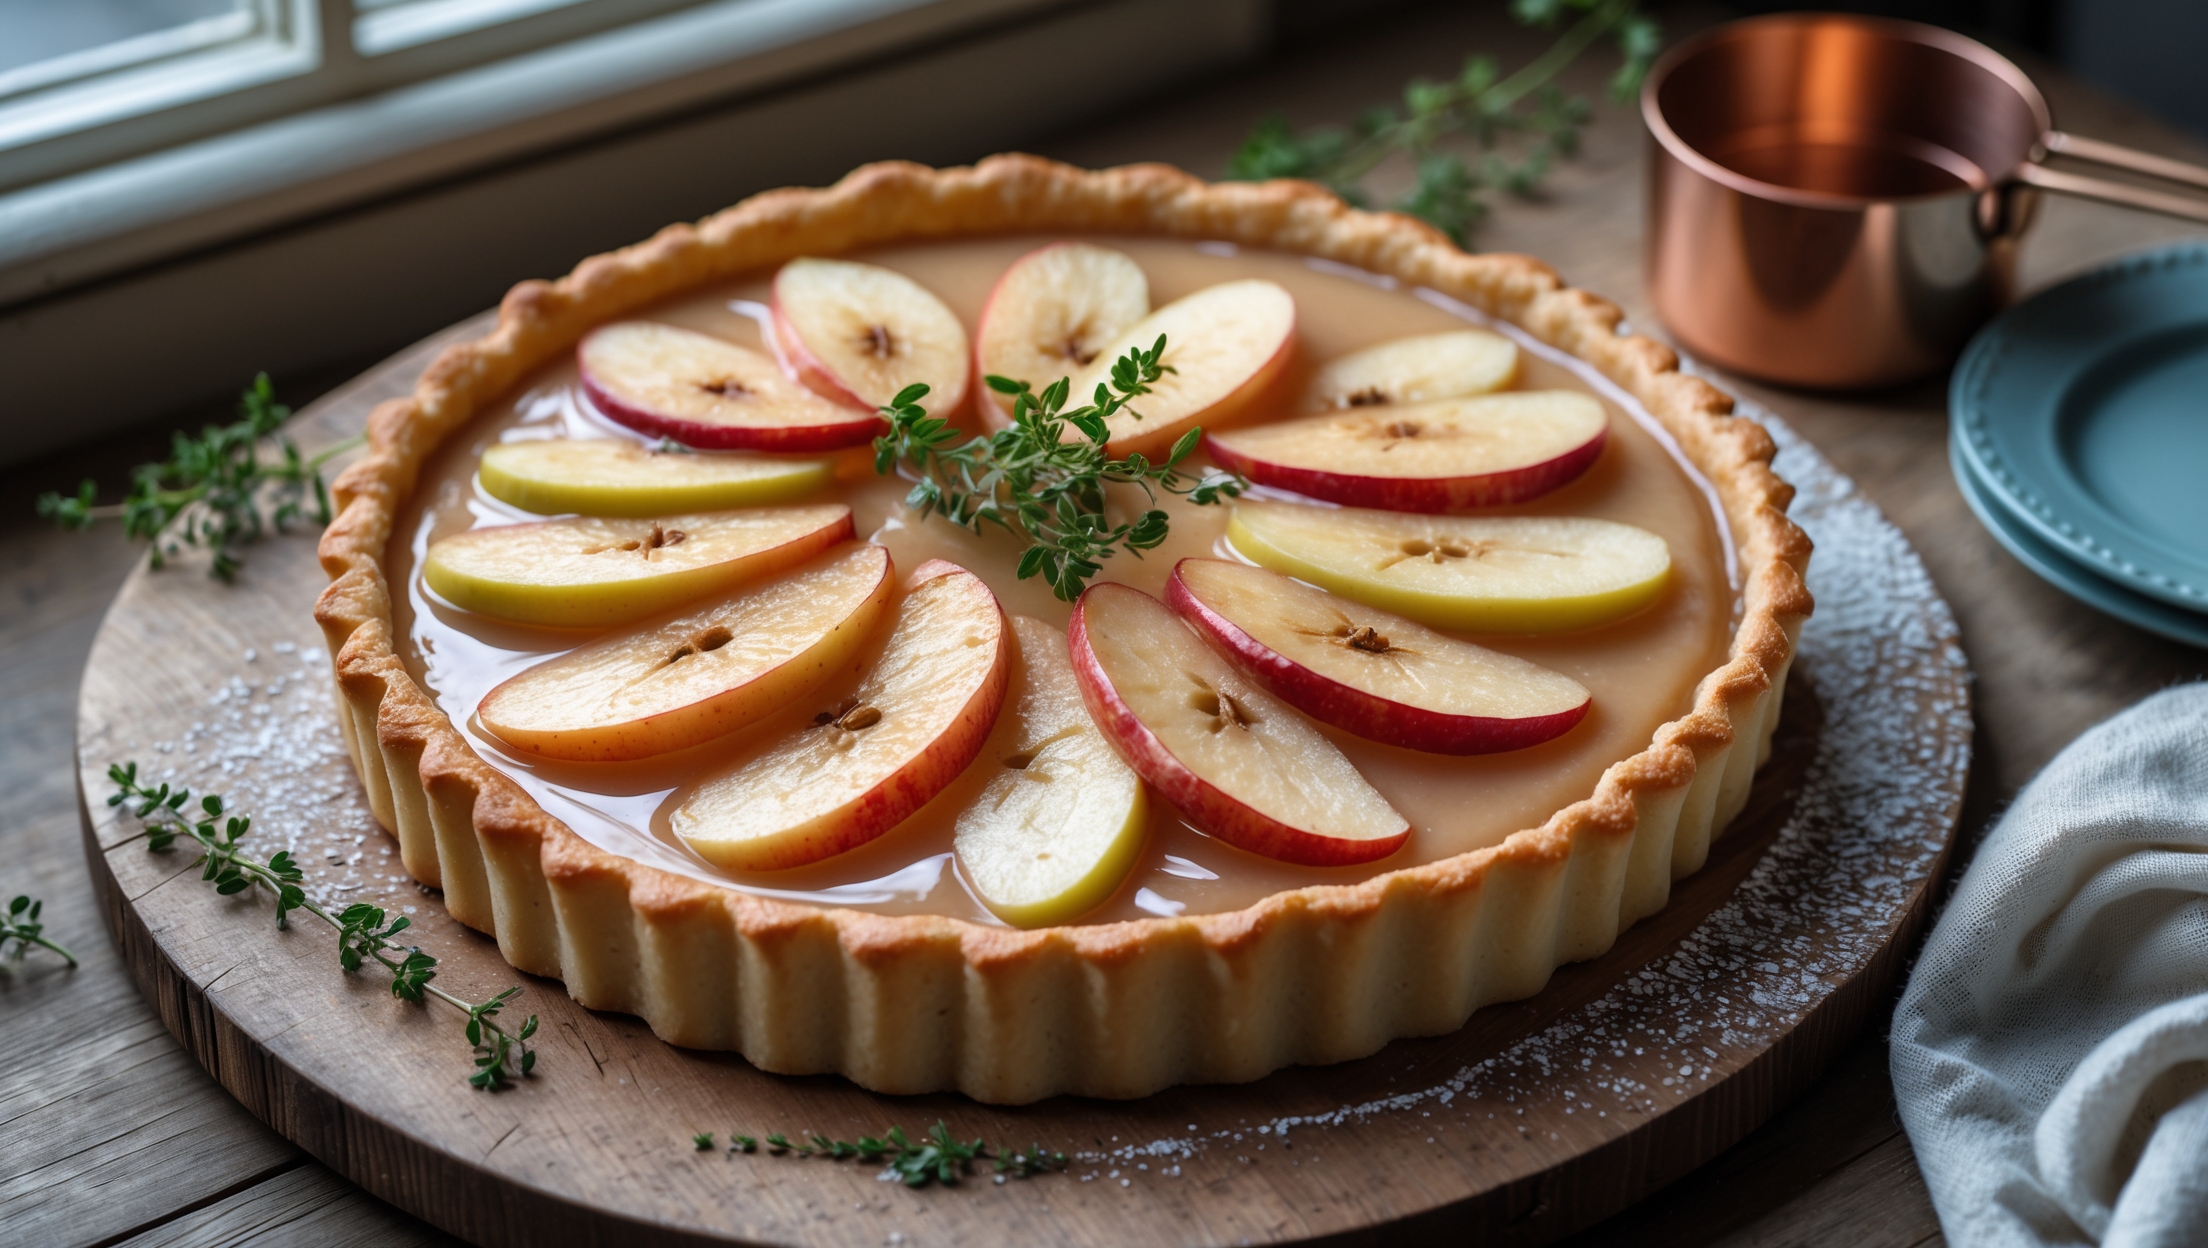
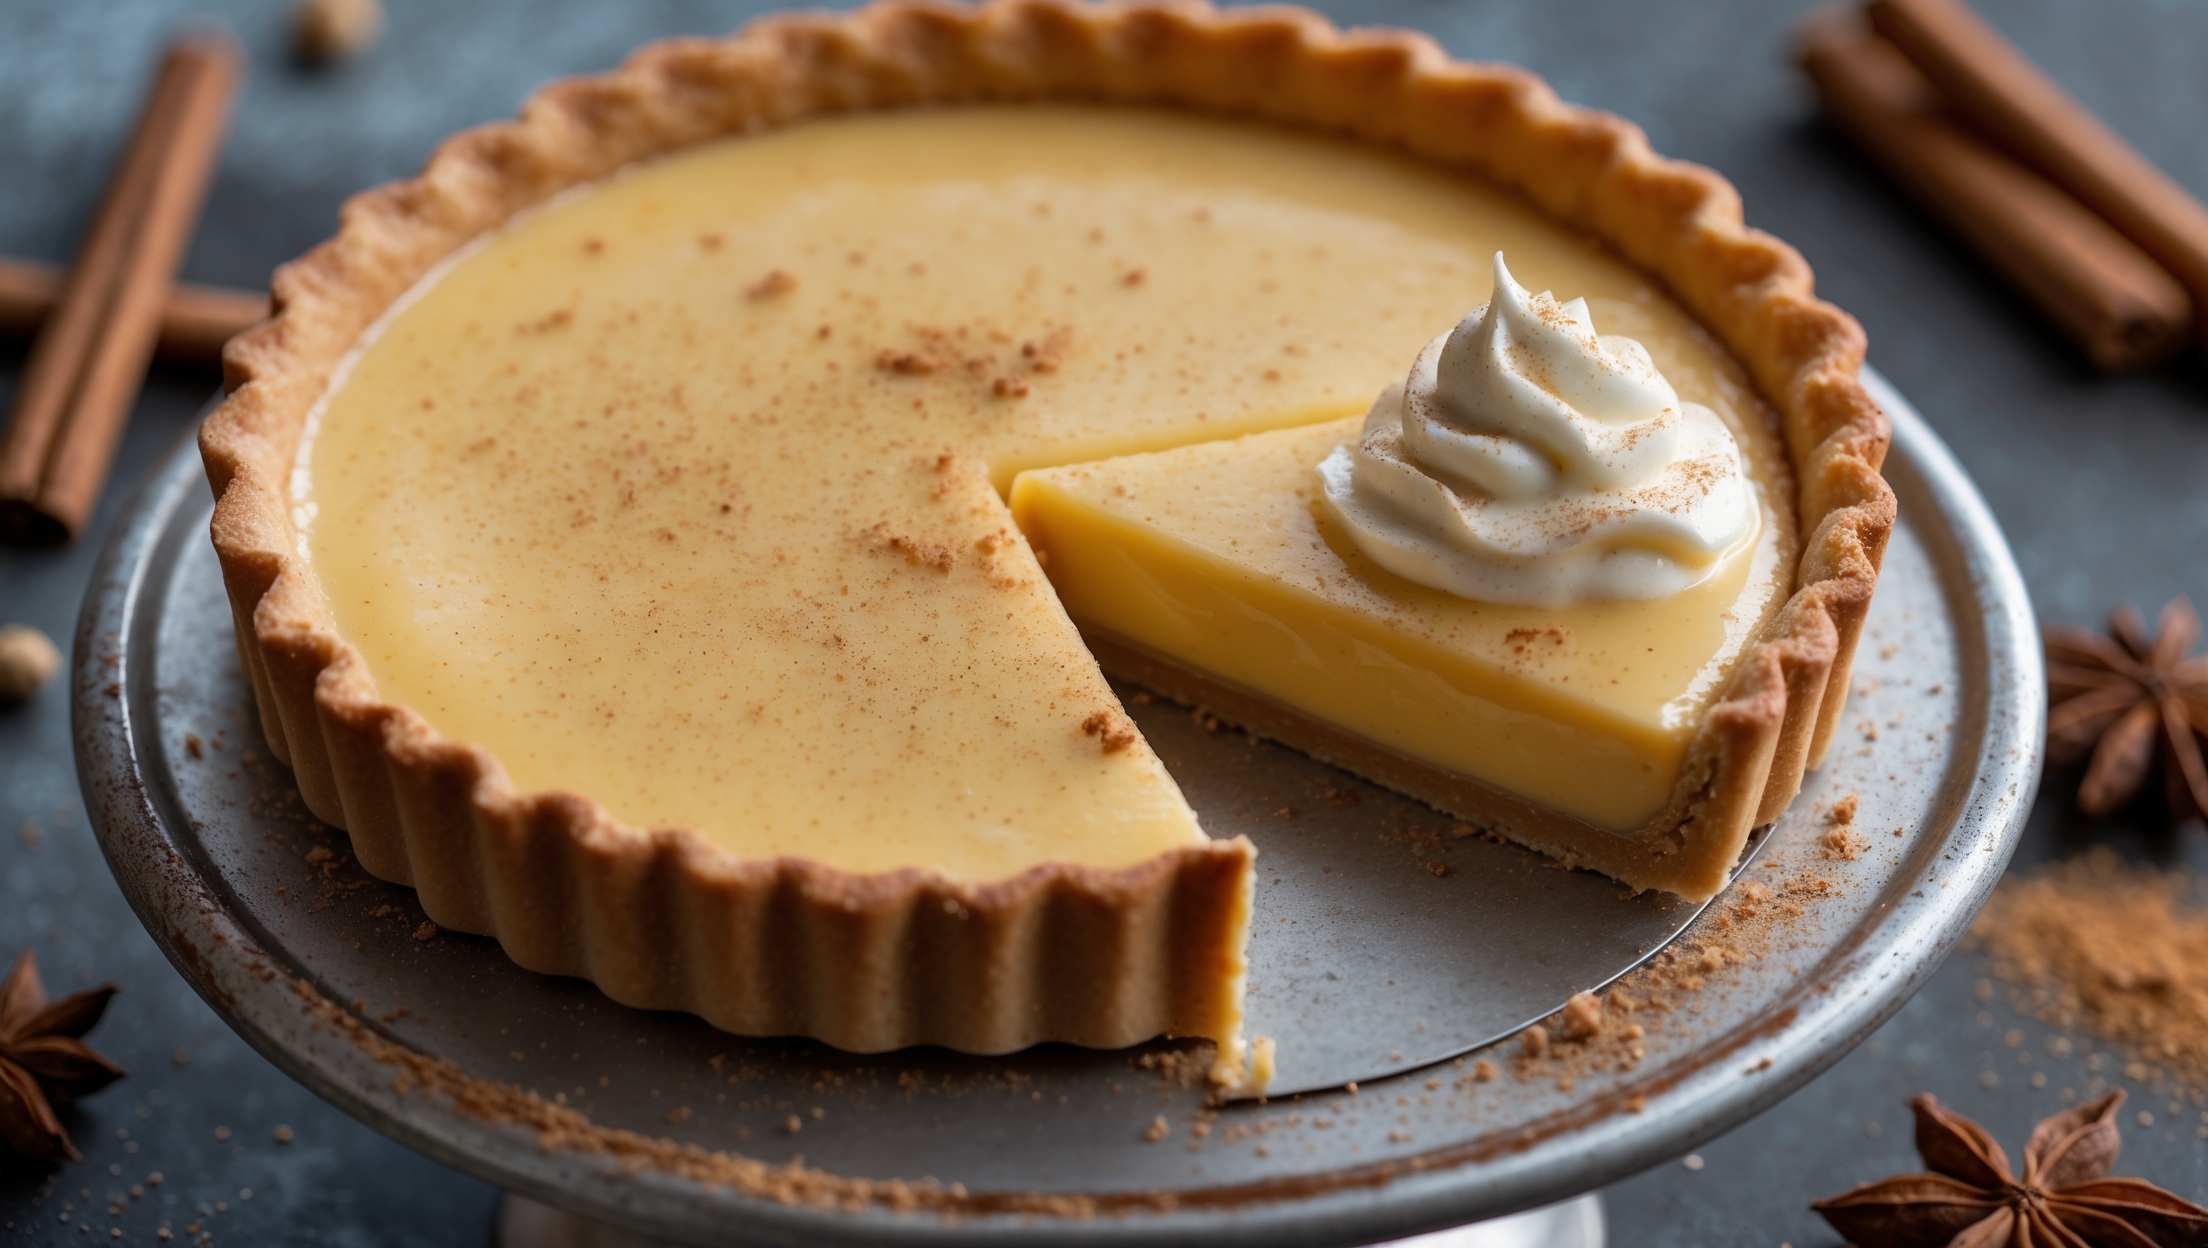
Absolutely! This versatile tart works beautifully with other stone fruits like nectarines, plums or apricots. Berries such as strawberries or raspberries also pair wonderfully with the vanilla custard. Simply adjust the glaze to match (use raspberry jam for berries, for example) and follow the same arrangement technique.
Lumpy custard typically results from cooking too quickly or at too high a temperature, causing the eggs to scramble. To fix this, strain the custard through a fine mesh sieve. To prevent lumps, always stir constantly over medium-low heat, gradually incorporate warm milk into eggs, and never rush the thickening process.
The pastry case can be blind baked up to 2 days ahead and stored in an airtight container. The custard can be made 1 day ahead and refrigerated with cling film directly on the surface. For best results, assemble with fresh peaches no more than 4-6 hours before serving to maintain optimal texture.
Custard Tarts
Try following recommended recipes