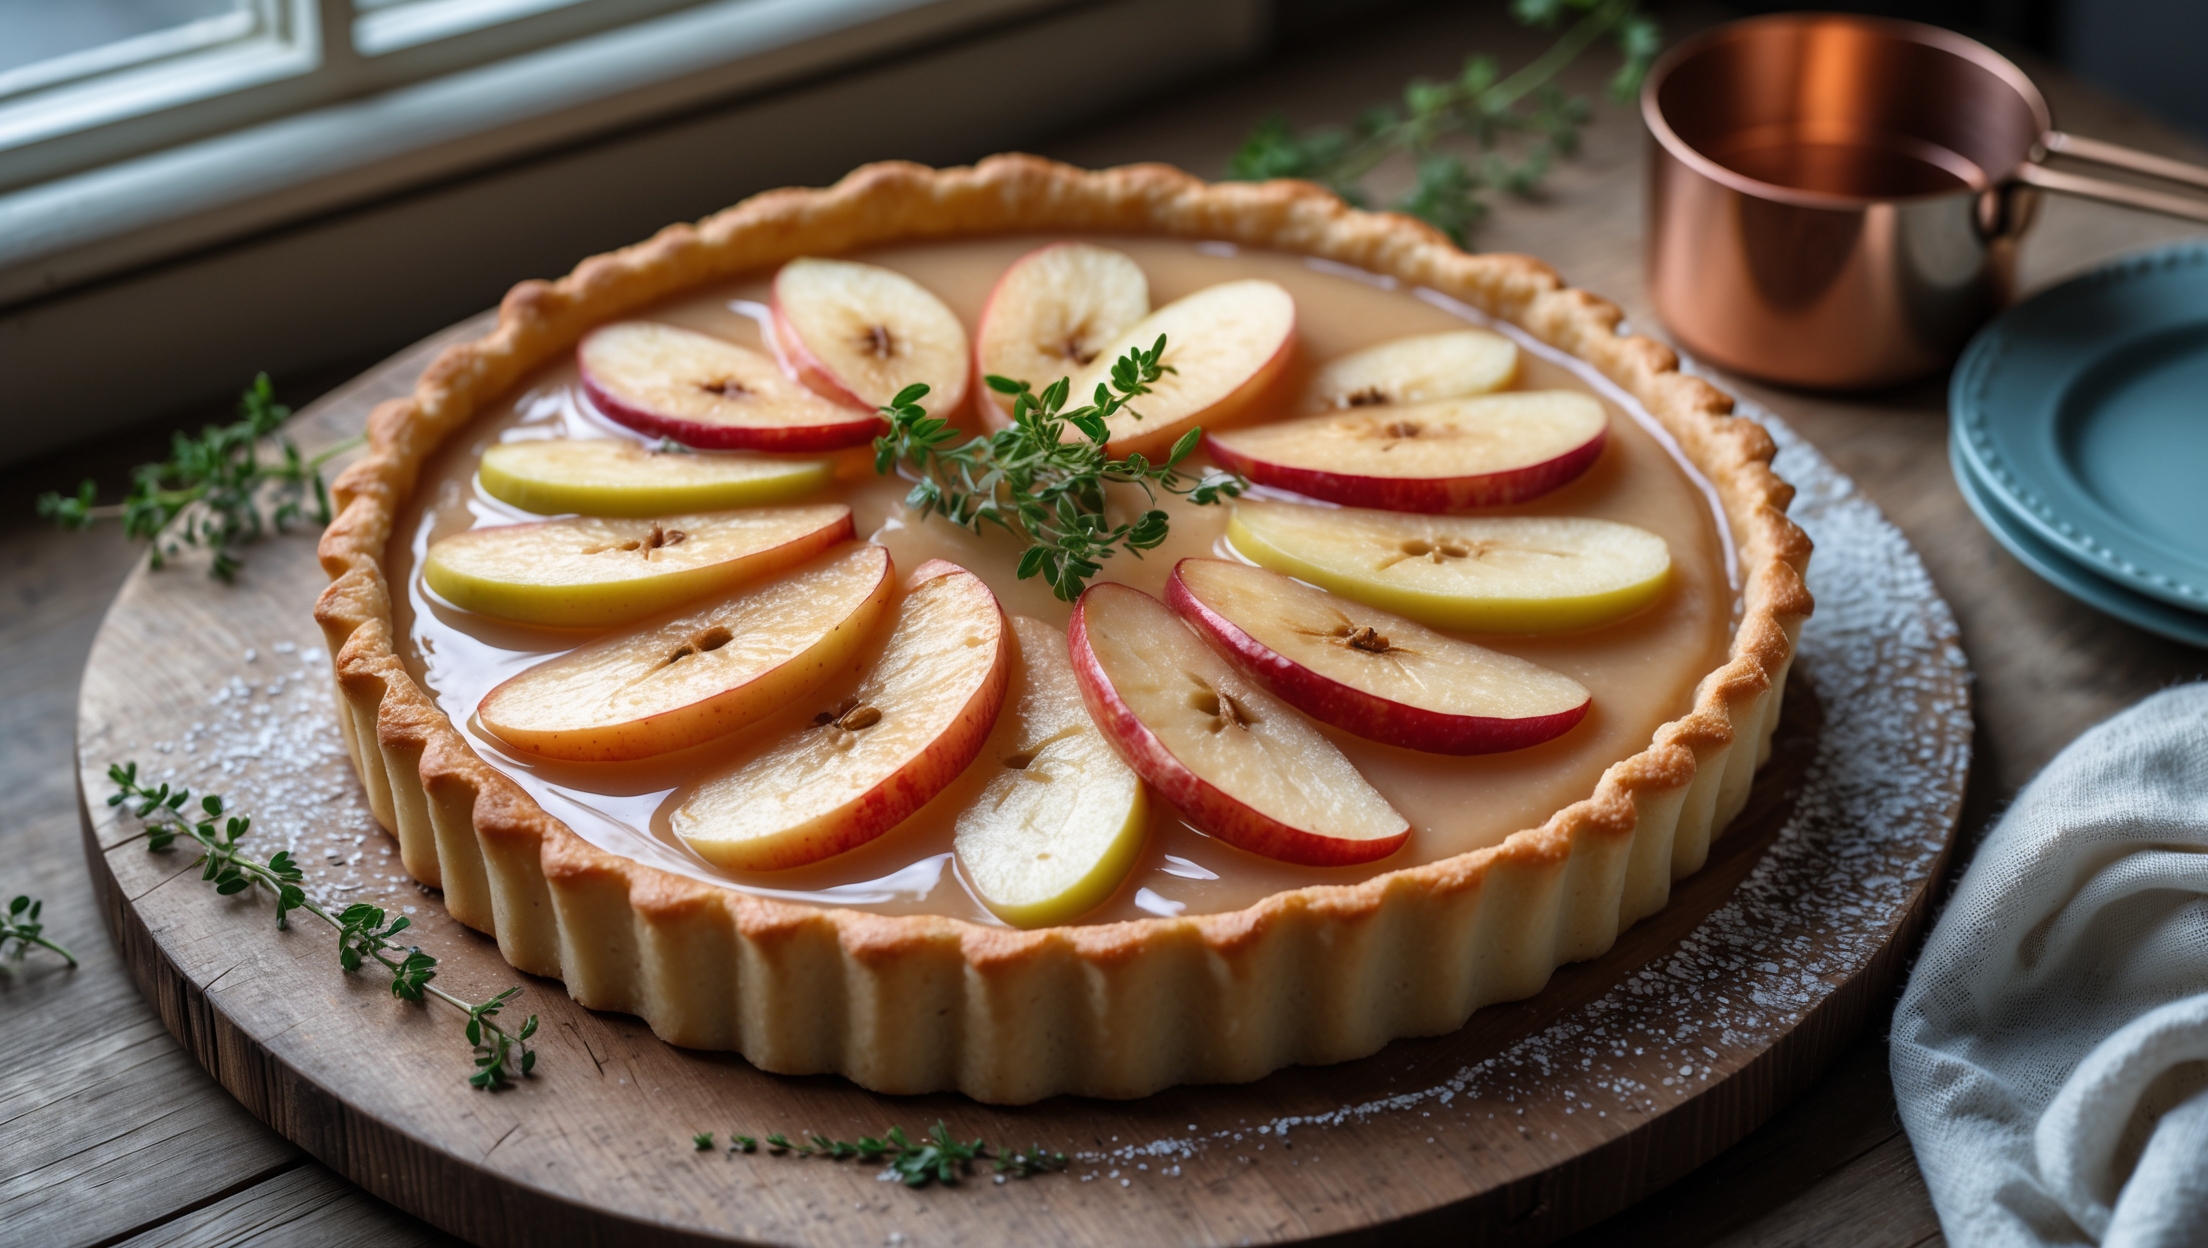
Directions
<ol class="no-list-style"><li class="MethodStepper"><h4 class="step-title">Step 1</h4>Begin by making the pastry. Place the flour, salt and cubed cold butter in a food processor and pulse until the mixture resembles breadcrumbs. The small pieces of butter will create steam pockets during baking, resulting in a flaky texture. Alternatively, rub the butter into the flour with your fingertips, being careful not to overwork the mixture.</li><li class="MethodStepper"><h4 class="step-title">Step 2</h4>Add the sugar, egg yolk and 2 tablespoons of ice-cold water. Pulse or mix until the dough just comes together, adding the extra tablespoon of water only if needed. The dough should hold together when pressed but shouldn't be sticky. Cold ingredients are crucial here as they prevent the butter from melting prematurely, which would result in a tough pastry.</li><li class="MethodStepper"><h4 class="step-title">Step 3</h4>Turn the dough onto a lightly floured surface and gently bring it together into a disc without kneading. Wrap in cling film and refrigerate for at least 30 minutes. This resting period allows the gluten to relax, preventing shrinkage during baking, while also firming up the butter.</li><li class="MethodStepper"><h4 class="step-title">Step 4</h4>Preheat your oven to 180°C (160°C fan). Roll the chilled pastry out on a lightly floured surface to about 3-4mm thickness, creating a circle large enough to line your tart tin with a slight overhang. Keep lifting and turning the pastry as you roll to prevent sticking.</li><li class="MethodStepper"><h4 class="step-title">Step 5</h4>Carefully drape the pastry over your rolling pin and transfer it to the tart tin. Gently press the pastry into the corners without stretching it, which could cause shrinkage. Trim the excess leaving a small overhang to allow for shrinkage. Prick the base all over with a fork to prevent air bubbles from forming.</li><li class="MethodStepper"><h4 class="step-title">Step 6</h4>Line the pastry case with baking parchment and fill with baking beans or uncooked rice. This blind baking step ensures your pastry base cooks through without bubbling up. Bake for 15 minutes, then remove the beans and parchment and return to the oven for another 5-10 minutes until the pastry is dry and pale golden. The base should look matte rather than shiny, indicating it's properly cooked.</li><li class="MethodStepper"><h4 class="step-title">Step 7</h4>While the pastry is baking, prepare your custard filling. Warm the milk in a saucepan until just simmering but not boiling. Heat the milk slowly to prevent a skin from forming and to allow the nutmeg flavor to infuse properly. Remove from heat and let it cool slightly while you prepare the other ingredients.</li><li class="MethodStepper"><h4 class="step-title">Step 8</h4>In a large bowl, whisk together the eggs, sugar, vanilla extract and 1½-2 teaspoons of freshly grated nutmeg. Fresh nutmeg has a much more vibrant and complex flavor than pre-ground, so it's worth taking the time to grate it yourself. The oils released during grating will provide a more aromatic finish to your tart.</li><li class="MethodStepper"><h4 class="step-title">Step 9</h4>Gradually pour the warm milk into the egg mixture, whisking constantly. This tempering process prevents the eggs from scrambling by slowly raising their temperature. Once all the milk is incorporated, strain the custard mixture through a fine mesh sieve into a jug to remove any egg strands or nutmeg chunks, ensuring a perfectly smooth custard.</li><li class="MethodStepper"><h4 class="step-title">Step 10</h4>Reduce the oven temperature to 150°C (130°C fan). Place the baked pastry case on a baking sheet, then carefully pour the custard into it. Fill it as full as possible without spilling – you might need to do this with the tart half-placed in the oven to avoid spills when moving it.</li><li class="MethodStepper"><h4 class="step-title">Step 11</h4>Grate a light dusting of additional fresh nutmeg over the top of the custard. This will create an attractive speckled appearance and intensify the nutmeg flavor in the finished tart. Bake for 25-30 minutes until the custard is just set with a slight wobble in the center. The custard will continue to set as it cools, so it's better to slightly underbake than overbake, which would make it rubbery.</li><li class="MethodStepper"><h4 class="step-title">Step 12</h4>When ready, the tart should be set around the edges with a gentle wobble in the center – think of the consistency of set jelly. Remove from the oven and allow to cool completely in the tin. The cooling process is crucial for the custard to finish setting properly, so resist the temptation to slice into it while warm.</li><li class="MethodStepper"><h4 class="step-title">Step 13</h4>Once completely cool, carefully remove the tart from the tin and transfer to a serving plate. For clean slices, dip your knife in hot water and wipe dry between cuts. The tart is best enjoyed on the day of baking but will keep refrigerated for up to 2 days. Bring to room temperature before serving for the best flavor and texture experience.</li></ol>