Directions
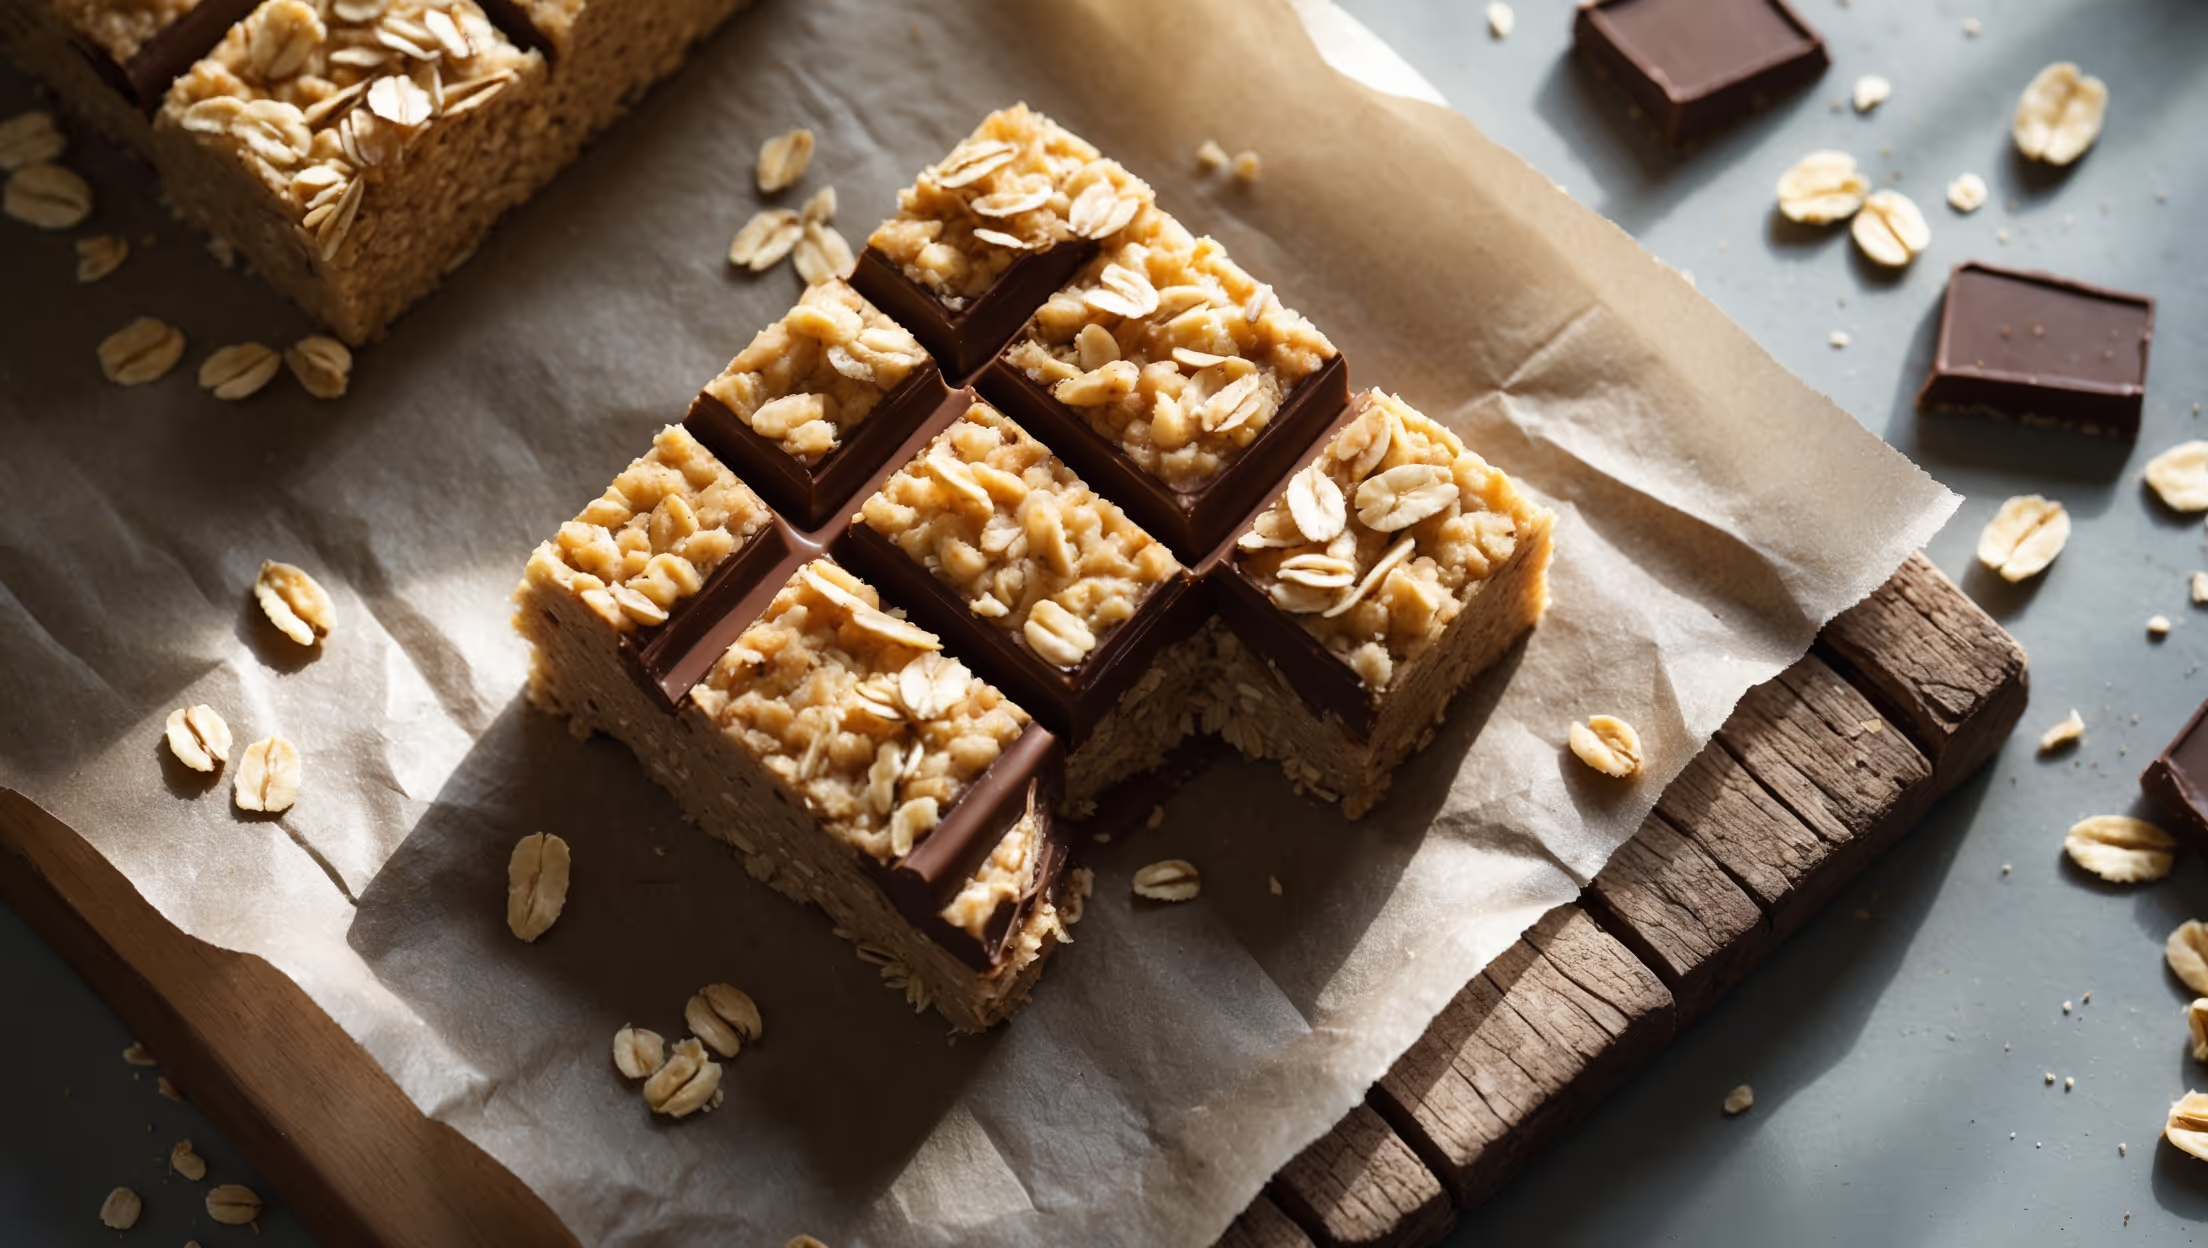
<ol class="no-list-style"><li class="MethodStepper"><h4 class="step-title">Step 1</h4>Line a 20cm square baking tin with parchment paper, leaving some overhang on the sides to help with easy removal later. Make sure to press the paper into the corners for clean-edged bars.</li><li class="MethodStepper"><h4 class="step-title">Step 2</h4>In a medium saucepan over medium heat, melt the butter completely. Once melted, add the brown sugar and stir until the sugar has dissolved and the mixture is smooth and slightly bubbling at the edges, about 2-3 minutes. The heat helps dissolve the sugar crystals, preventing a grainy texture in the finished bars.</li><li class="MethodStepper"><h4 class="step-title">Step 3</h4>Remove from heat and stir in the vanilla extract. Immediately add the rolled oats and mix thoroughly until every oat is coated with the butter-sugar mixture. This coating will help the bars hold together once chilled.</li><li class="MethodStepper"><h4 class="step-title">Step 4</h4>Press approximately two-thirds of the oat mixture firmly into the bottom of your prepared tin, creating an even layer. Use the back of a measuring cup or glass to really compact the mixture - this is crucial for bars that hold together well. Set aside to cool slightly while preparing the chocolate filling.</li><li class="MethodStepper"><h4 class="step-title">Step 5</h4>In a microwave-safe bowl or using a double boiler, melt the chocolate chips and peanut butter together, stirring every 30 seconds until completely smooth. The peanut butter not only adds flavor but also gives the chocolate layer a silkier texture that cuts more cleanly when chilled.</li><li class="MethodStepper"><h4 class="step-title">Step 6</h4>Pour the chocolate mixture over the oat base, spreading it evenly with a spatula or the back of a spoon. Sprinkle the sea salt evenly over the chocolate - this will enhance the chocolate flavor by creating a wonderful sweet-salty contrast.</li><li class="MethodStepper"><h4 class="step-title">Step 7</h4>Crumble the remaining oat mixture evenly over the chocolate layer. Gently press it down just enough to adhere to the chocolate without pushing it into the chocolate layer completely. You want the distinct layers to be visible when cut.</li><li class="MethodStepper"><h4 class="step-title">Step 8</h4>Refrigerate the bars for at least 2 hours, or until completely set. The chocolate layer should be firm to the touch. Patience during this cooling step is essential for clean-cutting bars that hold their shape.</li><li class="MethodStepper"><h4 class="step-title">Step 9</h4>Once set, use the parchment paper overhang to lift the entire block out of the tin. With a sharp knife, cut into 16 squares, wiping the knife clean between cuts for the neatest presentation. For the cleanest cuts, run your knife under hot water and dry it before each slice.</li><li class="MethodStepper"><h4 class="step-title">Step 10</h4>Store the bars in an airtight container in the refrigerator for up to a week, or freeze for up to 3 months. If serving from the refrigerator, you may want to let them sit at room temperature for 10 minutes to soften slightly for the best texture.</li></ol>