Milk Chocolate Custard Tart Recipe

Rich, velvety milk chocolate custard nestled in a buttery shortcrust pastry, creating a luxurious dessert that balances sweet and creamy notes with a satisfying snap of pastry.
Difficulty:
Intermediate
Prep Time:
40 mins
Cook Time:
45 mins
Serves:
1 tart (8 slices)
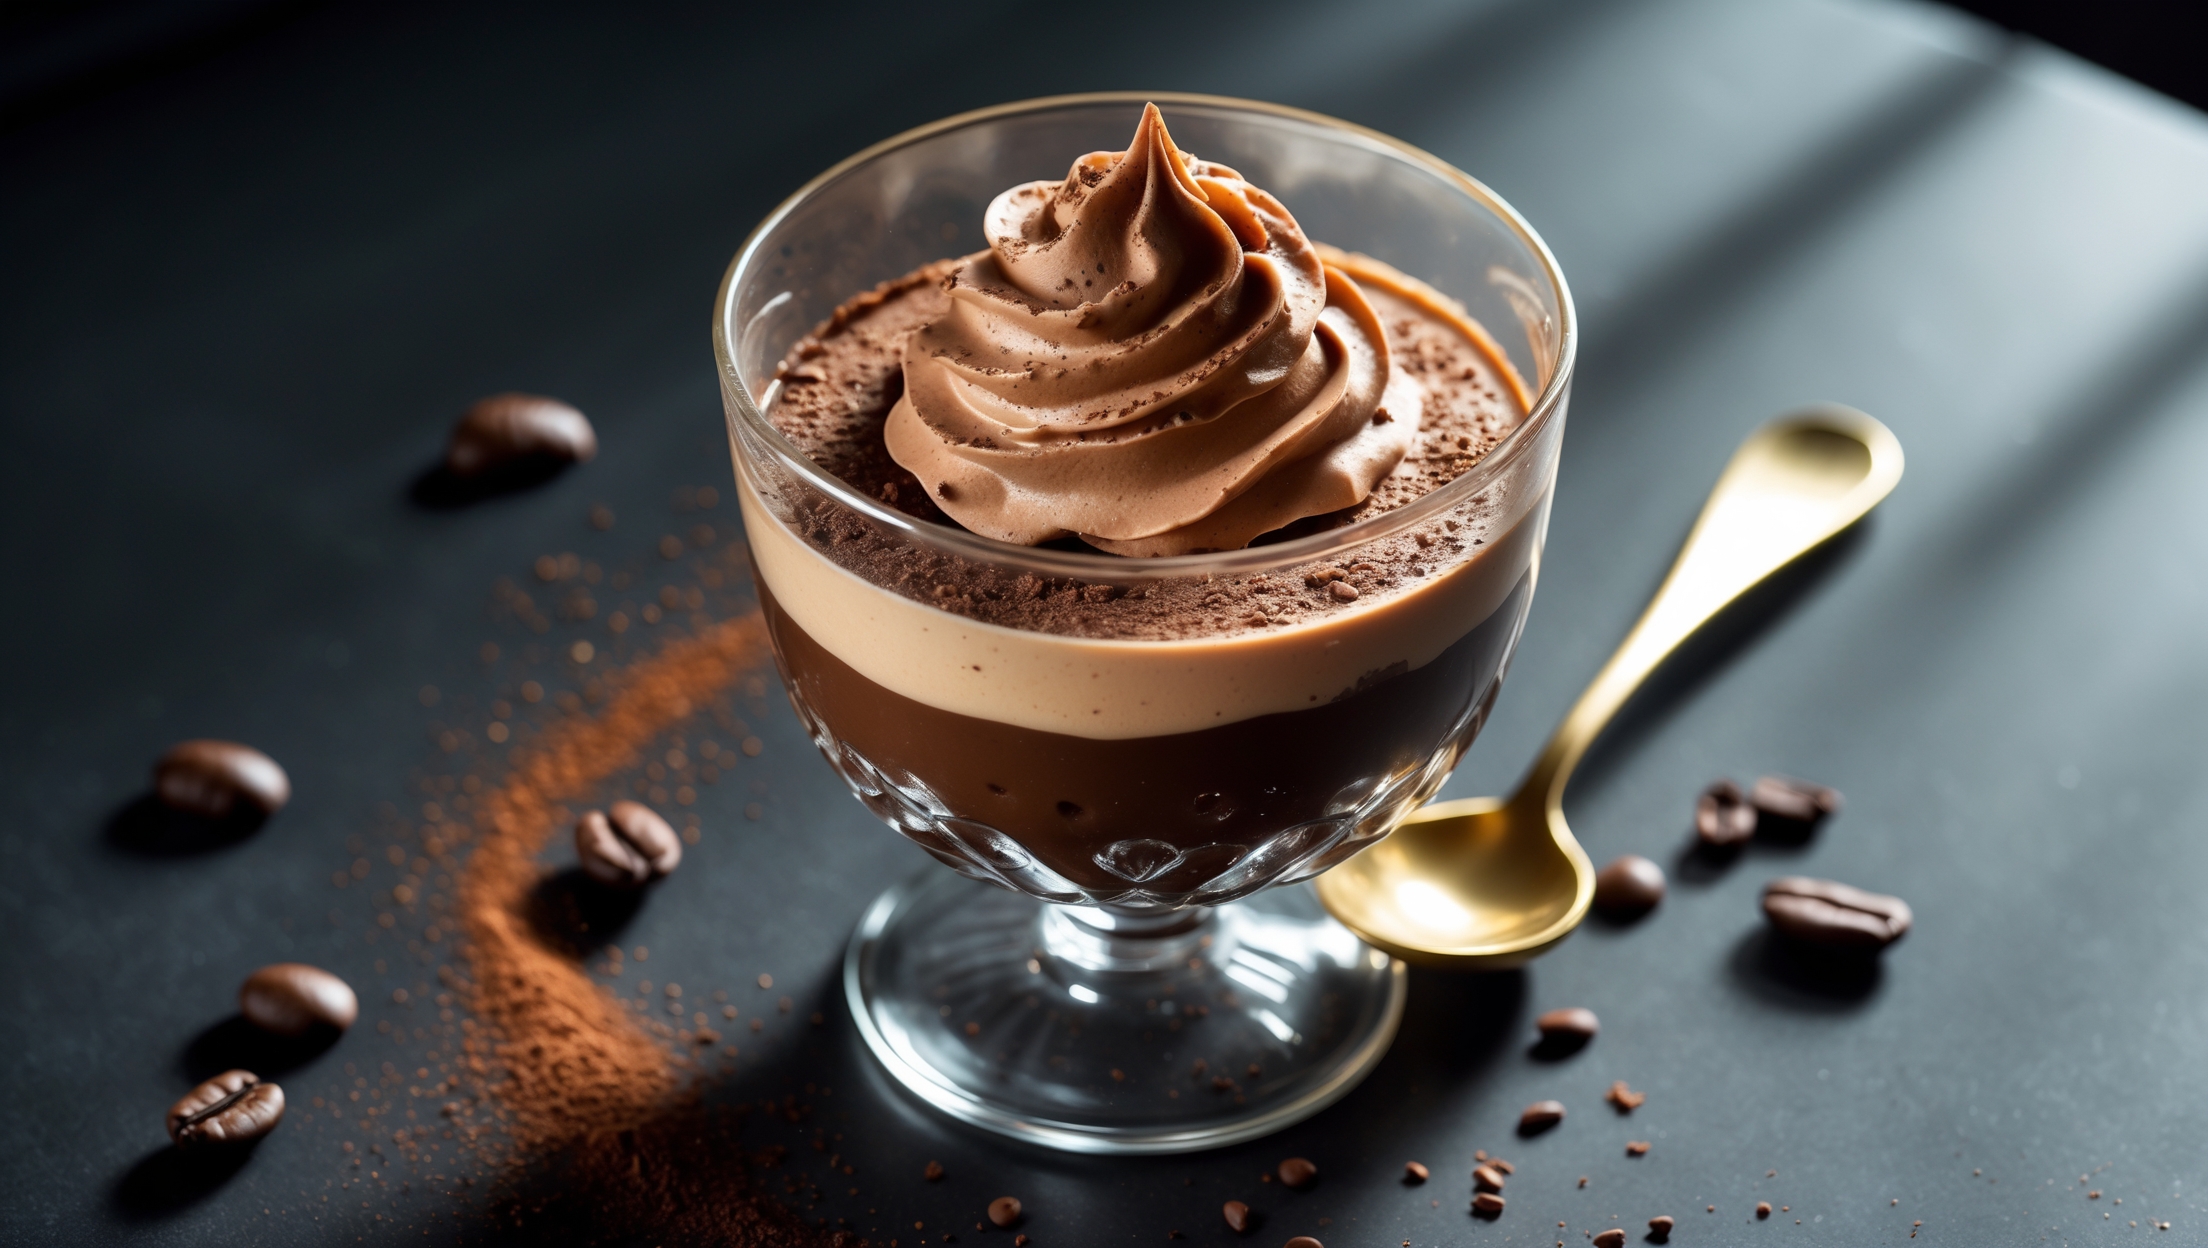
A close-up shot of a perfectly sliced milk chocolate custard tart revealing its smooth, glossy interior against the crisp golden pastry. Soft natural light cascades across the surface, highlighting the silky texture of the custard and the clean, precise layers. The tart rests on a vintage white ceramic cake stand adorned with fresh berries and scattered cocoa nibs for texture contrast. A delicate dusting of cocoa powder creates a sophisticated finish, while the background features a subtle arrangement of chocolate squares and vanilla beans, emphasizing the key flavors in this decadent dessert.

Ingredients

<ul class="ingredients-main-list"> <li class="ingredients-single-item">For the pastry:</li> <li class="ingredients-single-item">200g plain flour</li> <li class="ingredients-single-item">100g cold unsalted butter, cubed</li> <li class="ingredients-single-item">25g icing sugar</li> <li class="ingredients-single-item">1 large egg yolk</li> <li class="ingredients-single-item">2-3 tbsp ice-cold water</li> <li class="ingredients-single-item">¼ tsp salt</li> <li class="ingredients-single-item">For the chocolate custard filling:</li> <li class="ingredients-single-item">300ml full-fat milk</li> <li class="ingredients-single-item">200ml double cream</li> <li class="ingredients-single-item">1 vanilla pod, seeds scraped (or 2 tsp vanilla extract)</li> <li class="ingredients-single-item">250g high-quality milk chocolate, finely chopped</li> <li class="ingredients-single-item">4 large egg yolks</li> <li class="ingredients-single-item">50g caster sugar</li> <li class="ingredients-single-item">2 tbsp cornflour</li> <li class="ingredients-single-item">Pinch of salt</li> <li class="ingredients-single-item">For decoration (optional):</li> <li class="ingredients-single-item">Cocoa powder for dusting</li> <li class="ingredients-single-item">Fresh berries</li> <li class="ingredients-single-item">Whipped cream</li> </ul>

Equipment

<ul class="equipment-main-list"> <li class="equipment-single-item">23cm loose-bottomed tart tin</li> <li class="equipment-single-item">Baking beans or dried rice (for blind baking)</li> <li class="equipment-single-item">Parchment paper</li> <li class="equipment-single-item">Fine mesh sieve</li> <li class="equipment-single-item">Digital kitchen thermometer (optional)</li> </ul>
BAKE SMARTER

Kitchen Converter

Quickly switch between common baking units without leaving the recipe.

Convert
Result—

Volume uses US cups, tablespoons, and teaspoons. Converting weight to volume depends on the ingredient.

Directions

<ol class="no-list-style"> <li class="MethodStepper"> <h4 class="step-title">Step 1</h4> Make the pastry by placing the flour, butter, icing sugar and salt in a food processor. Pulse until the mixture resembles fine breadcrumbs (this technique keeps the butter cold while incorporating it, resulting in flaky pastry). Add the egg yolk and enough cold water to bind the dough. Be careful not to overwork the dough as this develops gluten, making your pastry tough. </li> <li class="MethodStepper"> <h4 class="step-title">Step 2</h4> Shape the dough into a disc, wrap in cling film and refrigerate for at least 30 minutes. This resting period allows the gluten to relax and the butter to firm up again, preventing shrinkage during baking. </li> <li class="MethodStepper"> <h4 class="step-title">Step 3</h4> Preheat your oven to 180°C (160°C fan). Roll out the chilled pastry on a lightly floured surface to about 3mm thickness, creating a circle large enough to line your tart tin. Gently press the pastry into the tin, ensuring it fills all corners. Trim excess pastry, leaving a small overhang to allow for shrinkage. </li> <li class="MethodStepper"> <h4 class="step-title">Step 4</h4> Prick the base all over with a fork (this prevents air bubbles forming), then line with parchment paper and fill with baking beans or rice. Blind bake for 15 minutes, then remove the beans and paper and bake for a further 5-10 minutes until the pastry is golden and crisp. The initial blind baking with weights prevents the pastry from puffing up, while the final bake ensures a fully cooked, crisp base. </li> <li class="MethodStepper"> <h4 class="step-title">Step 5</h4> While the pastry cools, prepare the custard filling. In a medium saucepan, heat the milk, cream and vanilla until just below simmering point (around 85°C if using a thermometer). Remove from heat and add the chopped chocolate, stirring gently until completely melted and smooth. The residual heat will gently melt the chocolate without risking separation. </li> <li class="MethodStepper"> <h4 class="step-title">Step 6</h4> In a heatproof bowl, whisk together the egg yolks, caster sugar, cornflour, and salt until pale and slightly thickened. This initial whisking introduces air and helps dissolve the sugar for a smoother custard. </li> <li class="MethodStepper"> <h4 class="step-title">Step 7</h4> Very gradually pour the warm chocolate mixture onto the egg mixture, whisking constantly. This tempering process slowly raises the temperature of the eggs without scrambling them. Pour the mixture back into the saucepan and cook over low heat, stirring constantly, until thickened enough to coat the back of a spoon (around 82-85°C). </li> <li class="MethodStepper"> <h4 class="step-title">Step 8</h4> Remove from heat immediately and pass through a fine mesh sieve into a clean bowl to remove any lumps or cooked egg particles. This extra step ensures your custard will be perfectly smooth and silky. </li> <li class="MethodStepper"> <h4 class="step-title">Step 9</h4> Allow the custard to cool slightly for about 10 minutes (this prevents the hot filling from softening your crisp pastry base), then pour into the baked tart case. Smooth the surface with an offset spatula if needed. </li> <li class="MethodStepper"> <h4 class="step-title">Step 10</h4> Refrigerate the tart for at least 4 hours, preferably overnight, to allow the custard to set completely. The slow cooling creates a silkier texture than rapid chilling. </li> <li class="MethodStepper"> <h4 class="step-title">Step 11</h4> Before serving, allow the tart to sit at room temperature for 20-30 minutes to take the chill off (this enhances the chocolate flavors). If desired, dust with cocoa powder and decorate with fresh berries or a dollop of whipped cream. Slice with a warm knife for the cleanest cuts through the silky filling. </li> </ol>

Nutrition Facts (per serving)

🍽️ Serving Size: 1 square
🔥 Calories: 385 calories
🥑 Fat: 22 g
🧈 Saturated Fat: 14 g
🍞 Carbohydrates: 45 g
🍭 Sugar: 35 g
🍗 Protein: 3 g
🫀 Cholesterol: 52 mg
🧂 Sodium: 120 mg

Chef’s Notes

A few helpful details for making this recipe.

Why is my chocolate custard filling not setting properly?

Custard not setting is usually caused by insufficient cooking time (ensure it reaches 82-85°C), inadequate chilling (minimum 4 hours, preferably overnight), or too little cornflour. Always strain your custard and ensure it coats the back of a spoon before pouring into the pastry case.

Can I use dark chocolate instead of milk chocolate for the filling?

Yes, you can substitute dark chocolate, but adjust the sugar accordingly - increase to 70g for 70% cocoa chocolate or 80g for 85% cocoa chocolate. Dark chocolate creates a more intense, less sweet tart that pairs beautifully with fresh berries or a touch of sea salt on top.

How long will a homemade chocolate tart keep fresh?

A properly refrigerated chocolate tart will keep for up to 3 days. Store it in an airtight container to prevent it absorbing other flavours and protect the pastry from moisture. For best texture and flavour, remove from the fridge 30 minutes before serving.

Want to try something else in ...

More recipes you might like

Keep exploring with more recipes from What's Baking.