Mexican Quiche (with Chilies and Corn) Recipe

A savory Mexican-inspired quiche marrying flaky pastry with spicy chilies, sweet corn, and creamy cheese for a delicious fusion of Southwestern flavors in every bite.
Difficulty:
Intermediate
Prep Time:
30 mins
Cook Time:
45 mins
Serves:
1 quiche (8 slices)
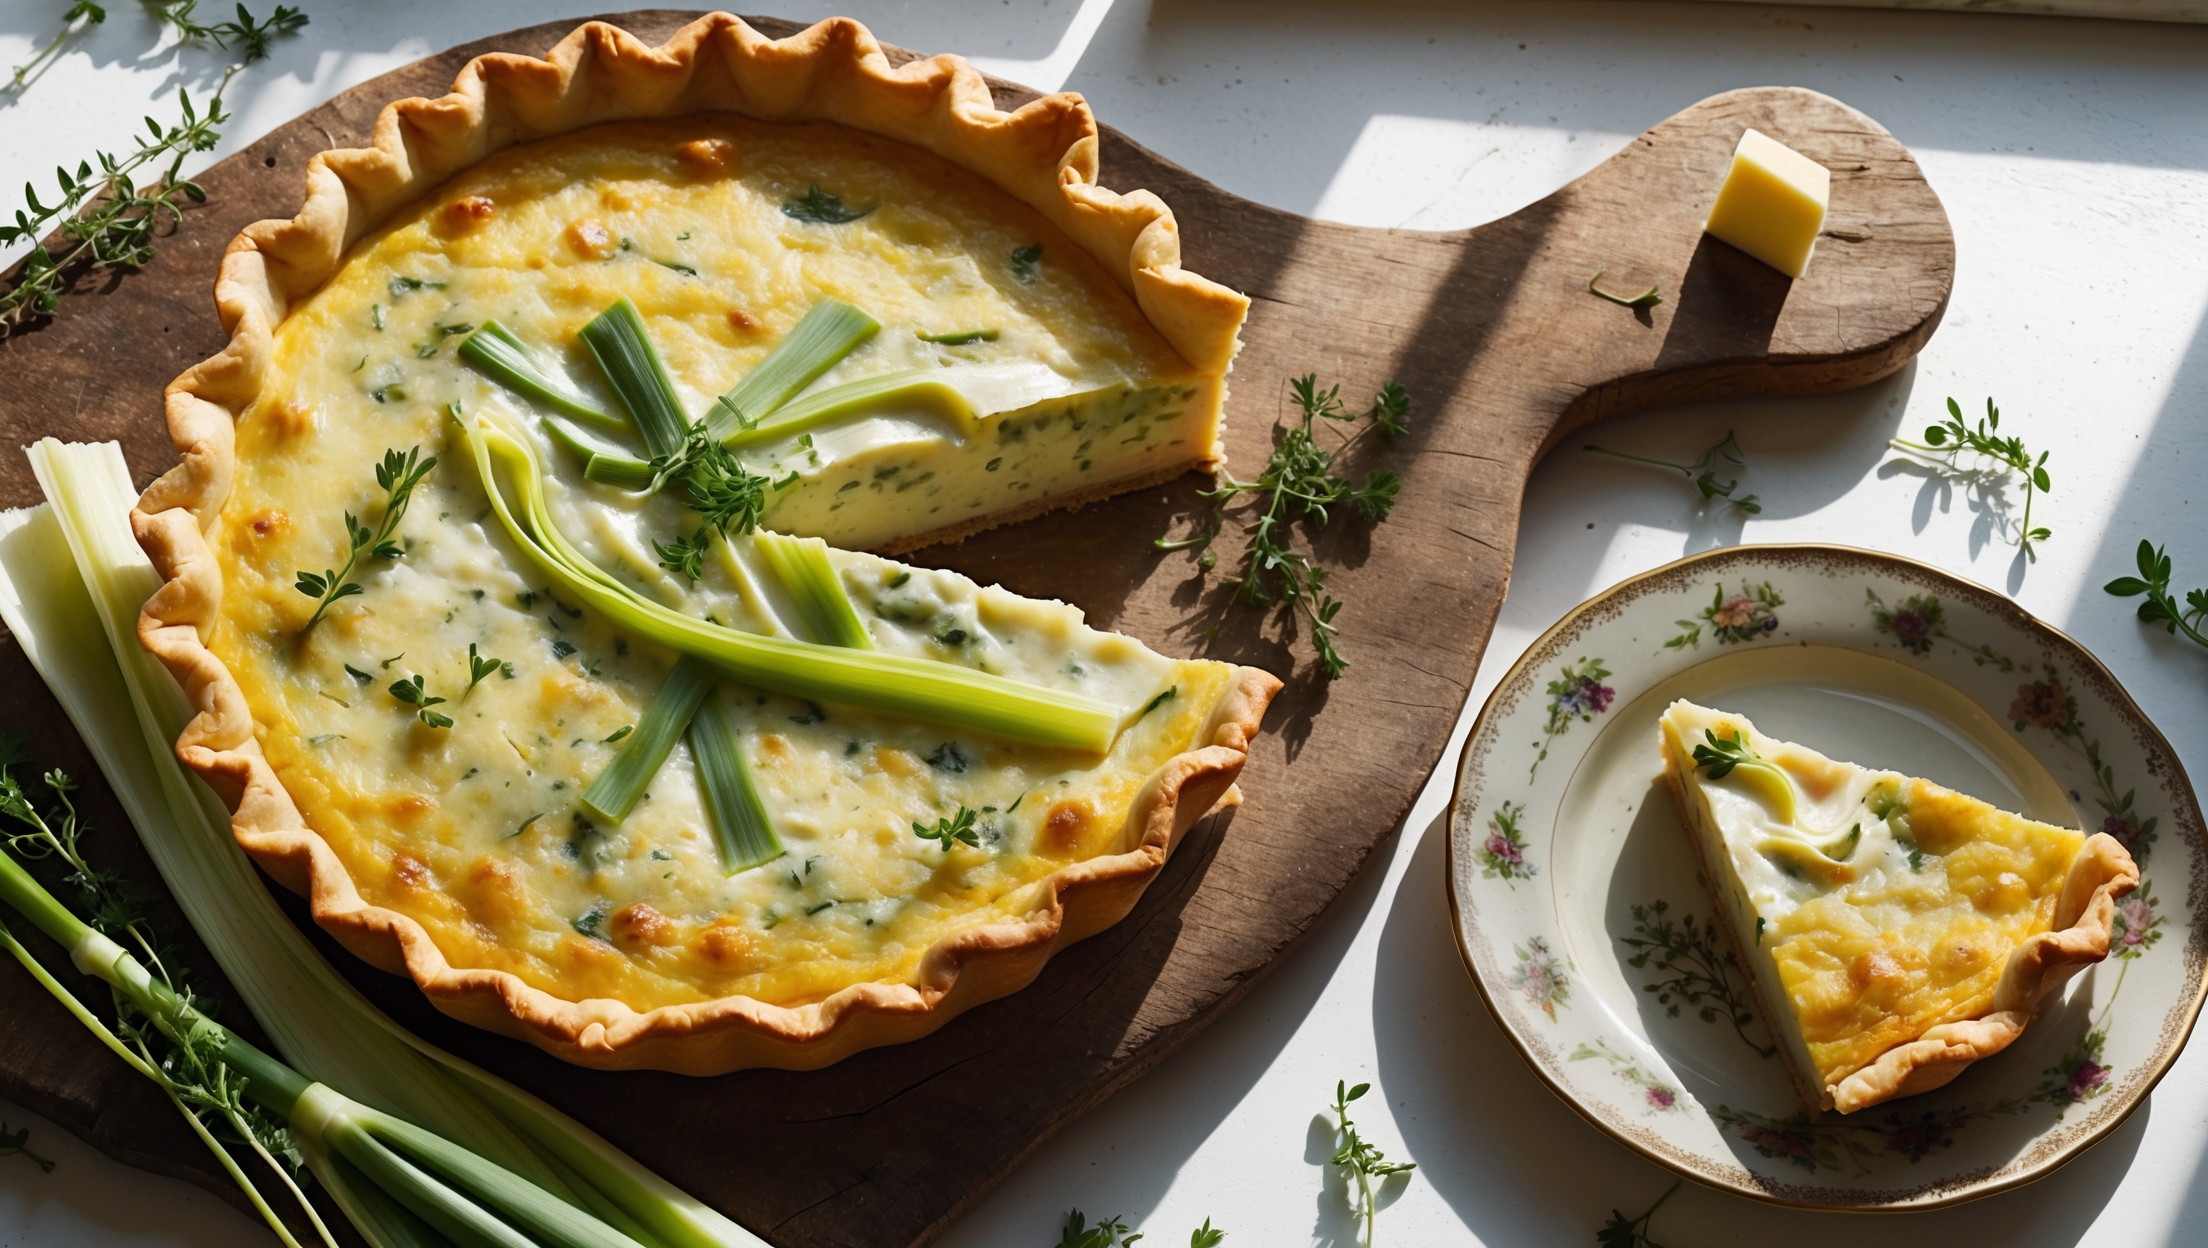
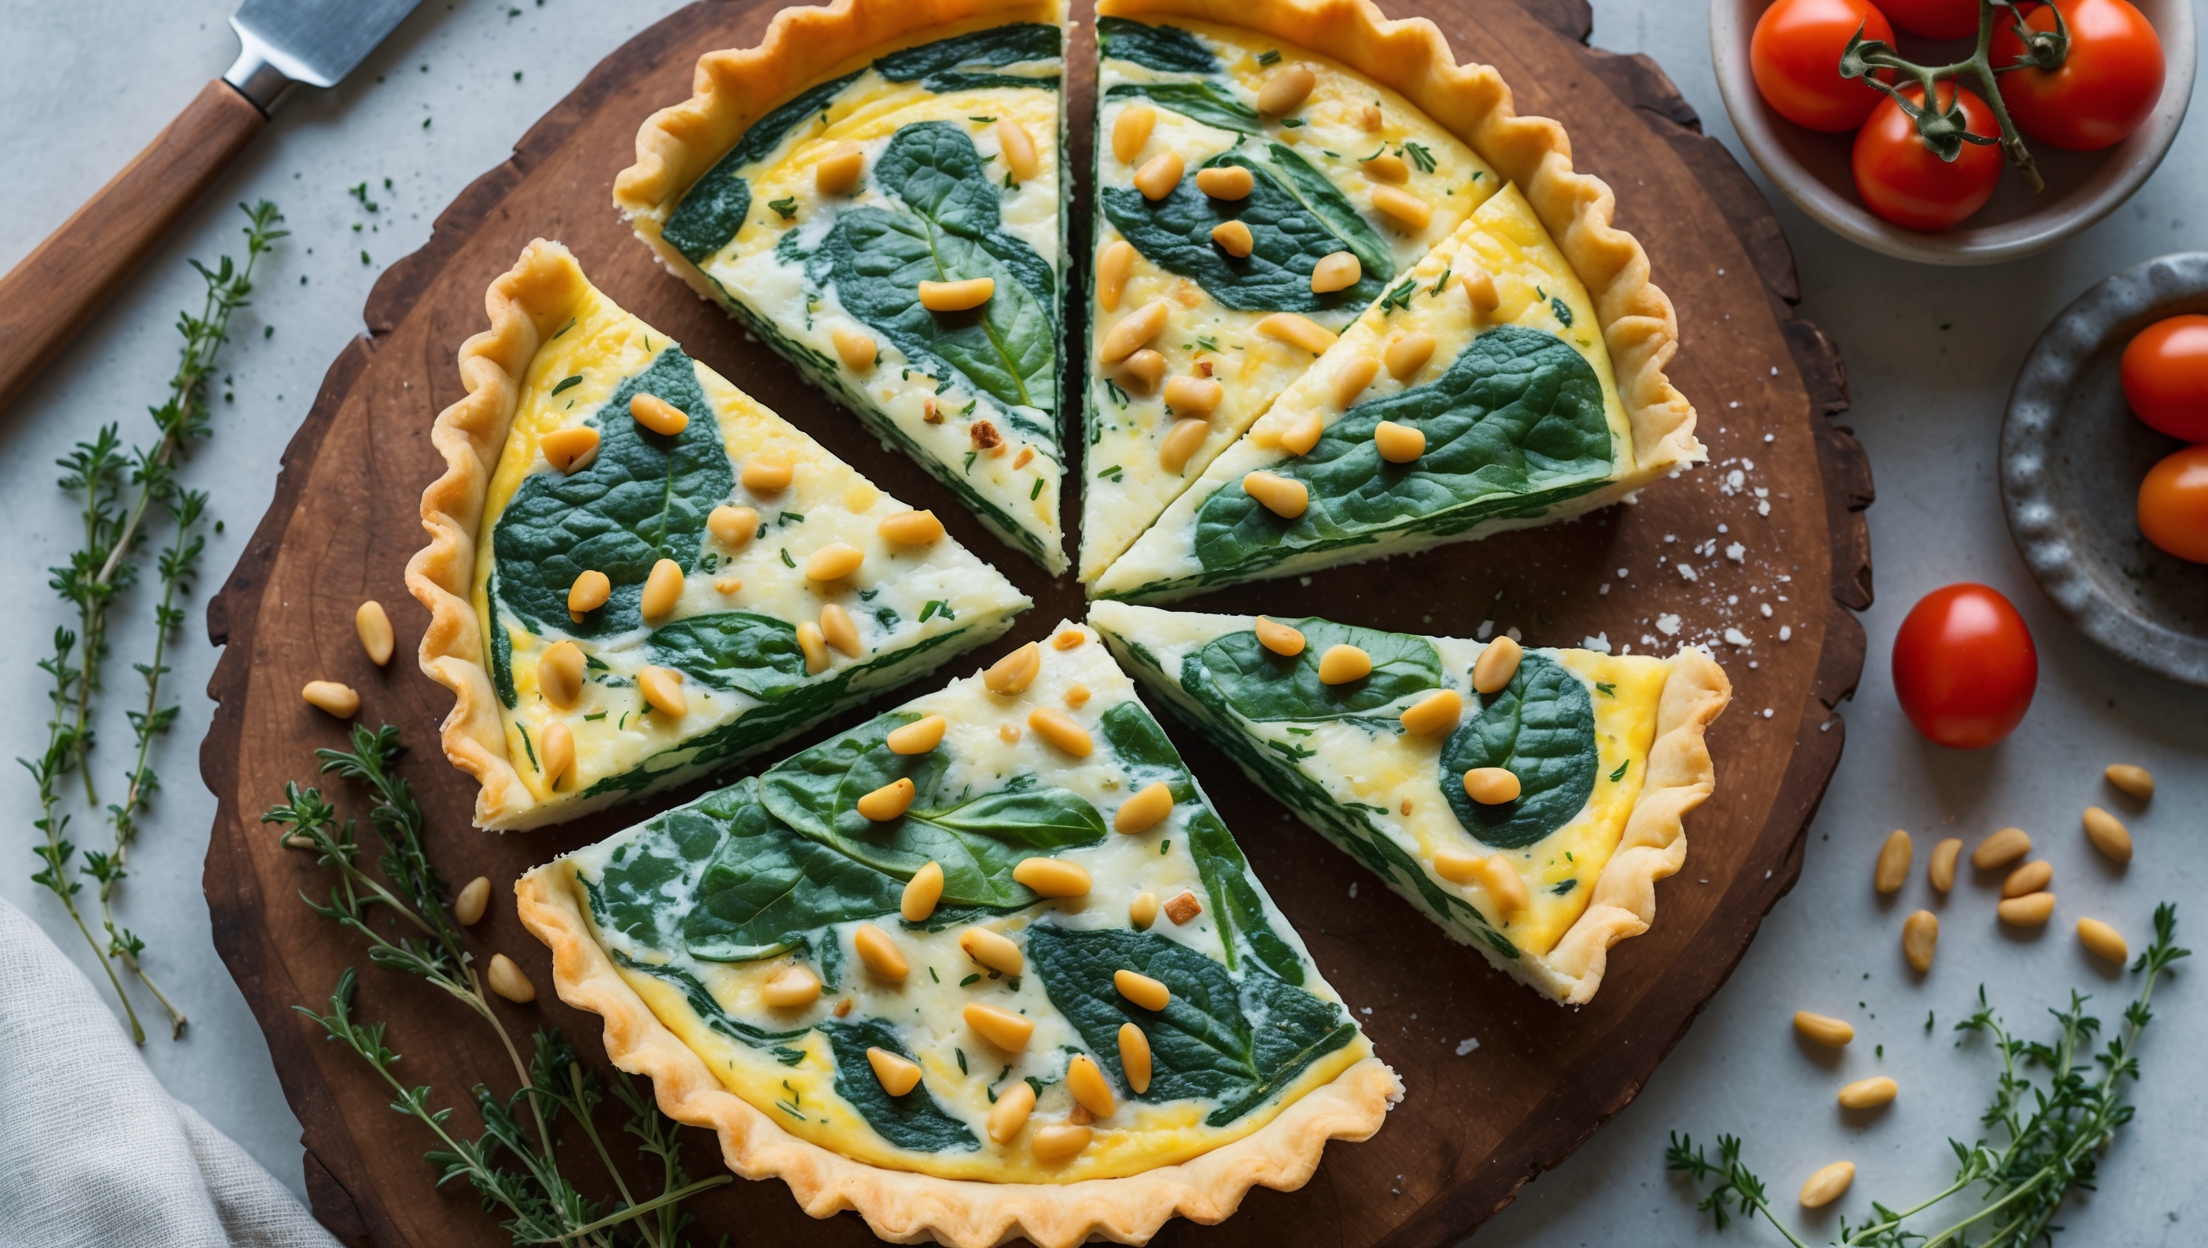
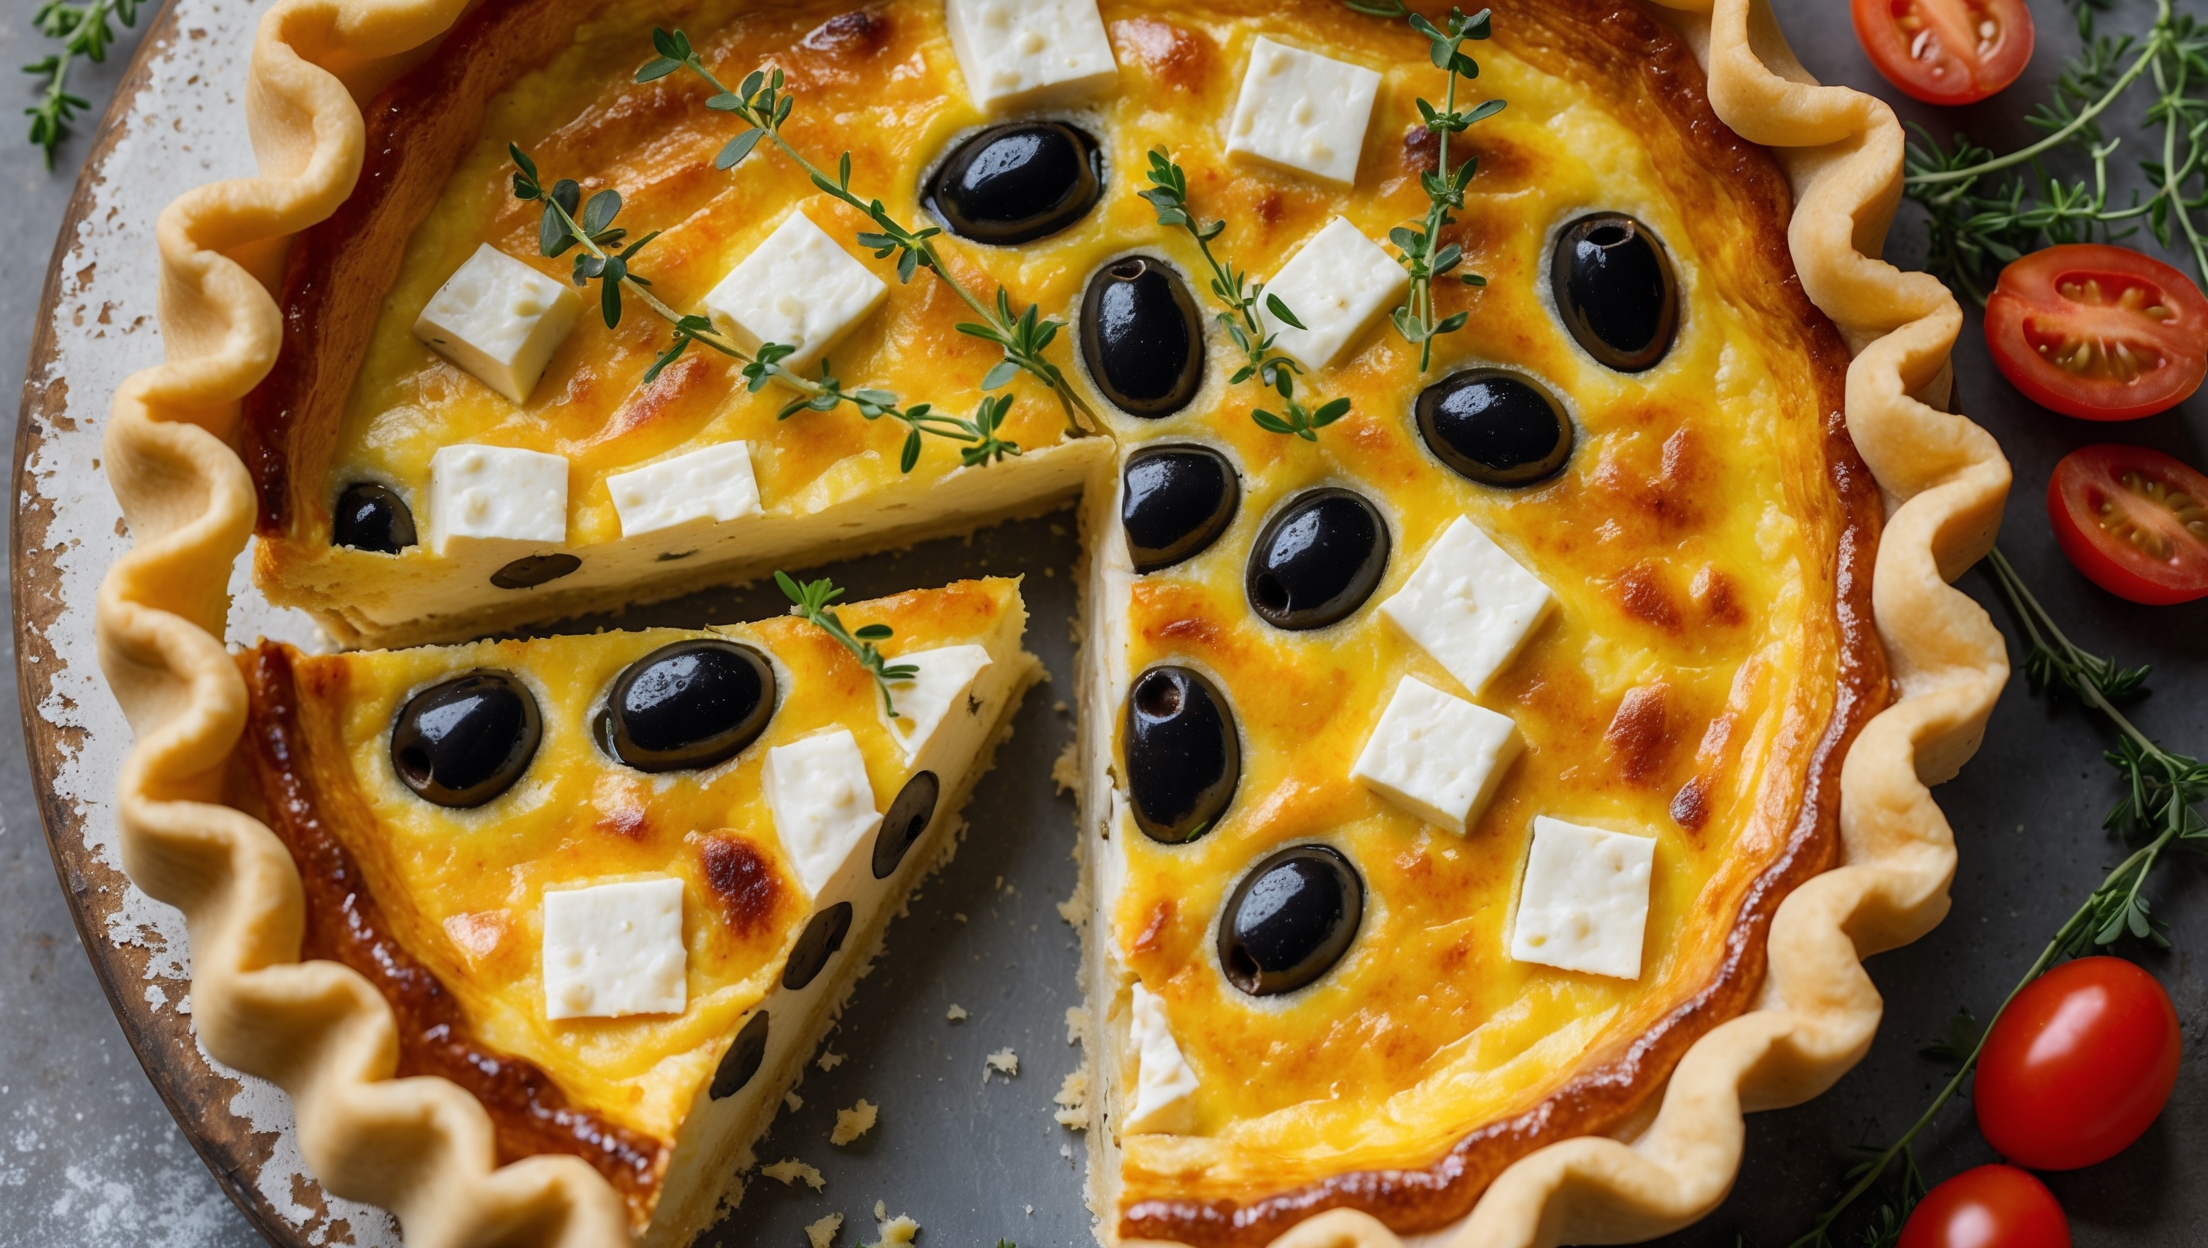
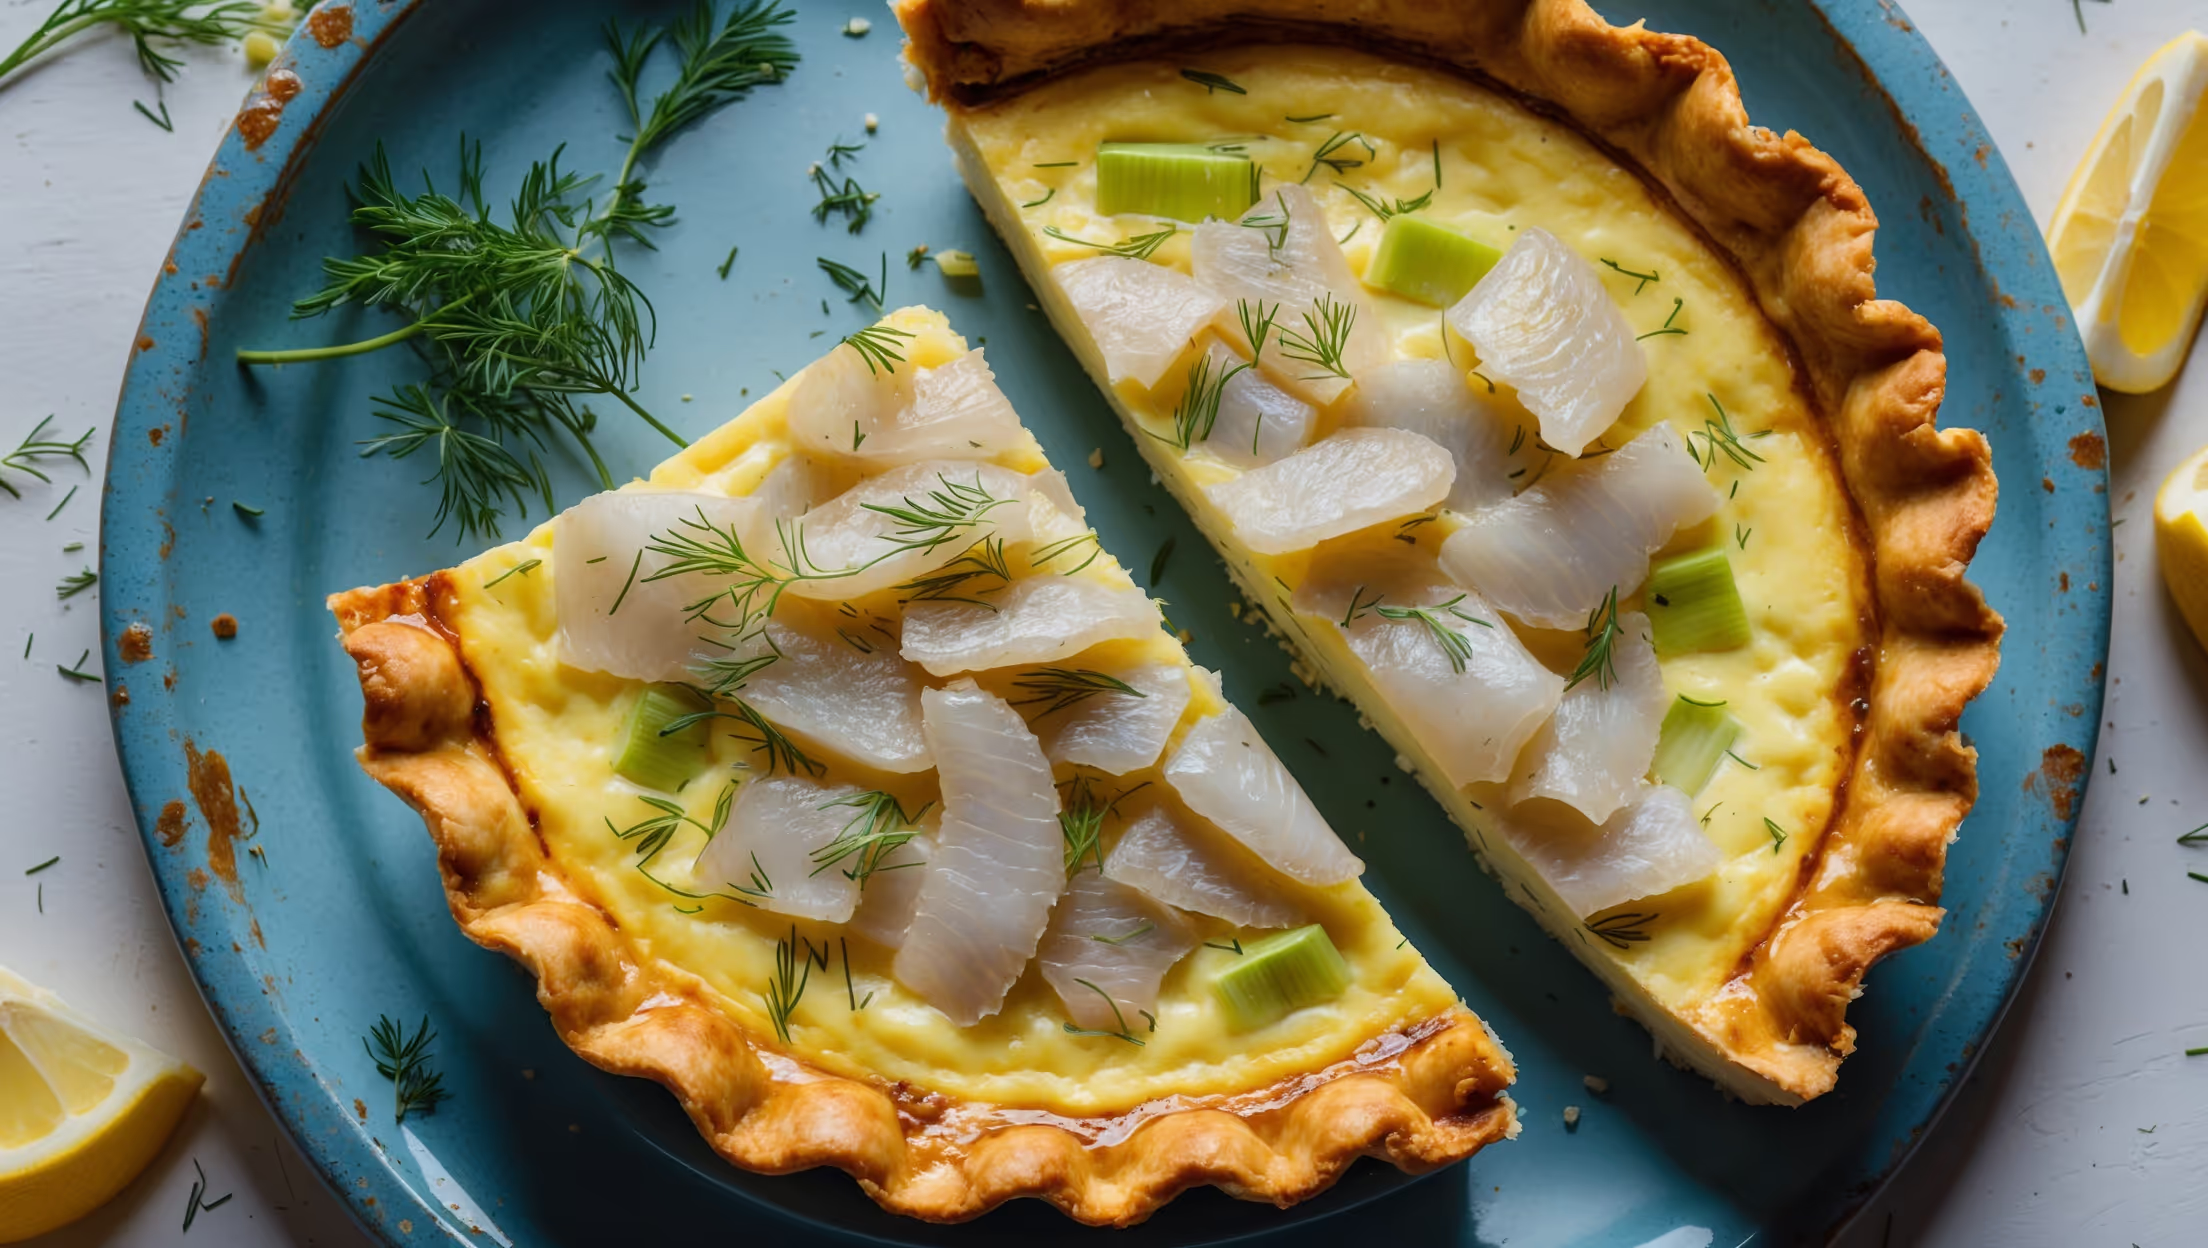
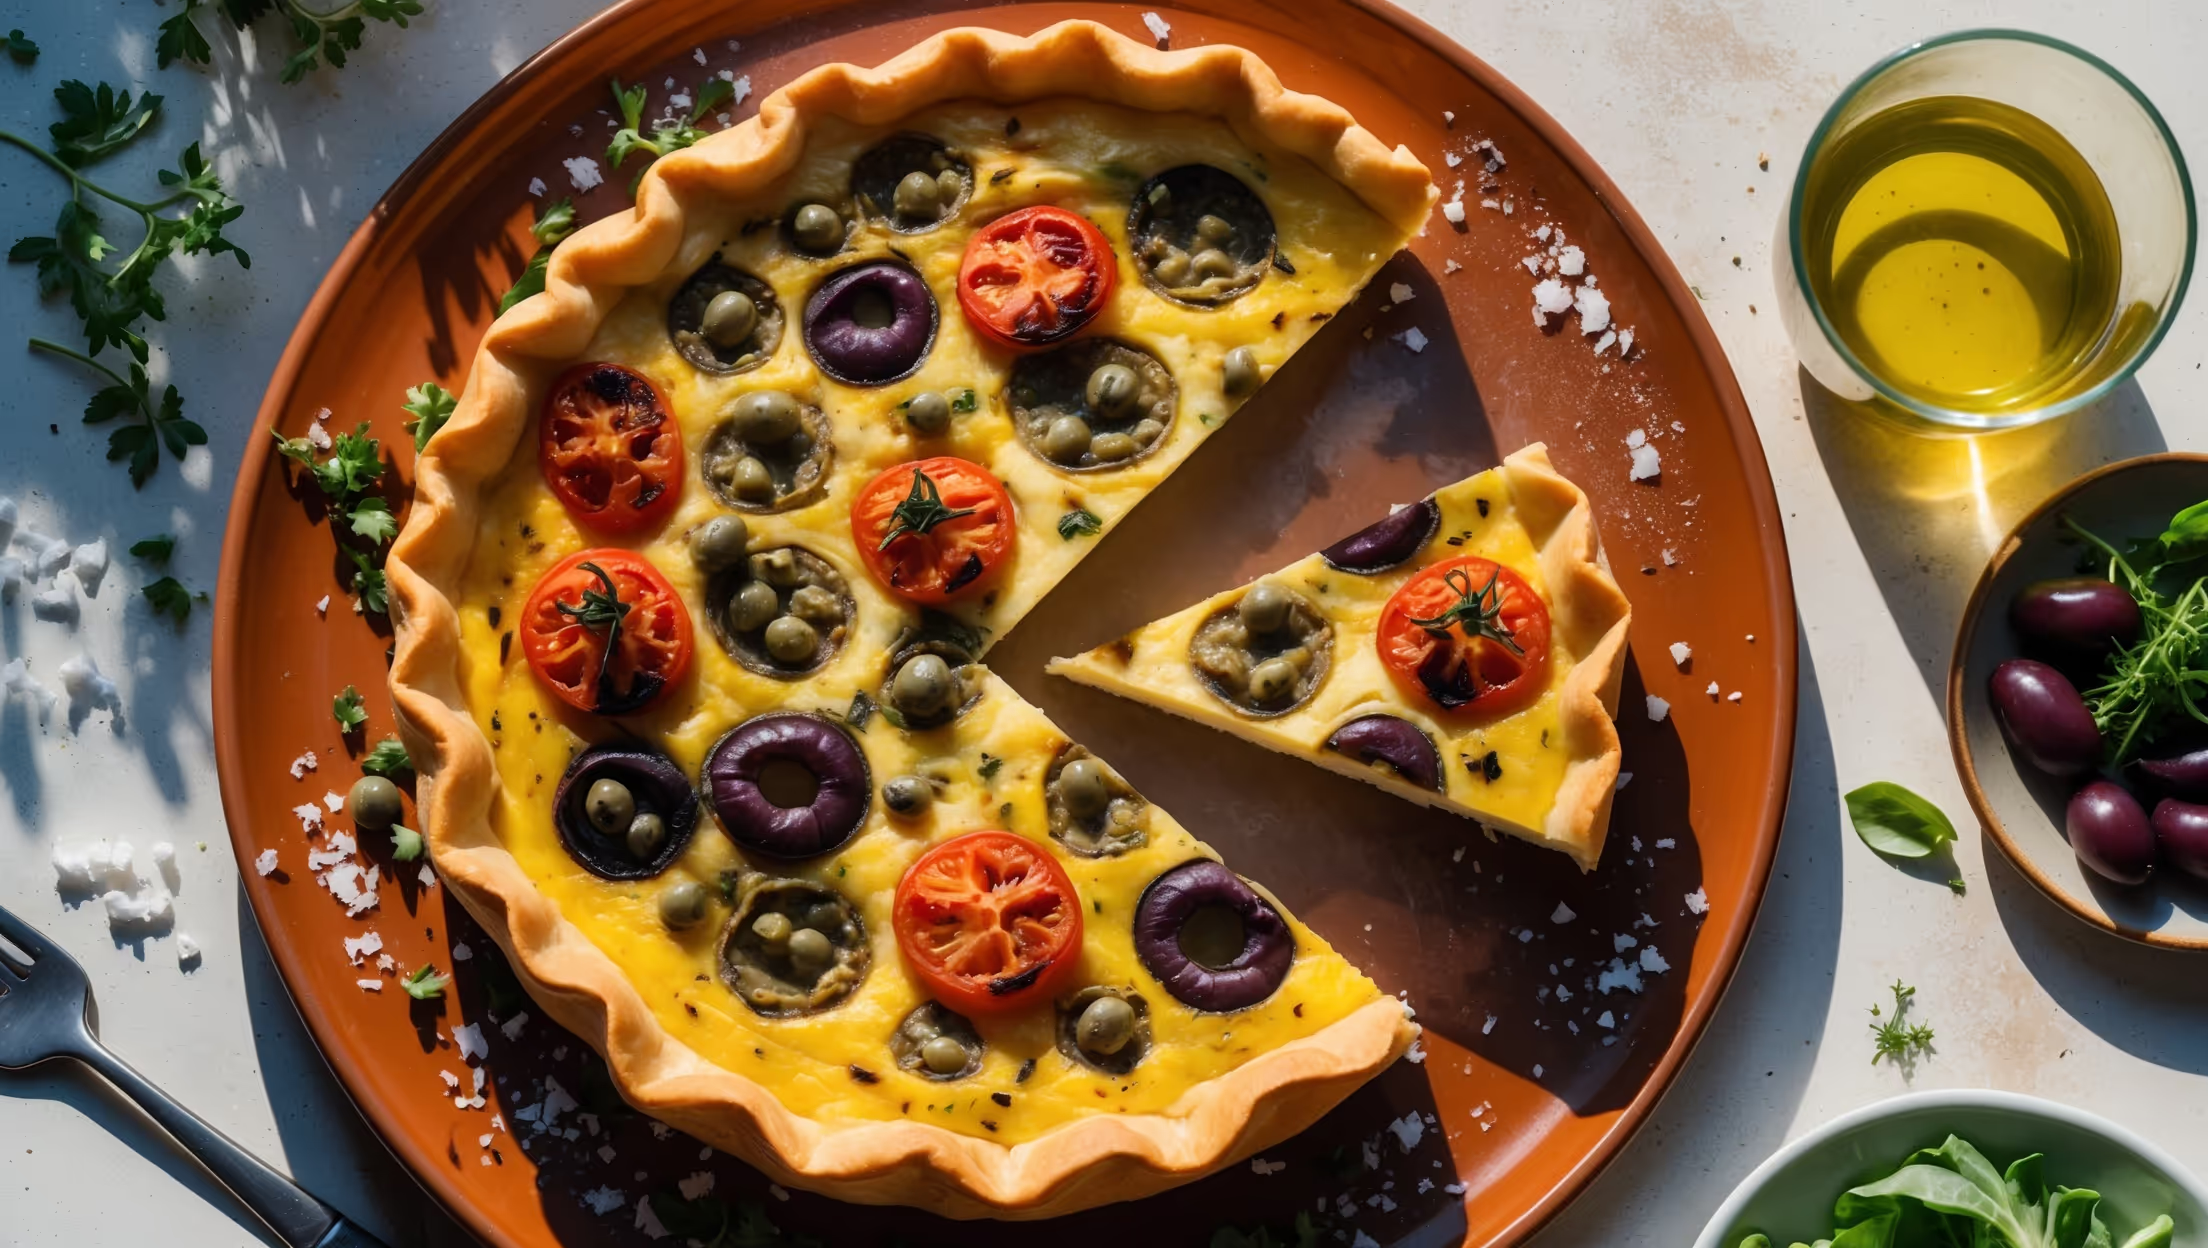
An overhead shot of the golden-brown Mexican quiche on a vibrant terracotta serving dish, with a slice being lifted to reveal the colorful filling packed with corn kernels, flecks of green chilies, and melted cheese. The quiche is photographed in bright, natural light that highlights the flaky pastry edge and the rich, custard-like texture of the filling. Small bowls of fresh cilantro, sliced avocado, and a dollop of sour cream sit alongside, while scattered corn kernels and dried chilies create visual interest around the plating. The cross-section shows distinct layers of the spiced egg mixture studded with vibrant vegetables, with steam gently rising from the freshly-cut slice.

Ingredients

<ul class="ingredients-main-list"><li class="ingredients-single-item">For the pastry:</li><li class="ingredients-single-item">200g plain flour</li><li class="ingredients-single-item">100g cold unsalted butter, cubed</li><li class="ingredients-single-item">1/2 tsp salt</li><li class="ingredients-single-item">1 tbsp chilled water</li><li class="ingredients-single-item">For the filling:</li><li class="ingredients-single-item">4 large eggs</li><li class="ingredients-single-item">200ml double cream</li><li class="ingredients-single-item">100ml whole milk</li><li class="ingredients-single-item">150g mature cheddar cheese, grated</li><li class="ingredients-single-item">150g sweetcorn kernels (fresh or frozen)</li><li class="ingredients-single-item">2 green chilies, deseeded and finely chopped (or jalapeños)</li><li class="ingredients-single-item">1 red bell pepper, diced</li><li class="ingredients-single-item">1 small onion, finely diced</li><li class="ingredients-single-item">2 garlic cloves, minced</li><li class="ingredients-single-item">1 tsp ground cumin</li><li class="ingredients-single-item">1/2 tsp smoked paprika</li><li class="ingredients-single-item">Small bunch fresh coriander, chopped</li><li class="ingredients-single-item">Salt and black pepper to taste</li></ul>

Equipment

<ul class="equipment-main-list"><li class="equipment-single-item">23cm tart tin with removable base</li><li class="equipment-single-item">Baking beans or dried rice for blind baking</li><li class="equipment-single-item">Food processor (optional for pastry)</li></ul>
BAKE SMARTER

Kitchen Converter

Quickly switch between common baking units without leaving the recipe.

Convert
Result—

Volume uses US cups, tablespoons, and teaspoons. Converting weight to volume depends on the ingredient.

Directions

<ol class="no-list-style"><li class="MethodStepper"><h4 class="step-title">Step 1</h4>Start by making the pastry. Place the flour and salt in a large bowl or food processor. Add the cold cubed butter and rub in with your fingertips (or pulse in processor) until the mixture resembles fine breadcrumbs. Cold butter is crucial here as it creates pockets of steam during baking, resulting in flaky pastry layers.</li><li class="MethodStepper"><h4 class="step-title">Step 2</h4>Add the chilled water a little at a time, mixing until the dough just comes together. Be careful not to overwork the dough or add too much water as this will develop the gluten and make your pastry tough rather than flaky. Form into a disc, wrap in cling film and refrigerate for at least 30 minutes to relax the gluten.</li><li class="MethodStepper"><h4 class="step-title">Step 3</h4>Preheat your oven to 190°C (170°C fan). Roll out the chilled pastry on a lightly floured surface to about 3mm thickness, making it large enough to line your tart tin with a little overhang. Carefully drape the pastry over the tin, pressing it gently into the corners without stretching it (stretching leads to shrinkage during baking).</li><li class="MethodStepper"><h4 class="step-title">Step 4</h4>Prick the base with a fork, line with baking parchment and fill with baking beans or dried rice. This blind baking step prevents the dreaded "soggy bottom" by partially cooking the pastry before adding the wet filling. Bake for 15 minutes, then remove the beans and parchment and bake for a further 5 minutes until the pastry is just starting to color. Trim any excess pastry for a neat edge.</li><li class="MethodStepper"><h4 class="step-title">Step 5</h4>Meanwhile, prepare your filling. Heat a tablespoon of olive oil in a frying pan and sauté the onion over medium heat for 5 minutes until softened. Add the garlic, diced bell pepper, and chilies, cooking for another 3 minutes. Stir in the cumin and smoked paprika to toast the spices and release their aromatic oils. Remove from heat and allow to cool slightly.</li><li class="MethodStepper"><h4 class="step-title">Step 6</h4>In a large bowl, whisk together the eggs, cream, and milk until well combined. Season generously with salt and pepper – remember that eggs need proper seasoning to shine. Stir in 3/4 of the grated cheese, the sweetcorn, sautéed vegetables, and most of the coriander (reserving some for garnish).</li><li class="MethodStepper"><h4 class="step-title">Step 7</h4>Pour the filling mixture into the partially baked pastry case, ensuring the solid ingredients are evenly distributed throughout the liquid. Scatter the remaining cheese on top. The cheese will form a beautiful golden crust as it bakes.</li><li class="MethodStepper"><h4 class="step-title">Step 8</h4>Reduce the oven temperature to 180°C (160°C fan) and bake the quiche for 25-30 minutes until the filling is just set with a slight wobble in the center. The lower temperature ensures gentle cooking, preventing the eggs from becoming rubbery while allowing the custard to set evenly.</li><li class="MethodStepper"><h4 class="step-title">Step 9</h4>Allow the quiche to cool in the tin for about 15 minutes before removing – this resting period is essential as it allows the custard to fully set. The residual heat will complete the cooking process while ensuring a creamy texture. Sprinkle with the reserved coriander before serving.</li><li class="MethodStepper"><h4 class="step-title">Step 10</h4>Serve warm or at room temperature with a crisp green salad. This quiche is delicious freshly baked but develops even more flavor when left overnight in the refrigerator and brought back to room temperature before serving. Enjoy your Mexican-inspired creation!</li></ol>


Nutrition Facts (per serving)

🍽️ Serving Size: 1 slice
🔥 Calories: 345 calories
🥑 Fat: 22 g
🧈 Saturated Fat: 8 g
🍞 Carbohydrates: 32 g
🍭 Sugar: 24 g
🍗 Protein: 8 g
🫀 Cholesterol: 30 mg
🧂 Sodium: 120 mg

Chef’s Notes

A few helpful details for making this recipe.

How can I prevent a soggy bottom on my savoury quiche?

Blind baking is crucial - line your pastry with parchment and baking beans, then bake for 15 minutes before removing them and baking for 5 more minutes. This partially cooks the base before adding wet filling. Also, sauté vegetables first to remove excess moisture and allow them to cool slightly before adding to the egg mixture.

Can I make this Southwestern-style quiche ahead of time?

Absolutely! This spicy corn quiche actually develops more flavour when made a day ahead. After baking, cool completely, then refrigerate. Bring to room temperature before serving or gently reheat at 160°C for 10-15 minutes. It also freezes beautifully for up to 3 months - defrost overnight in the fridge before reheating.

What can I serve with a chili and corn quiche for a complete meal?

For a complete meal, pair your spicy quiche with a crisp green salad dressed with lime vinaigrette, sliced avocado with a squeeze of lemon, pico de gallo, or black bean salad. For brunch, add roasted potatoes with paprika. Fresh fruit or a light citrus sorbet makes a refreshing dessert to balance the rich quiche.

Want to try something else in ...

More recipes you might like

Keep exploring with more recipes from What's Baking.