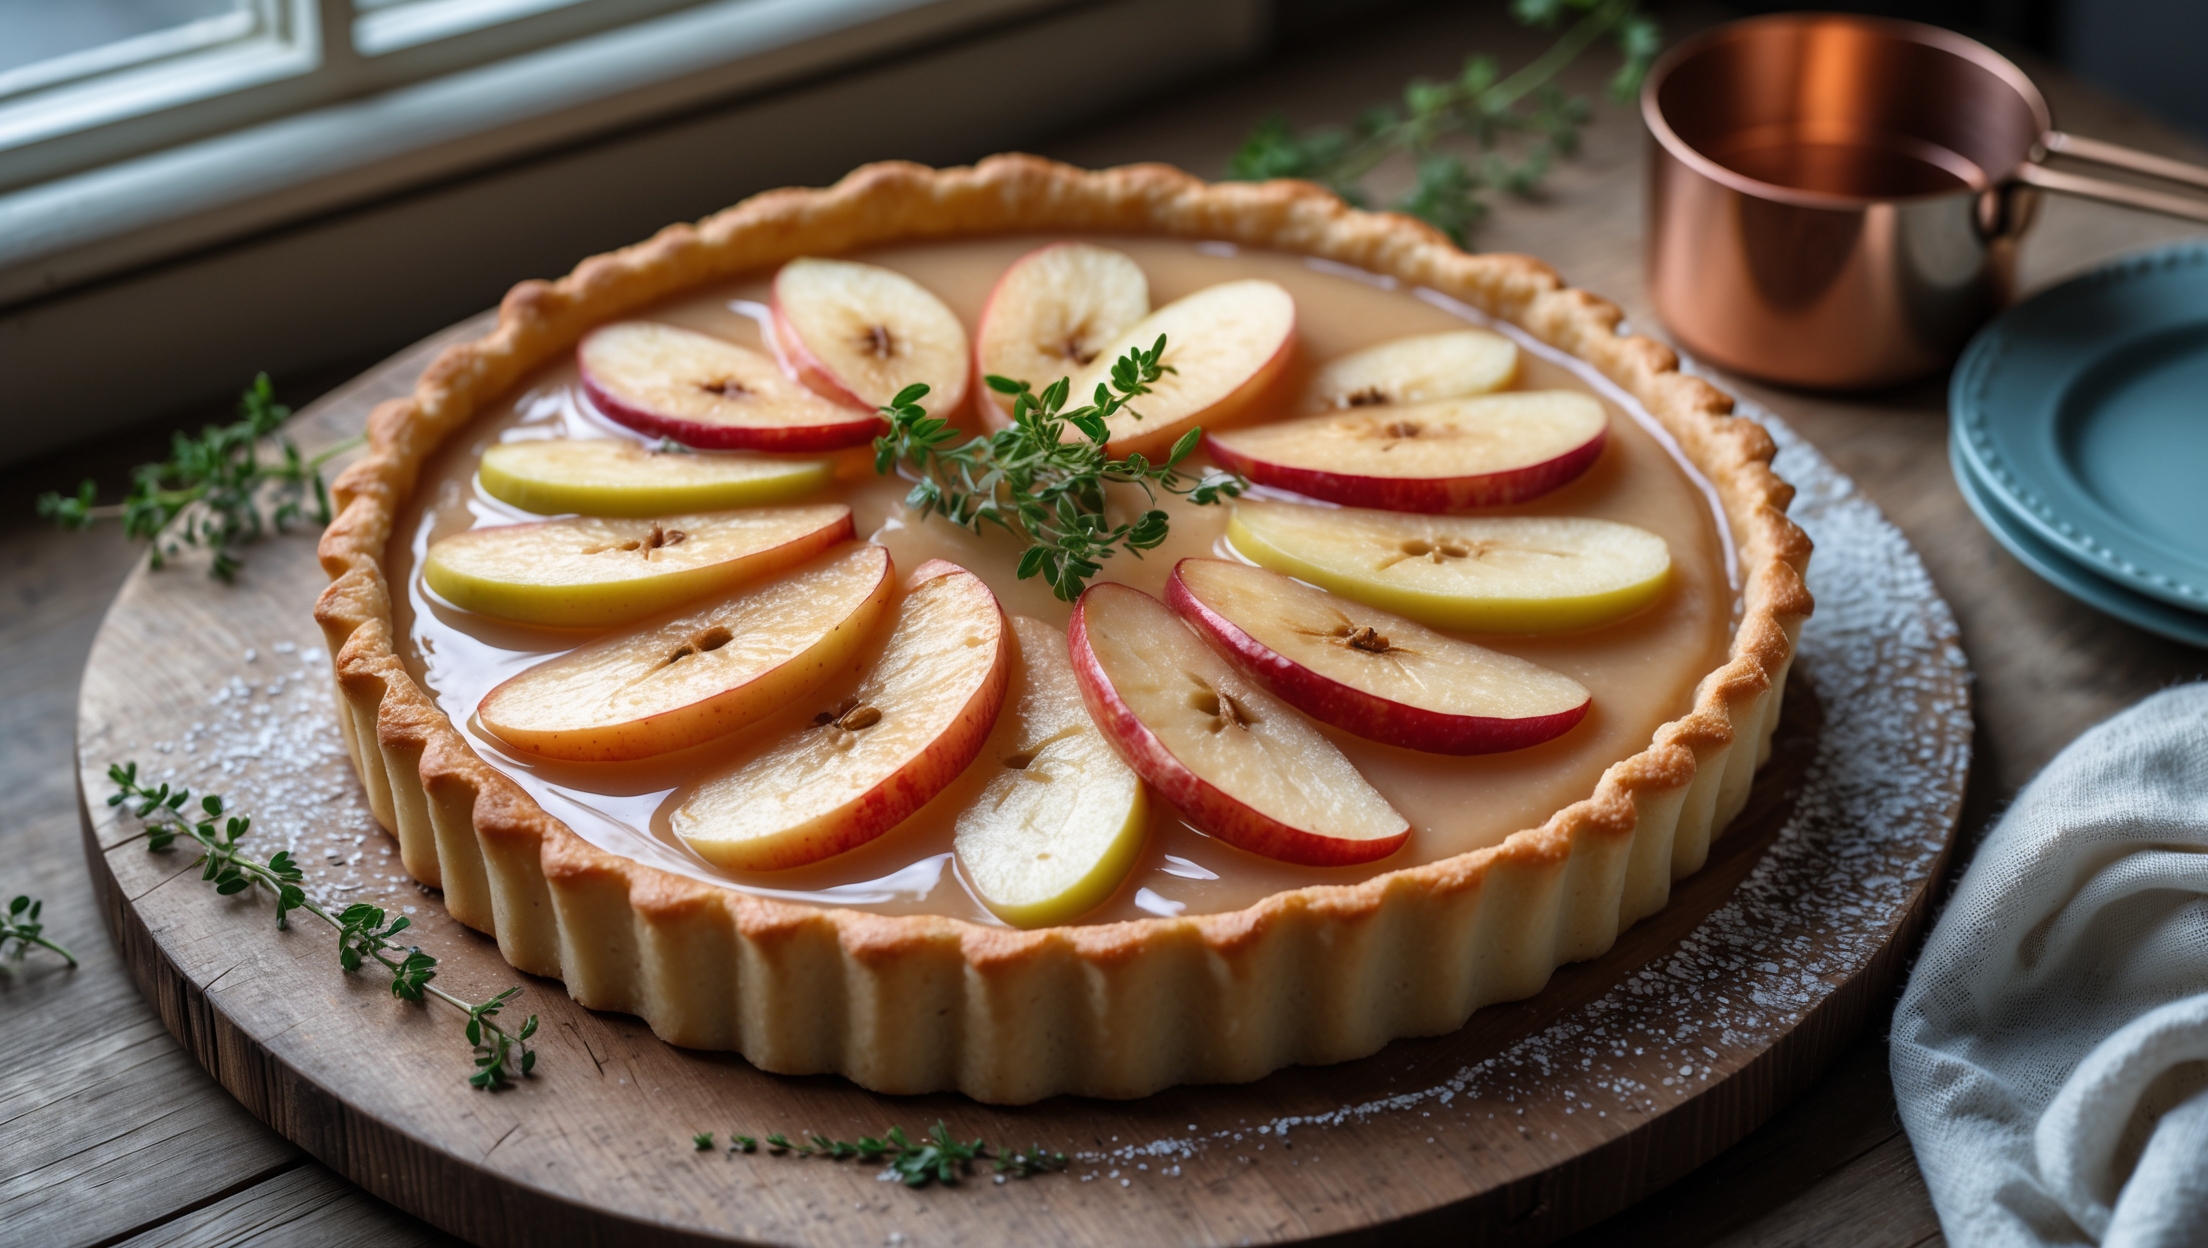
Directions
<ol class="no-list-style"><li class="MethodStepper"><h4 class="step-title">Step 1</h4>Make the pastry by placing the flour, salt and cubed butter in a food processor and pulse until the mixture resembles breadcrumbs (alternatively, rub the butter into the flour by hand). Add the icing sugar and pulse briefly to combine. Add the egg yolk and enough ice water to bring the dough together – you're aiming for a soft but not sticky texture. The cold ingredients and minimal handling prevent the butter from melting, which creates a flakier pastry.</li><li class="MethodStepper"><h4 class="step-title">Step 2</h4>Form the dough into a disc, wrap in cling film, and chill in the refrigerator for at least 30 minutes. This resting period relaxes the gluten and firms up the butter, preventing pastry shrinkage during baking.</li><li class="MethodStepper"><h4 class="step-title">Step 3</h4>Preheat your oven to 180°C (160°C fan/gas mark 4). Roll out the chilled pastry on a lightly floured surface to about 3-4mm thickness and large enough to line your tart tin. Be gentle but confident with the rolling pin, working from the center outward in all directions for an even thickness.</li><li class="MethodStepper"><h4 class="step-title">Step 4</h4>Carefully lift the pastry using your rolling pin and drape it over the tart tin. Press it gently into the edges and trim any excess, leaving a slight overhang to allow for shrinkage. Prick the base all over with a fork to prevent air bubbles forming.</li><li class="MethodStepper"><h4 class="step-title">Step 5</h4>Line the pastry case with baking parchment and fill with baking beans or rice. This 'blind baking' technique prevents the pastry from bubbling up. Bake for 15 minutes, then remove the beans and paper and return to the oven for another 5-7 minutes until the pastry is lightly golden and dry to the touch. The base should look set but not browned. Trim any overhanging pastry to create a clean edge. Reduce the oven temperature to 160°C (140°C fan/gas mark 3).</li><li class="MethodStepper"><h4 class="step-title">Step 6</h4>While the pastry case cools slightly, prepare the filling. In a large bowl, gently whisk the mascarpone until smooth. Be careful not to overbeat as mascarpone can split if handled too vigorously. Add the sugar and whisk until just incorporated.</li><li class="MethodStepper"><h4 class="step-title">Step 7</h4>In a separate bowl, lightly beat the whole eggs and egg yolks. Gradually add them to the mascarpone mixture, stirring gently after each addition until fully combined. The yolks add richness and help create that silky texture that makes this tart special.</li><li class="MethodStepper"><h4 class="step-title">Step 8</h4>Stir in the double cream, vanilla extract, and lemon zest. Mix until you have a smooth, pourable consistency. Pass the mixture through a fine mesh sieve to ensure a perfectly smooth custard without any lumps.</li><li class="MethodStepper"><h4 class="step-title">Step 9</h4>Place the pastry case on a baking sheet, then carefully pour in the custard mixture, filling it to just below the rim of the pastry. The baking sheet makes it easier to transfer to the oven without spilling.</li><li class="MethodStepper"><h4 class="step-title">Step 10</h4>Bake for 25-30 minutes until the filling is set around the edges but still has a slight wobble in the center, like a gently set jelly. The custard will continue to firm up as it cools. The low temperature ensures gentle cooking, preventing cracks or a grainy texture.</li><li class="MethodStepper"><h4 class="step-title">Step 11</h4>Allow the tart to cool completely at room temperature, then refrigerate for at least 2 hours or preferably overnight to fully set the custard. This patience rewards you with cleaner slices and a more developed flavor.</li><li class="MethodStepper"><h4 class="step-title">Step 12</h4>Before serving, arrange fresh berries on top in a pattern of your choice. For a professional finish, brush the berries with warmed, sieved apricot jam – this adds shine and helps preserve their freshness. Add a few mint leaves for color contrast if desired, and dust lightly with icing sugar. Serve chilled but remove from the refrigerator about 20 minutes before eating to allow the flavors to fully develop.</li></ol>