Directions
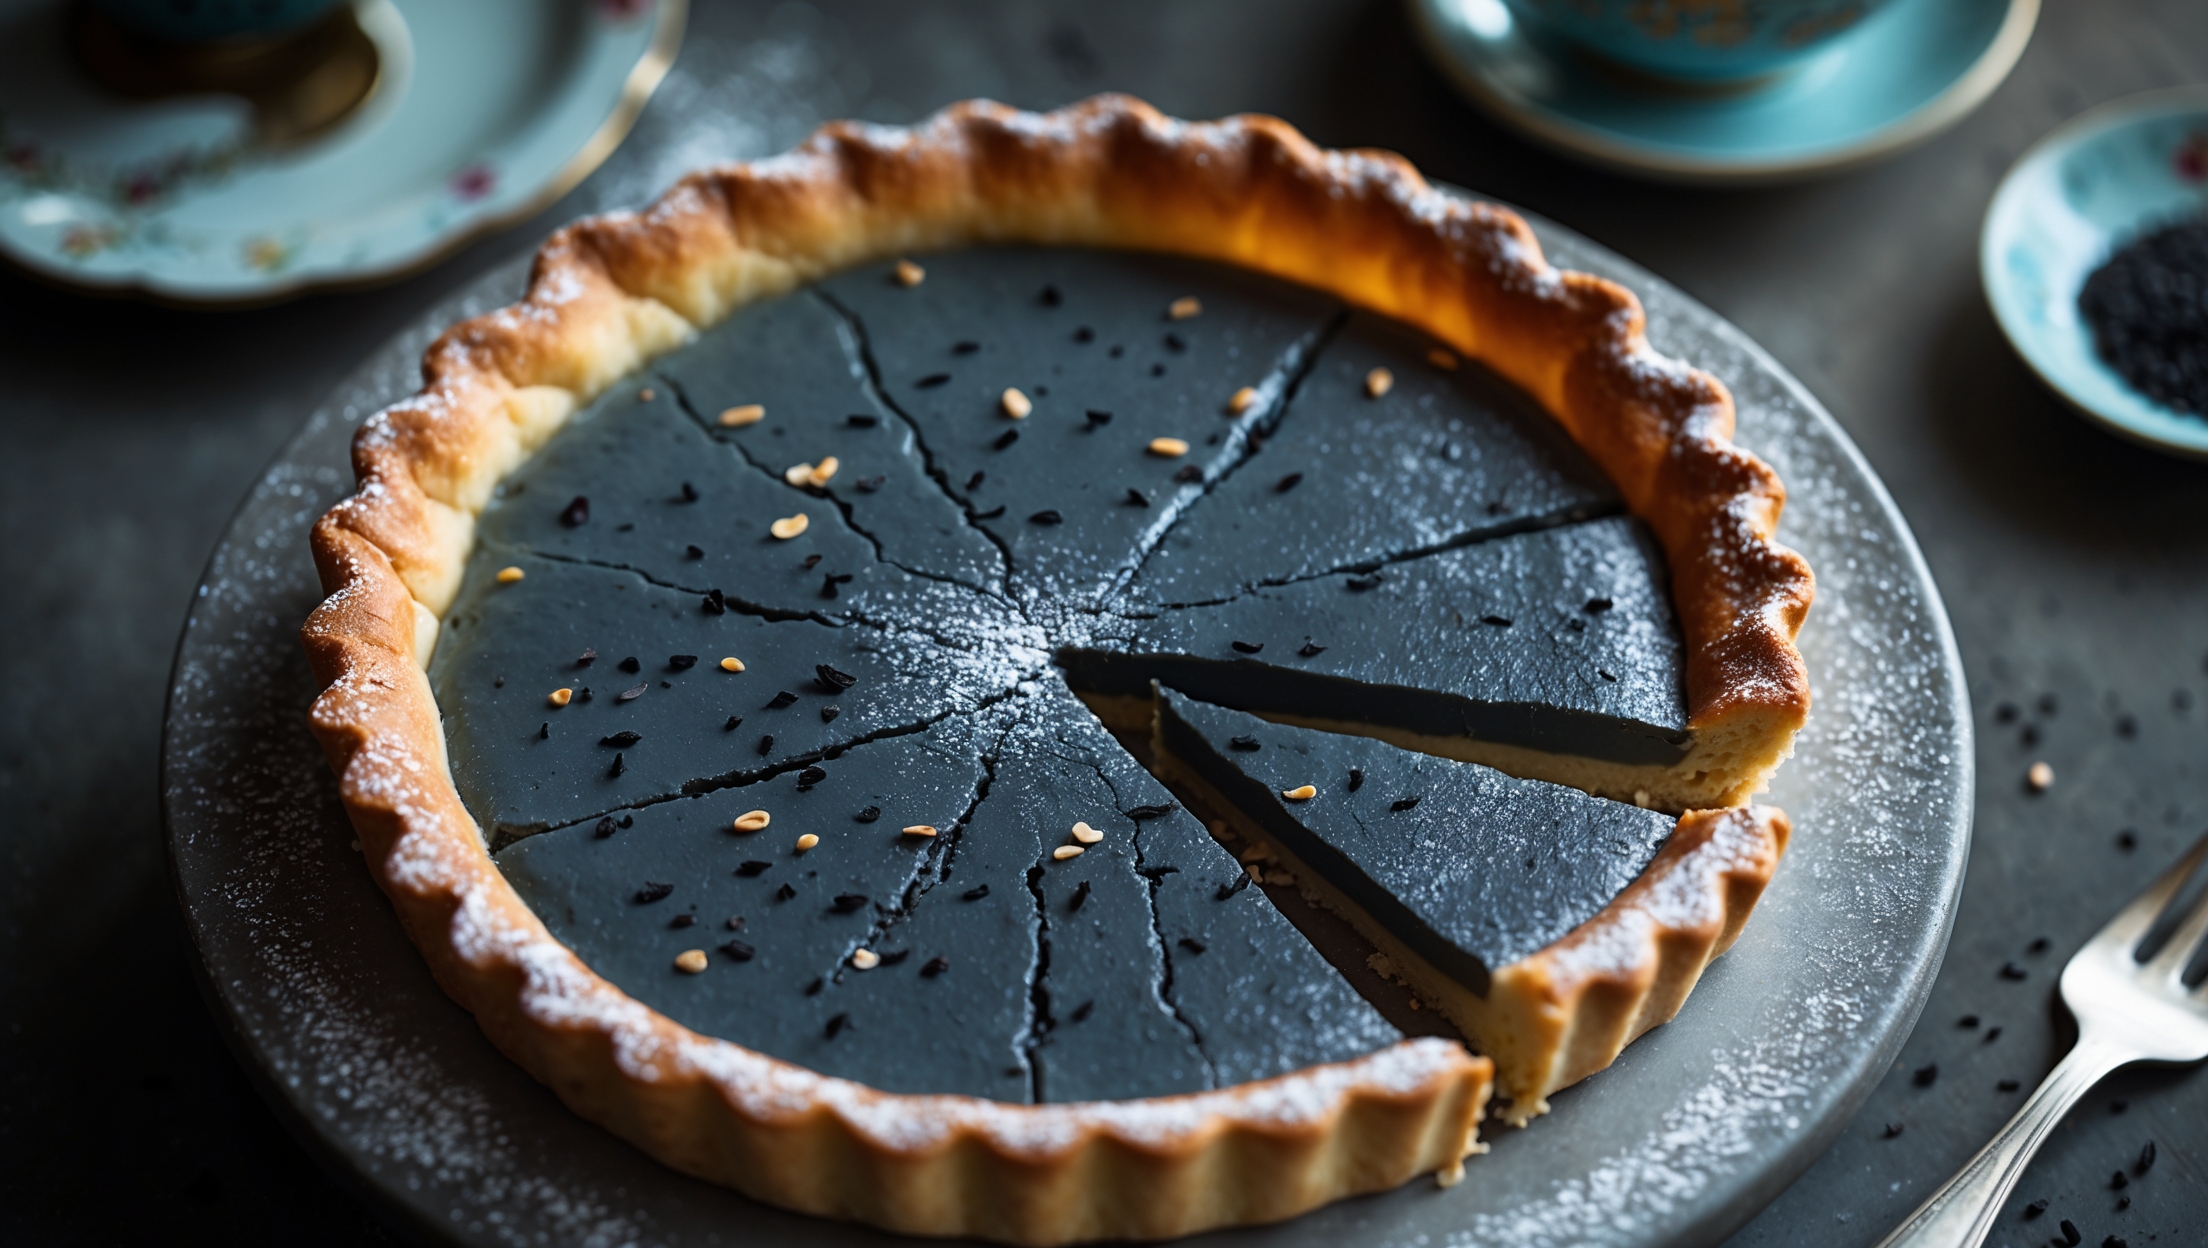
<ol class="no-list-style"><li class="MethodStepper"><h4 class="step-title">Step 1</h4>Begin with the pastry. In a large bowl (or food processor), combine the flour, icing sugar, and salt. Add the cold cubed butter and rub it into the flour using your fingertips until the mixture resembles breadcrumbs. Using cold butter and working quickly prevents the butter from melting, which is crucial for achieving a flaky pastry.</li><li class="MethodStepper"><h4 class="step-title">Step 2</h4>Add the egg yolk and gradually add just enough ice water to bring the dough together – it should be cohesive but not sticky. Cold water helps keep the butter solid within the dough. Form the dough into a disc, wrap in cling film, and refrigerate for at least 30 minutes. This resting period allows the gluten to relax, preventing shrinkage during baking.</li><li class="MethodStepper"><h4 class="step-title">Step 3</h4>Preheat your oven to 190°C (170°C fan). On a lightly floured surface, roll out the pastry to about 3mm thickness in a circle large enough to line your tart tin. Work with confidence but gently – overworking the dough activates gluten and toughens the pastry. Carefully drape the pastry over your rolling pin to transfer it to the tin.</li><li class="MethodStepper"><h4 class="step-title">Step 4</h4>Press the pastry gently into the corners of the tin, allowing a slight overhang. Prick the base all over with a fork (this prevents air bubbles), then line with baking parchment and fill with baking beans. Chill for another 15 minutes – this extra chilling helps prevent shrinkage.</li><li class="MethodStepper"><h4 class="step-title">Step 5</h4>Blind bake the pastry case for 15 minutes, then remove the beans and parchment and bake for another 5-7 minutes until the base is pale golden and feels dry to the touch. The pastry should look set but not browned. Reduce the oven temperature to 160°C (140°C fan).</li><li class="MethodStepper"><h4 class="step-title">Step 6</h4>While the pastry case cools slightly, prepare your custard filling. In a medium saucepan, gently warm the cream until it's hot but not boiling – you should see steam rising and small bubbles forming at the edges. Remove from heat immediately.</li><li class="MethodStepper"><h4 class="step-title">Step 7</h4>In a large bowl, whisk together eggs, egg yolks, maple syrup, vanilla extract, salt, and cinnamon if using. The extra yolks enrich the custard, creating a silkier mouthfeel. Gradually add the warm cream while whisking constantly – this tempers the eggs, preventing them from scrambling.</li><li class="MethodStepper"><h4 class="step-title">Step 8</h4>Place your pastry case on a baking sheet (this makes it easier to move in and out of the oven). Strain the custard mixture through a fine sieve into a jug, then carefully pour it into the pastry case, filling it almost to the top. The straining step is crucial for the silkiest texture, removing any egg strands.</li><li class="MethodStepper"><h4 class="step-title">Step 9</h4>Carefully transfer to the oven and bake for 30-35 minutes until the custard is just set with a slight wobble in the center when gently shaken. The custard will continue to set as it cools, so it's better to slightly underbake than overbake, which can cause cracks and a grainy texture.</li><li class="MethodStepper"><h4 class="step-title">Step 10</h4>Allow the tart to cool completely on a wire rack. The cooling process is essential for the custard to fully set. Once cooled, gently brush the surface with the additional maple syrup for a beautiful shine and enhanced maple flavor.</li><li class="MethodStepper"><h4 class="step-title">Step 11</h4>Refrigerate for at least 2 hours before serving. This tart is delicious served slightly chilled with a dollop of softly whipped cream. Your Maple Custard Tart will keep well refrigerated for up to 3 days, though the pastry is crispest on the day of baking.</li></ol>