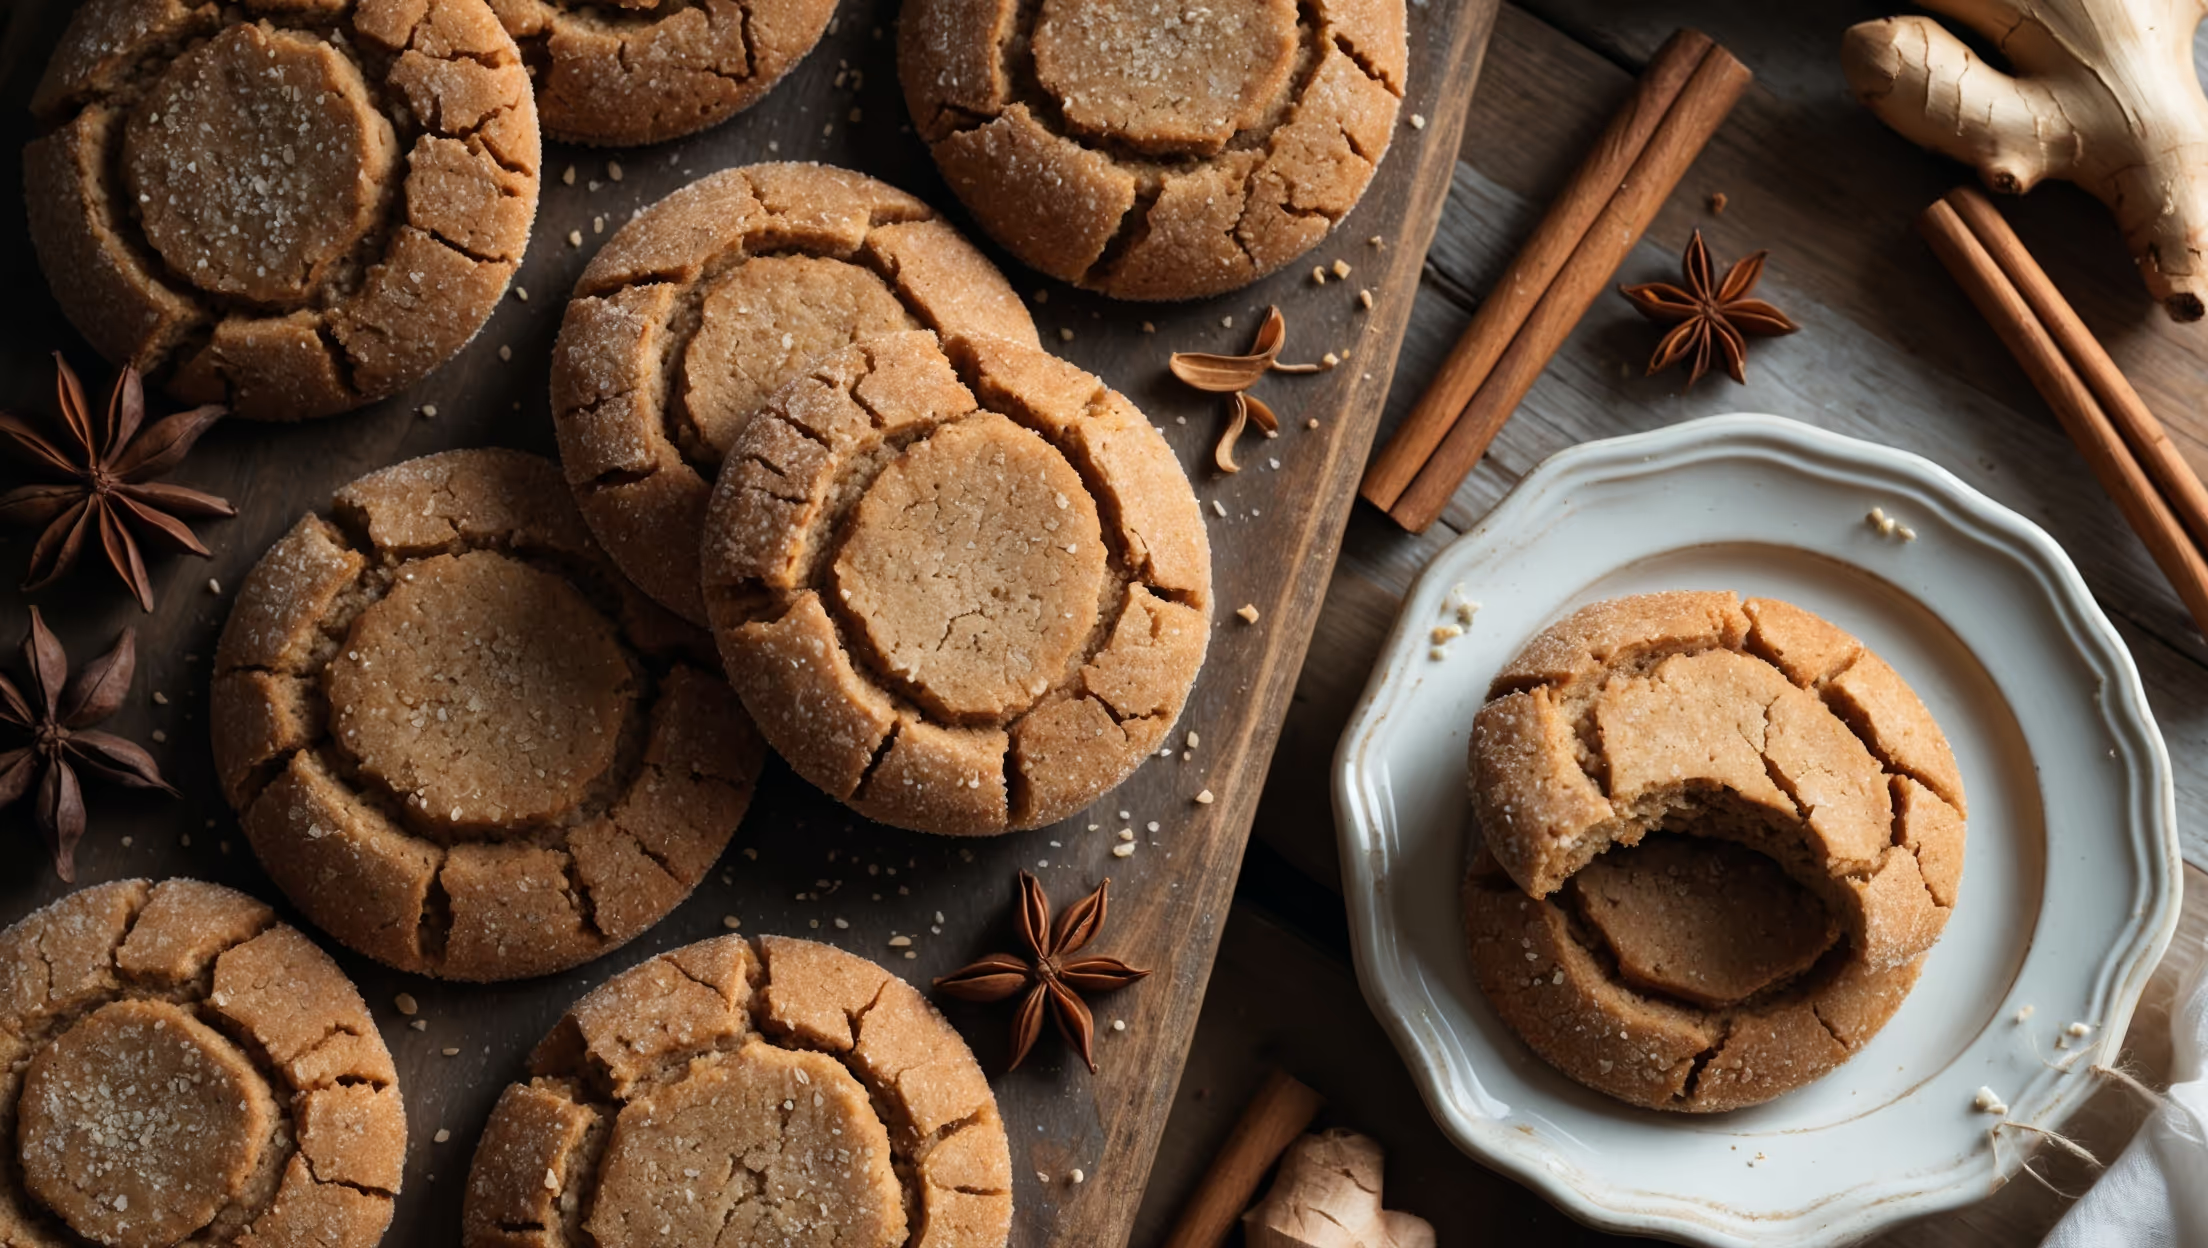
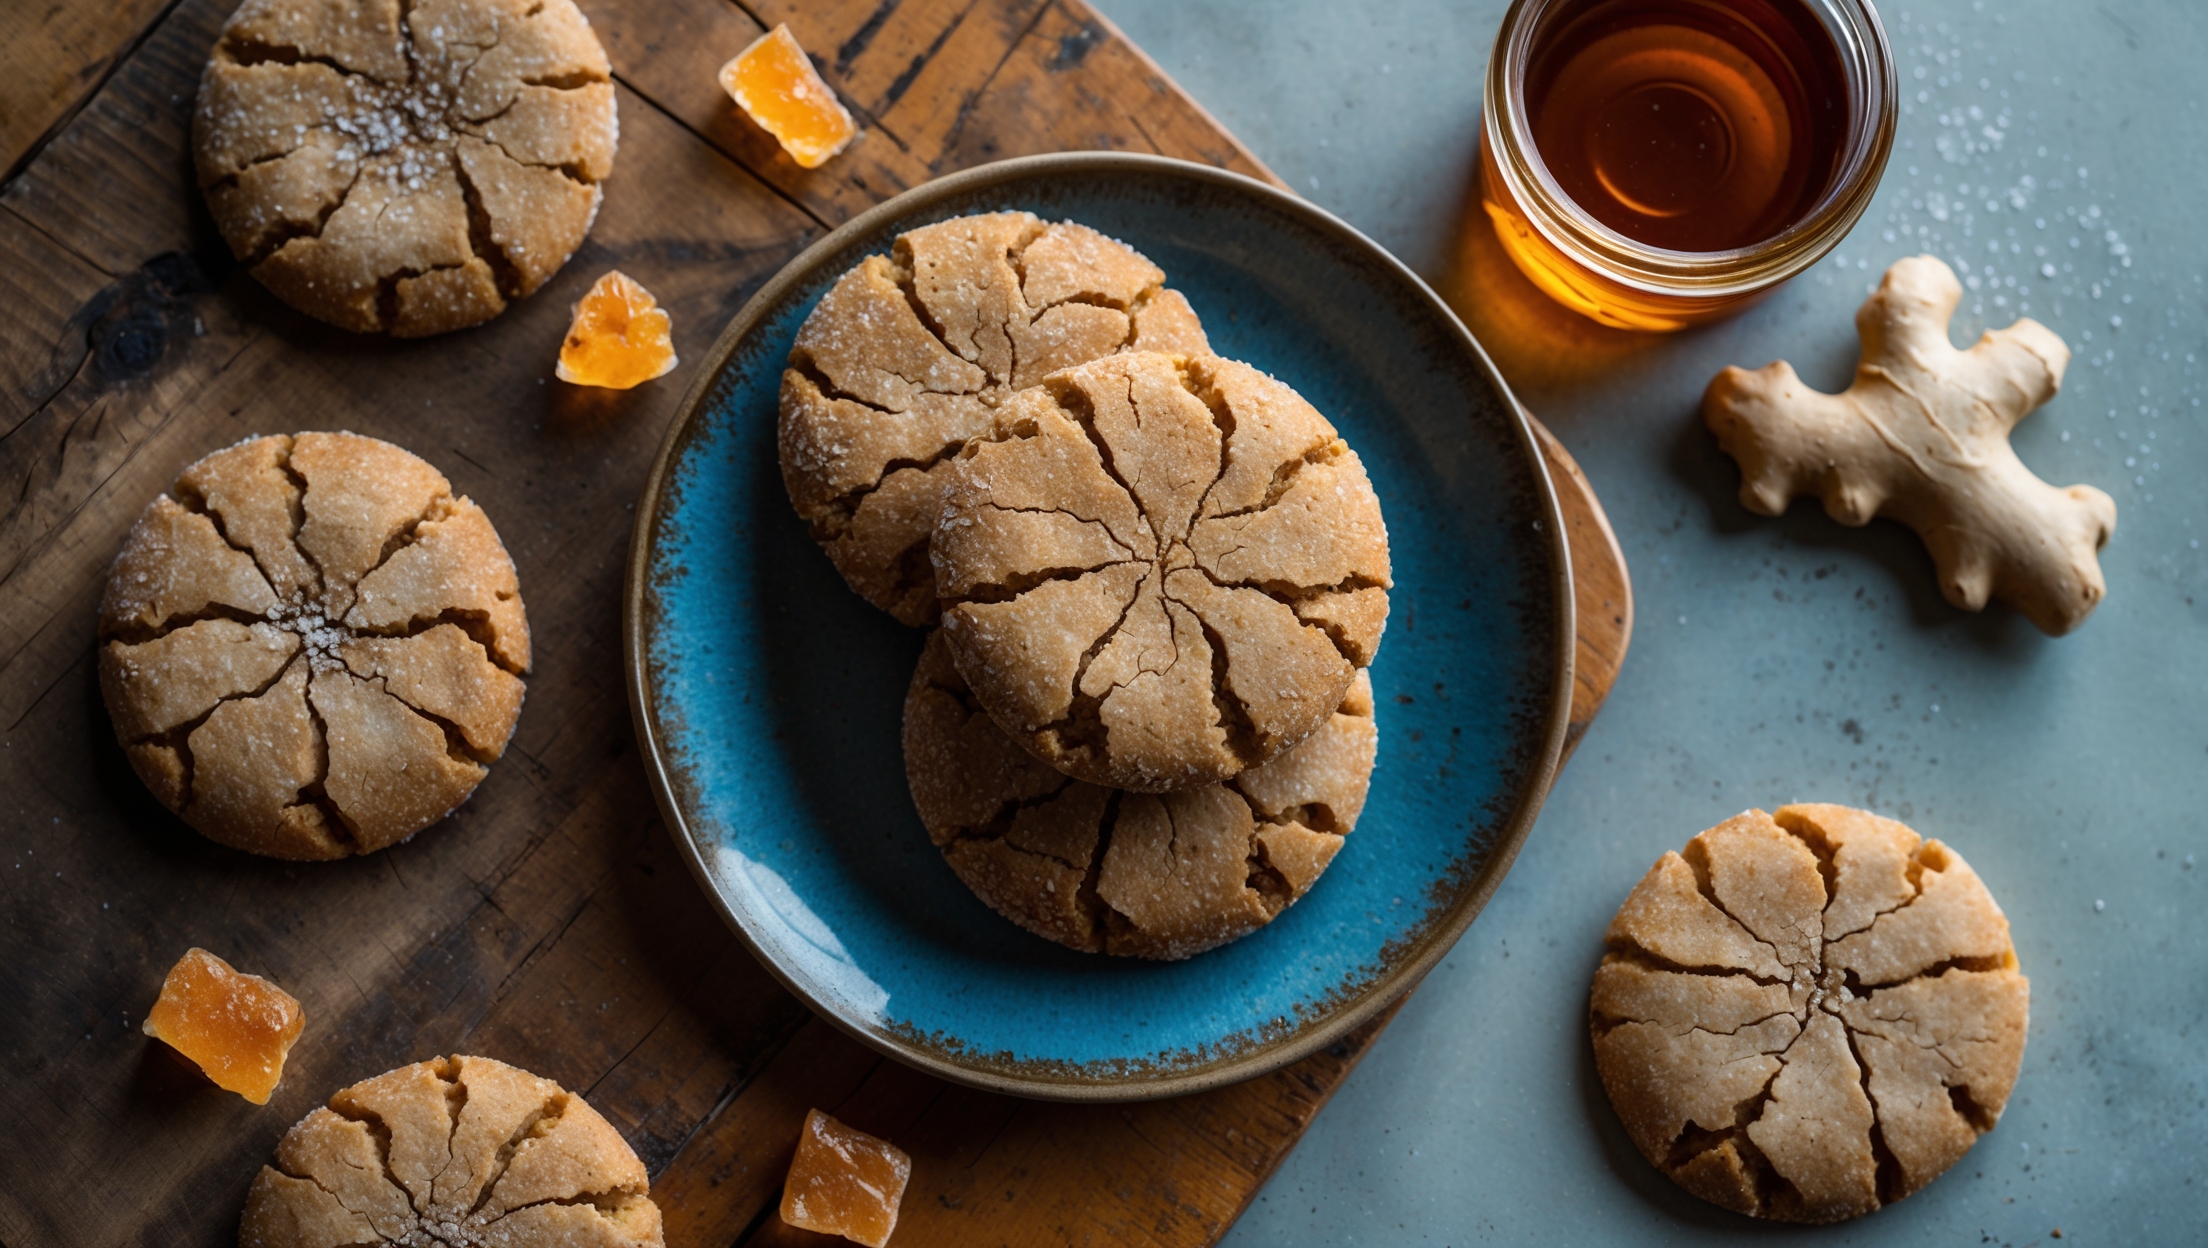
Directions
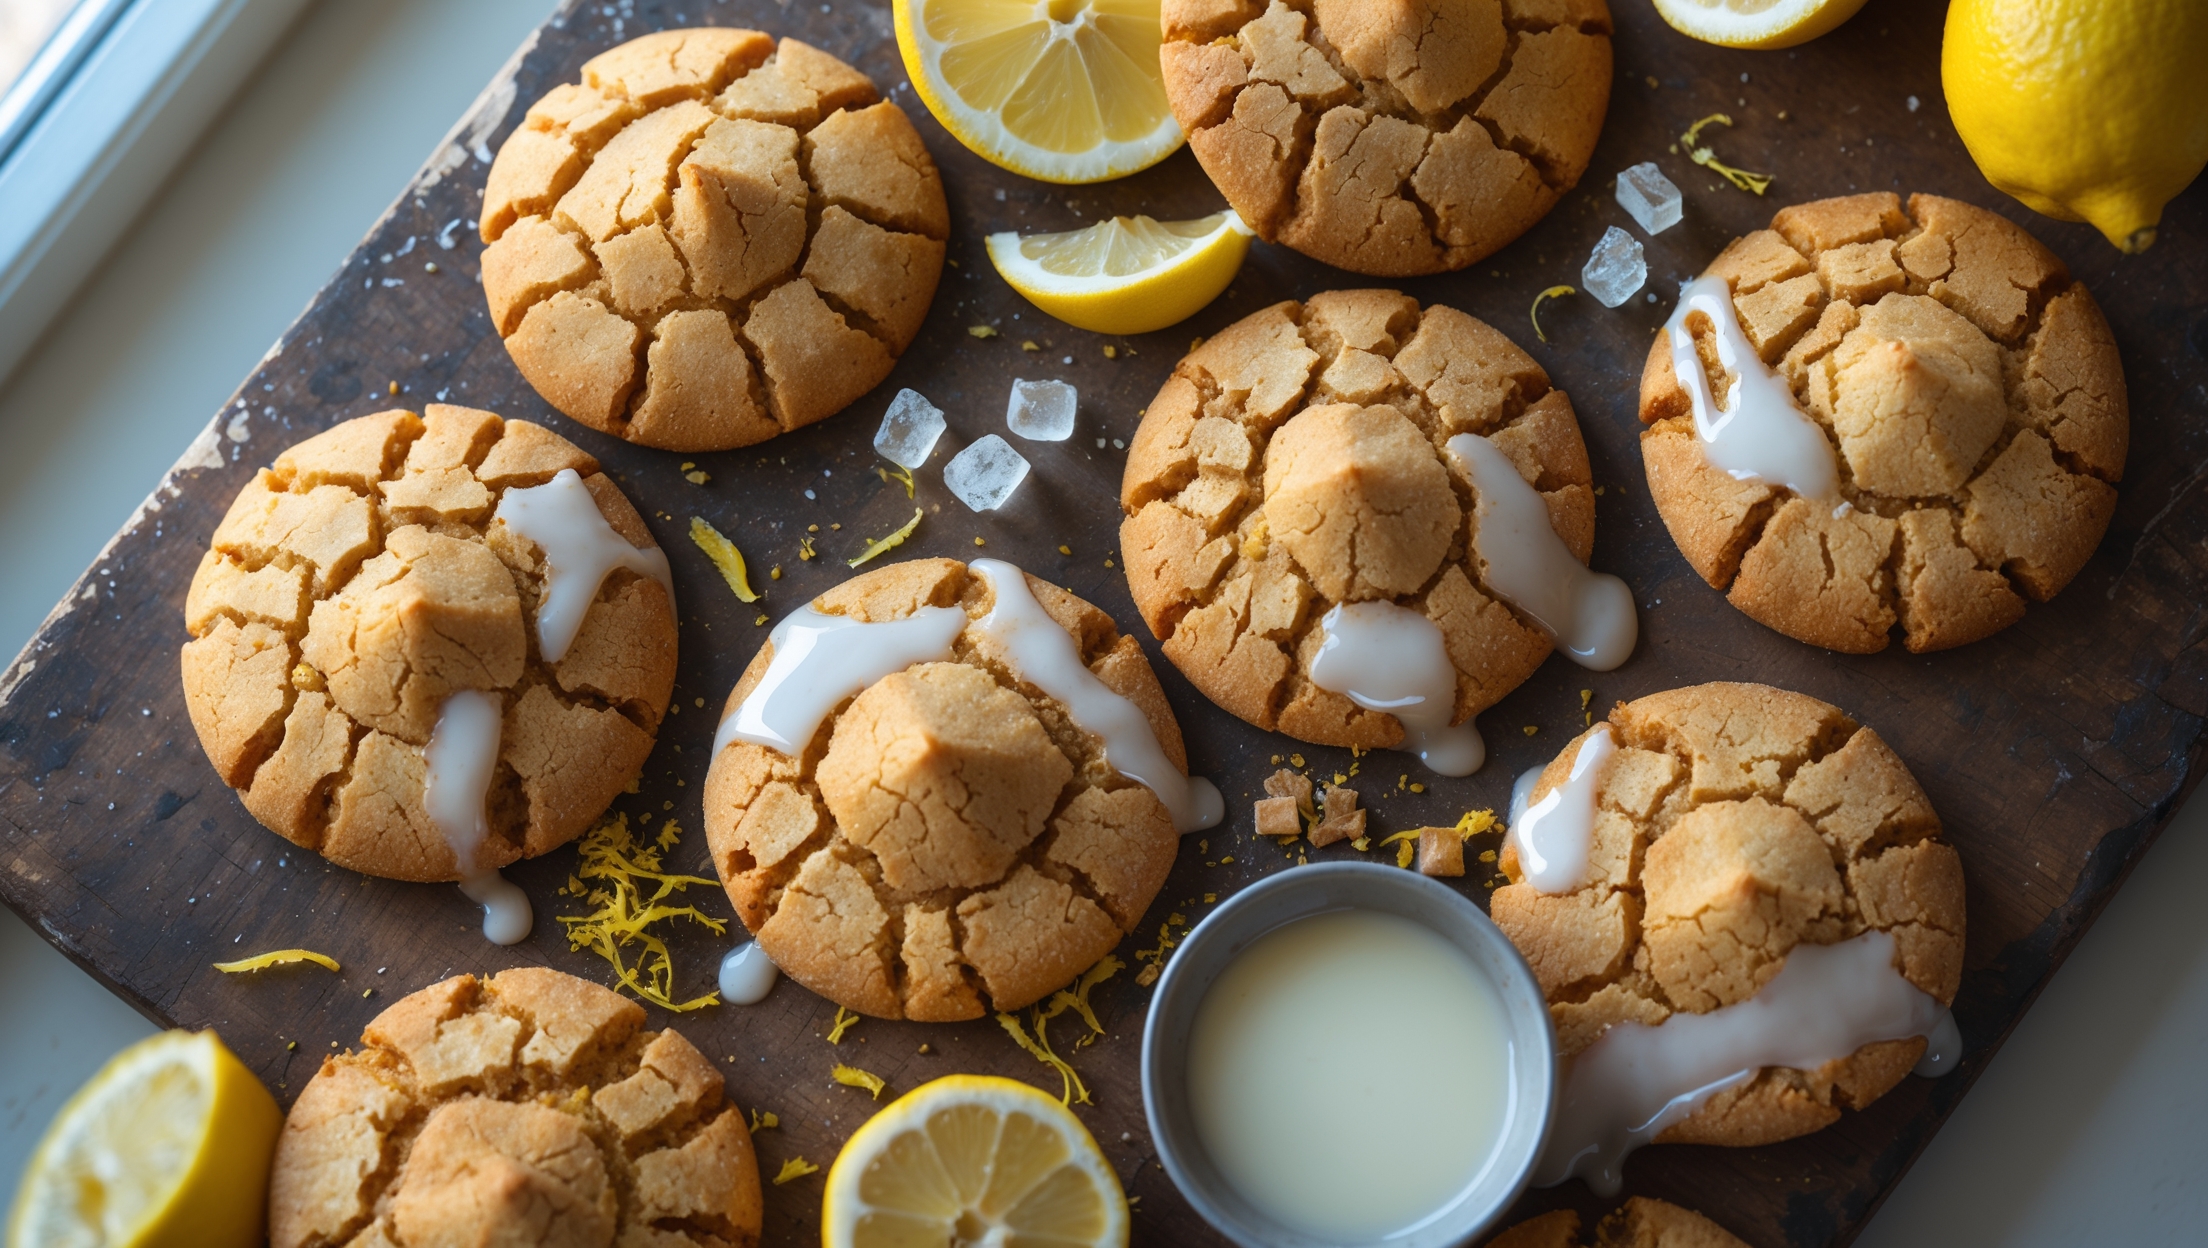
<ol class="no-list-style"><li class="MethodStepper"><h4 class="step-title">Step 1</h4>Preheat your oven to 175°C and line two baking sheets with parchment paper. This preparation ensures you can work efficiently once your dough is ready.</li><li class="MethodStepper"><h4 class="step-title">Step 2</h4>In a medium bowl, whisk together the flour, ground ginger, cinnamon, cloves, nutmeg, baking soda, and salt. This thorough mixing ensures the spices and leavening agent will be evenly distributed throughout your cookies.</li><li class="MethodStepper"><h4 class="step-title">Step 3</h4>In the bowl of a stand mixer fitted with the paddle attachment (or using a hand mixer), cream the butter, granulated sugar, and brown sugar on medium-high speed for 3-4 minutes until light and fluffy. This extended creaming creates air pockets that help give the cookies their perfect texture.</li><li class="MethodStepper"><h4 class="step-title">Step 4</h4>Add the egg and beat until fully incorporated. Then mix in the fresh grated ginger, molasses, and vanilla extract until smooth. The fresh ginger adds a sharper, brighter flavor than ground ginger alone.</li><li class="MethodStepper"><h4 class="step-title">Step 5</h4>With the mixer on low speed, gradually add the dry ingredients to the wet ingredients, mixing just until combined. Be careful not to overmix, which can develop too much gluten and result in tough cookies. Fold in the crystallized ginger pieces if using.</li><li class="MethodStepper"><h4 class="step-title">Step 6</h4>Place the 50g of granulated sugar in a small bowl. Using a cookie scoop or tablespoon, portion the dough into 24 equal balls (about 30g each), then roll each between your palms to smooth. Roll each ball in the granulated sugar until completely coated, which will give your cookies a lovely sparkle and slight crunch.</li><li class="MethodStepper"><h4 class="step-title">Step 7</h4>Place the cookie dough balls on the prepared baking sheets, spacing them about 5cm apart as they will spread during baking. Slightly flatten each ball with the palm of your hand or the bottom of a glass.</li><li class="MethodStepper"><h4 class="step-title">Step 8</h4>Bake for 10-12 minutes until the edges are set but the centers still look slightly soft. The cookies will continue to firm up as they cool, so avoid overbaking to maintain their chewy texture. You'll know they're perfect when the tops begin to crack slightly.</li><li class="MethodStepper"><h4 class="step-title">Step 9</h4>Allow the cookies to cool on the baking sheets for 5 minutes before transferring to a wire rack to cool completely. The cookies need to be fully cooled before glazing, otherwise the glaze will simply melt and run off.</li><li class="MethodStepper"><h4 class="step-title">Step 10</h4>While the cookies cool, make the lemon glaze. In a medium bowl, whisk together the powdered sugar, 3 tablespoons of lemon juice, lemon zest, and vanilla extract until smooth. The glaze should be thick but pourable – add the remaining tablespoon of lemon juice if needed to achieve the right consistency. The acid in the lemon juice will react with the sugar to create a glaze that sets with a slight shine.</li><li class="MethodStepper"><h4 class="step-title">Step 11</h4>Place the cooled cookies on a wire rack set over a baking sheet to catch drips. Using a spoon, drizzle the lemon glaze over each cookie in a zigzag pattern, or spread a thin layer over the top with the back of a spoon. Allow the glaze to set for at least 30 minutes.</li><li class="MethodStepper"><h4 class="step-title">Step 12</h4>Store the cookies in an airtight container at room temperature, placing pieces of parchment paper between layers to prevent sticking. They'll stay fresh for up to 5 days, though the spice flavors will actually deepen and improve after the first day.</li></ol>