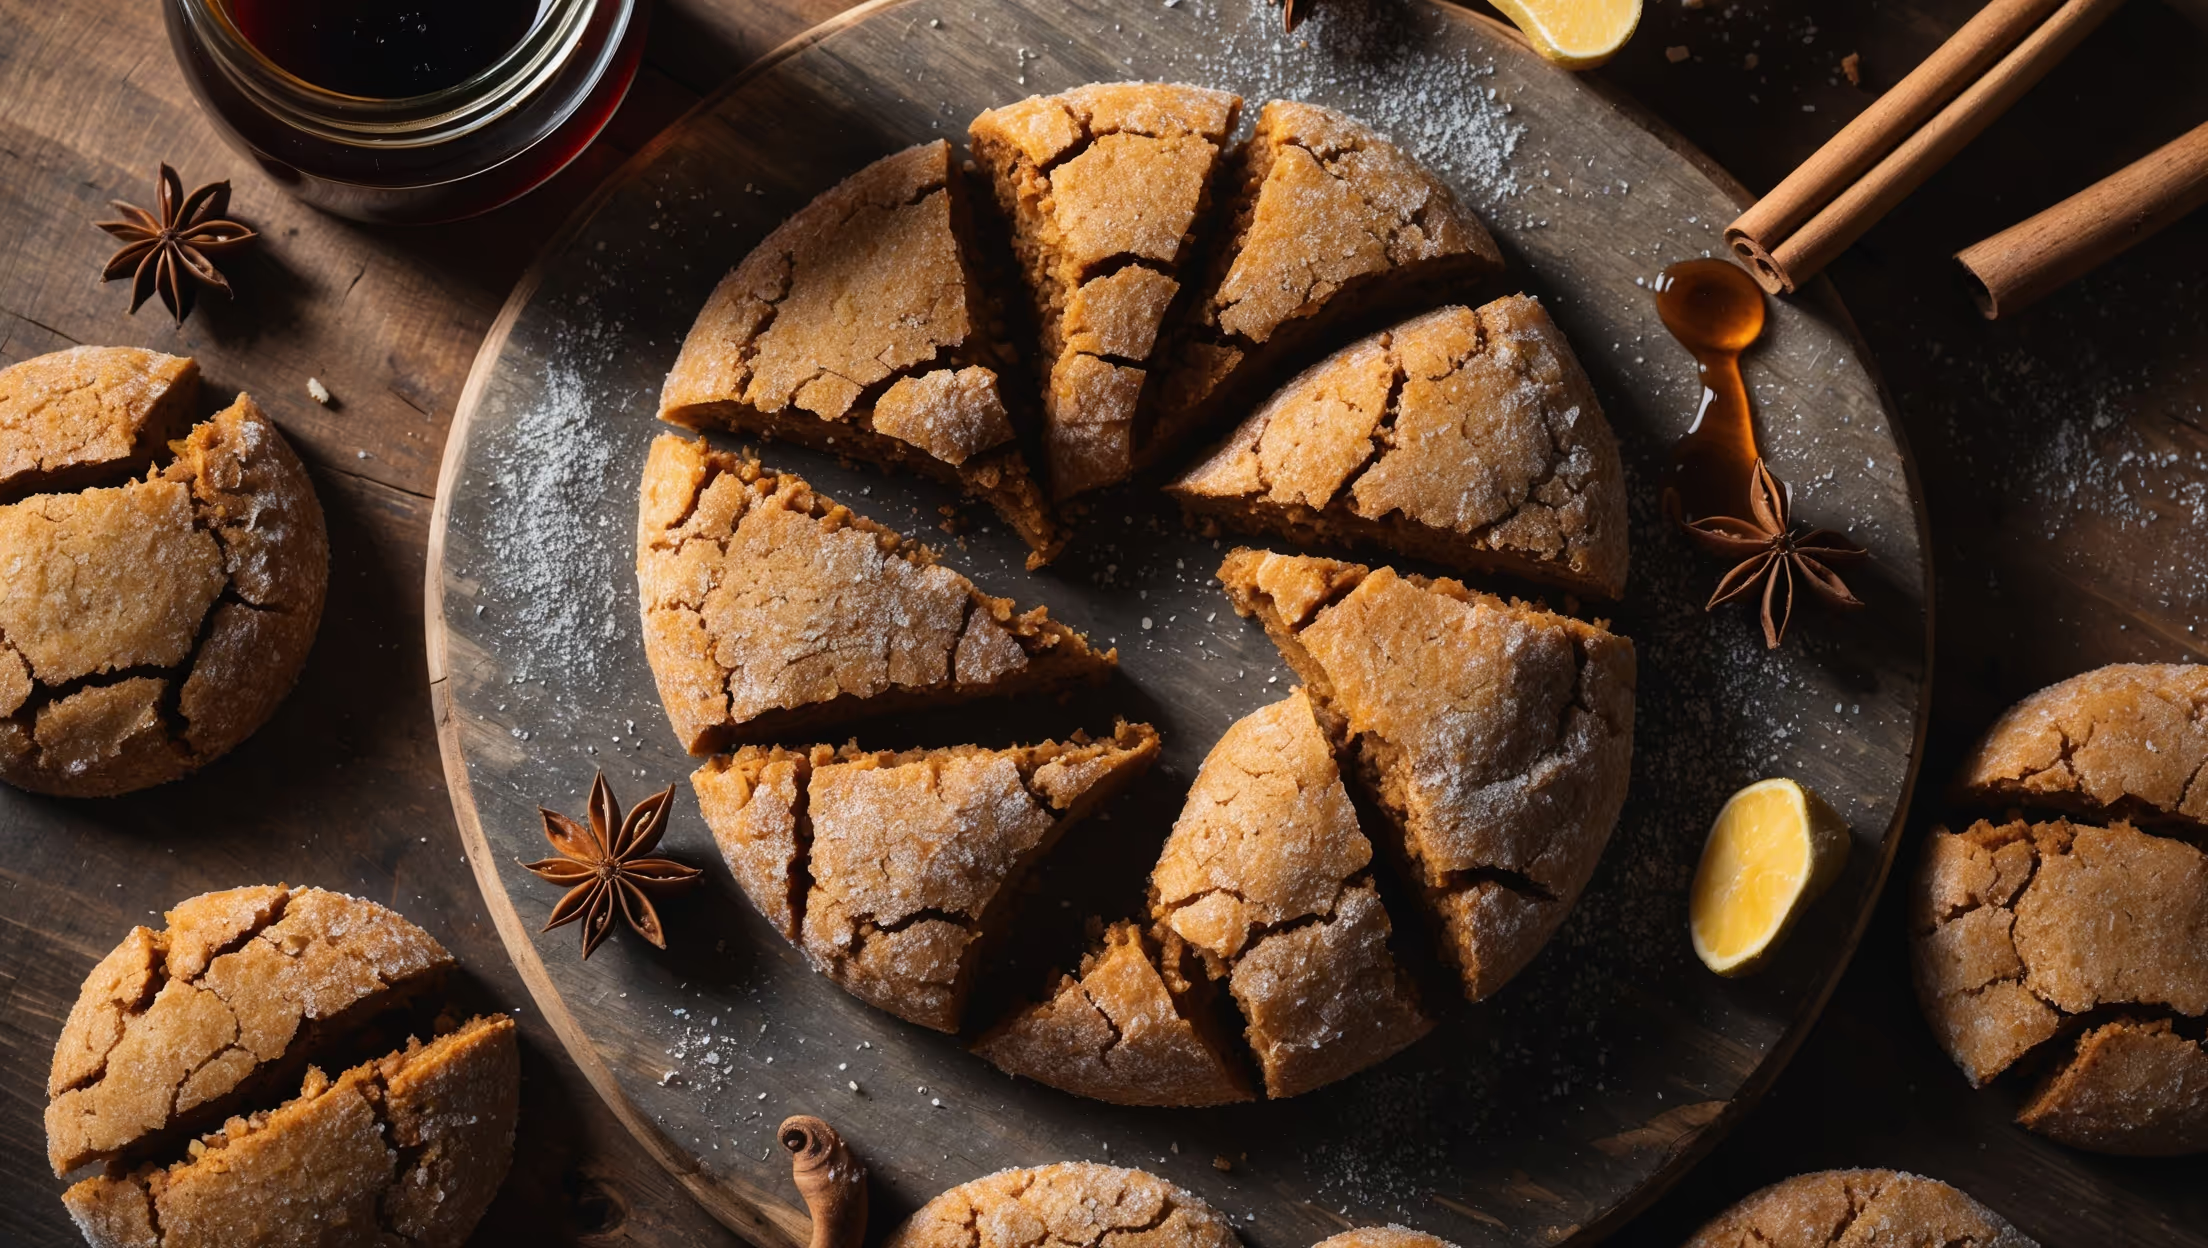
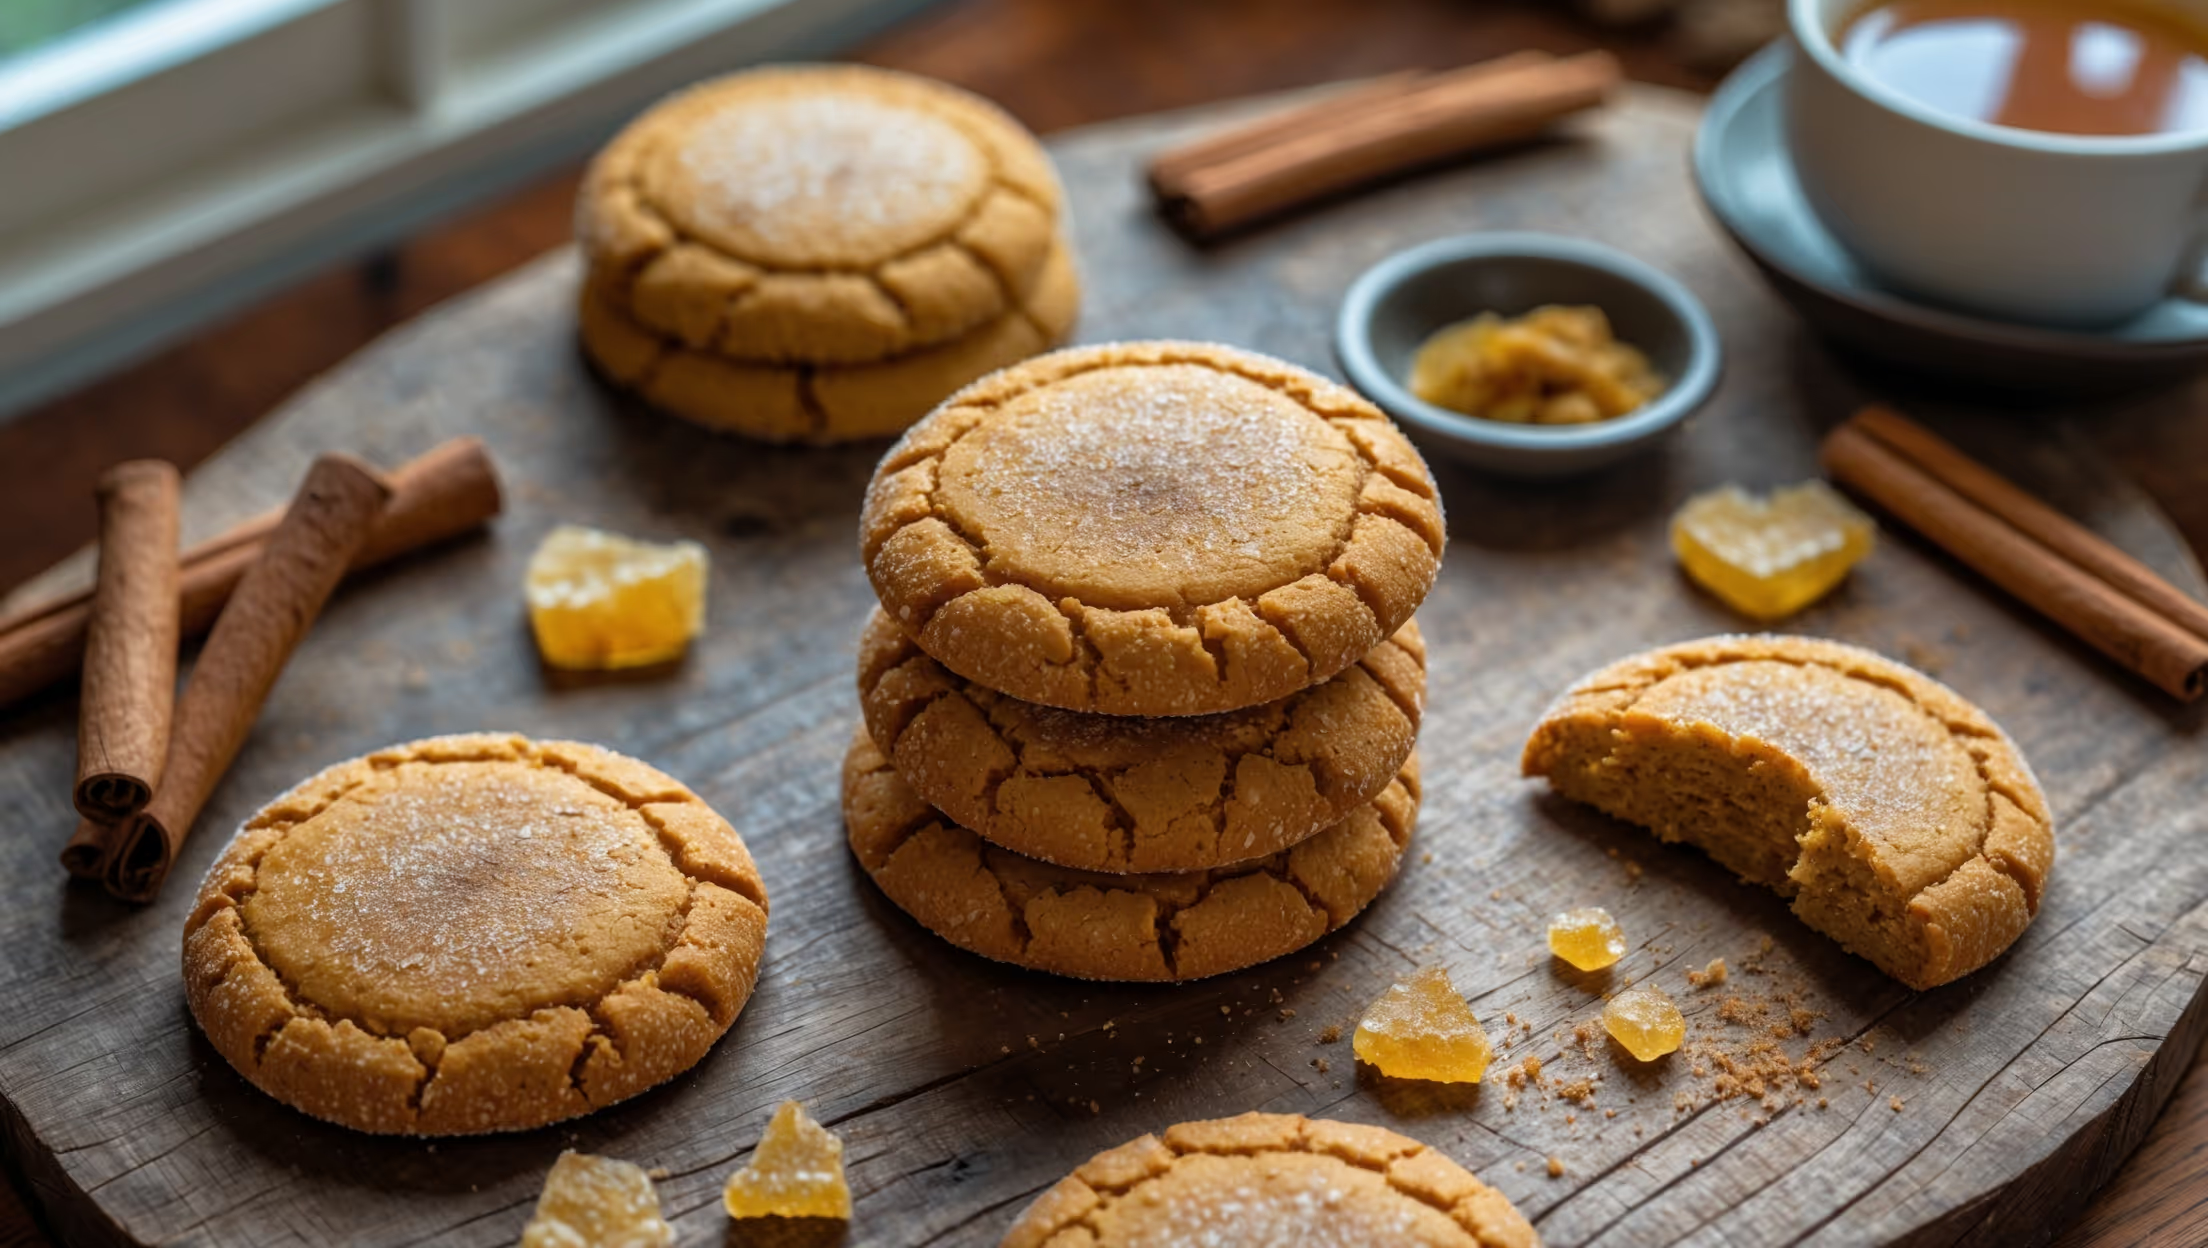
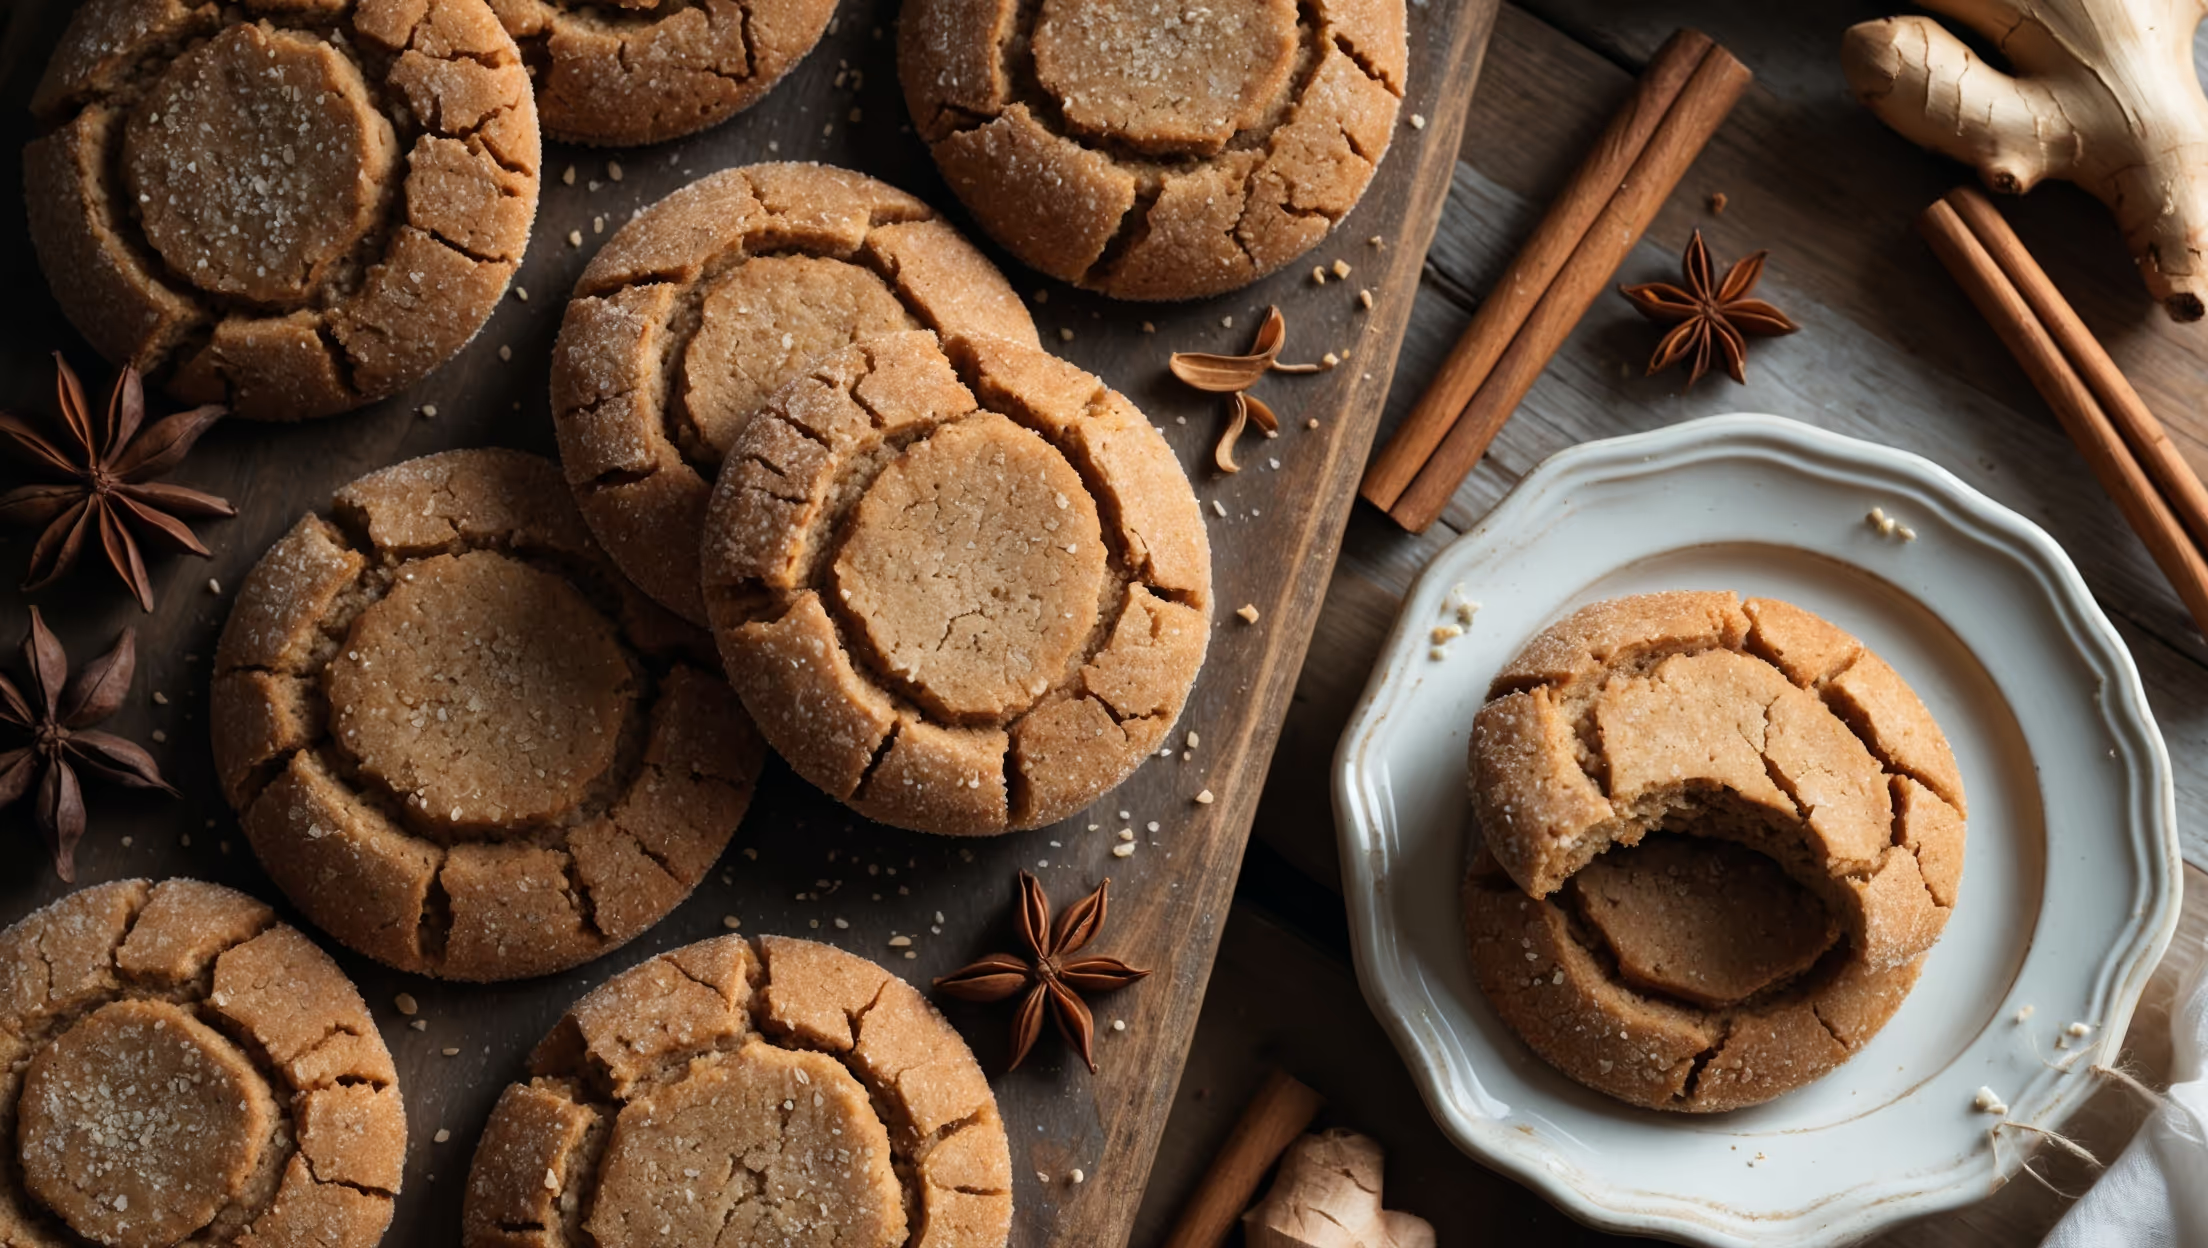
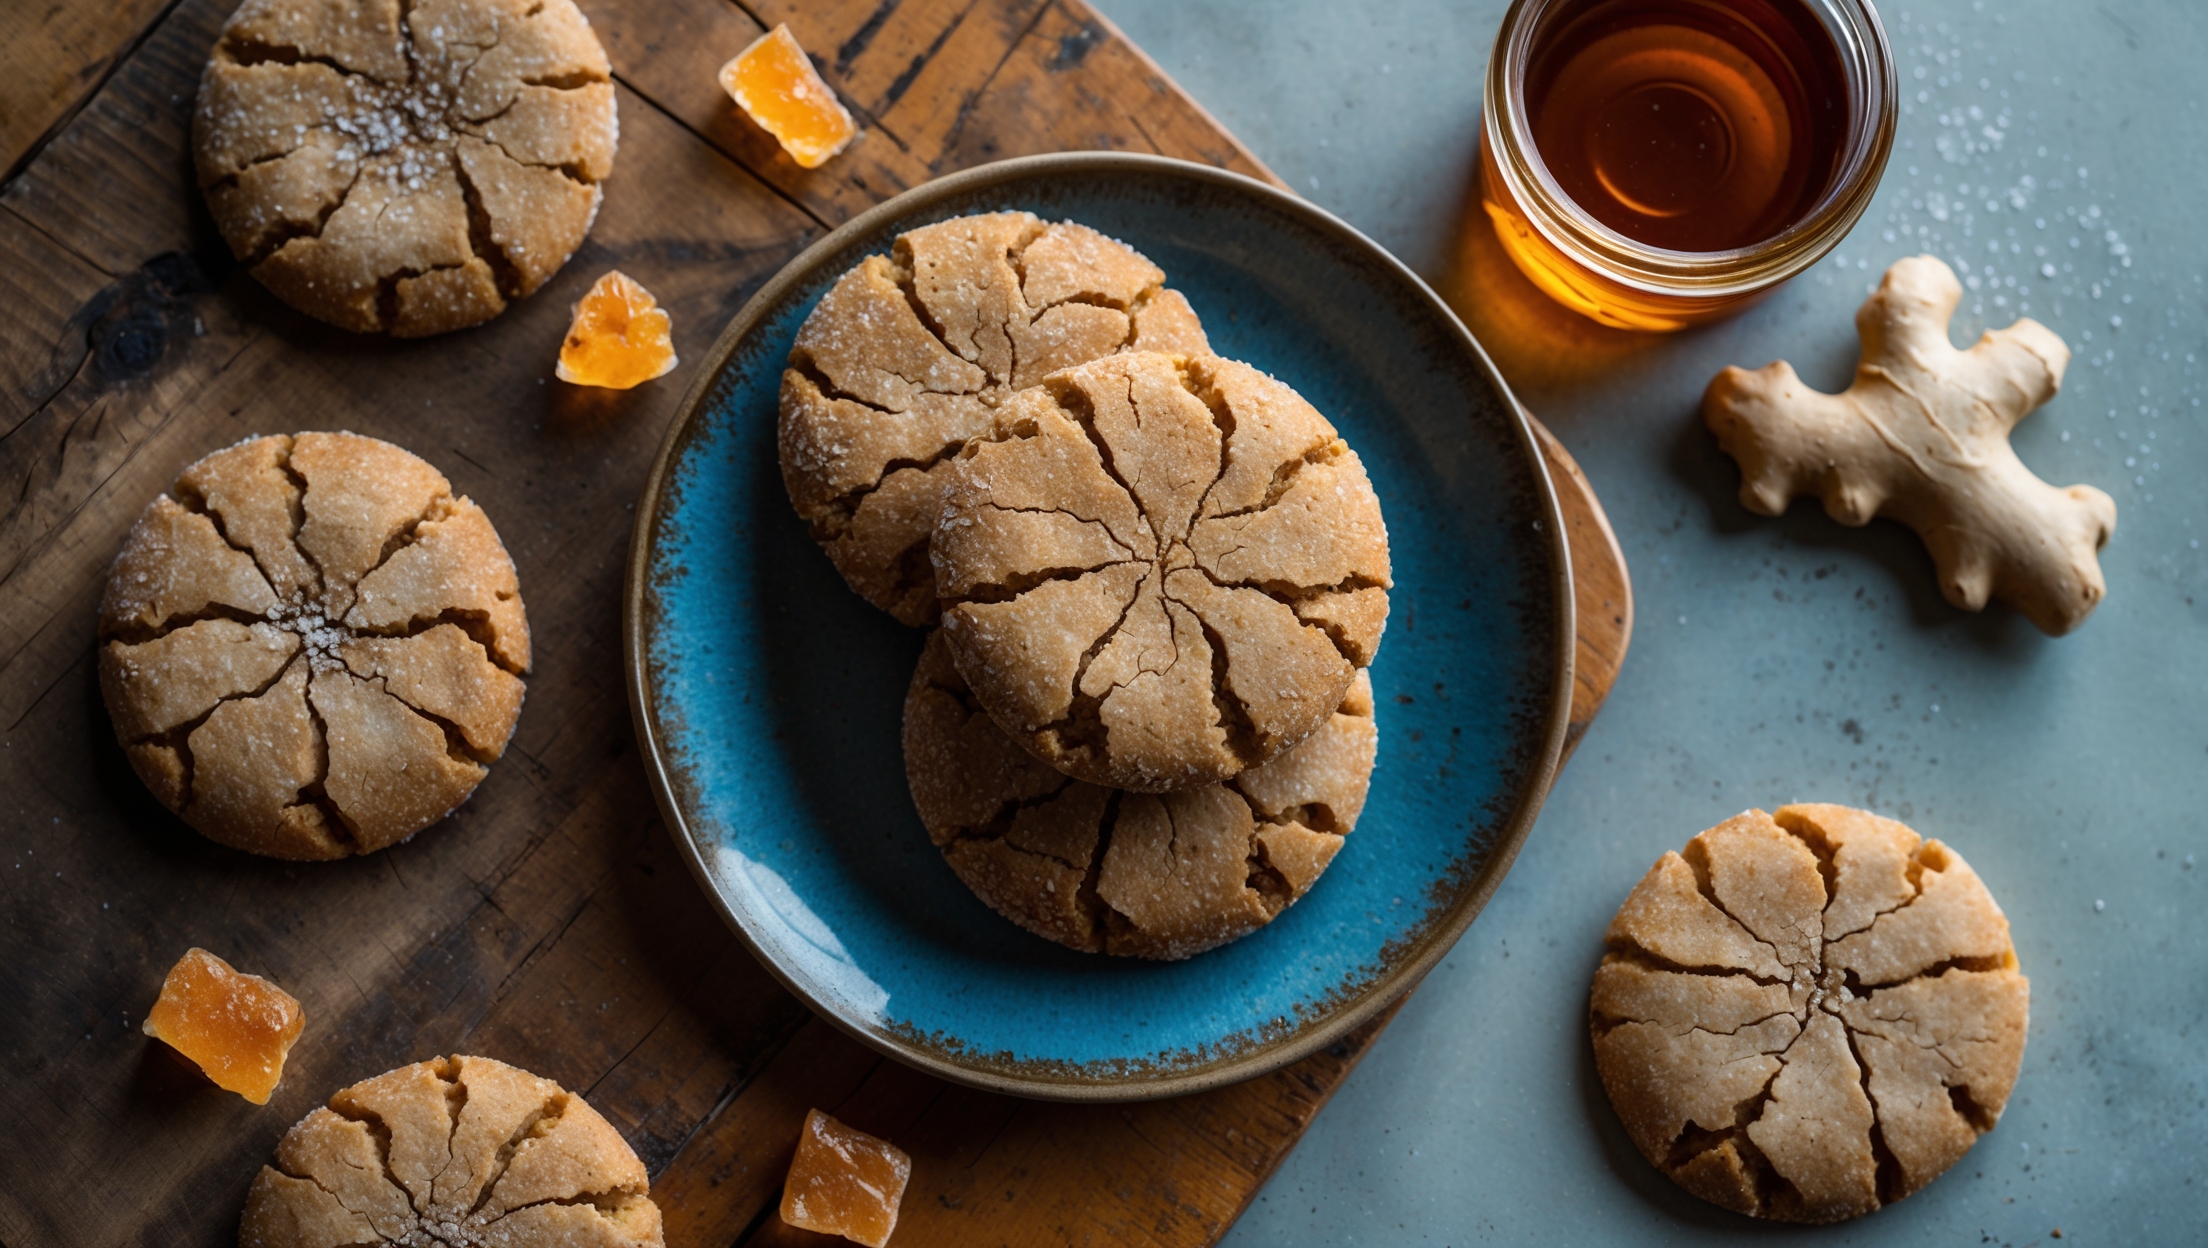
Directions
<ol class="no-list-style"> <li class="MethodStepper"> <h4 class="step-title">Step 1</h4> Preheat your oven to 180°C and line two baking sheets with parchment paper. This preparation ensures you can work efficiently once your dough is ready. </li> <li class="MethodStepper"> <h4 class="step-title">Step 2</h4> In a medium bowl, whisk together the flour, baking soda, ginger, cinnamon, cloves, and salt until well combined. This thorough mixing distributes the spices and leavening agent evenly, ensuring consistent flavor and texture in every cookie. </li> <li class="MethodStepper"> <h4 class="step-title">Step 3</h4> In a large bowl, cream the softened butter and 200g sugar together until light and fluffy, about 2-3 minutes. The creaming process incorporates air into the mixture, which helps create a tender, chewy texture in the finished cookies. </li> <li class="MethodStepper"> <h4 class="step-title">Step 4</h4> Beat in the egg until fully incorporated, then add the molasses and vanilla extract. Don't worry if the mixture looks slightly curdled at this point – it will come together when you add the dry ingredients. The molasses provides not only flavor but also helps retain moisture, contributing to the cookies' signature chewiness. </li> <li class="MethodStepper"> <h4 class="step-title">Step 5</h4> Gradually add the dry ingredients to the wet mixture, mixing on low speed just until combined. Overmixing develops gluten, which can make your cookies tough rather than tender, so stop as soon as no dry streaks remain. The dough will be soft and slightly sticky. </li> <li class="MethodStepper"> <h4 class="step-title">Step 6</h4> Place the remaining 50g of sugar in a small bowl. Using a cookie scoop or tablespoon, portion the dough into balls about 3cm in diameter (approximately 25g each). Roll each ball between your palms to smooth it, then coat completely in the sugar. This sugar coating will create that beautiful crackled appearance as the cookies bake. </li> <li class="MethodStepper"> <h4 class="step-title">Step 7</h4> Arrange the dough balls on the prepared baking sheets, spacing them about 5cm apart as they will spread during baking. Slightly flatten each ball with the bottom of a glass if you prefer thinner, wider cookies. </li> <li class="MethodStepper"> <h4 class="step-title">Step 8</h4> Bake for 10-12 minutes, until the edges are set but the centers still look slightly underdone and puffy. The cookies will develop characteristic cracks on the surface as they bake – this is exactly what you want! For chewier cookies, bake for the shorter time; for crispier edges, bake the full 12 minutes. </li> <li class="MethodStepper"> <h4 class="step-title">Step 9</h4> Allow the cookies to cool on the baking sheets for 5 minutes. During this time, they'll continue to set up and firm slightly. Then transfer to a wire rack to cool completely. As they cool, the centers will collapse slightly, creating that perfect chewy middle. </li> <li class="MethodStepper"> <h4 class="step-title">Step 10</h4> Store in an airtight container at room temperature for up to 5 days. To maintain maximum chewiness, you can place a slice of bread in the container – the cookies will absorb moisture from the bread, keeping them soft longer. </li> </ol>