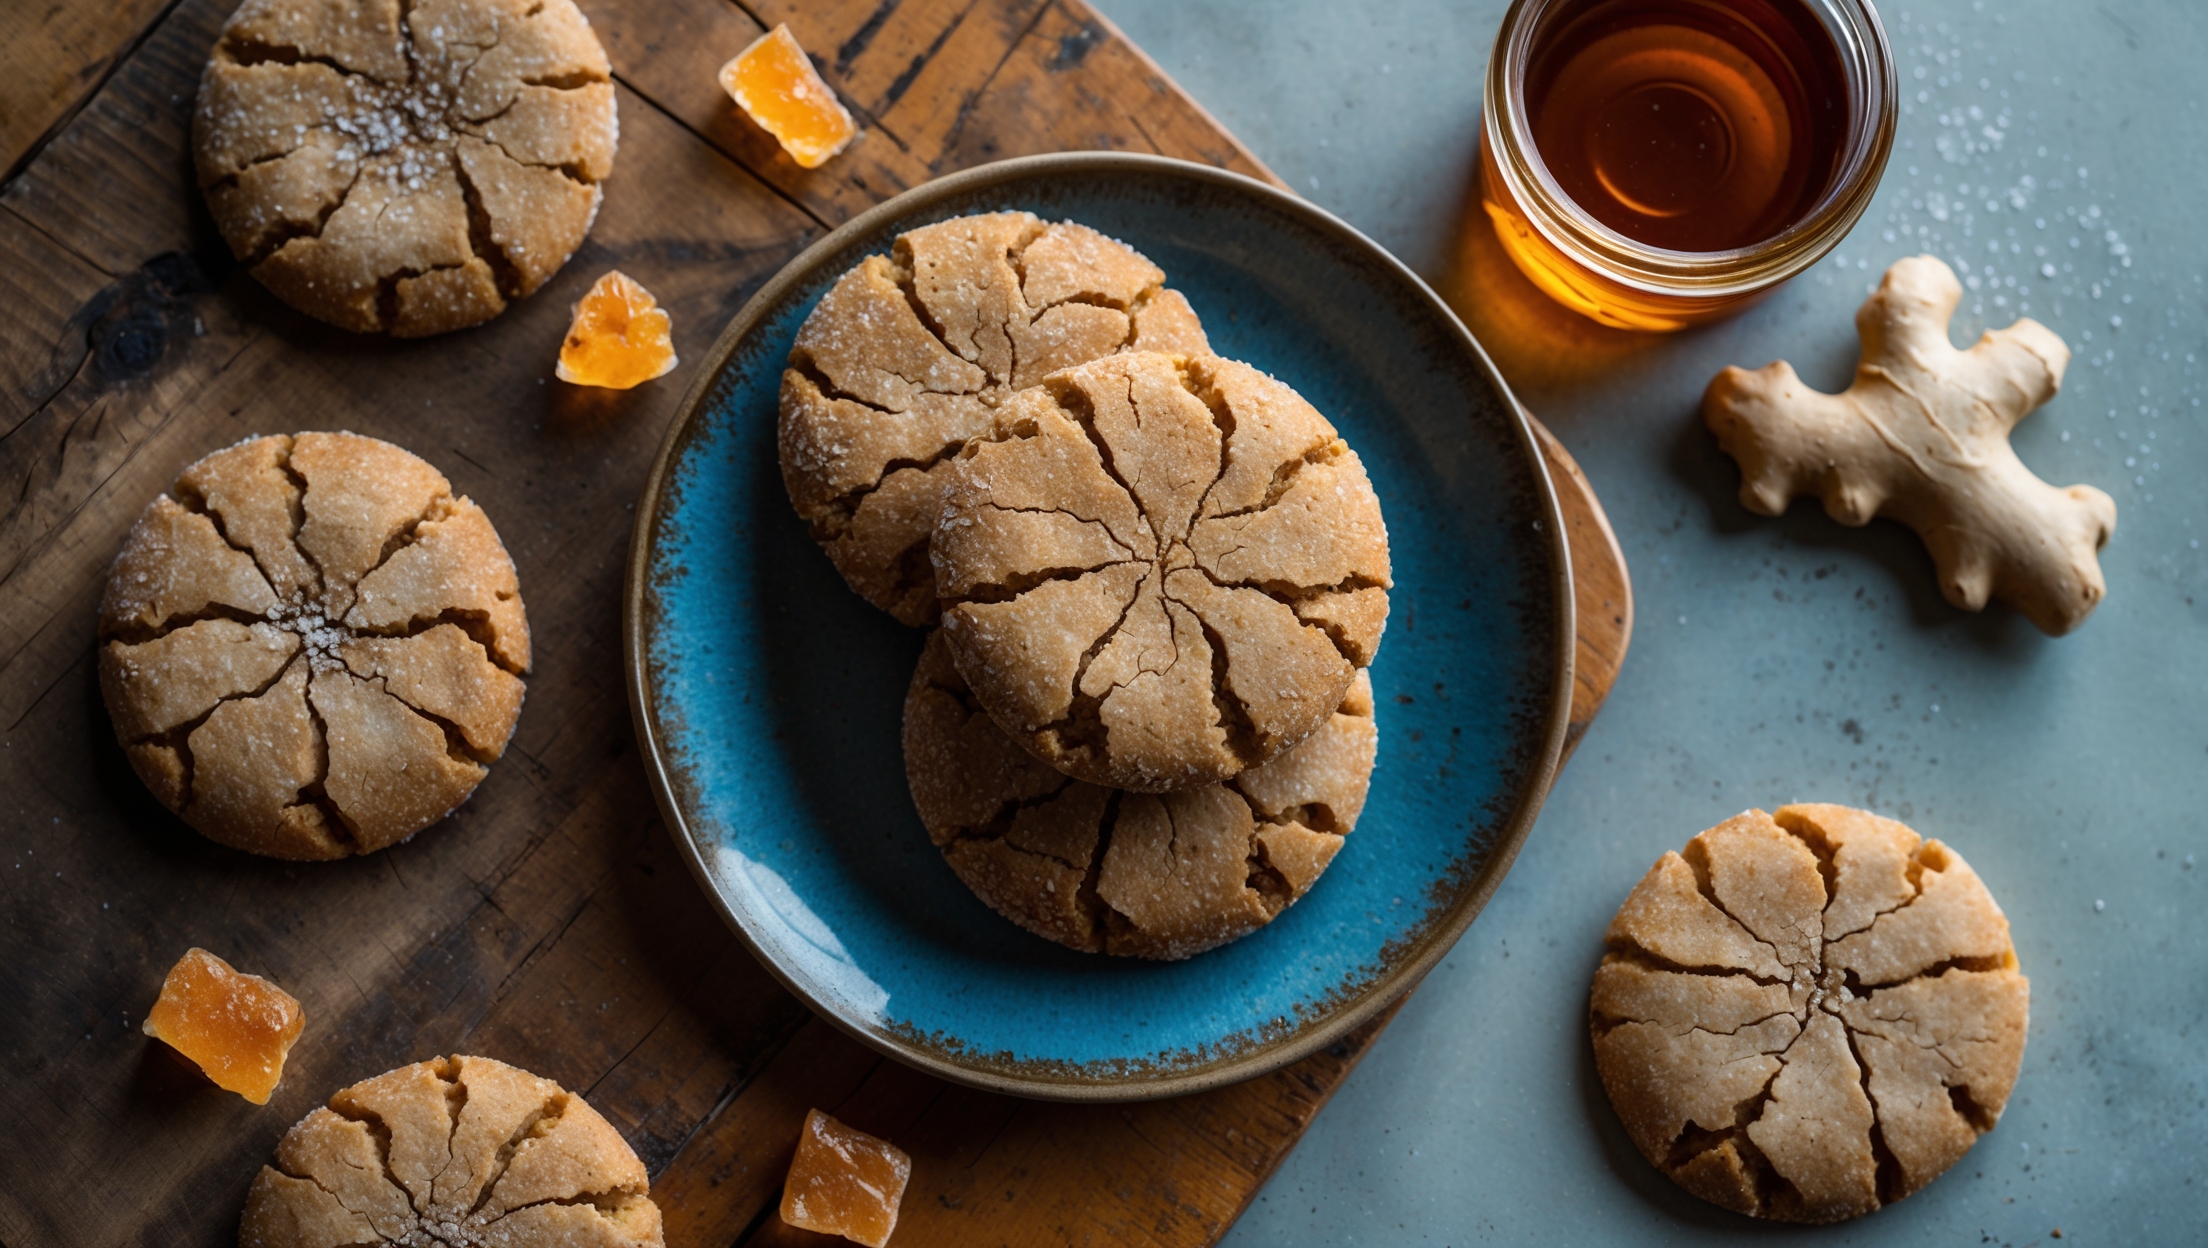
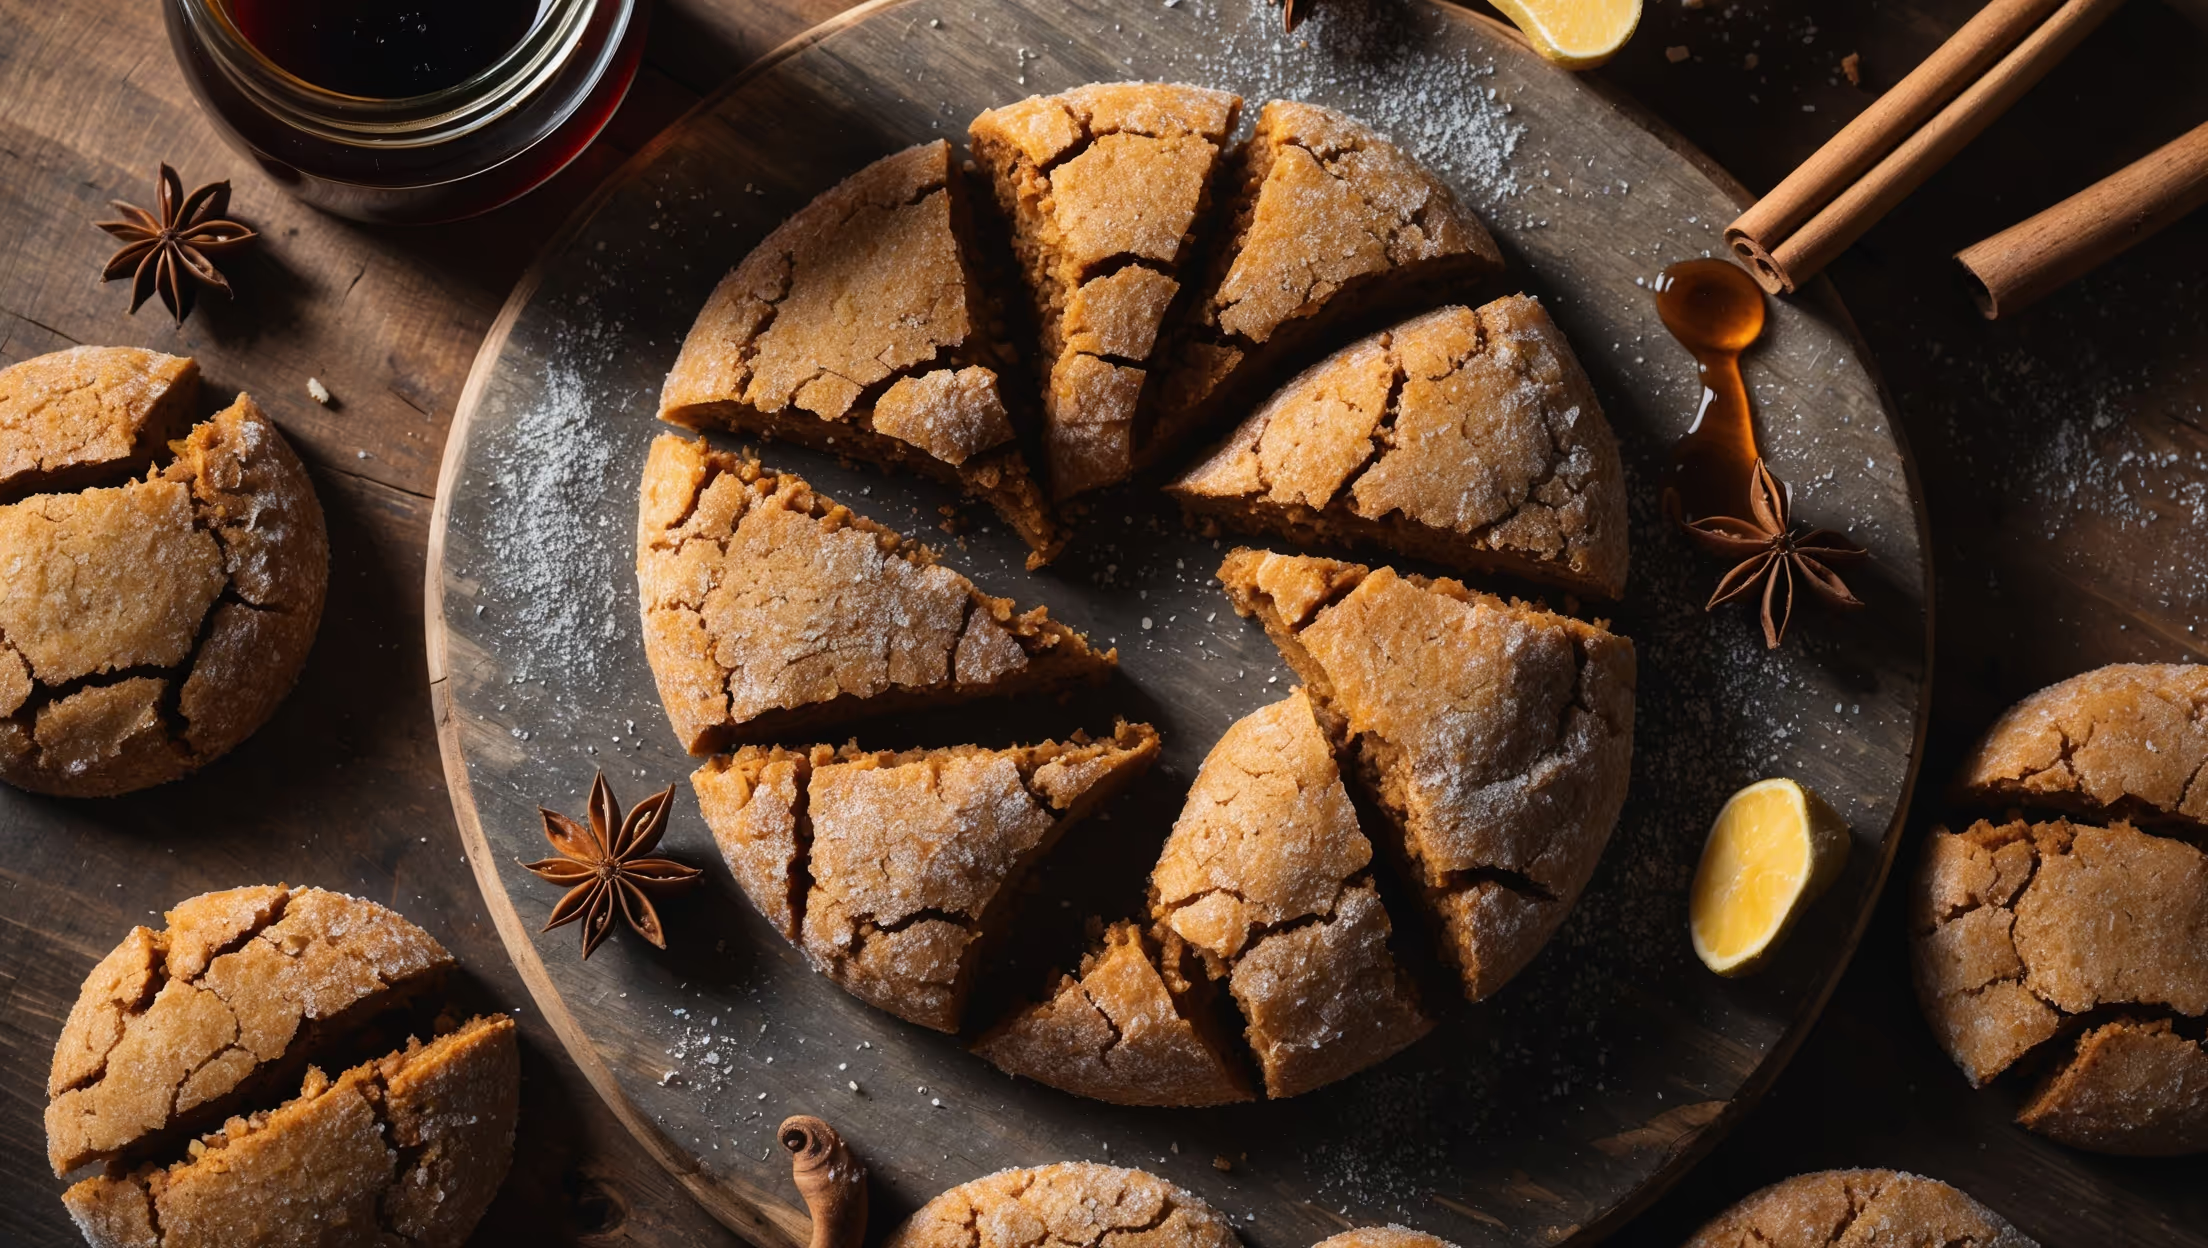
Directions
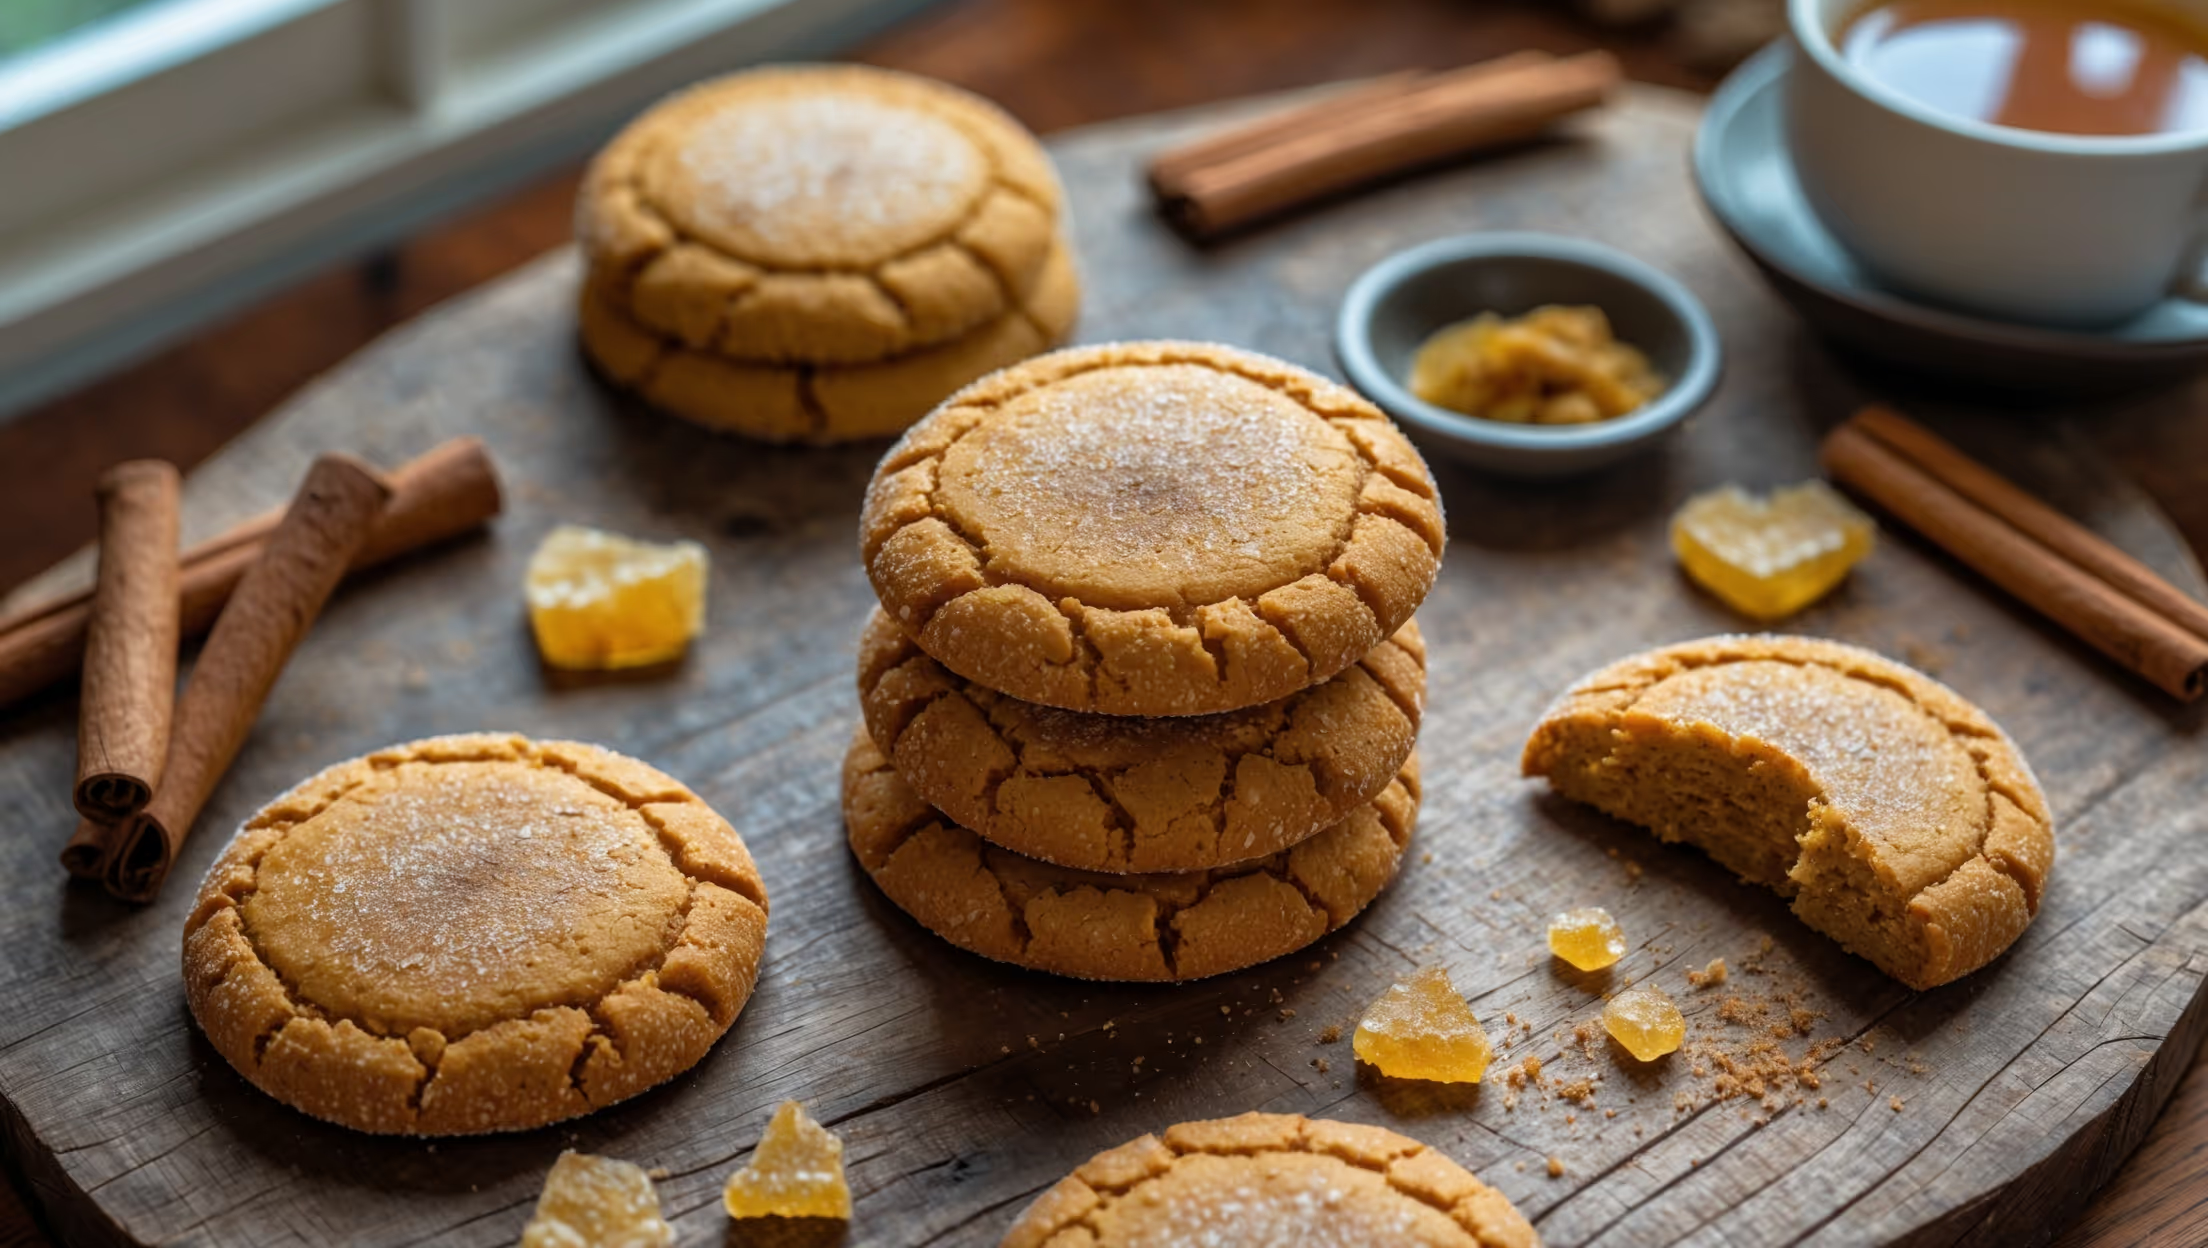
<ol class="no-list-style"> <li class="MethodStepper"> <h4 class="step-title">Step 1</h4> Preheat your oven to 180°C (350°F) and line two baking sheets with parchment paper. This preparation ensures your cookies will bake evenly and won't stick to the tray. </li> <li class="MethodStepper"> <h4 class="step-title">Step 2</h4> In a medium bowl, whisk together the flour, baking soda, salt, ground ginger, cinnamon, cloves, and nutmeg until thoroughly combined. This even distribution of spices and leavening agents will ensure your cookies have consistent flavor and texture throughout. </li> <li class="MethodStepper"> <h4 class="step-title">Step 3</h4> In a large bowl or the bowl of your stand mixer, beat the softened butter on medium speed until creamy, about 1 minute. Proper creaming of butter creates tiny air pockets that help give your cookies their tender texture. </li> <li class="MethodStepper"> <h4 class="step-title">Step 4</h4> Add both granulated and brown sugars to the butter and beat on medium-high speed until light and fluffy, about 2-3 minutes. Don't rush this step! The sugar crystals cut through the butter, creating more of those essential air pockets for a perfectly textured cookie. Brown sugar adds moisture and a deeper flavor thanks to its molasses content. </li> <li class="MethodStepper"> <h4 class="step-title">Step 5</h4> Beat in the egg, fresh grated ginger (if using), molasses, and vanilla extract until completely incorporated, scraping down the sides of the bowl as needed. The molasses is crucial for creating that signature soft texture—it's hygroscopic, meaning it attracts and retains moisture. </li> <li class="MethodStepper"> <h4 class="step-title">Step 6</h4> With your mixer on low speed, gradually add the dry ingredients to the wet mixture, mixing just until combined. Overmixing develops gluten, which would make your cookies tough rather than tender. You should have a soft, slightly sticky dough. </li> <li class="MethodStepper"> <h4 class="step-title">Step 7</h4> Pour some extra granulated sugar into a small bowl. Using a cookie scoop or tablespoon, portion the dough into balls approximately 3cm (1.25 inches) in diameter (about 25-30g each). Roll each ball in the granulated sugar until completely coated. This sugar coating will create that beautiful crackled exterior as the cookies bake. </li> <li class="MethodStepper"> <h4 class="step-title">Step 8</h4> Place the dough balls on your prepared baking sheets, leaving about 5cm (2 inches) between each cookie as they will spread during baking. If your dough feels very soft, refrigerate the trays for 15 minutes before baking to prevent excessive spreading. </li> <li class="MethodStepper"> <h4 class="step-title">Step 9</h4> Bake for 10-12 minutes until the edges are set but the centers still appear slightly soft and puffy. The cookies will have a crackled appearance on top but shouldn't look completely dry—this is key for achieving that perfect chewy texture. Remember that cookies continue to bake slightly from residual heat after removal from the oven. </li> <li class="MethodStepper"> <h4 class="step-title">Step 10</h4> Allow the cookies to cool on the baking sheets for 5 minutes before transferring to a wire rack to cool completely. This resting time allows the structure to set, preventing your cookies from breaking when moved. As they cool, they'll flatten slightly and develop their signature chewy texture. </li> <li class="MethodStepper"> <h4 class="step-title">Step 11</h4> Store in an airtight container at room temperature for up to 1 week. To maintain maximum softness, place a piece of bread in the container—the bread will go stale while your cookies stay perfectly soft! For longer storage, these cookies freeze beautifully for up to 3 months. </li> </ol>