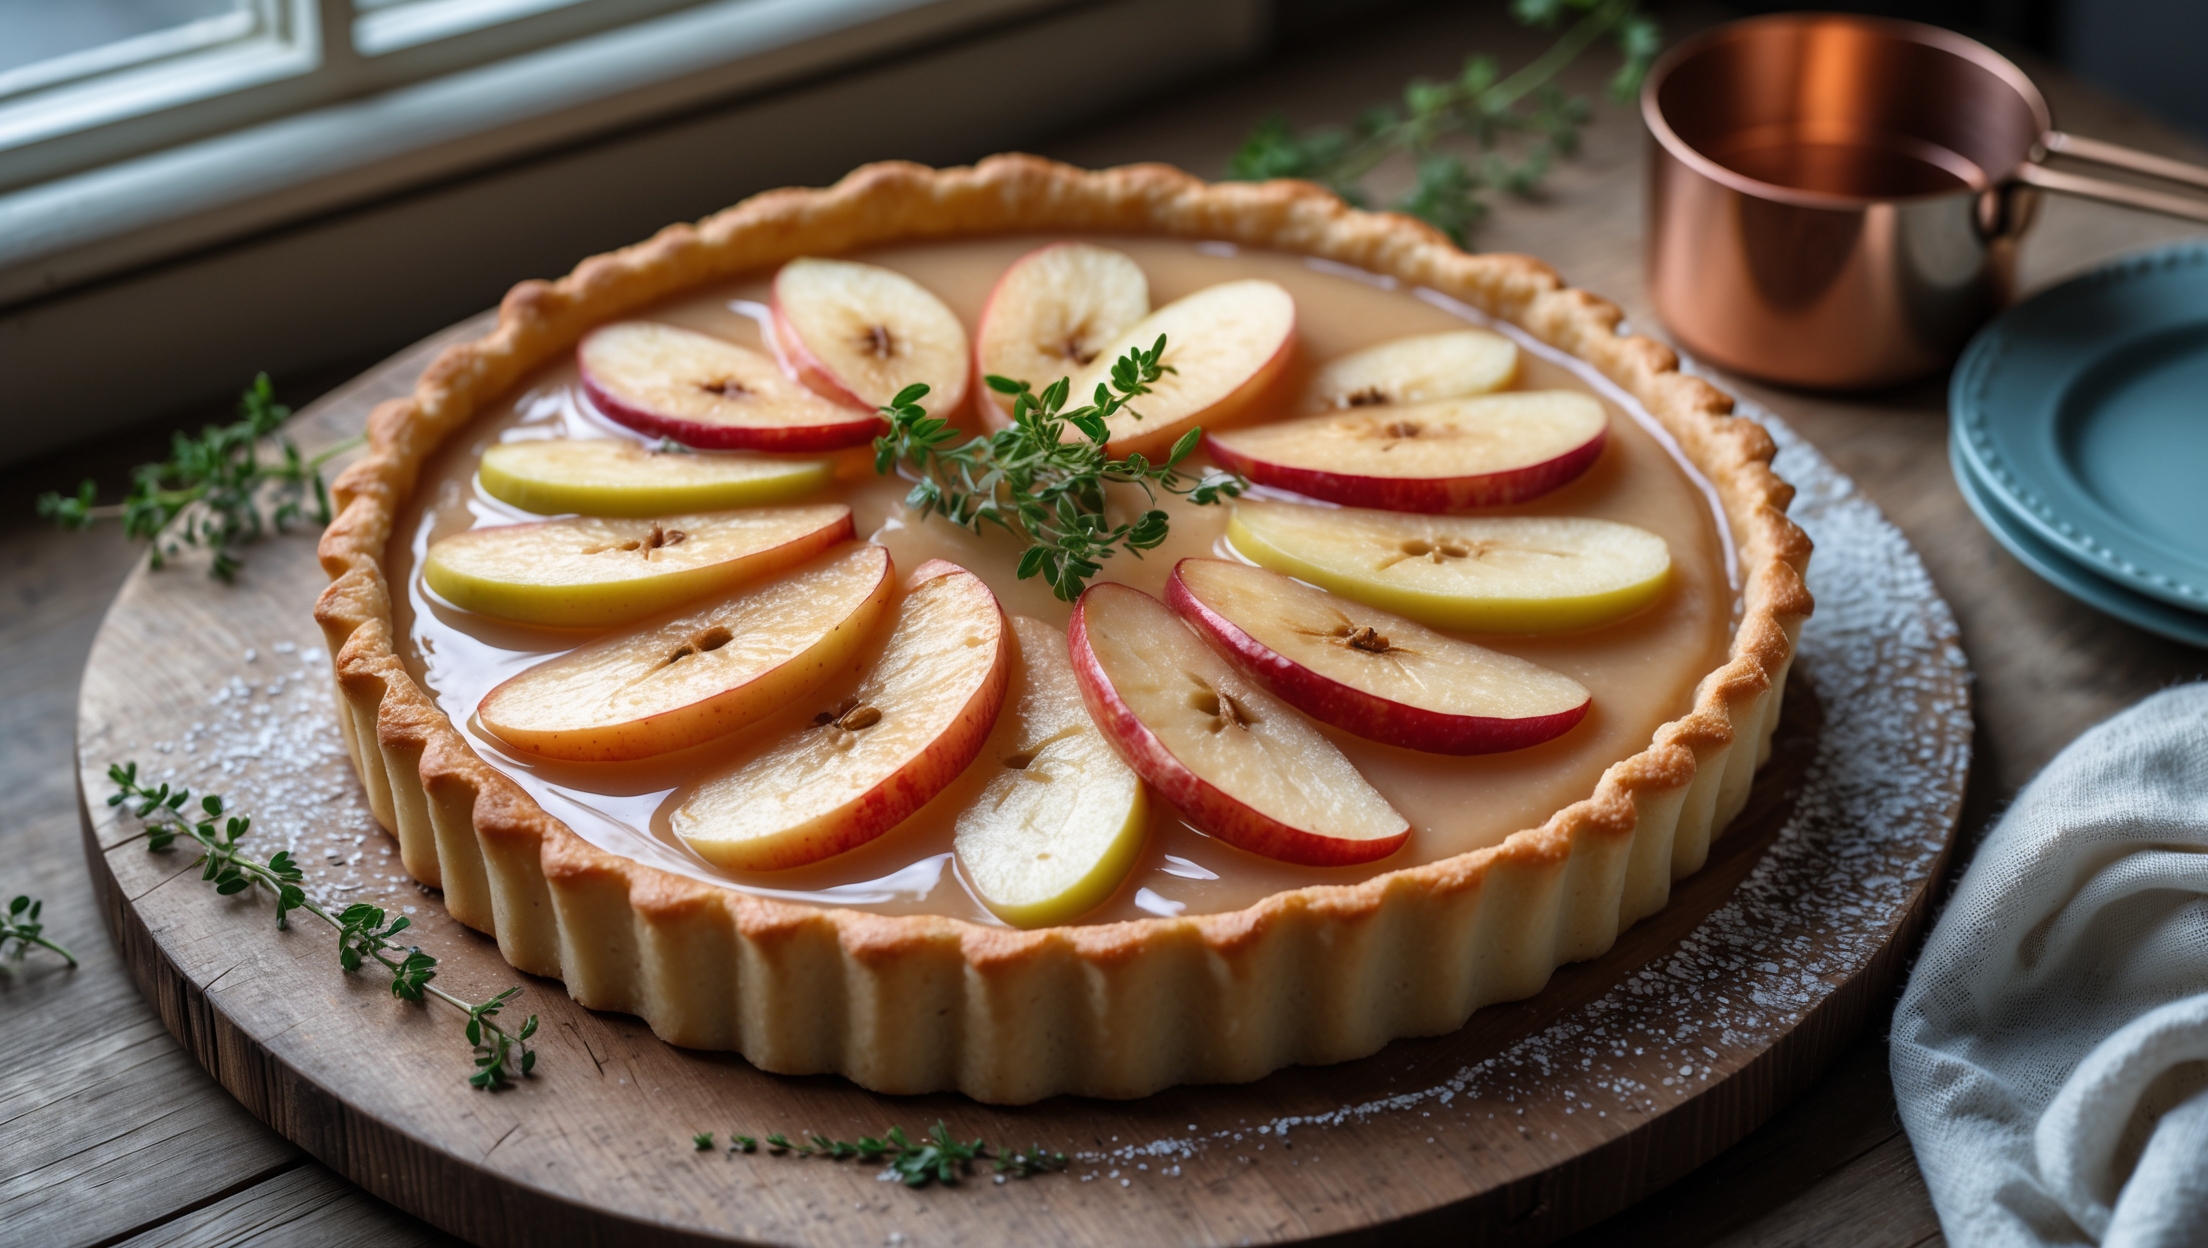
Directions
<ol class="no-list-style"><li class="MethodStepper"><h4 class="step-title">Step 1</h4>Start by making the pastry. In a large bowl, rub the cold cubed butter into the flour using your fingertips until the mixture resembles fine breadcrumbs. This technique creates flaky layers in your finished pastry. Stir in the icing sugar and salt, then add the egg yolk and enough ice-cold water to bring the dough together into a ball. The coldness of these ingredients prevents the butter from melting, which is crucial for a crisp pastry case.</li><li class="MethodStepper"><h4 class="step-title">Step 2</h4>Wrap the pastry in cling film and chill in the refrigerator for at least 30 minutes. This resting period allows the gluten to relax, preventing the pastry from shrinking during baking. Meanwhile, preheat your oven to 180°C (160°C fan) and prepare your tart tin by lightly greasing it.</li><li class="MethodStepper"><h4 class="step-title">Step 3</h4>Roll out the chilled pastry on a lightly floured surface to about 3mm thickness, creating a circle large enough to line your tart tin with some overhang. Gently drape the pastry over your rolling pin to transfer it to the tin, then press it into the edges and trim the excess. Don't stretch the pastry as this will cause shrinkage. Prick the base with a fork to prevent air bubbles forming.</li><li class="MethodStepper"><h4 class="step-title">Step 4</h4>Line the pastry case with baking parchment and fill with baking beans or rice. Blind bake for 15 minutes, then remove the beans and parchment and return to the oven for another 5-10 minutes until the base is golden and crisp. The initial blind baking with weights prevents the pastry from puffing up, while the second bake without weights ensures the base cooks thoroughly, avoiding the dreaded "soggy bottom".</li><li class="MethodStepper"><h4 class="step-title">Step 5</h4>While the pastry case cools, prepare your custard. Heat the milk in a saucepan with the vanilla pod and seeds (or extract) until just below boiling point. Remove from heat and let the vanilla infuse for 10 minutes before removing the pod. This infusion time allows the vanilla flavor to fully develop in the milk.</li><li class="MethodStepper"><h4 class="step-title">Step 6</h4>In a large bowl, whisk together the egg yolks, sugar, and cornflour until pale and thick. The mixture should form ribbons when the whisk is lifted. Gradually pour in the hot vanilla milk, whisking constantly to prevent the eggs from scrambling. This tempering process is crucial for a smooth custard.</li><li class="MethodStepper"><h4 class="step-title">Step 7</h4>Return the mixture to the cleaned saucepan and cook over medium-low heat, stirring continuously with a wooden spoon until thickened. This will take 5-8 minutes - be patient and keep stirring to prevent lumps forming. The custard is ready when it coats the back of a spoon and a finger drawn through leaves a clear path. Immediately pour the hot custard into the cooled pastry case and smooth the top. Allow to cool completely - the custard will continue to set as it cools.</li><li class="MethodStepper"><h4 class="step-title">Step 8</h4>For the hazelnut topping, spread the hazelnuts on a baking tray and toast in the oven at 170°C for 8-10 minutes until golden and fragrant, shaking the tray halfway through. Toasting enhances the natural oils in the nuts, intensifying their flavor. Let them cool slightly before roughly chopping half of them, leaving the rest whole.</li><li class="MethodStepper"><h4 class="step-title">Step 9</h4>In a non-stick frying pan, melt the butter and sugar together over medium heat until bubbling and turning amber-colored. Add the hazelnuts and stir quickly to coat them in the caramel. Be careful as this mixture is extremely hot! Work quickly as the caramel will harden fast. Immediately transfer the caramelized hazelnuts to a sheet of baking parchment to cool.</li><li class="MethodStepper"><h4 class="step-title">Step 10</h4>Once the custard has set completely and the caramelized hazelnuts have cooled, arrange them on top of the tart in a decorative pattern. For the best flavor, serve the tart at room temperature. If made ahead, store in the refrigerator but allow to come to room temperature for at least 30 minutes before serving to allow the flavors to fully develop and the pastry to regain its crispness.</li></ol>