Directions
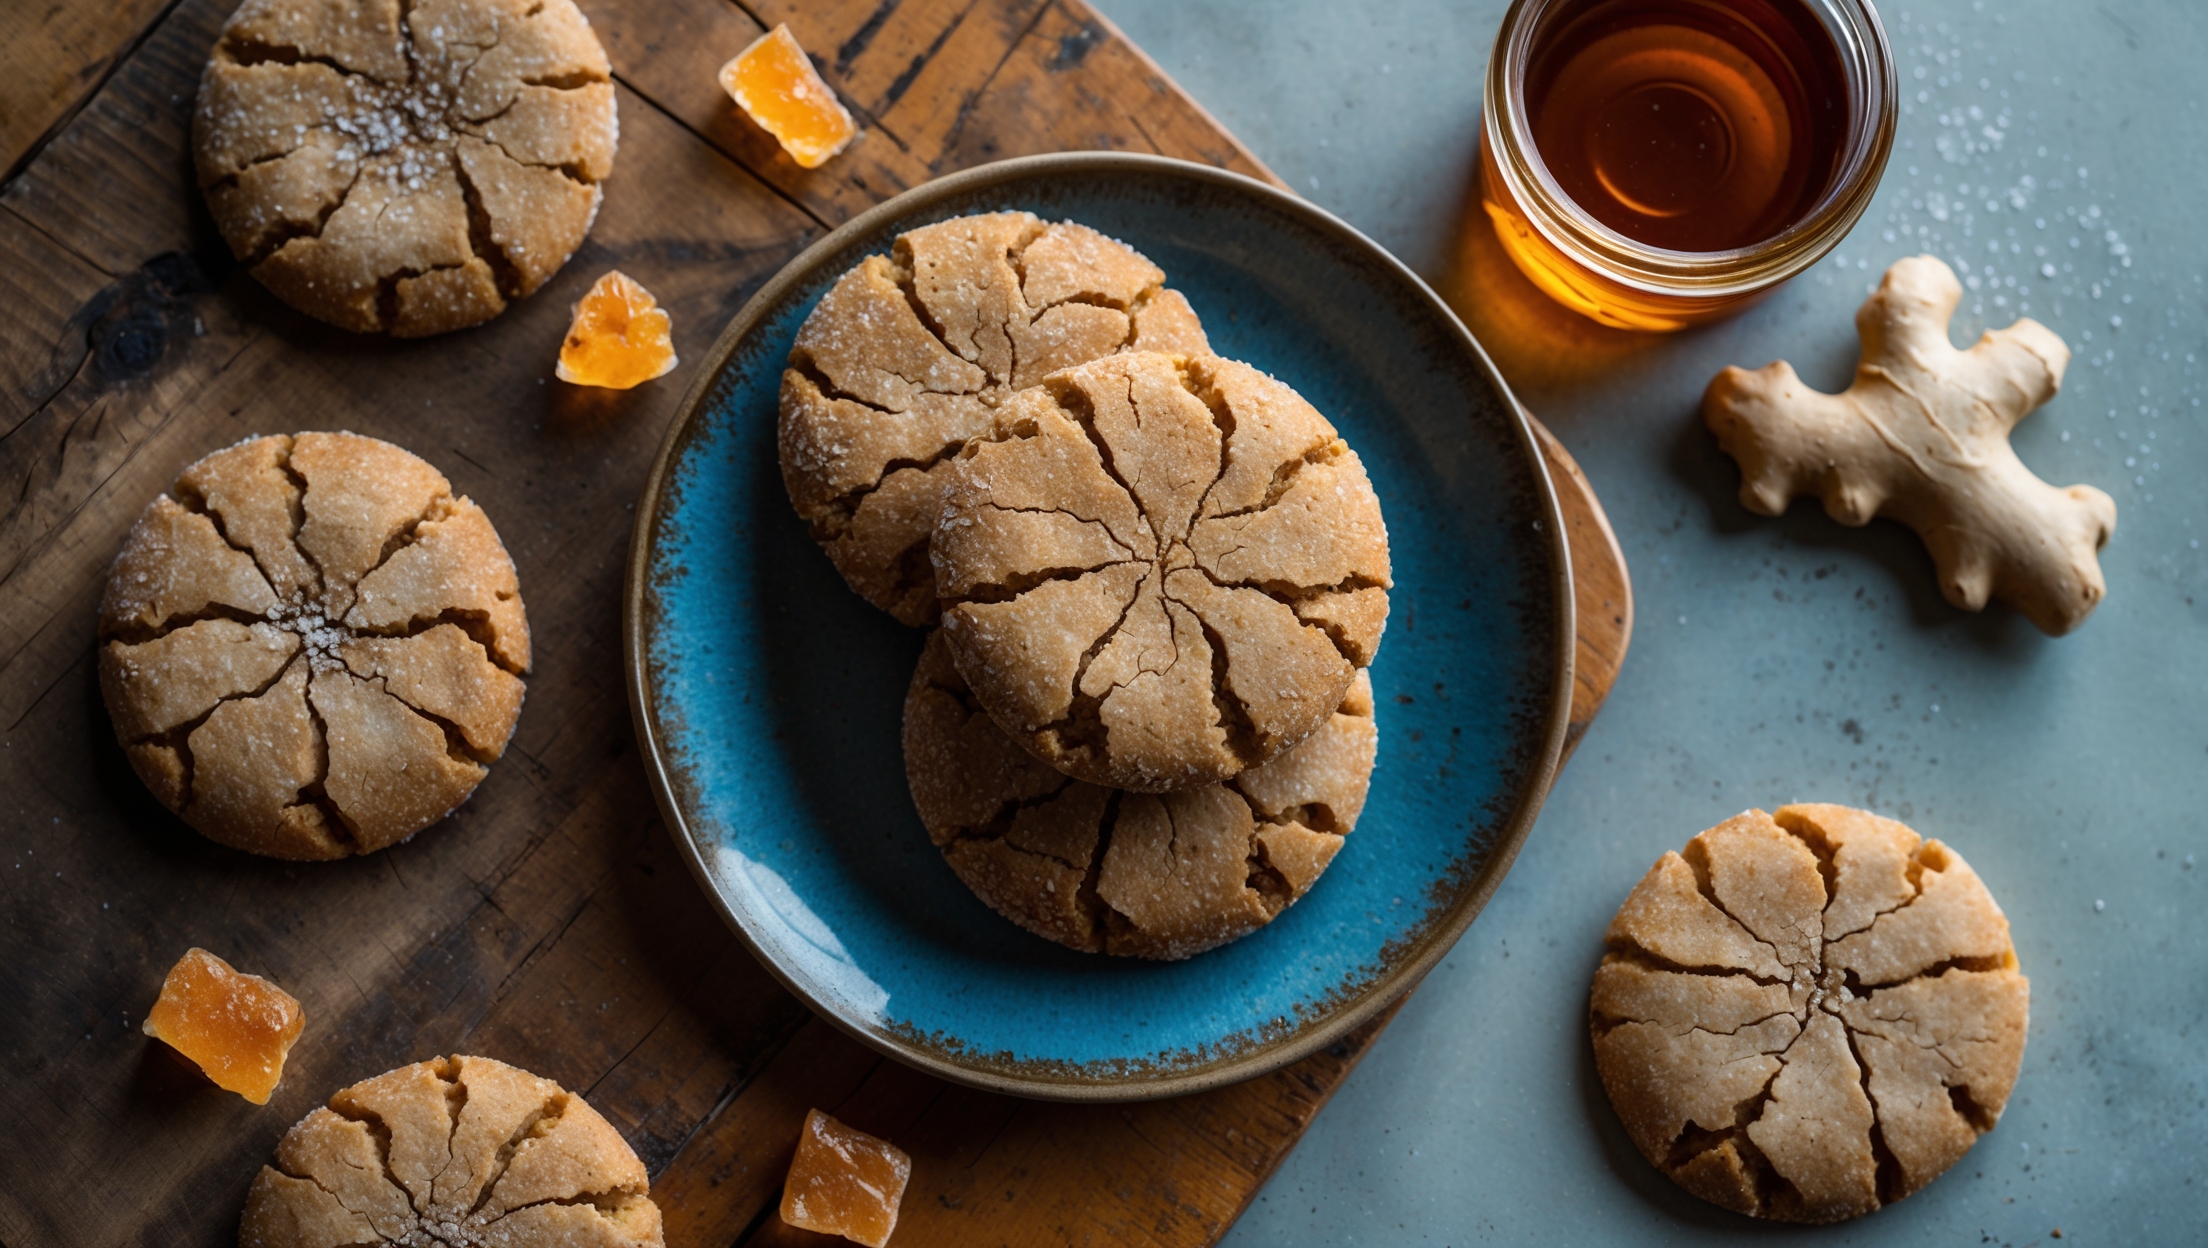
<ol class="no-list-style"> <li class="MethodStepper"> <h4 class="step-title">Step 1</h4> In a medium bowl, whisk together the flour, ginger, cinnamon, cloves, nutmeg, salt, and baking soda until well combined. This helps distribute the spices evenly throughout the dough for consistent flavor in every bite. Set aside. </li> <li class="MethodStepper"> <h4 class="step-title">Step 2</h4> In the bowl of your stand mixer fitted with the paddle attachment, cream together the butter and brown sugar on medium-high speed for about 3 minutes until light and fluffy. This creates tiny air pockets that will give your cookies their tender texture. </li> <li class="MethodStepper"> <h4 class="step-title">Step 3</h4> Add the egg to the butter mixture and beat until fully incorporated, about 1 minute. Scrape down the sides of the bowl, then mix in the molasses and vanilla extract until smooth. The molasses provides both moisture and that distinctive deep flavor that makes these cookies so special. </li> <li class="MethodStepper"> <h4 class="step-title">Step 4</h4> With the mixer on low speed, gradually add the flour mixture to the wet ingredients, mixing just until combined. Be careful not to overmix, which would develop the gluten and make your cookies tough rather than tender. The dough will be soft and slightly sticky. </li> <li class="MethodStepper"> <h4 class="step-title">Step 5</h4> Cover the bowl with plastic wrap and refrigerate for at least 1 hour, or up to overnight. This chilling time is crucial as it allows the flavors to meld together and the dough to firm up, making it easier to handle and preventing the cookies from spreading too much during baking. </li> <li class="MethodStepper"> <h4 class="step-title">Step 6</h4> Preheat your oven to 180°C and line two baking sheets with parchment paper. Place the granulated sugar in a small bowl for rolling the cookie dough balls. </li> <li class="MethodStepper"> <h4 class="step-title">Step 7</h4> Remove the dough from the refrigerator. Using a 4cm cookie scoop or measuring tablespoon, portion the dough into balls, then roll each between your palms to smooth. Roll each ball in the granulated sugar to coat completely – this will give your cookies a beautiful sparkle and slight crunch on the exterior. </li> <li class="MethodStepper"> <h4 class="step-title">Step 8</h4> Arrange the coated dough balls on the prepared baking sheets, spacing them about 5cm apart to allow for spreading. For perfectly uniform sandwich cookies, ensure all your dough balls are the same size. </li> <li class="MethodStepper"> <h4 class="step-title">Step 9</h4> Bake for 10-12 minutes, until the edges are set but the centers still appear slightly soft. The cookies will continue to firm up as they cool, so be careful not to overbake – that's the secret to keeping them pleasantly chewy rather than hard. </li> <li class="MethodStepper"> <h4 class="step-title">Step 10</h4> Allow the cookies to cool on the baking sheets for 5 minutes before transferring them to wire racks to cool completely. They need to be completely cool before filling, or your buttercream will melt. </li> <li class="MethodStepper"> <h4 class="step-title">Step 11</h4> Meanwhile, prepare the maple filling. In the clean bowl of your stand mixer fitted with the paddle attachment, beat the butter on medium-high speed until creamy, about 1 minute. </li> <li class="MethodStepper"> <h4 class="step-title">Step 12</h4> With the mixer on low, gradually add the sifted powdered sugar, mixing just until incorporated to prevent a sugar cloud. Then add the maple syrup, salt, and vanilla extract. Increase the speed to medium-high and beat for 2-3 minutes until the filling is light, fluffy, and silky smooth. The mechanical action incorporates air into the buttercream, making it lighter and more spreadable. </li> <li class="MethodStepper"> <h4 class="step-title">Step 13</h4> To assemble the sandwich cookies, turn half of the cookies upside down. Using a piping bag fitted with a plain round tip, or simply a small offset spatula, place about 1 tablespoon of filling in the center of each upside-down cookie. The warmth of your hands will slightly soften the filling if you're using a piping bag, making it easier to pipe. </li> <li class="MethodStepper"> <h4 class="step-title">Step 14</h4> Gently press the remaining cookies on top of the filled ones, right-side up, applying just enough pressure to spread the filling to the edges without squeezing it out. The filling should be visible at the edges but not overflowing. </li> <li class="MethodStepper"> <h4 class="step-title">Step 15</h4> For the best flavor, allow the sandwich cookies to rest for about 1 hour before serving. This resting time lets the filling slightly firm up and allows the flavors to meld together beautifully. Store in an airtight container at room temperature for up to 5 days, or freeze for longer storage up to 2 months. </li> </ol>