Directions
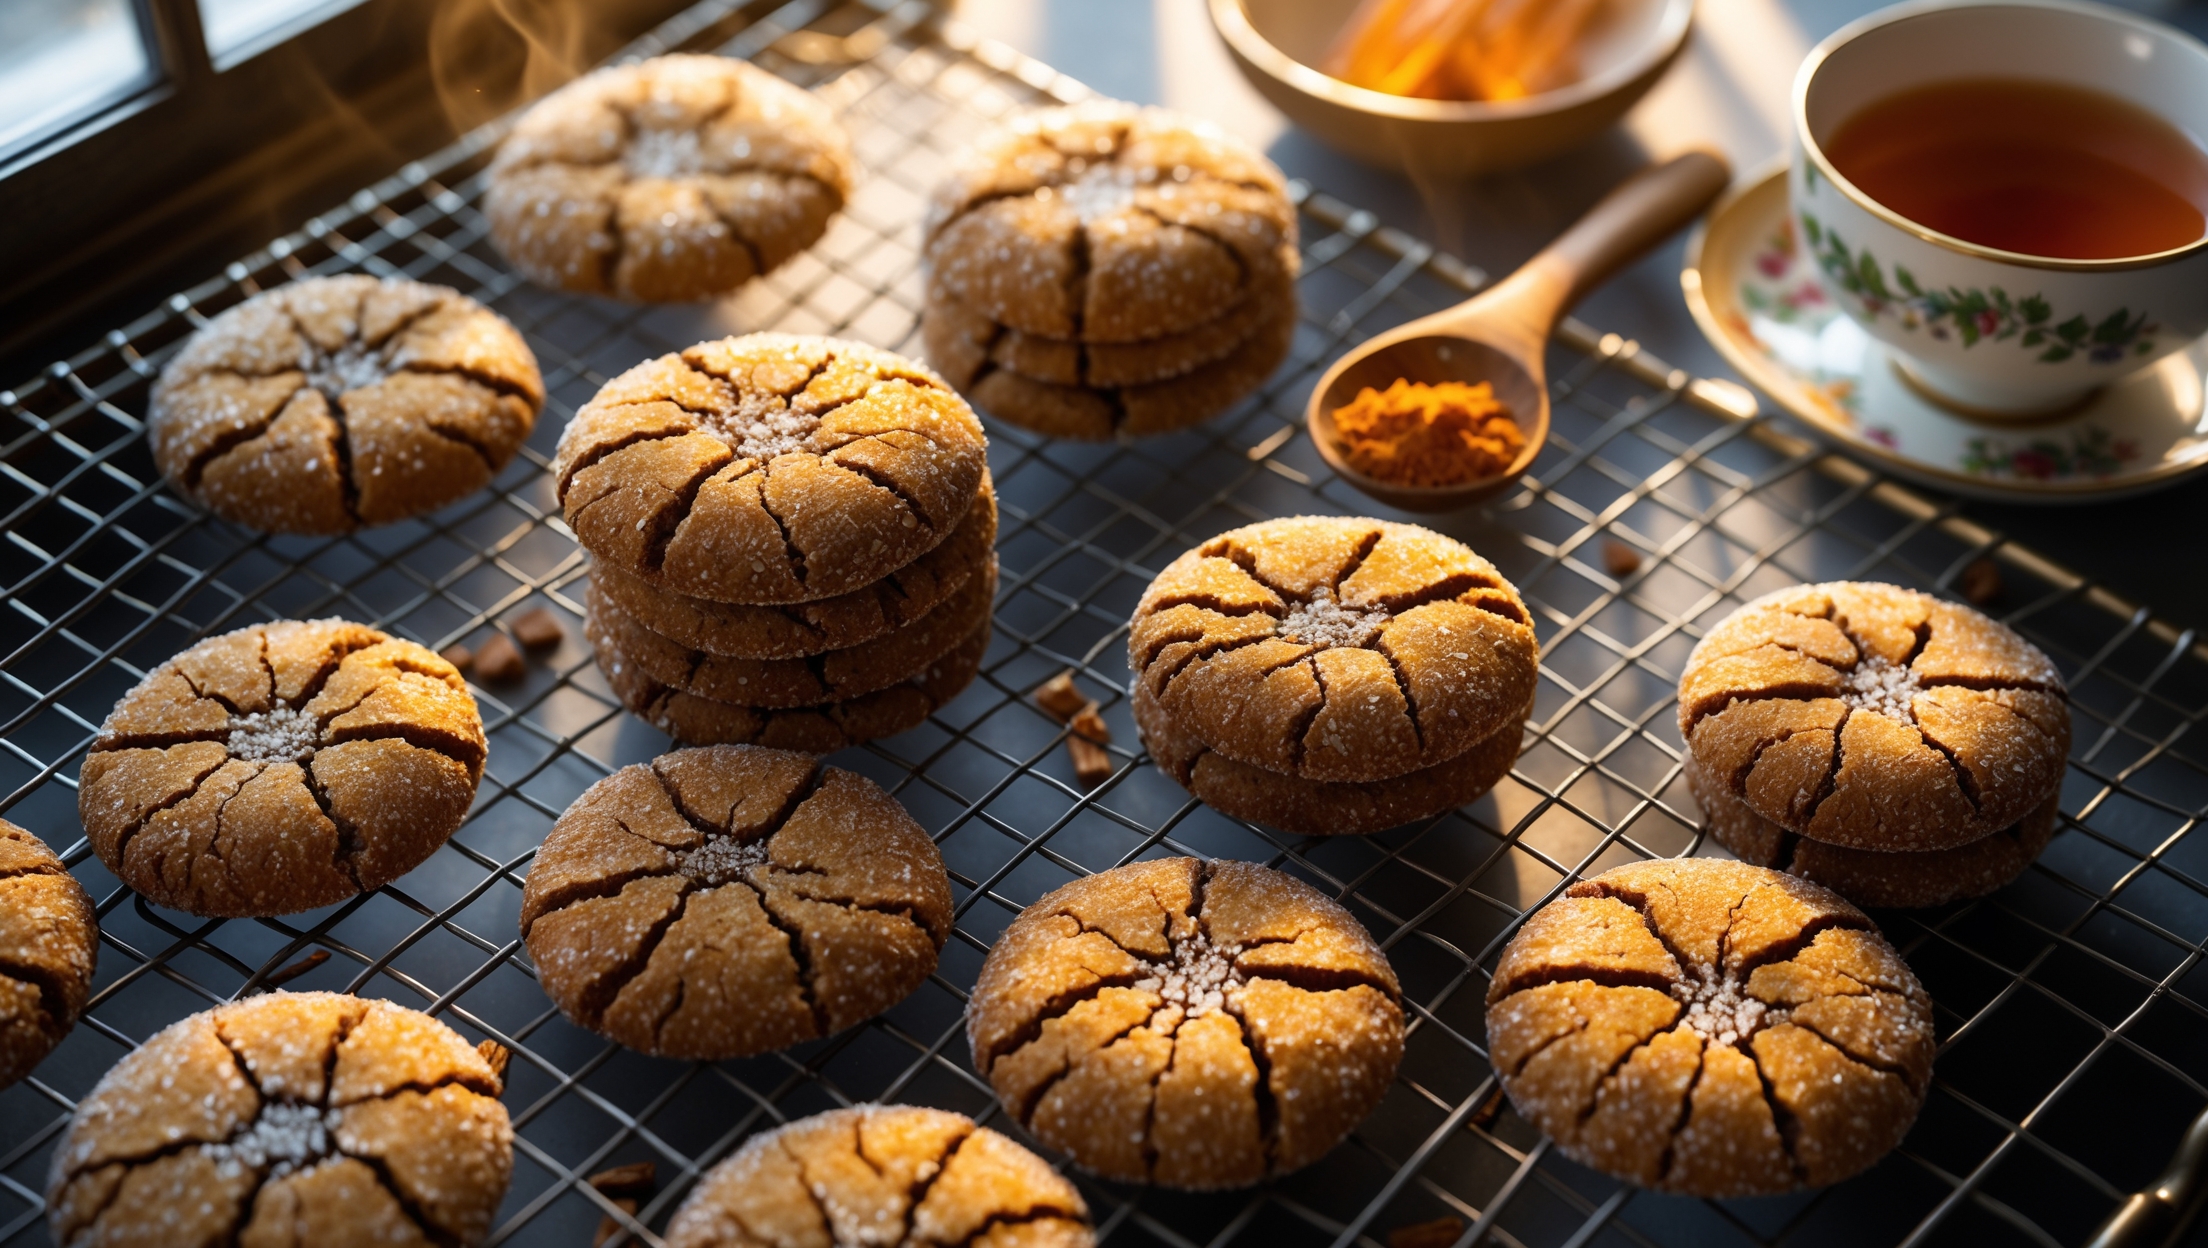
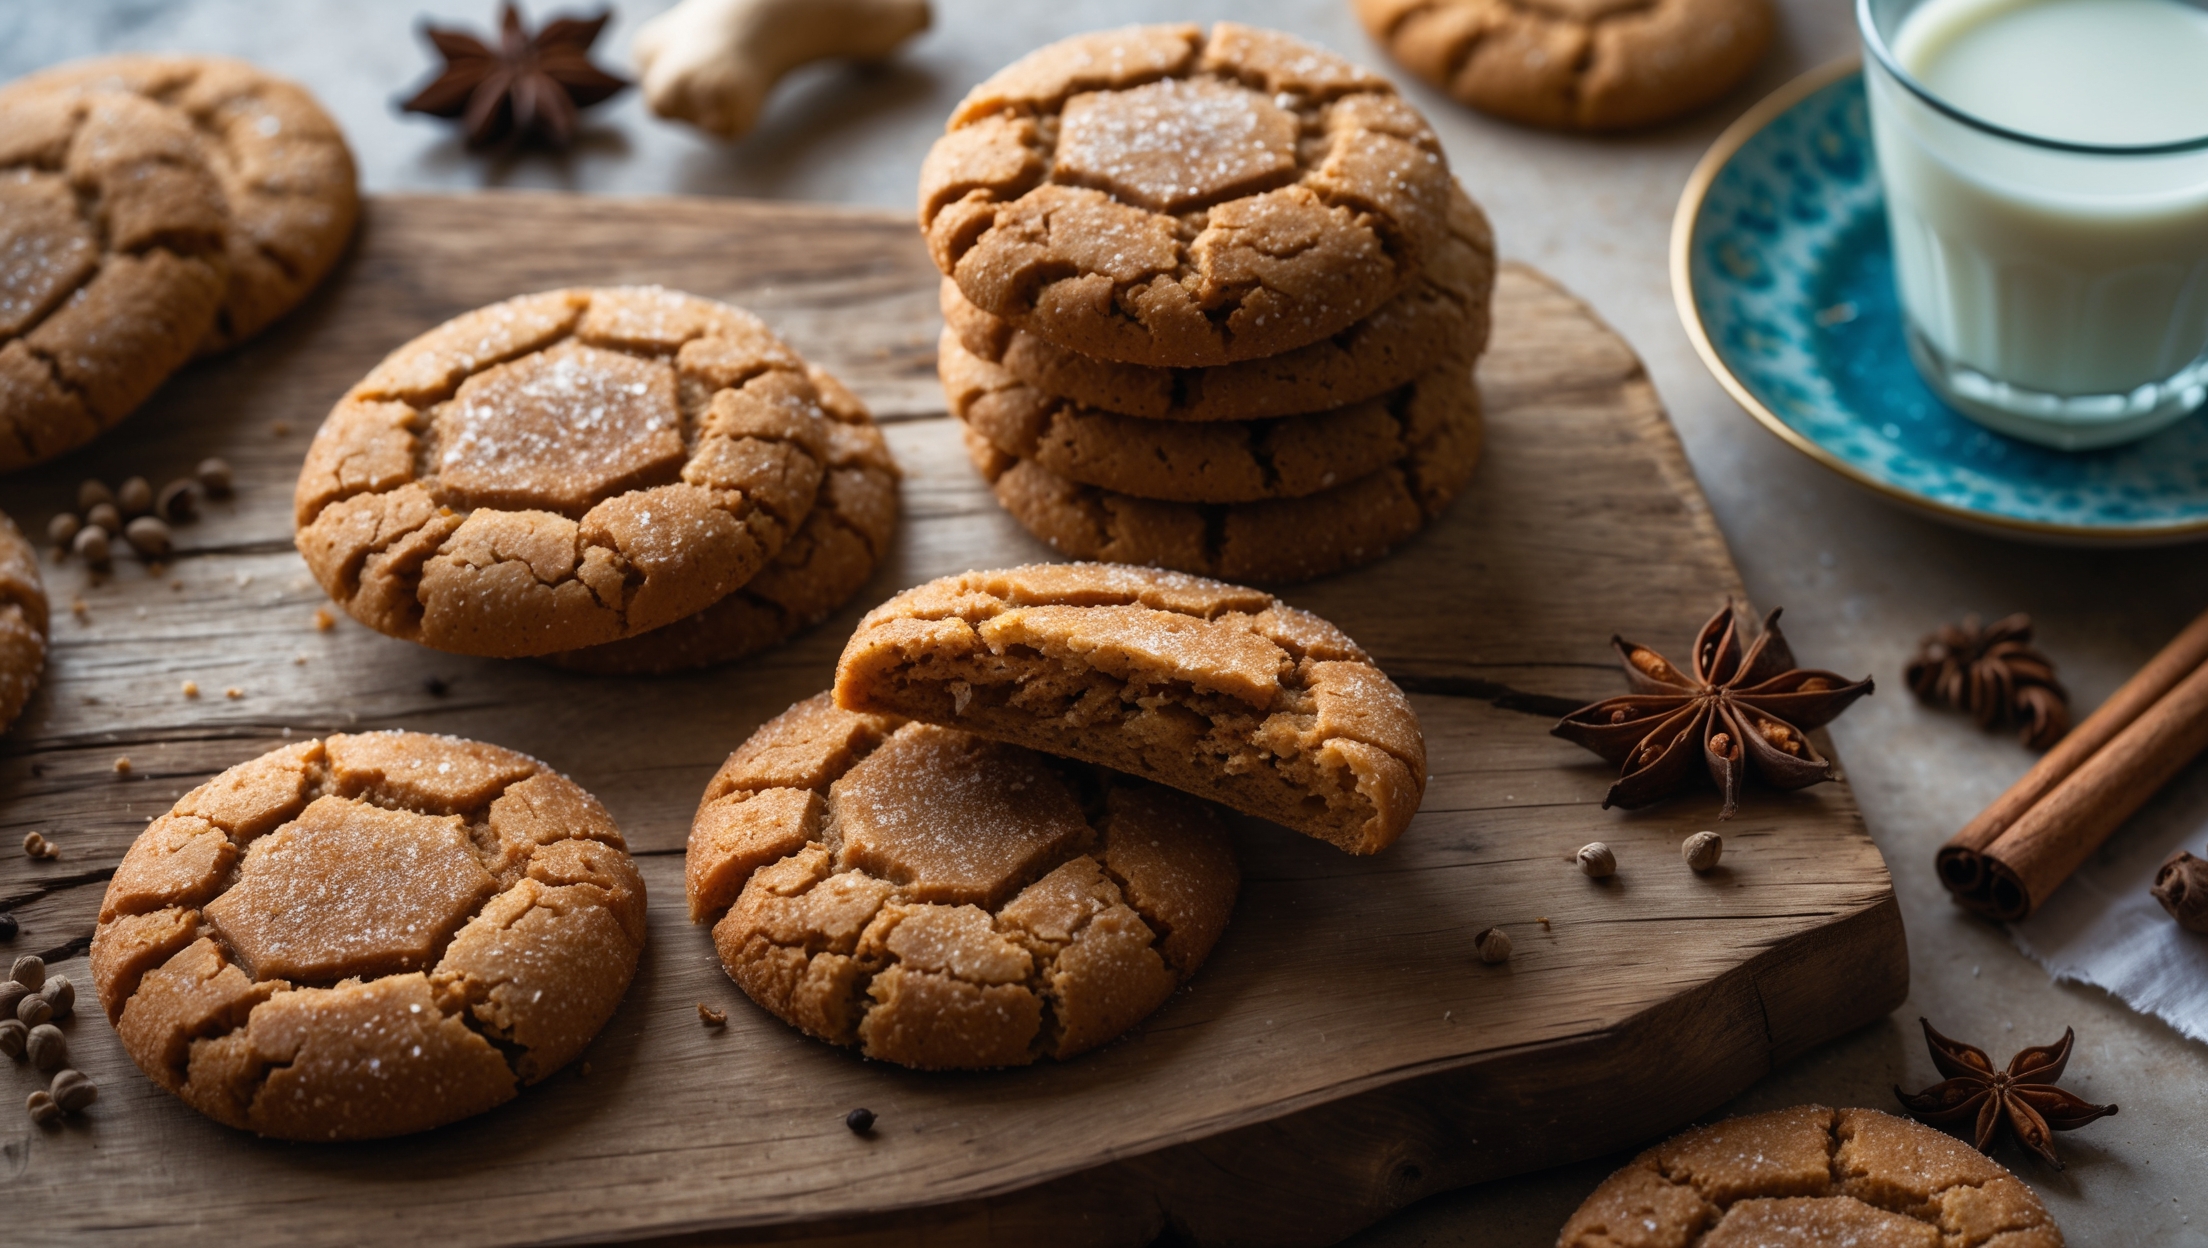
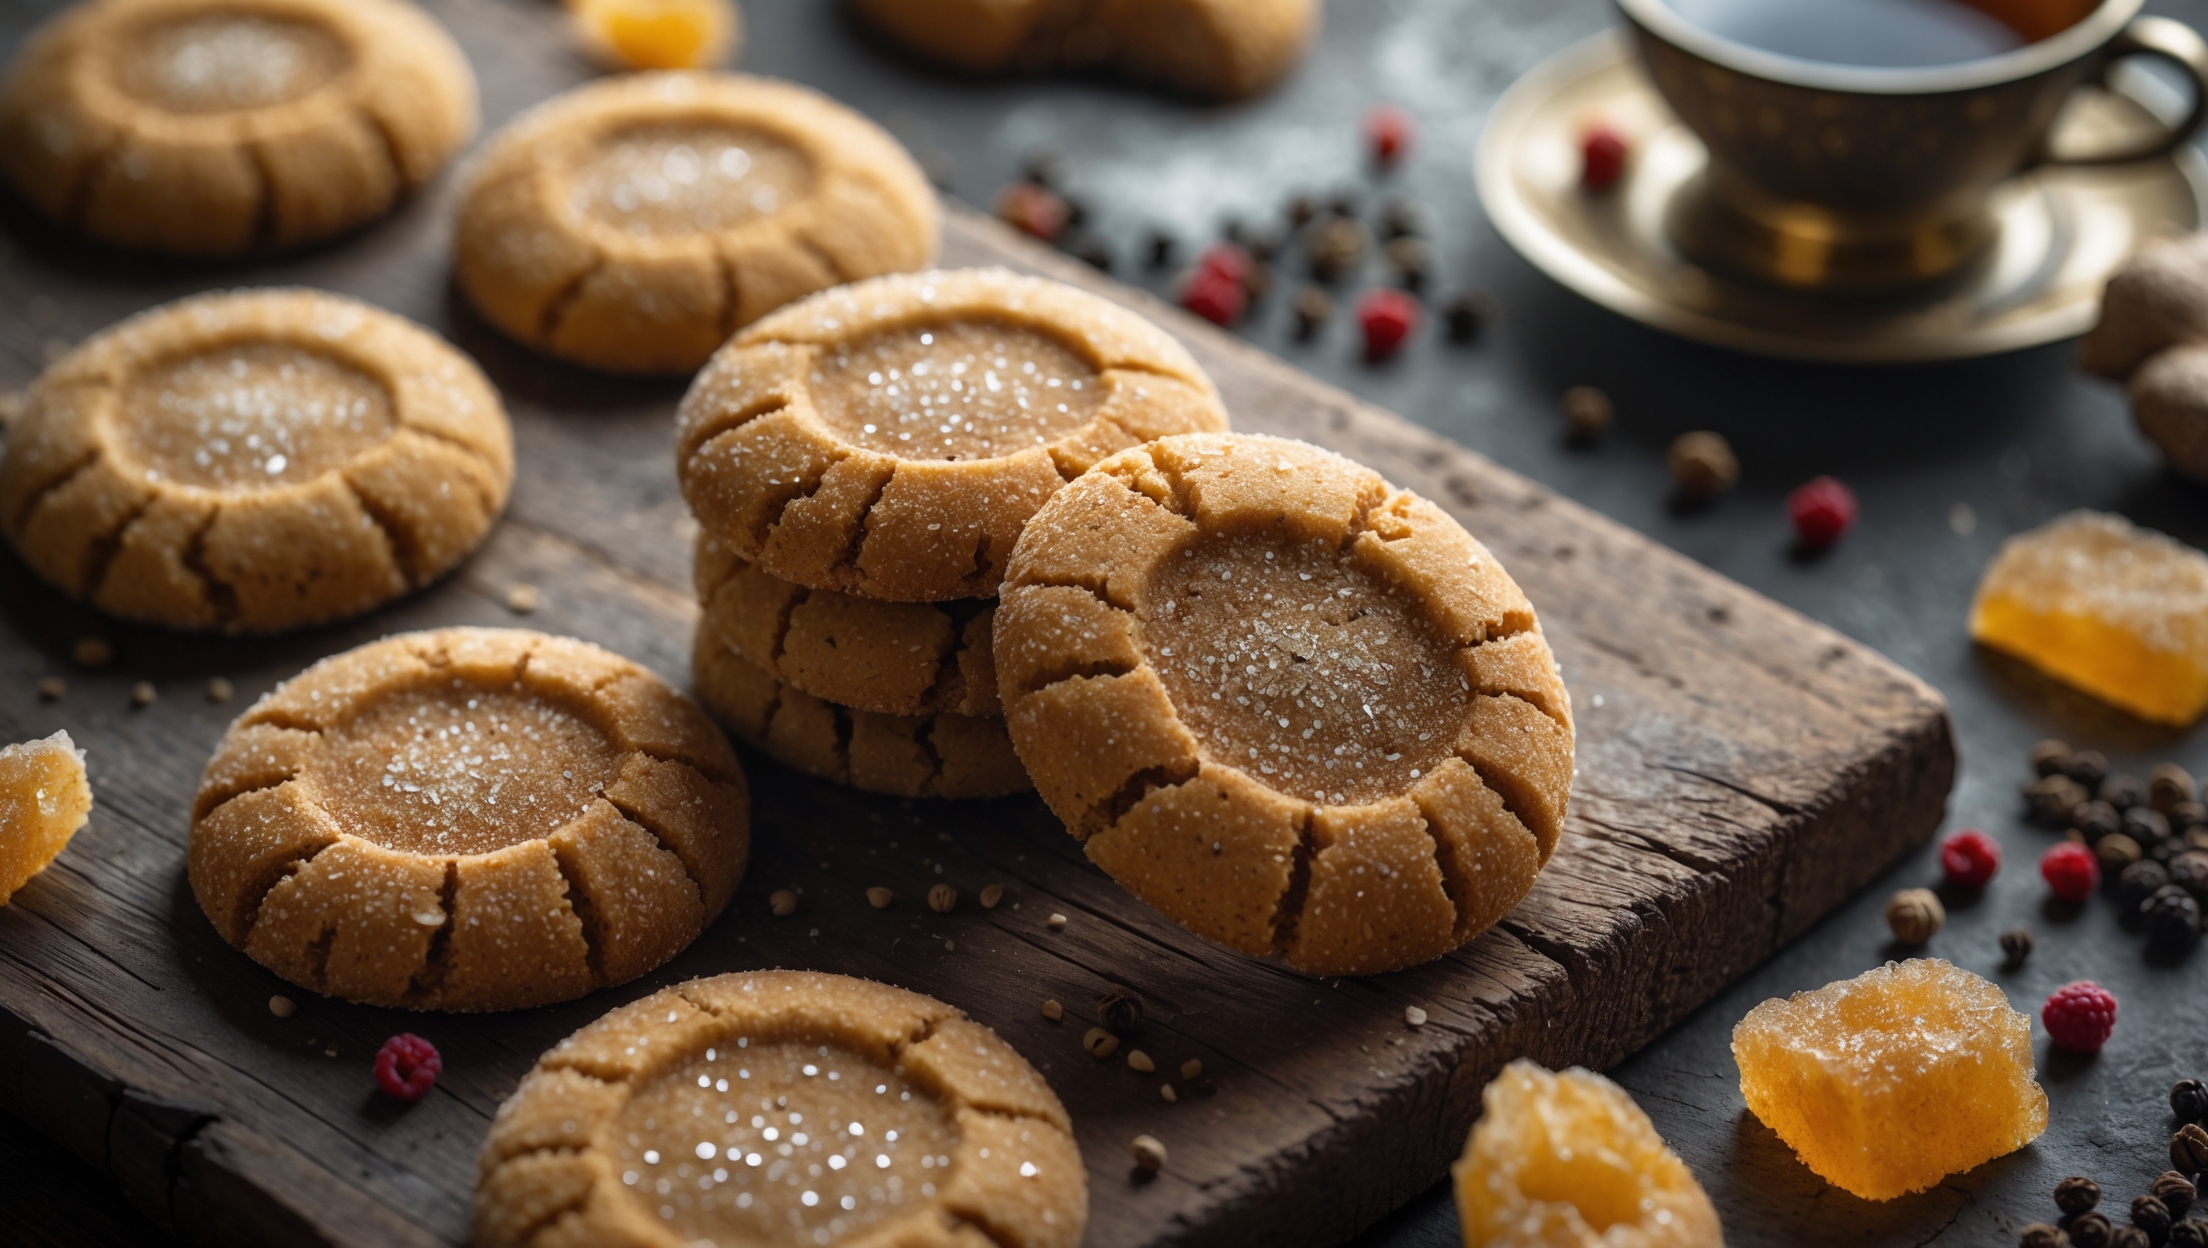
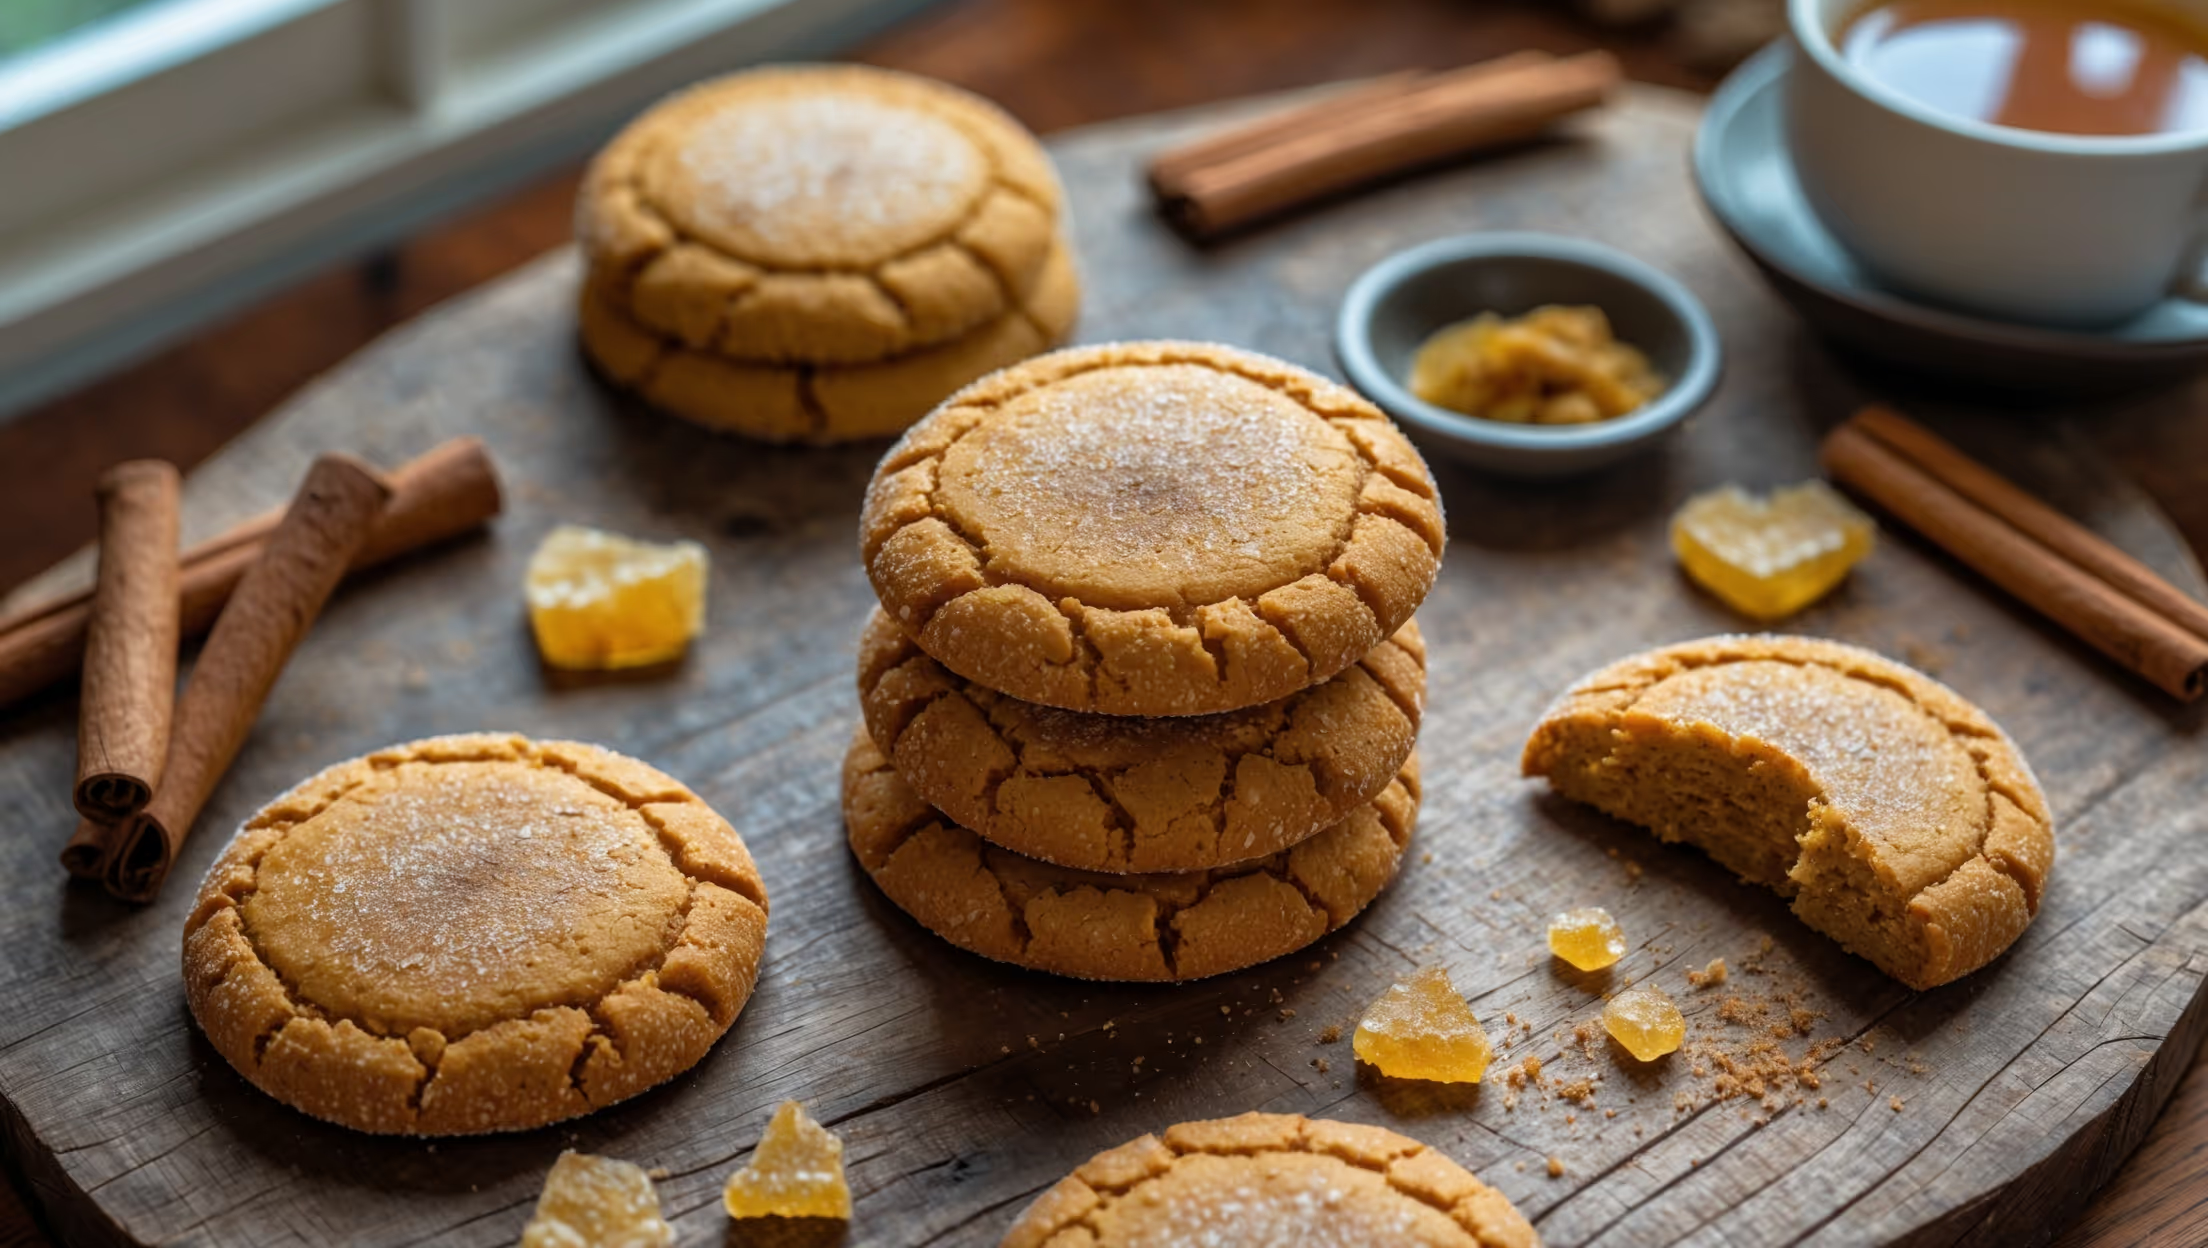
<ol class="no-list-style"><li class="MethodStepper"><h4 class="step-title">Step 1</h4>Preheat your oven to 180°C and line two baking sheets with parchment paper. This preparation ensures you can work efficiently once your dough is ready.</li><li class="MethodStepper"><h4 class="step-title">Step 2</h4>In a medium bowl, whisk together the flour, baking soda, cinnamon, ground ginger, cloves, and salt until well combined. This thorough mixing ensures the spices are evenly distributed throughout the cookies for consistent flavor in every bite.</li><li class="MethodStepper"><h4 class="step-title">Step 3</h4>In a large bowl, cream the softened butter and 200g sugar until light and fluffy, about 3-4 minutes. This extended beating incorporates air into the mixture, creating lighter cookies with better texture. The butter should change from yellow to a paler, almost white shade.</li><li class="MethodStepper"><h4 class="step-title">Step 4</h4>Beat in the egg until fully incorporated, then add the molasses and fresh grated ginger (if using). The mixture might look slightly curdled at this stage - that's perfectly normal! The molasses provides both moisture and that distinctive deep flavor that makes these cookies special.</li><li class="MethodStepper"><h4 class="step-title">Step 5</h4>Gradually add the dry ingredients to the wet mixture, mixing on low speed just until combined. Overmixing develops gluten, which can make cookies tough rather than tender. Fold in the crystallized ginger pieces if using.</li><li class="MethodStepper"><h4 class="step-title">Step 6</h4>Cover the dough and refrigerate for at least 30 minutes. This chilling time is crucial as it solidifies the butter, prevents excessive spreading during baking, and develops the flavors. You can chill for up to 24 hours if you want to prepare ahead.</li><li class="MethodStepper"><h4 class="step-title">Step 7</h4>Place the remaining 75g of sugar in a shallow bowl. Scoop the chilled dough into 1-tablespoon portions and roll into balls between your palms. Roll each ball in sugar until completely coated. The sugar coating creates that beautiful crinkle effect as the cookies bake and spread.</li><li class="MethodStepper"><h4 class="step-title">Step 8</h4>Place the sugar-coated dough balls on prepared baking sheets, leaving about 5cm between each cookie to allow for spreading. For perfectly round cookies, ensure your dough balls are smooth and even.</li><li class="MethodStepper"><h4 class="step-title">Step 9</h4>Bake for 10-12 minutes until the edges are set but the centers still appear slightly soft. The cookies will develop characteristic cracks on the surface as they bake - this is exactly what we want! For chewier cookies, bake for the shorter time; for crispier edges, bake for the full 12 minutes.</li><li class="MethodStepper"><h4 class="step-title">Step 10</h4>Allow the cookies to cool on the baking sheets for 5 minutes before transferring to a wire rack to cool completely. The cookies will firm up as they cool while maintaining a wonderfully chewy center. Store in an airtight container for up to 5 days, though I doubt they'll last that long!</li></ol>