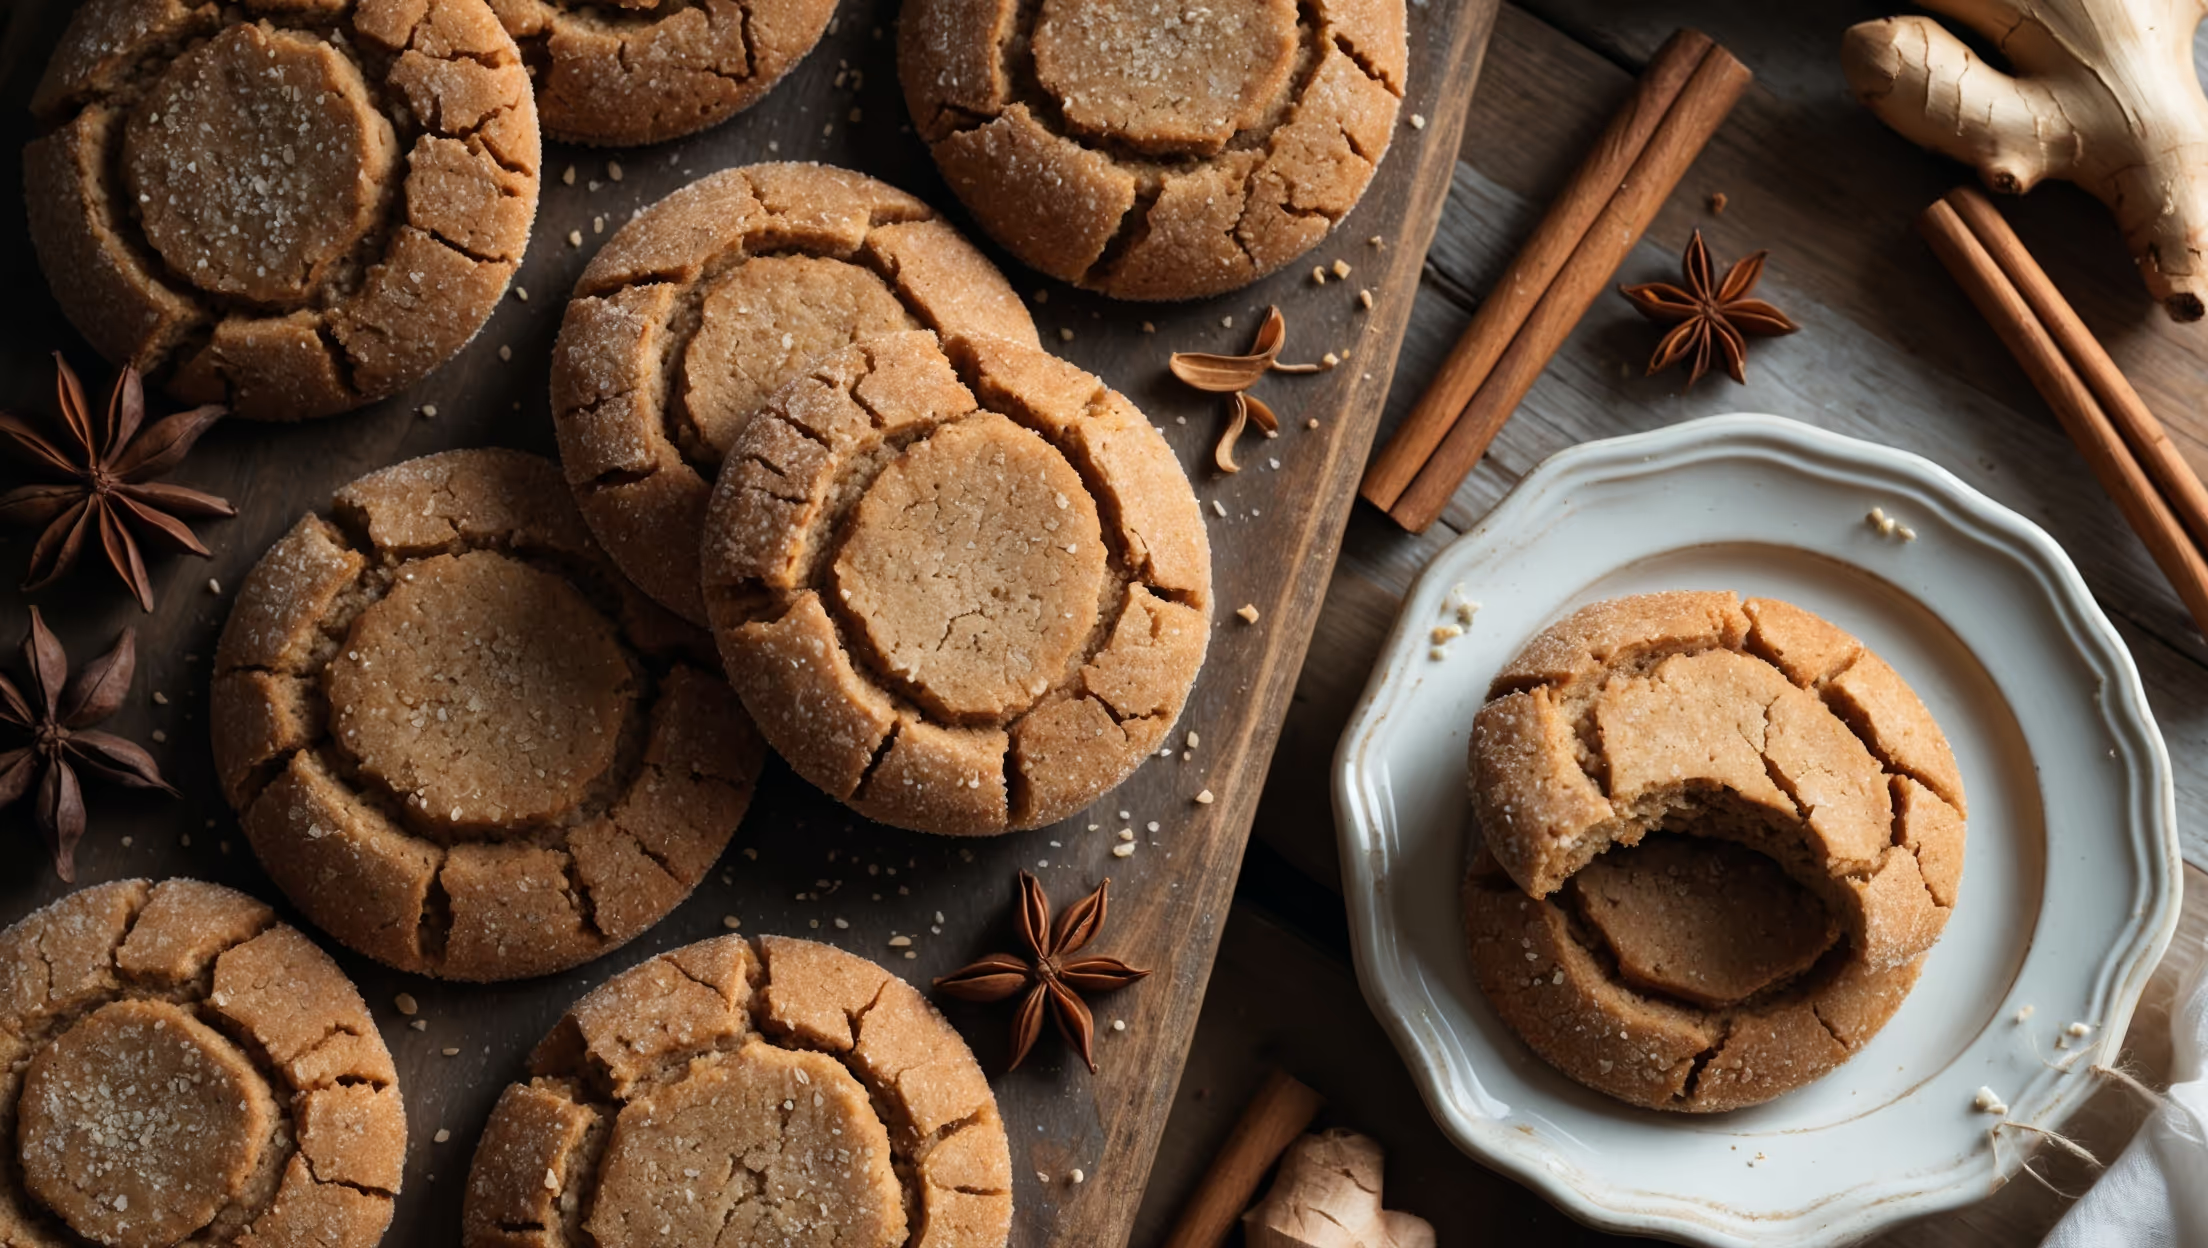
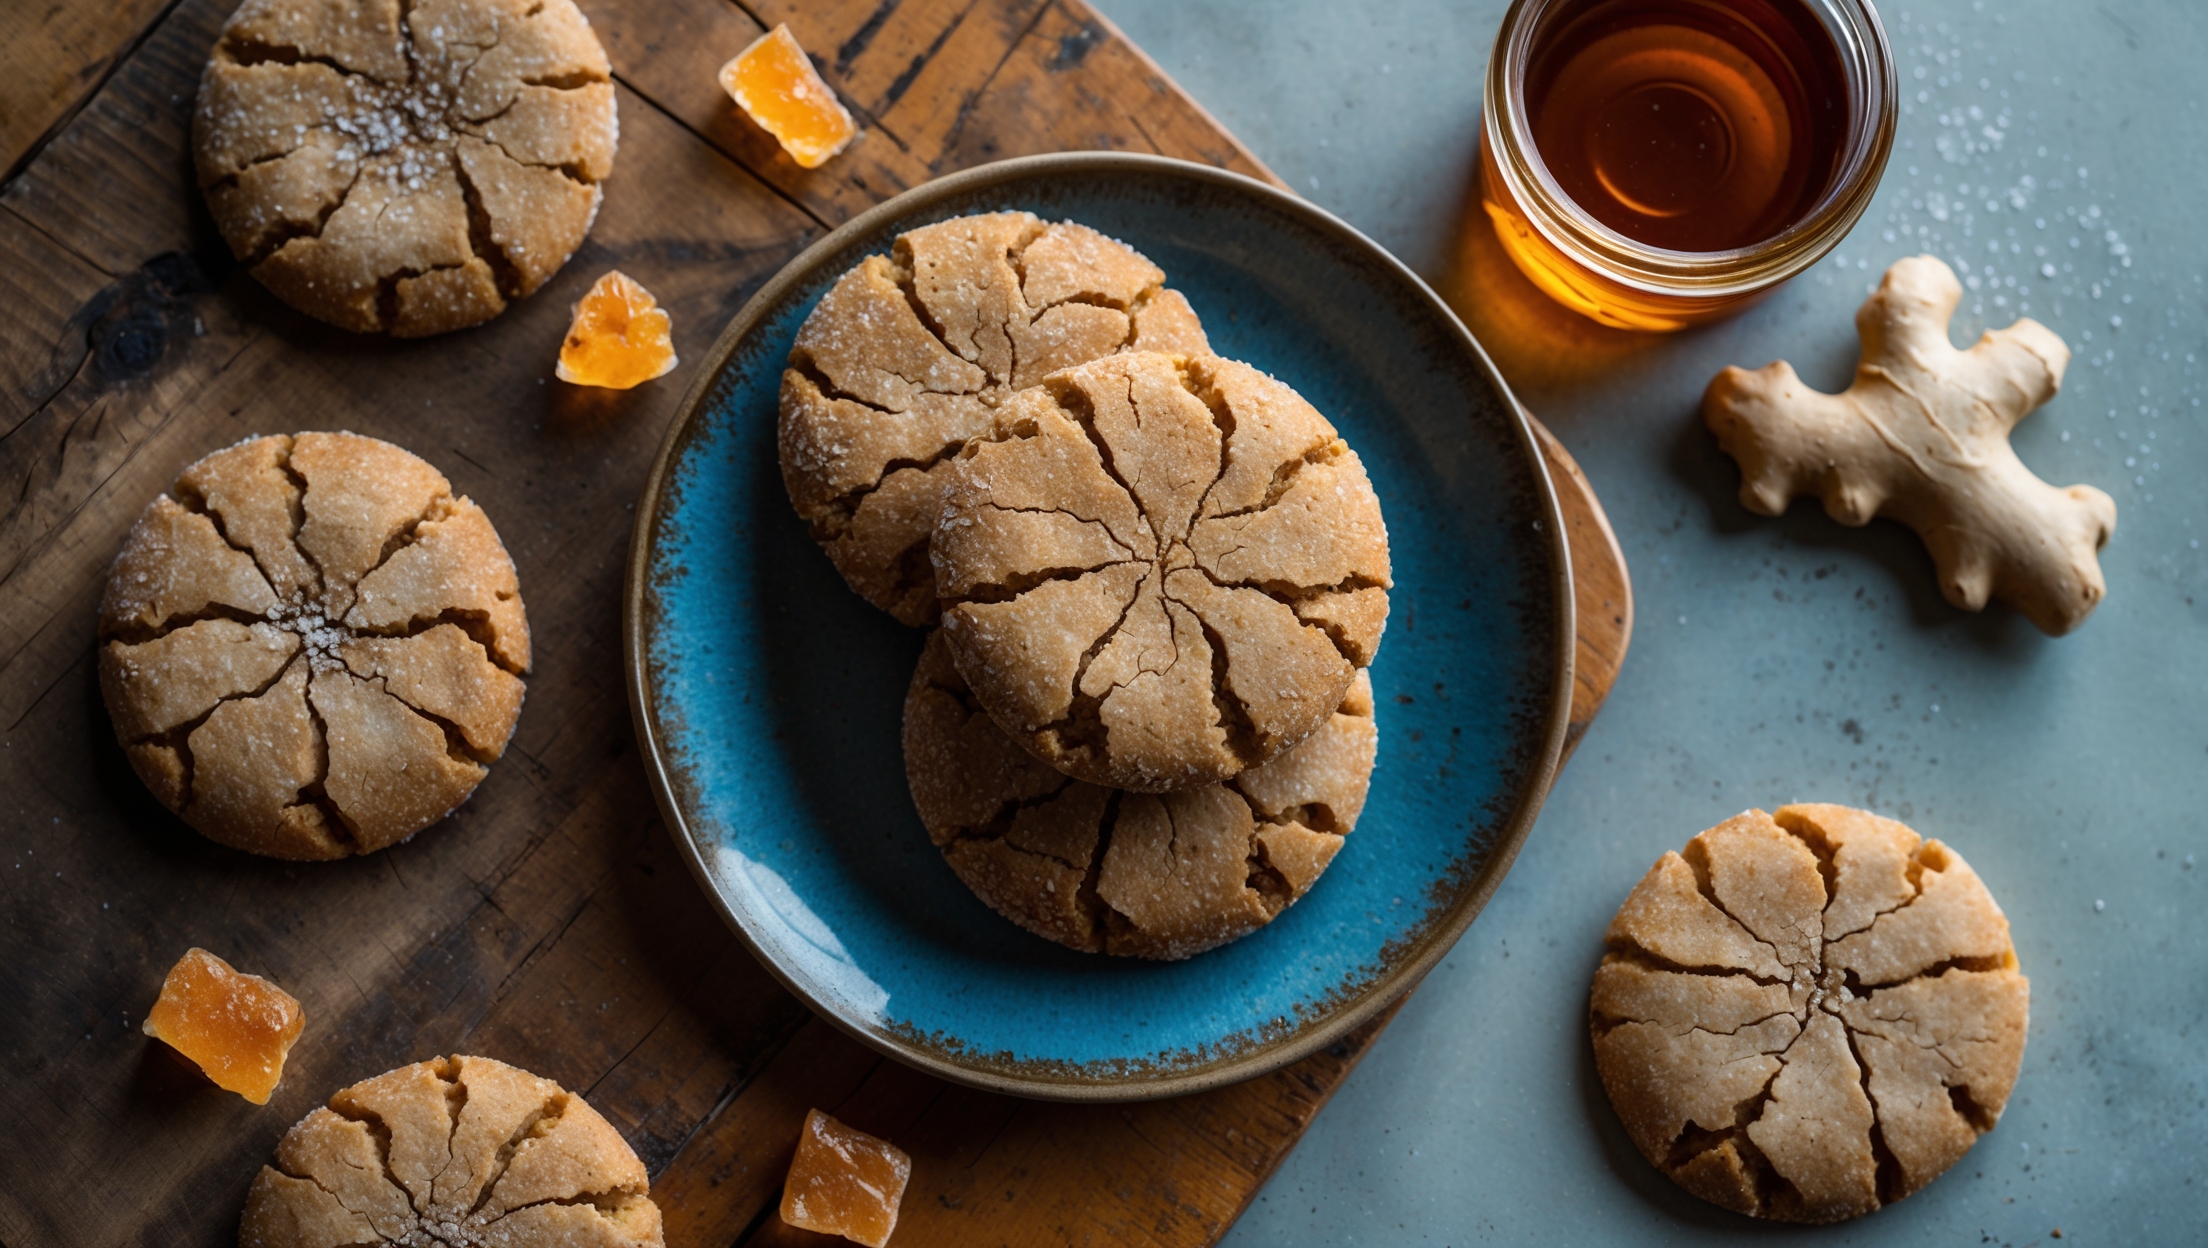
Directions
<ol class="no-list-style"> <li class="MethodStepper"> <h4 class="step-title">Step 1</h4> Begin by preparing the fermented ginger 5-7 days before baking. Thoroughly wash, peel and finely grate the fresh ginger root. In a sterilized glass jar, combine the grated ginger with 50g of granulated sugar, stirring well to mix. The sugar will draw out moisture from the ginger, creating a natural fermentation environment. Loosely cover with the lid (don't fully tighten to allow gases to escape) and place in a warm area of your kitchen. Stir once daily for 5-7 days. You'll notice it becoming fragrant with a slightly tangy, alcoholic smell – this indicates successful fermentation. </li> <li class="MethodStepper"> <h4 class="step-title">Step 2</h4> When your ginger has fermented (it will have a complex, tangy aroma and slightly bubbly texture), preheat your oven to 180°C. Line two baking sheets with silicone mats or parchment paper. In a large bowl, cream together butter, light brown sugar and granulated sugar until light and fluffy, about 3-4 minutes. This extended creaming creates air pockets that give your cookies structure and lift. </li> <li class="MethodStepper"> <h4 class="step-title">Step 3</h4> Add the egg and egg yolk one at a time, beating well after each addition until fully incorporated. The extra yolk adds richness and contributes to a chewier texture. Measure out 2 tablespoons of your fermented ginger paste and add to the mixture along with vanilla extract. Beat until well combined – the mixture may look slightly curdled, but don't worry! </li> <li class="MethodStepper"> <h4 class="step-title">Step 4</h4> In a separate bowl, whisk together the flour, baking soda, baking powder, salt, cinnamon, ground ginger, and cloves. The combination of baking soda and baking powder creates the perfect rise and texture – the soda reacts with the acidic fermented ginger while the powder ensures consistent lift. </li> <li class="MethodStepper"> <h4 class="step-title">Step 5</h4> Gradually add the dry ingredients to the wet mixture, mixing on low speed just until combined. Over-mixing will develop gluten and result in tough cookies, so stop as soon as no dry flour remains visible. Fold in the chopped crystallized ginger chunks by hand, distributing them evenly throughout the dough. </li> <li class="MethodStepper"> <h4 class="step-title">Step 6</h4> Chill the dough for at least 30 minutes (or up to 24 hours). This resting period allows the flour to fully hydrate and the flavors to develop, while also firming up the butter so your cookies don't spread too much during baking. The longer the chill, the more complex the flavor will be! </li> <li class="MethodStepper"> <h4 class="step-title">Step 7</h4> Place the remaining 50g of granulated sugar in a small bowl. Using a cookie scoop or tablespoon, portion the dough into balls about 3cm in diameter (approximately 30g each). Roll each ball in granulated sugar until completely coated – this creates a beautiful sparkly exterior with slight crunch. </li> <li class="MethodStepper"> <h4 class="step-title">Step 8</h4> Arrange the coated dough balls on your prepared baking sheets, leaving about 5cm between each cookie to allow for spreading. Slightly flatten each ball with your palm to encourage even baking. </li> <li class="MethodStepper"> <h4 class="step-title">Step 9</h4> Bake in the preheated oven for 10-12 minutes, rotating the tray halfway through. The cookies are ready when the edges are set and golden, but the centers still look slightly soft – they'll continue cooking from residual heat after removal. For crispier cookies, bake 1-2 minutes longer. </li> <li class="MethodStepper"> <h4 class="step-title">Step 10</h4> Allow cookies to cool on the baking sheets for 5 minutes – they're quite fragile when hot. Then transfer to a wire rack to cool completely. As they cool, they'll develop that perfect chewy texture with slightly crisp edges, while the fermented ginger flavor melds beautifully with the warming spices. Store in an airtight container for up to 5 days, though they're at their best within the first 3 days. </li> </ol>