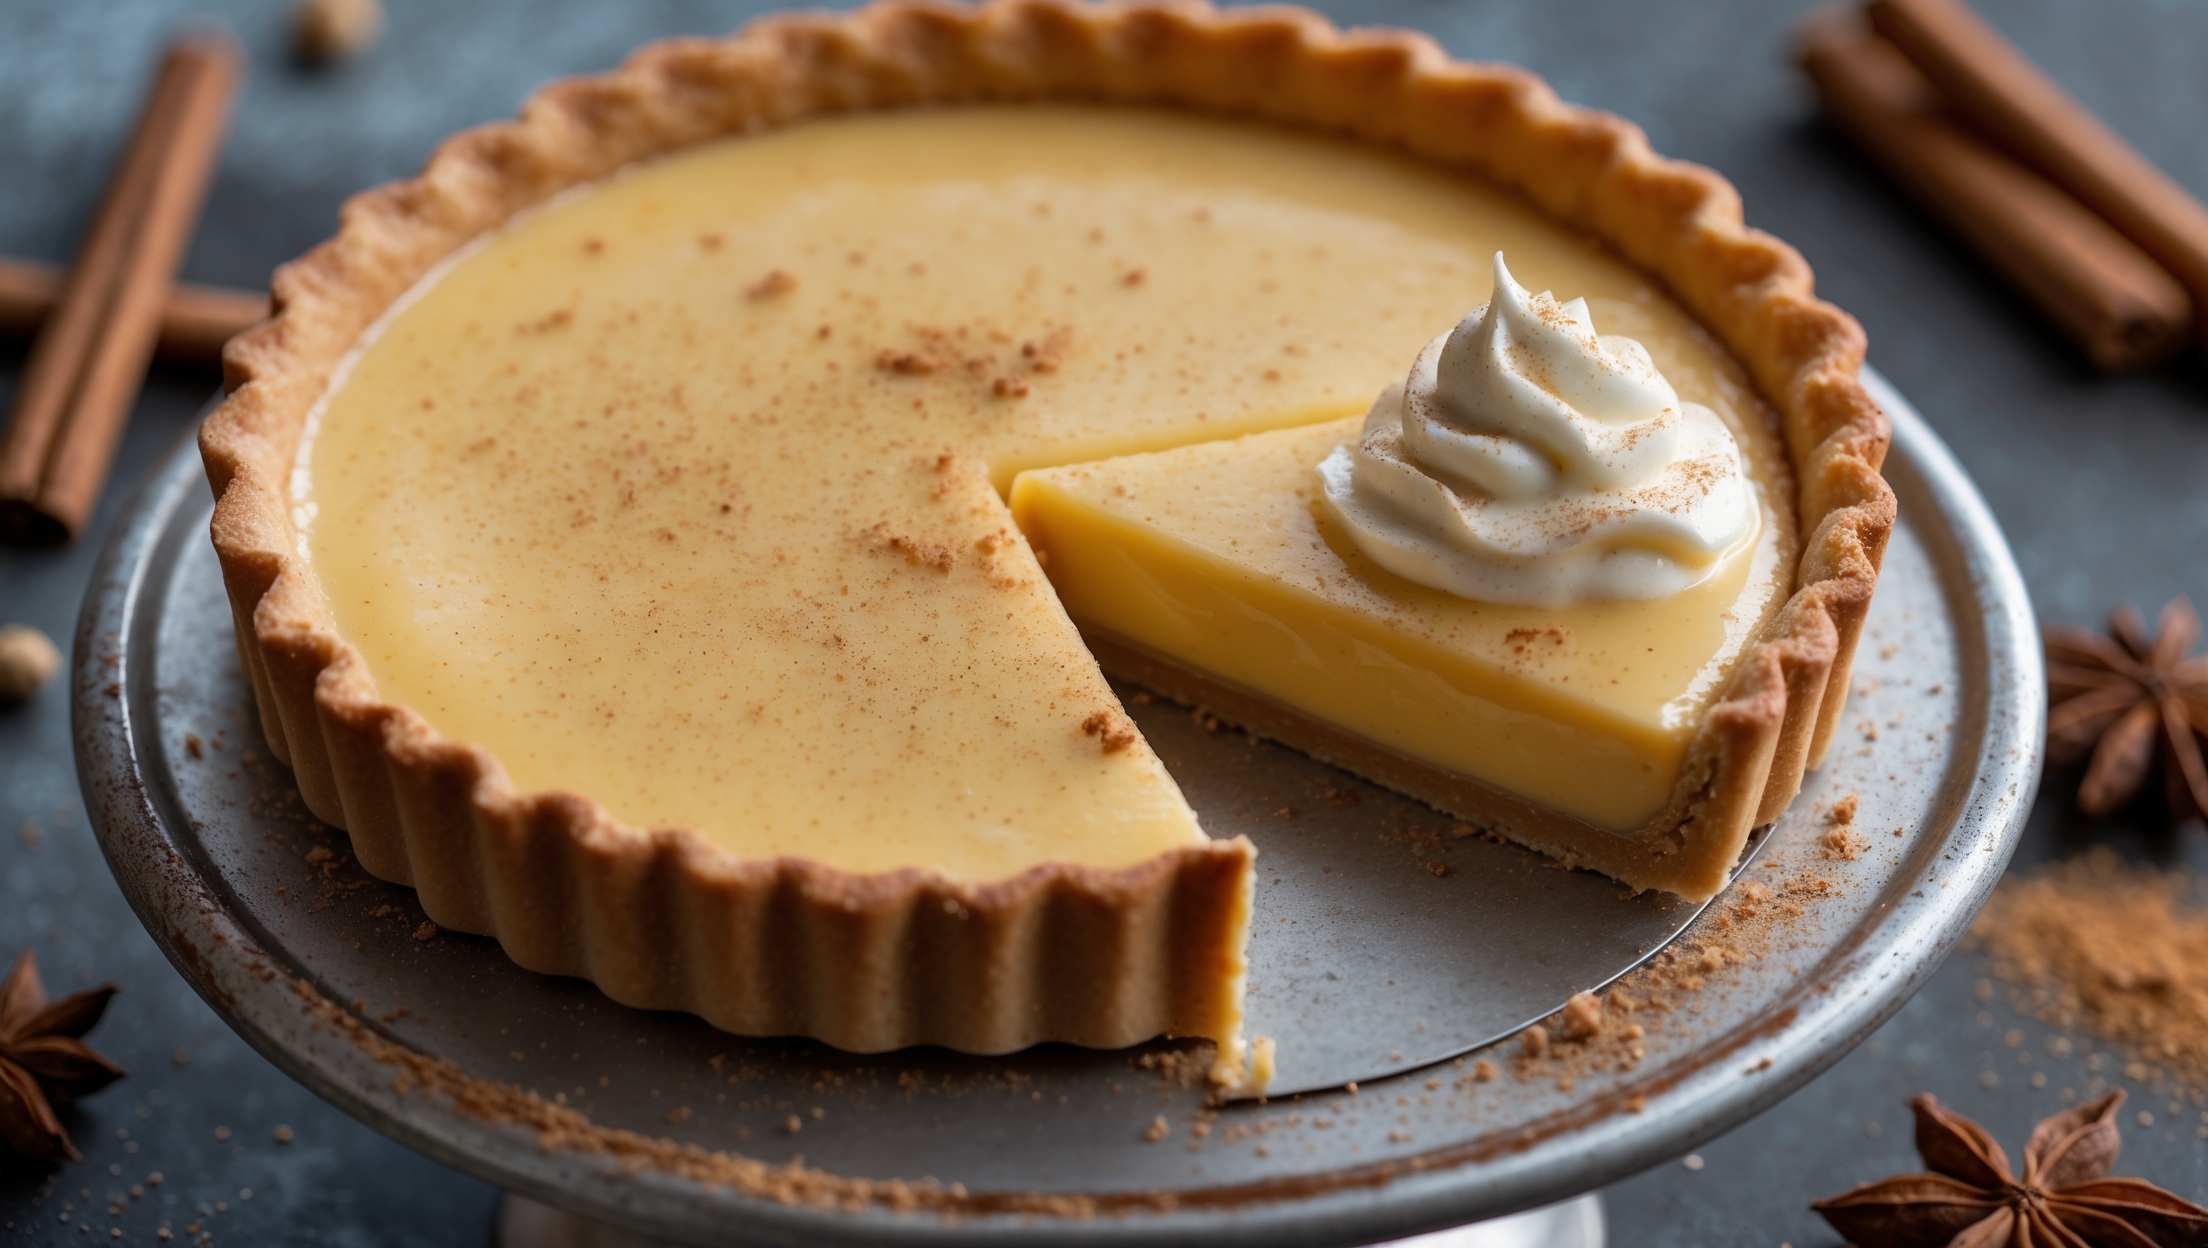
Dulce de Leche Custard Tart Recipe

Ingredients
Equipment
Directions
FAQs
Find answers to your most pressing questions about this delicious recipe right here.
This tart requires plain flour, unsalted butter, icing sugar, eggs, whole milk, vanilla, caster sugar, cornflour and dulce de leche. The shortcrust pastry forms the base, with a creamy vanilla custard middle and a rich dulce de leche topping.
Learn how to cook Dulce de Leche Custard Tart by first blind baking a buttery shortcrust pastry until golden. Then prepare a silky vanilla custard, pour into the cooled case and chill until set. Finally, spread warmed dulce de leche on top and refrigerate again before serving. The contrast of textures makes this a sophisticated yet achievable dessert.
Custard filling may not set properly if it wasn't cooked long enough to activate the cornflour, if you used too little cornflour, or if it wasn't chilled adequately. Ensure you cook the custard until it thickly coats the back of a spoon and refrigerate for at least 4 hours.
Yes, this dessert is perfect for making ahead! The tart can be fully assembled and refrigerated up to 2 days before serving. For the freshest taste, consider adding the dulce de leche layer on the day of serving. The pastry will remain crisp for about 48 hours when properly stored.
Dulce de leche is made by slowly cooking sweetened condensed milk until caramelised, creating a smooth, consistent texture. Traditional caramel is made from caramelised sugar and cream. Dulce de leche has a more pronounced milky flavour and thicker consistency, making it ideal for tart toppings.
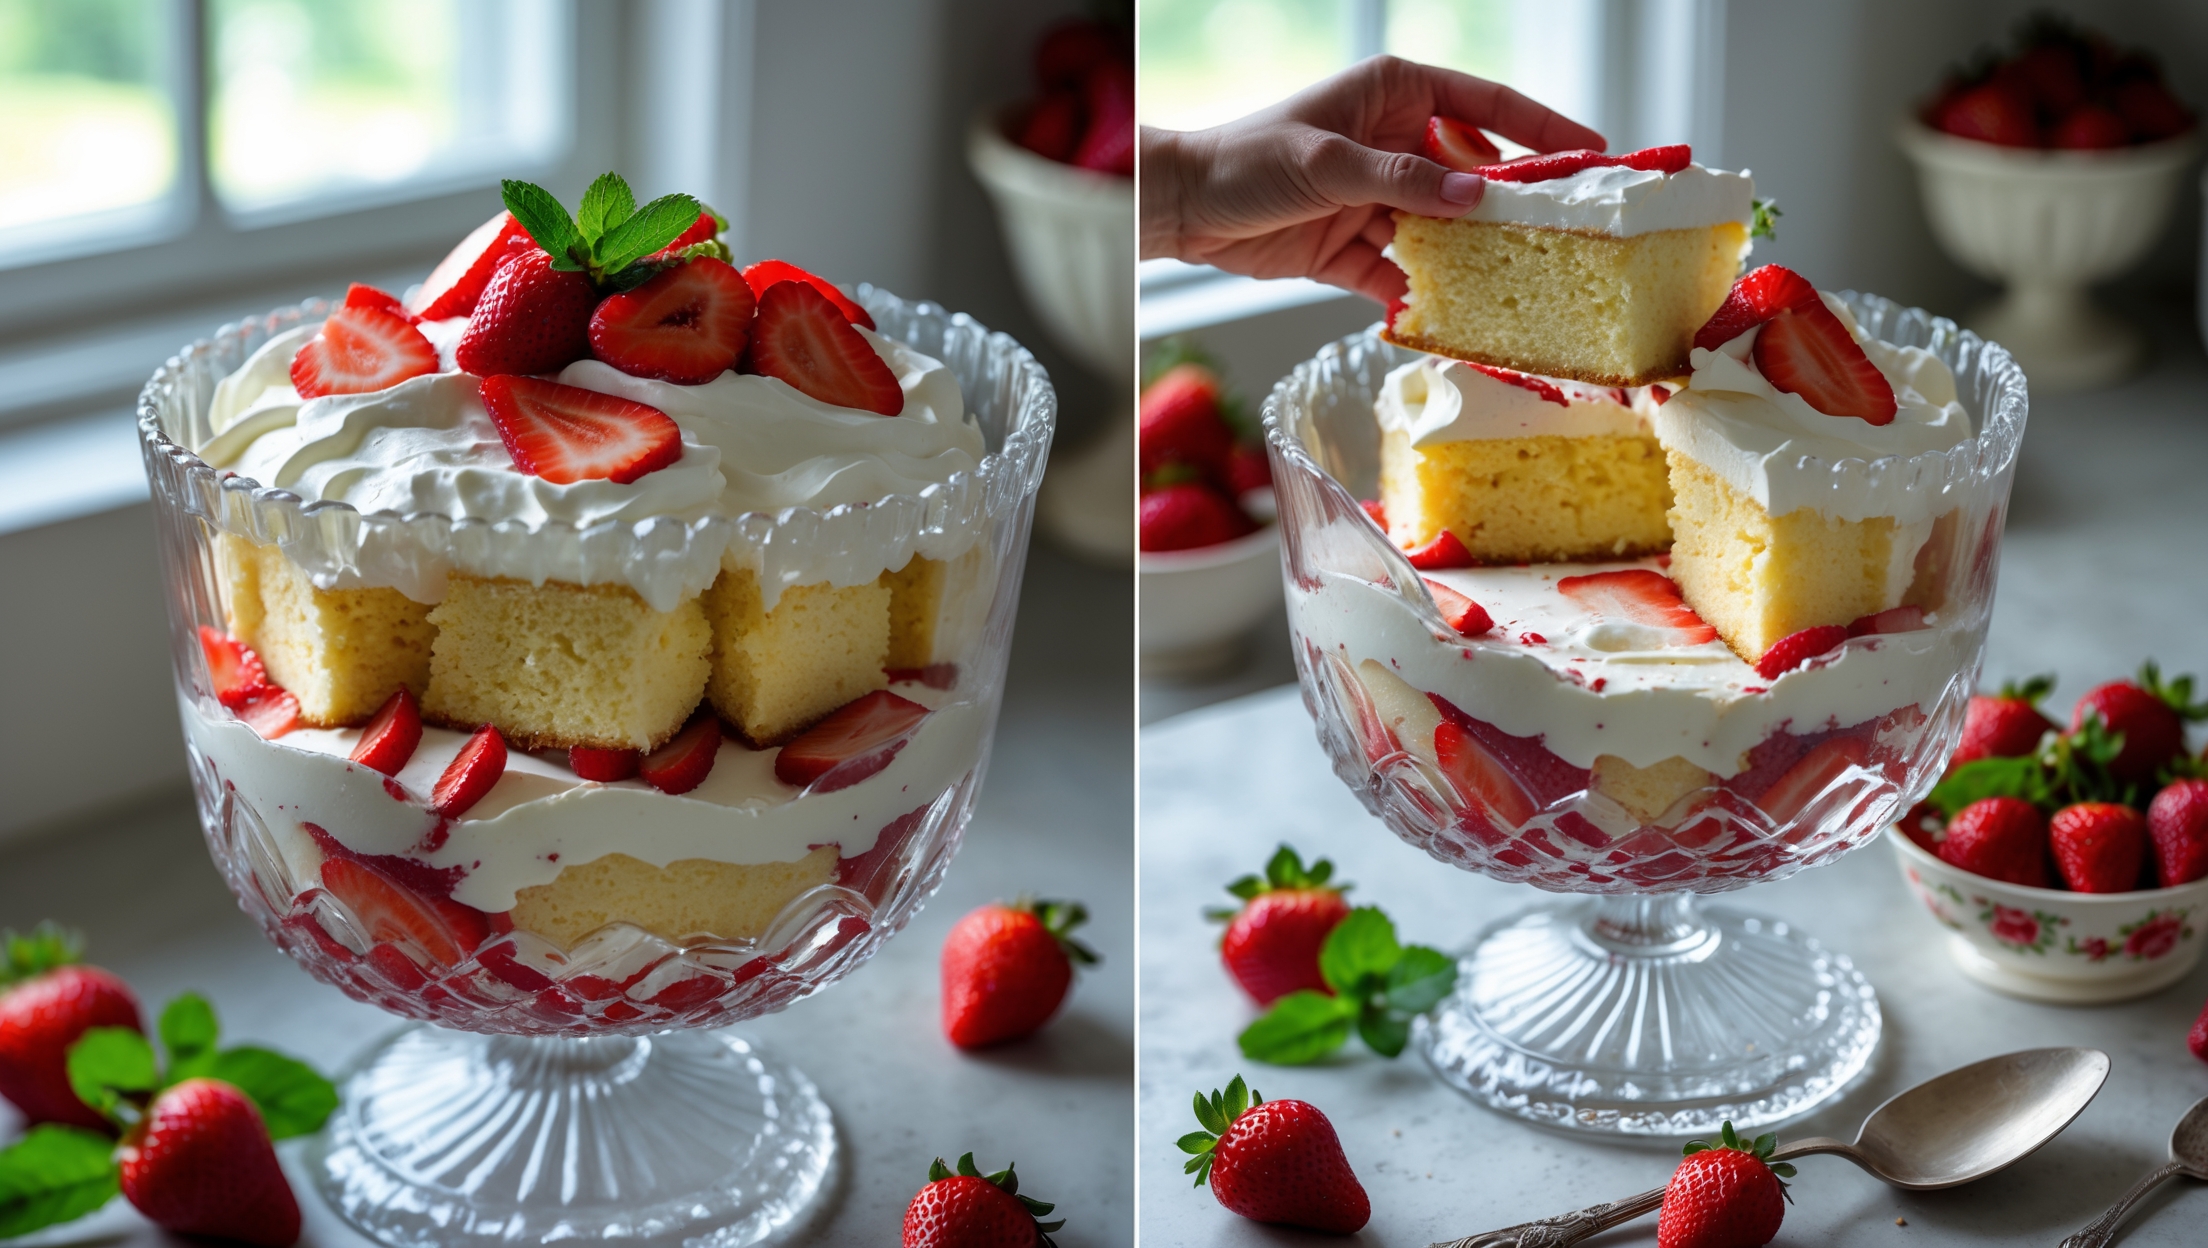
Custard Tarts
Try following recommended recipes