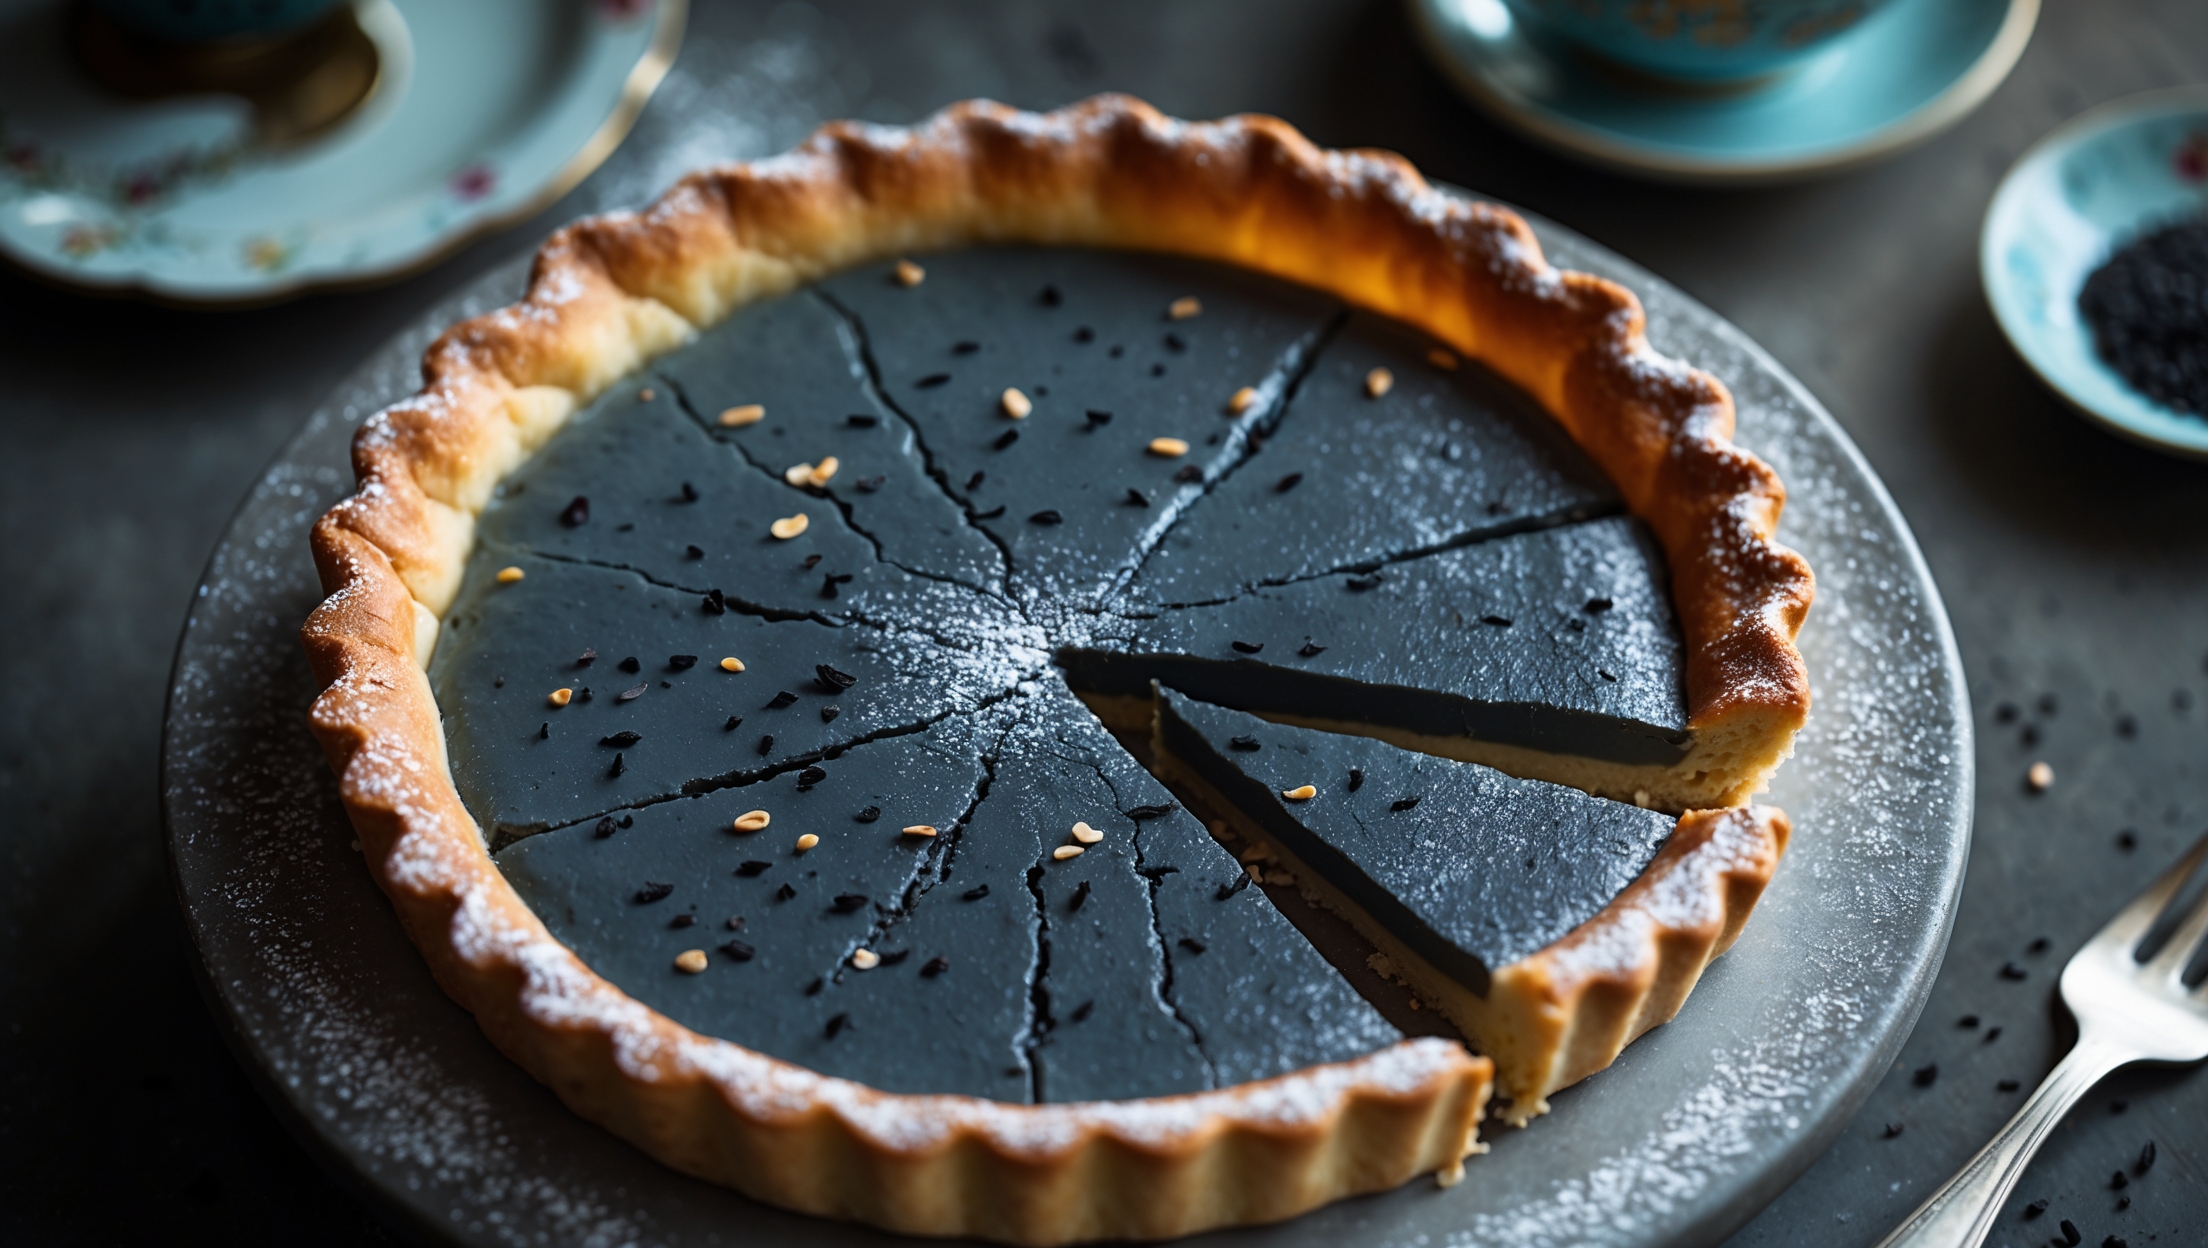
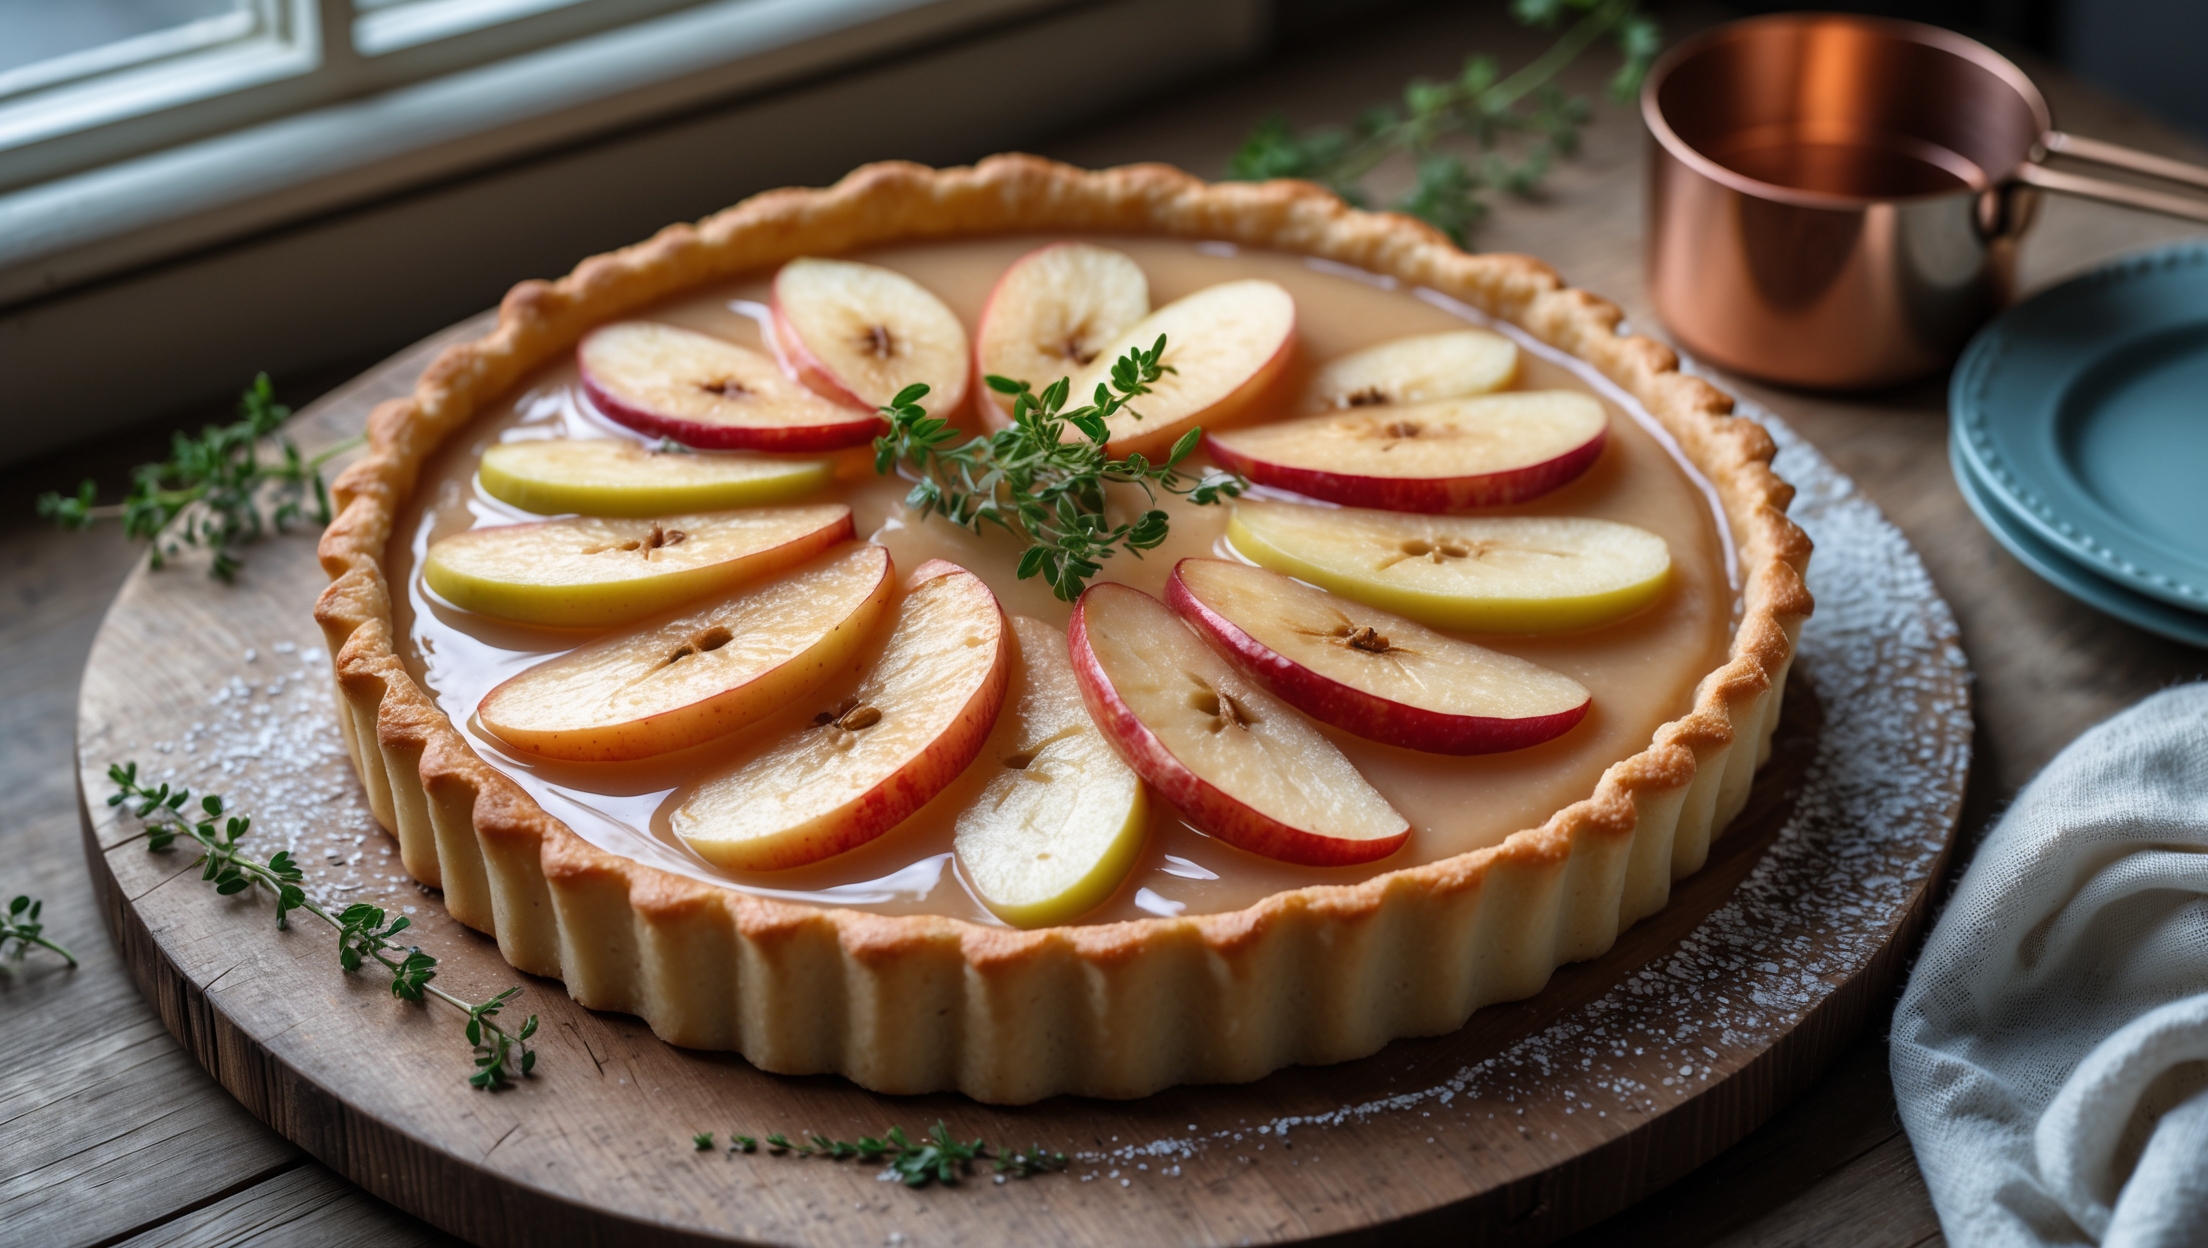
Directions
<ol class="no-list-style"> <li class="MethodStepper"> <h4 class="step-title">Step 1</h4> Start by making the shortcrust pastry. Either by hand or in a food processor, combine the flour, salt and cubed cold butter until the mixture resembles fine breadcrumbs. This cold butter technique is essential—it creates steam pockets during baking that result in a flaky texture. </li> <li class="MethodStepper"> <h4 class="step-title">Step 2</h4> Add the icing sugar and mix briefly, then incorporate the egg yolk and just enough ice-cold water (1 tablespoon at a time) until the dough just comes together. Be careful not to overwork the dough or it will become tough. Shape into a disc, wrap in cling film, and refrigerate for at least 30 minutes to relax the gluten. </li> <li class="MethodStepper"> <h4 class="step-title">Step 3</h4> Preheat your oven to 180°C (160°C fan). On a lightly floured surface, roll the chilled pastry to about 3-4mm thickness and large enough to line your tart tin. Carefully drape the pastry over your rolling pin to transfer it to the tin, then gently press it into the corners without stretching. Trim the excess, leaving a slight overhang to account for shrinkage. </li> <li class="MethodStepper"> <h4 class="step-title">Step 4</h4> Prick the base all over with a fork (this prevents air bubbles), then line with baking parchment and fill with baking beans or rice. Blind bake for 15 minutes, then remove the beans and parchment and bake for a further 5-7 minutes until the pastry is dry and pale golden. If any cracks appear, brush with a little beaten egg white while still warm to seal them. Reduce the oven temperature to 160°C (140°C fan). </li> <li class="MethodStepper"> <h4 class="step-title">Step 5</h4> While the pastry shell cools slightly, prepare the chocolate custard filling. Place the chopped chocolate in a large heatproof bowl. Heat the cream and milk in a saucepan until it just begins to simmer (small bubbles appear around the edge)—don't let it boil. </li> <li class="MethodStepper"> <h4 class="step-title">Step 6</h4> Pour the hot cream mixture over the chocolate and let it stand for 1 minute to melt the chocolate. Gently stir until smooth and velvety. The residual heat from the cream will melt the chocolate without the risk of it seizing or becoming grainy. </li> <li class="MethodStepper"> <h4 class="step-title">Step 7</h4> In a separate bowl, whisk together the eggs, sugar, vanilla extract, and salt until just combined. Very gradually add a little of the warm chocolate mixture to the egg mixture while whisking constantly. This technique, called tempering, slowly brings up the temperature of the eggs without scrambling them. </li> <li class="MethodStepper"> <h4 class="step-title">Step 8</h4> Once the eggs are tempered, gradually whisk them back into the remaining chocolate mixture until fully incorporated. Pass the custard through a fine mesh sieve to ensure a silky-smooth texture and to catch any potential lumps of egg. </li> <li class="MethodStepper"> <h4 class="step-title">Step 9</h4> Place your pastry case on a baking tray (this makes it easier to move in and out of the oven without spills). Pour the chocolate custard into the pastry case, filling it almost to the top. Very gently transfer to the oven, being careful not to slosh the filling. </li> <li class="MethodStepper"> <h4 class="step-title">Step 10</h4> Bake for 20-25 minutes until the filling is set around the edges but still has a slight wobble in the center—like a just-set jelly. Don't overbake or the custard will become grainy instead of silky. The residual heat will continue cooking the tart as it cools. </li> <li class="MethodStepper"> <h4 class="step-title">Step 11</h4> Allow the tart to cool completely at room temperature (about 2 hours) before chilling in the refrigerator for at least 1 hour to fully set the filling. This patience rewards you with the perfect texture—cutting too soon will result in a runny filling. </li> <li class="MethodStepper"> <h4 class="step-title">Step 12</h4> To serve, carefully remove the tart from the tin and place on a serving plate. For a professional finish, dust lightly with cocoa powder and serve with a dollop of freshly whipped cream or a few fresh berries to cut through the richness of the chocolate. Your dark chocolate custard tart will keep refrigerated for up to 3 days, though the pastry will soften slightly over time. </li> </ol>