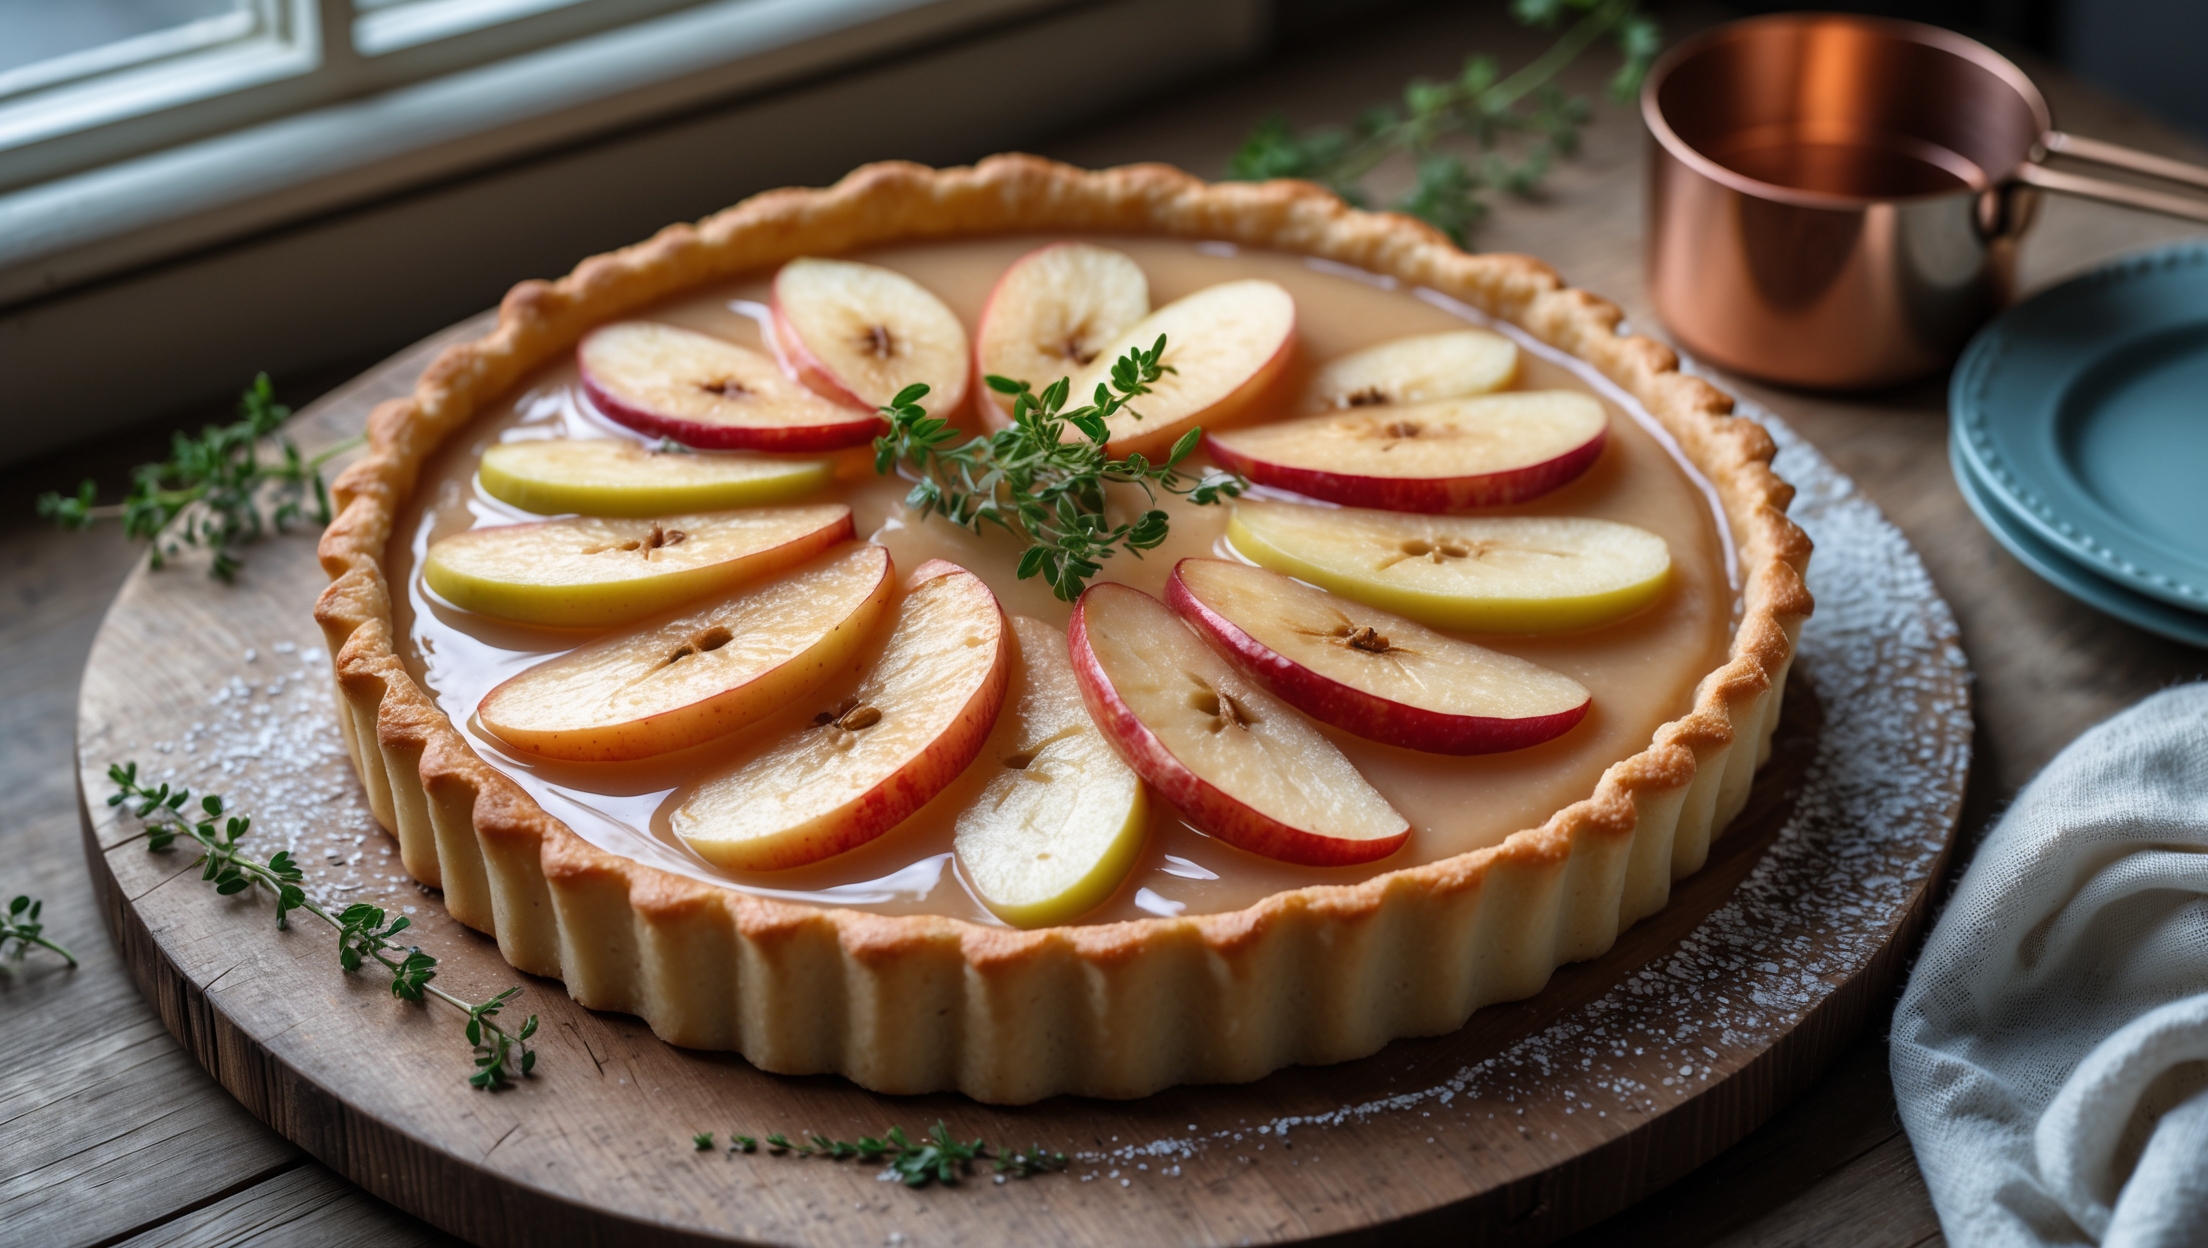
Directions
<ol class="no-list-style"><li class="MethodStepper"><h4 class="step-title">Step 1</h4>Begin by making the shortcrust pastry. Place the flour, cold cubed butter and salt in a food processor and pulse until the mixture resembles fine breadcrumbs (alternatively, rub the butter into the flour with your fingertips). The cold butter creates small pockets of fat that will steam during baking, resulting in flaky layers.</li><li class="MethodStepper"><h4 class="step-title">Step 2</h4>Add the caster sugar and mix briefly. Then add the egg yolk and 2 tablespoons of ice-cold water, pulsing until the dough just begins to come together. If needed, add the remaining tablespoon of water, but be careful not to overwork the dough as this will develop the gluten and make your pastry tough.</li><li class="MethodStepper"><h4 class="step-title">Step 3</h4>Turn the dough onto a lightly floured surface and shape into a disc. Wrap in cling film and refrigerate for at least 30 minutes. This resting period allows the gluten to relax and prevents shrinkage during baking.</li><li class="MethodStepper"><h4 class="step-title">Step 4</h4>Preheat your oven to 190°C (170°C fan/375°F/Gas 5). Roll out the chilled pastry on a lightly floured surface to about 3-4mm thickness, creating a circle large enough to line your tart tin with a slight overhang. The thin pastry ensures a crisp base that won't become soggy when filled.</li><li class="MethodStepper"><h4 class="step-title">Step 5</h4>Carefully drape the pastry over your rolling pin and transfer it to the tart tin. Gently press the pastry into the corners and up the sides, leaving a slight overhang. Prick the base all over with a fork to prevent air bubbles forming during baking.</li><li class="MethodStepper"><h4 class="step-title">Step 6</h4>Line the pastry case with baking parchment and fill with baking beans or rice. Blind bake for 15 minutes, then remove the parchment and beans and bake for a further 5-7 minutes until the pastry is dry and pale golden. The blind baking ensures your pastry base is partially cooked before adding the wet filling, preventing a soggy bottom.</li><li class="MethodStepper"><h4 class="step-title">Step 7</h4>While the pastry case cools slightly, reduce the oven temperature to 160°C (140°C fan/325°F/Gas 3) and prepare your filling. In a medium saucepan, gently heat the cream and milk until steaming but not boiling. Remove from heat.</li><li class="MethodStepper"><h4 class="step-title">Step 8</h4>In a large bowl, whisk together the eggs, sugar, vanilla extract, cinnamon and nutmeg until well combined. Add the chestnut purée and whisk until smooth - use a fine-mesh sieve if necessary to remove any lumps for the silkiest texture.</li><li class="MethodStepper"><h4 class="step-title">Step 9</h4>Gradually whisk the warm cream mixture into the chestnut mixture, adding it slowly to prevent the eggs from curdling. The gentle incorporation ensures a smooth custard without unwanted aeration.</li><li class="MethodStepper"><h4 class="step-title">Step 10</h4>Place the cooled tart case on a baking sheet. Pour the custard mixture through a fine-mesh sieve directly into the tart case to catch any remaining lumps or bits of egg. Fill to about 5mm below the rim to allow for slight expansion during baking.</li><li class="MethodStepper"><h4 class="step-title">Step 11</h4>Carefully transfer to the oven and bake for 30-35 minutes, or until the custard is set around the edges but still has a slight wobble in the center - it will continue to set as it cools. The gentle wobble is crucial, as overcooking will cause the custard to become grainy and crack.</li><li class="MethodStepper"><h4 class="step-title">Step 12</h4>Allow the tart to cool completely at room temperature before refrigerating for at least 2 hours or ideally overnight. This resting time allows the flavors to develop and the custard to set perfectly.</li><li class="MethodStepper"><h4 class="step-title">Step 13</h4>For the optional glaze, gently heat the apricot jam with the water in a small saucepan until melted and smooth. Pass through a sieve to remove any fruit pieces, then brush over the top of the cooled tart for a professional-looking finish that also seals in moisture.</li><li class="MethodStepper"><h4 class="step-title">Step 14</h4>To serve, carefully remove the tart from the tin and transfer to a serving plate. Use a sharp knife dipped in hot water and wiped dry between each cut for clean slices. The tart can be served slightly chilled or at room temperature, accompanied by a dollop of lightly whipped cream if desired.</li></ol>