Cheddar and Chive Quiche Recipe
Ingredients
Equipment
Directions
FAQs
Find answers to your most pressing questions about this delicious recipe right here.
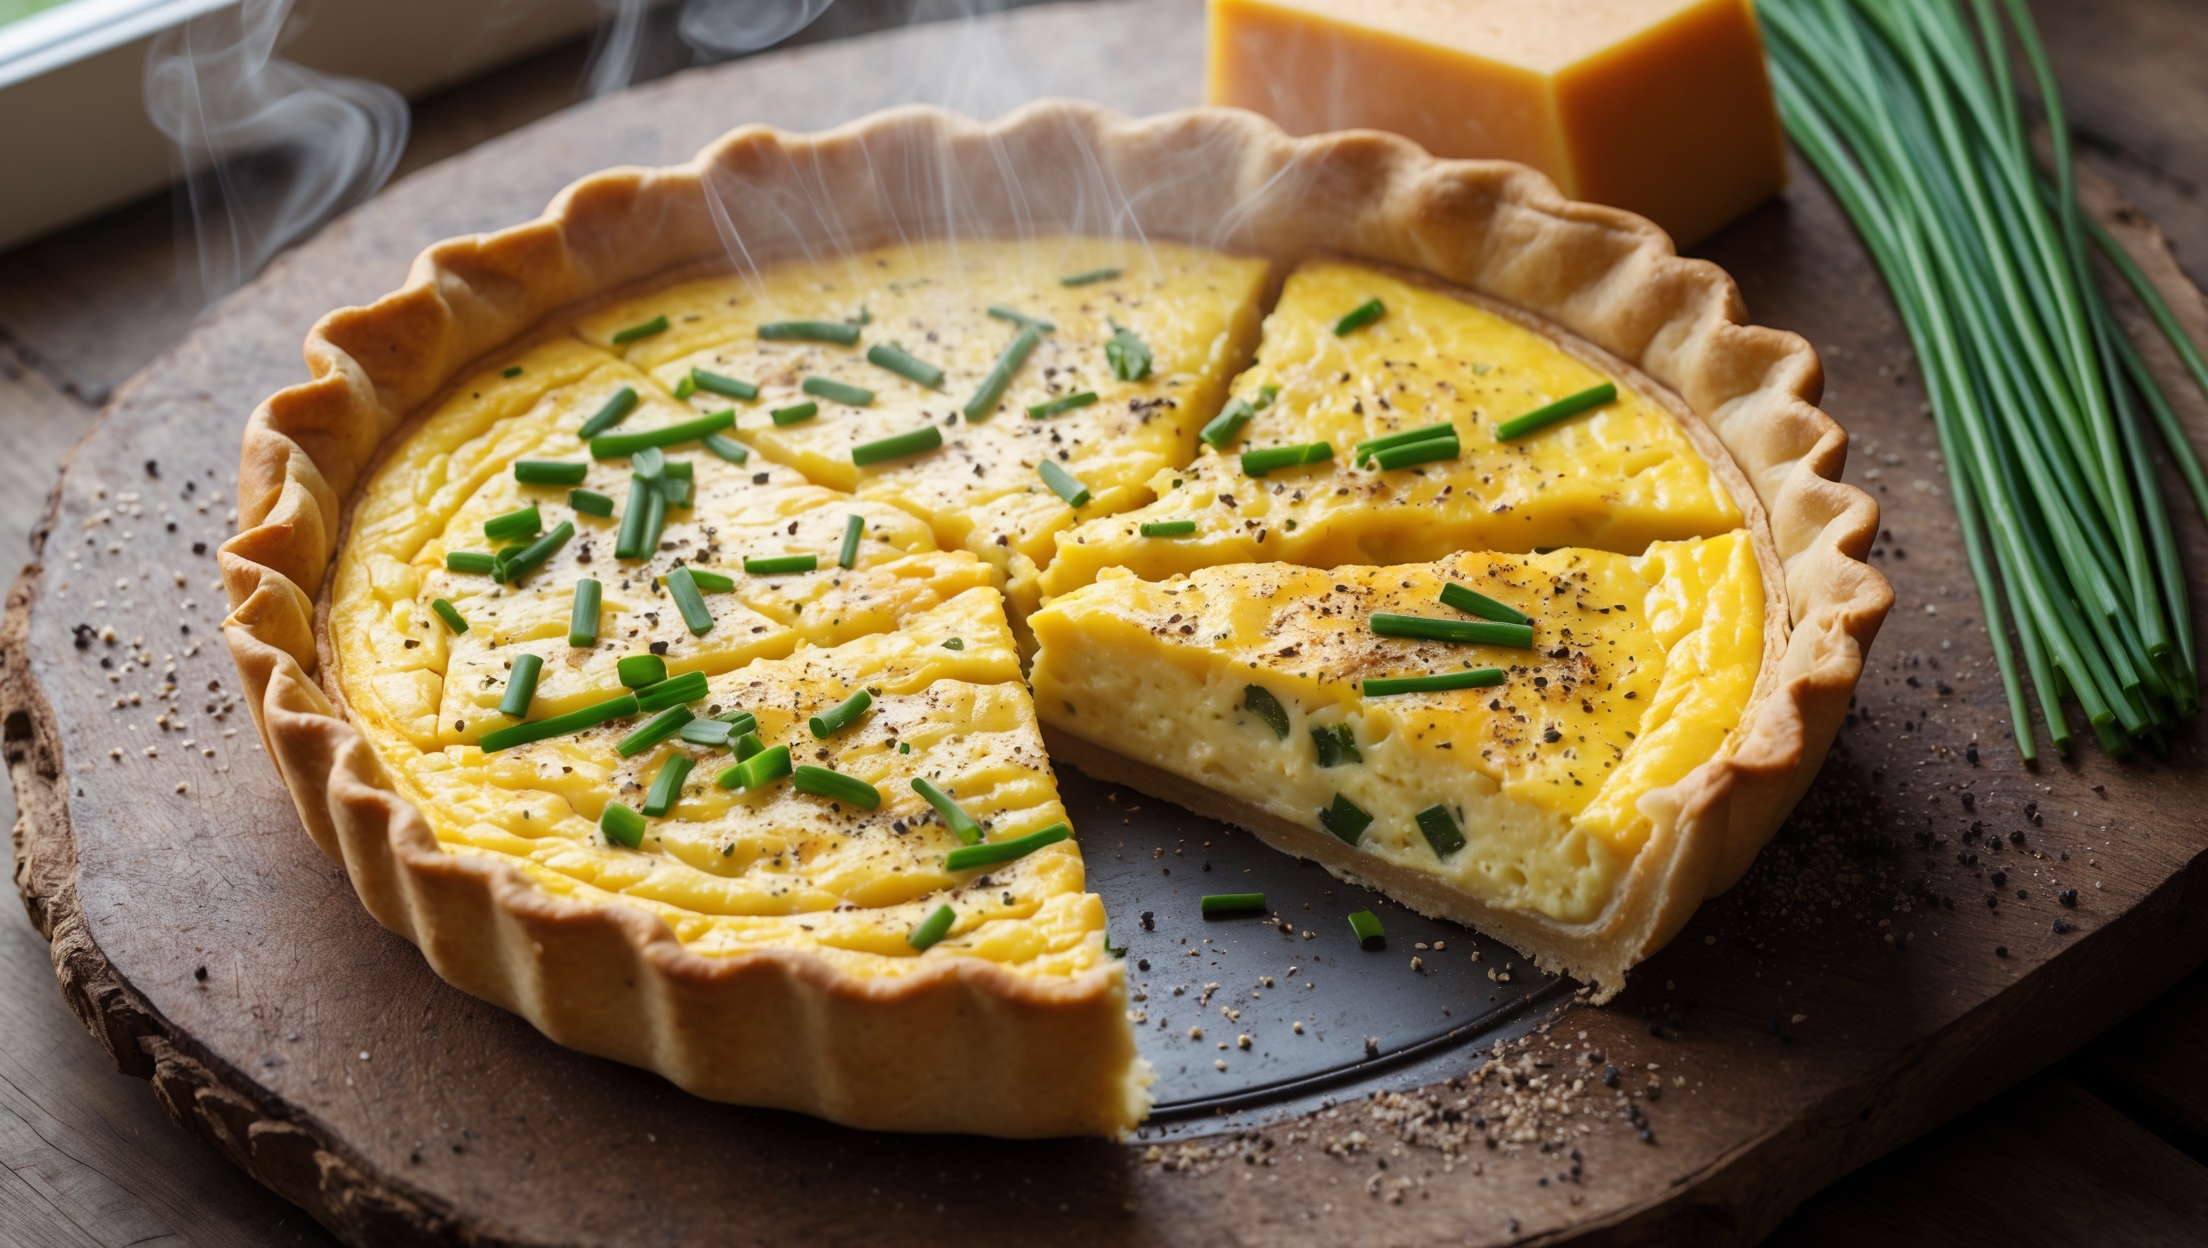
The key ingredients are plain flour, cold unsalted butter, eggs, double cream, whole milk, mature cheddar cheese, and fresh chives. Additional flavourings include salt, pepper, and nutmeg, which enhances the savoury egg custard without being overpowering.
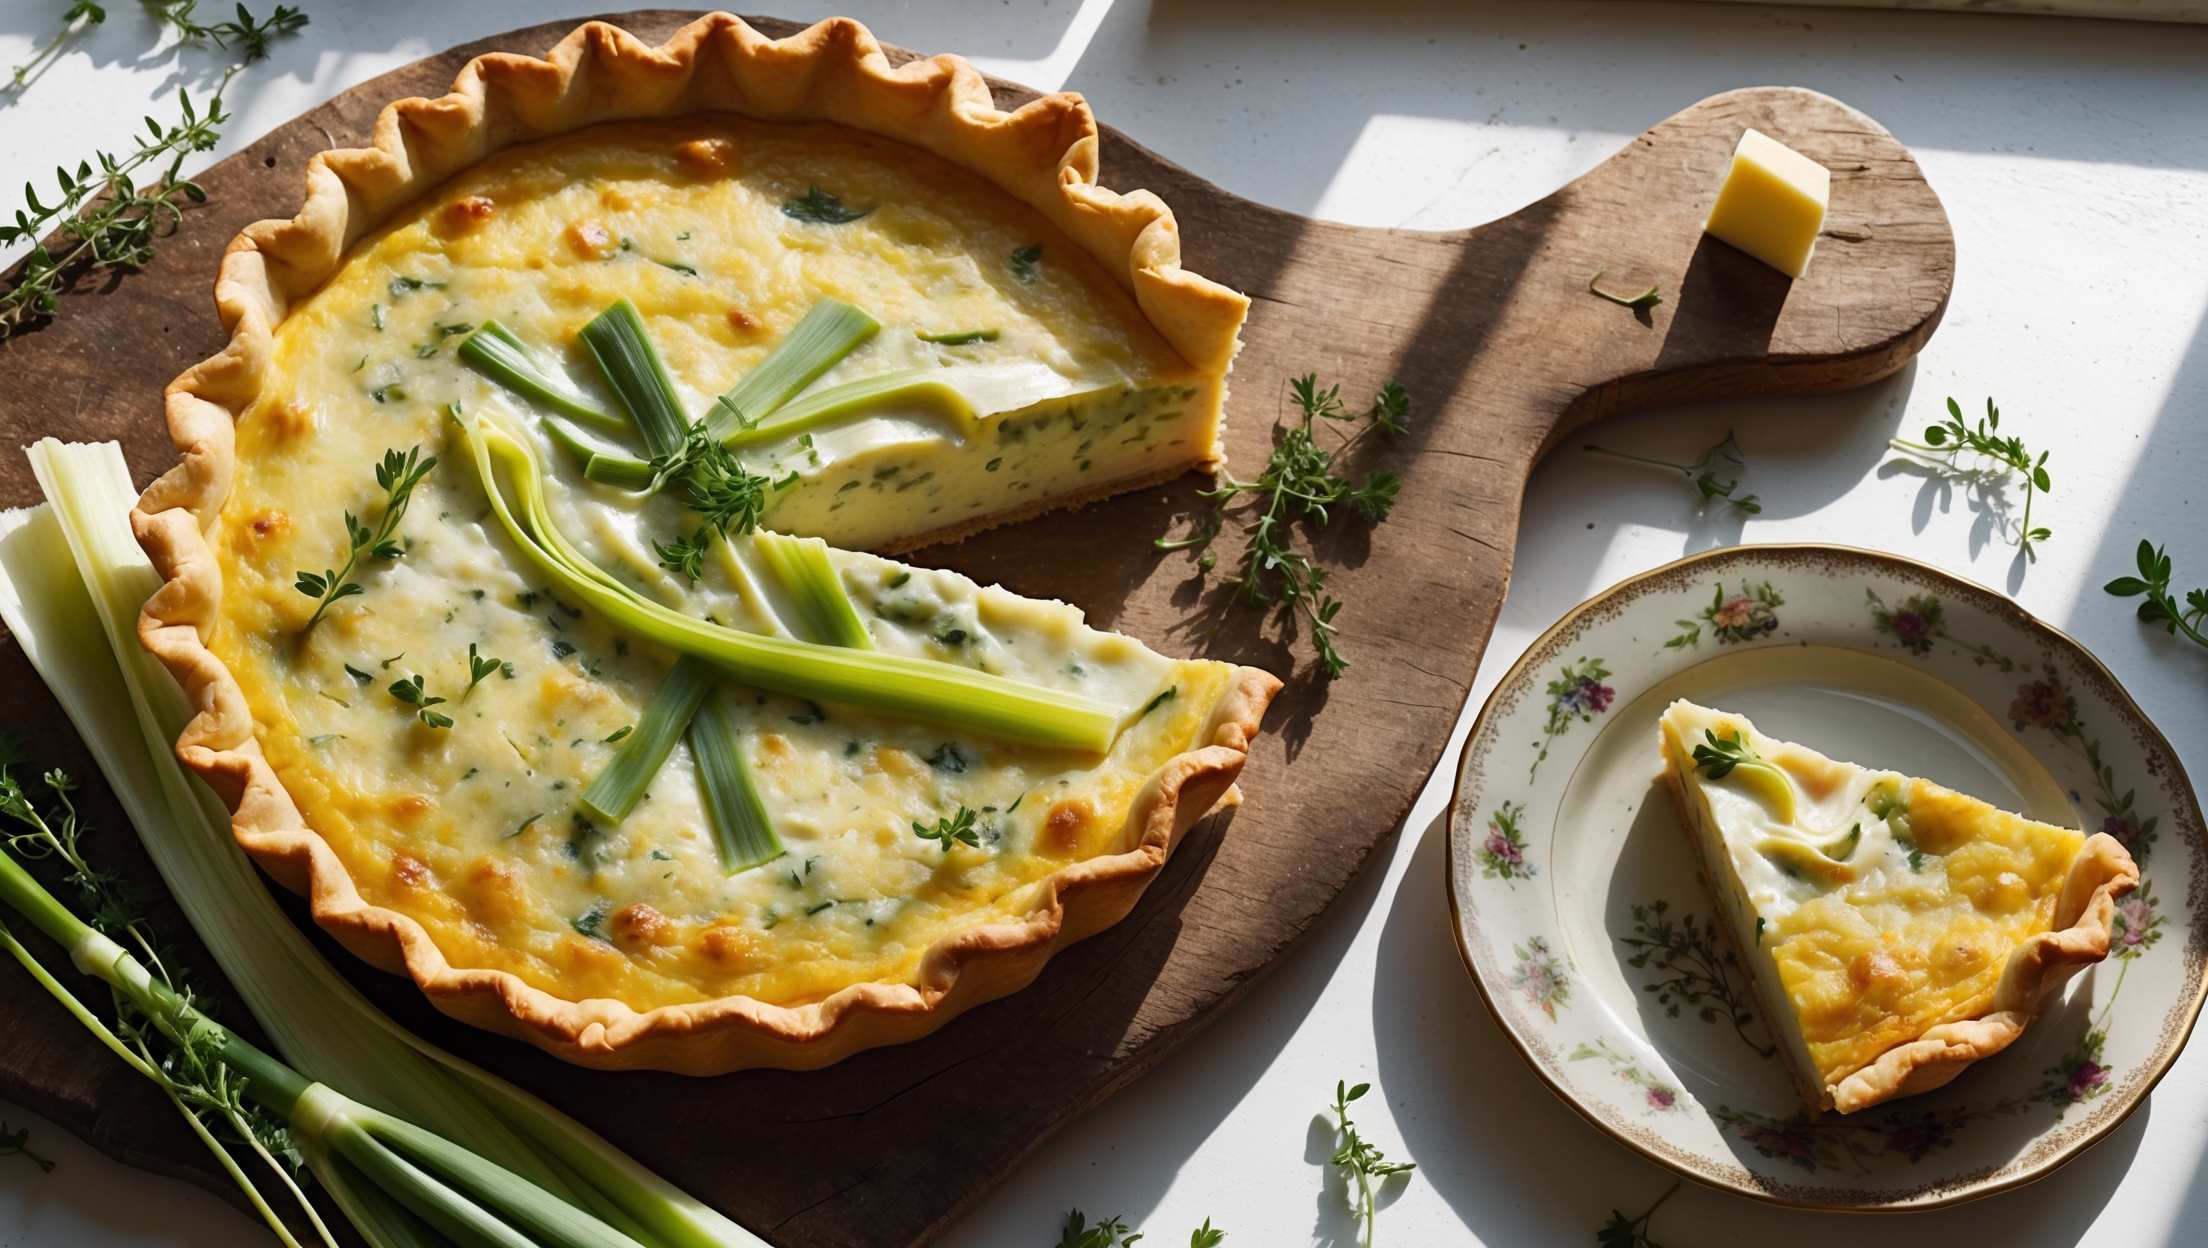
Learn how to cook Cheddar and Chive Quiche by first blind baking a homemade shortcrust pastry shell, then filling it with a mixture of eggs, cream, milk, grated cheddar, and chopped chives. Bake at 170°C for 25-30 minutes until set with a slight wobble in the centre, which ensures a perfectly silky texture once cooled.
Your filling may sink if the ingredients aren't evenly distributed or if the oven temperature is too hot. Sprinkling cheese on the base before adding the egg mixture creates a barrier, while baking at a moderate temperature (around 170°C) allows for gentle, even cooking to prevent separation.
Absolutely! The traditional "rubbing in" method works perfectly - simply use your fingertips to incorporate cold cubed butter into flour until it resembles breadcrumbs, then add ice water gradually. The key is keeping everything cold and handling minimally for a flaky result.
The key is thorough blind baking of your pastry case (15 minutes with baking beans, 5 minutes without), creating a seal by sprinkling cheese on the base before adding the filling, and ensuring your oven is properly preheated. Resting the finished quiche helps set the filling properly.
Savoury Quiches
Try following recommended recipes