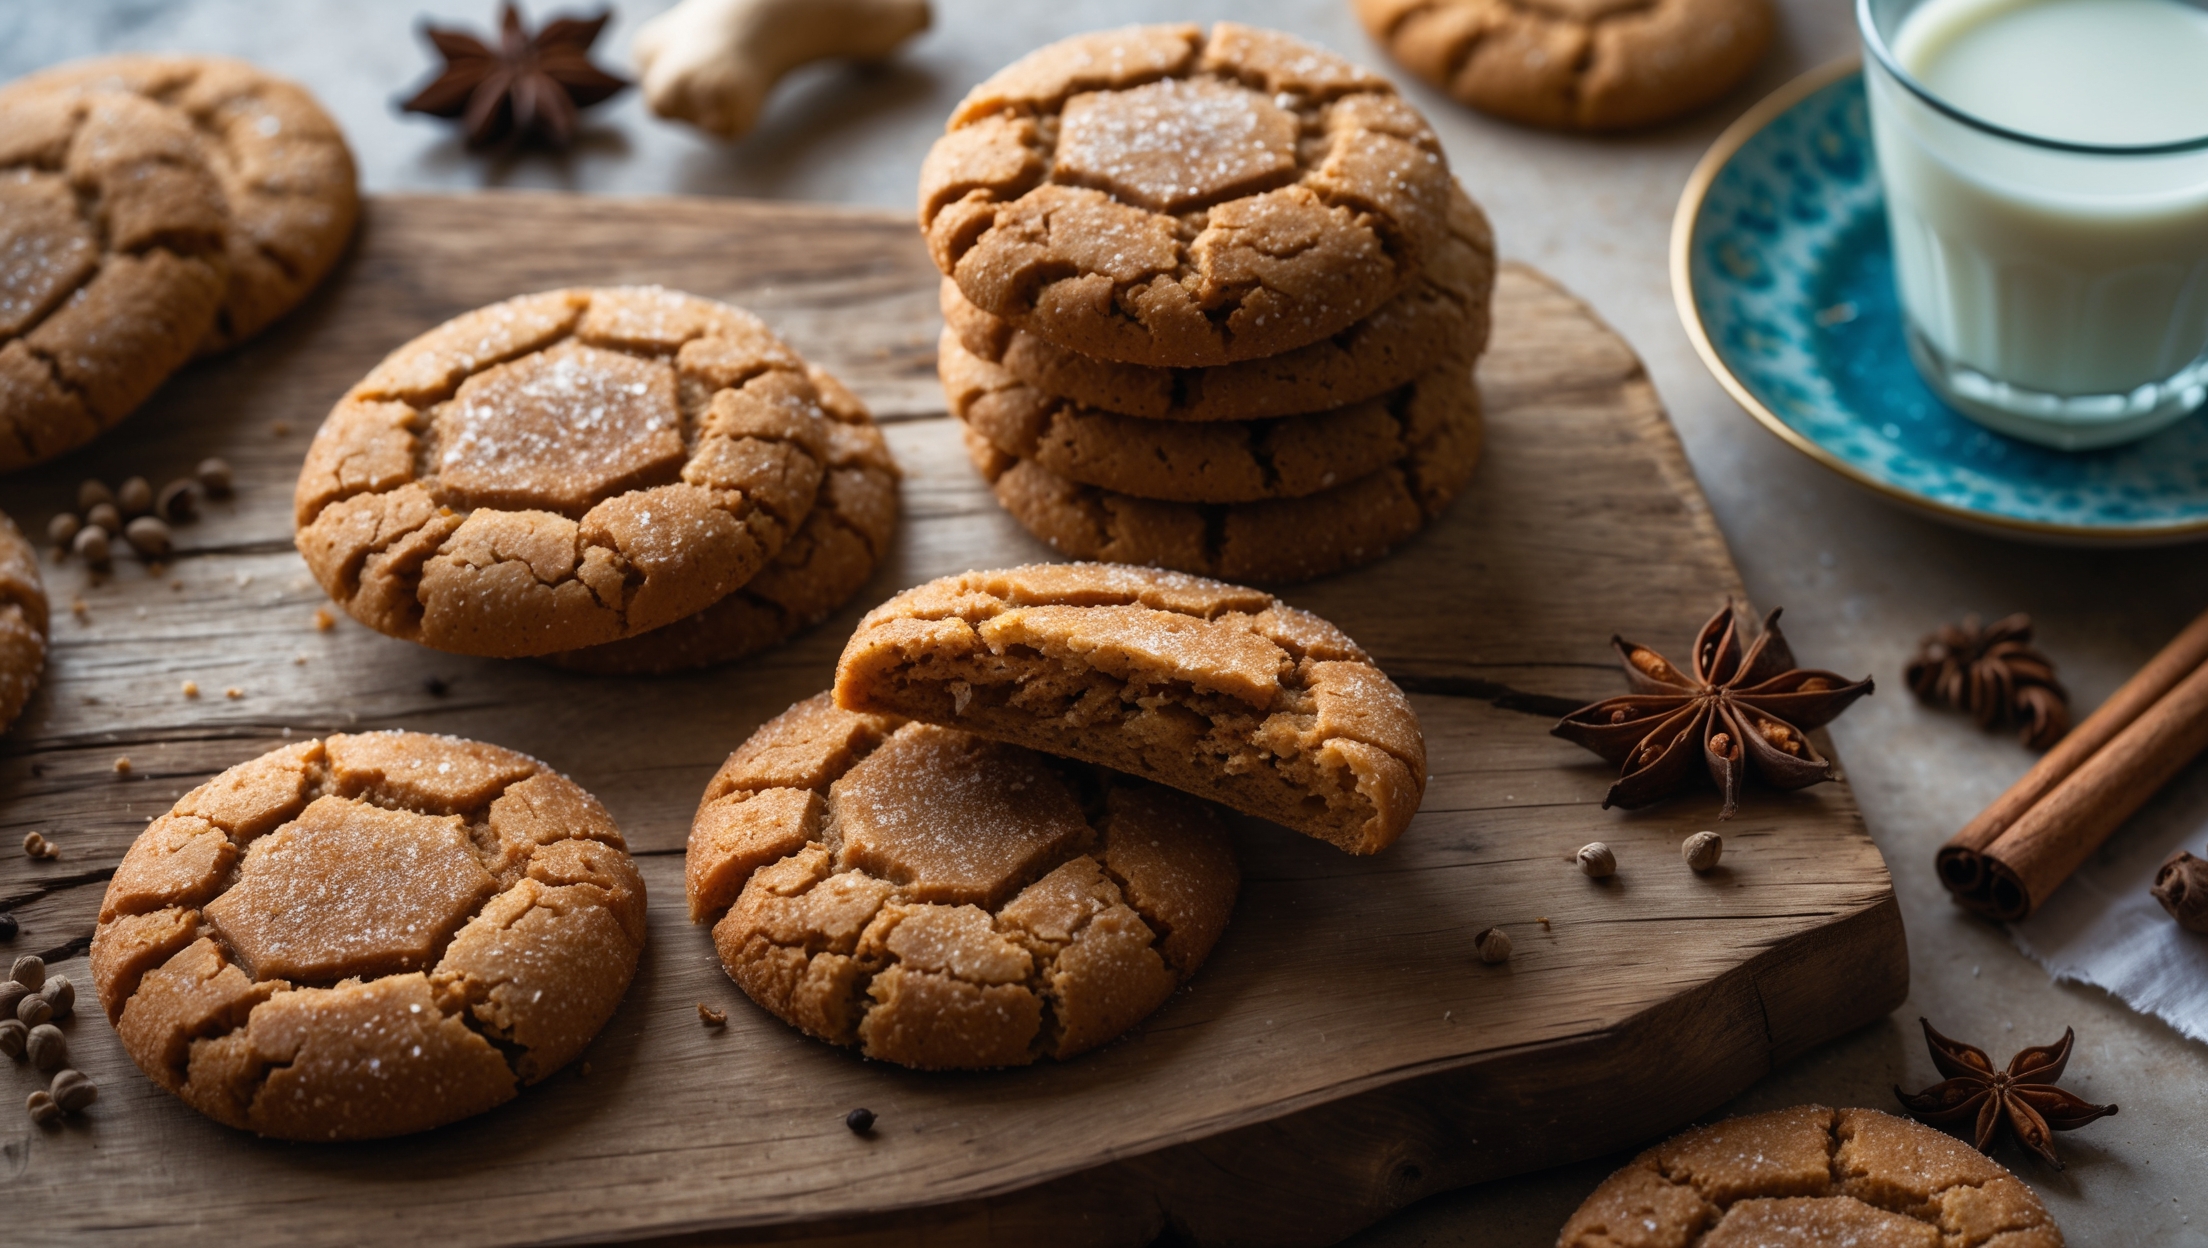
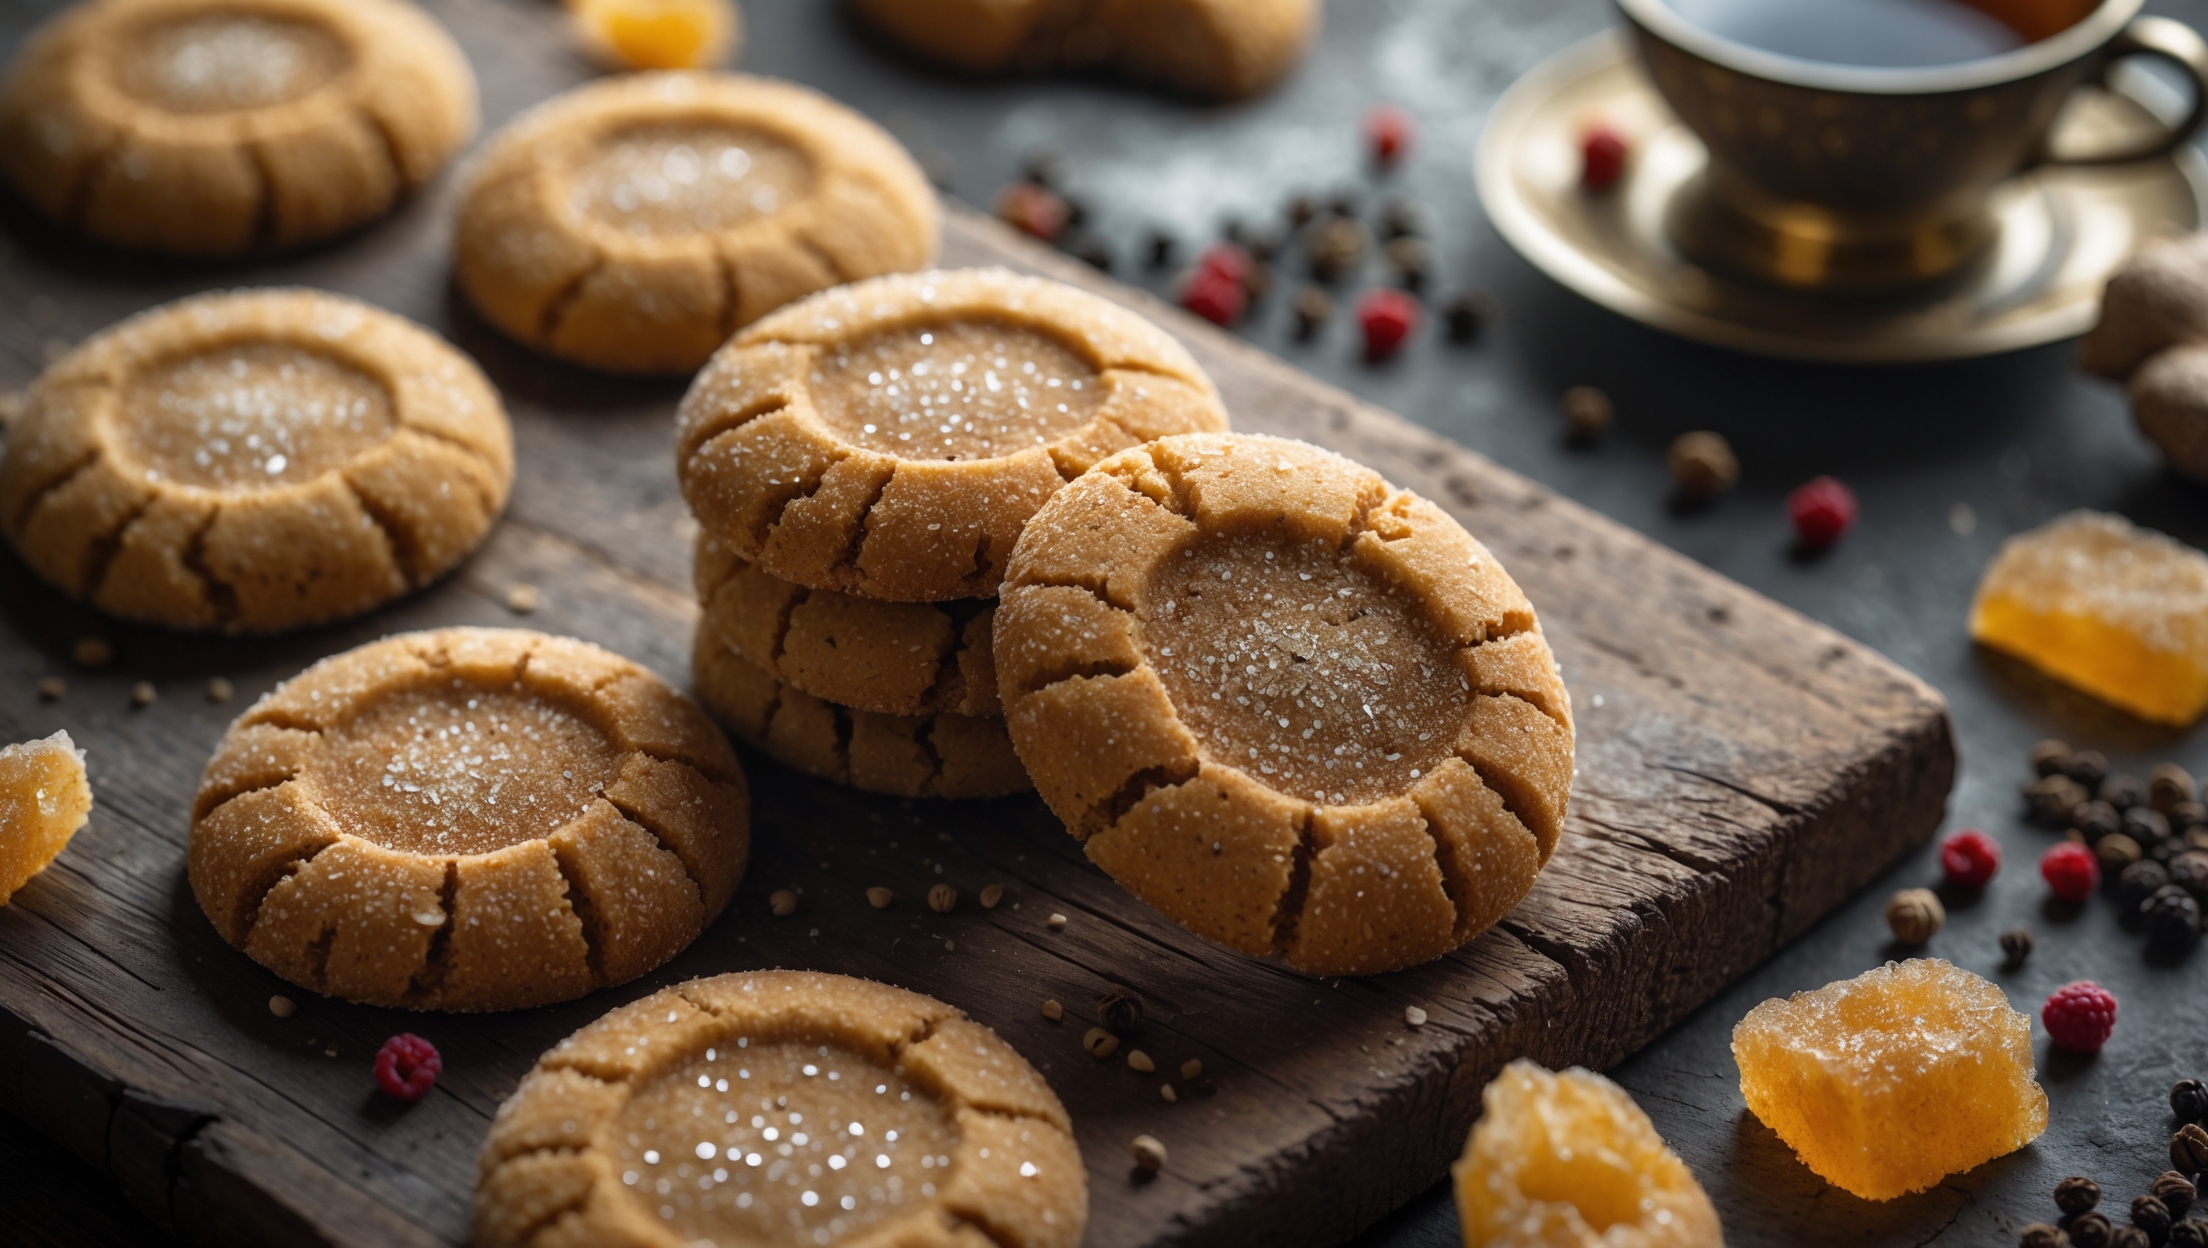
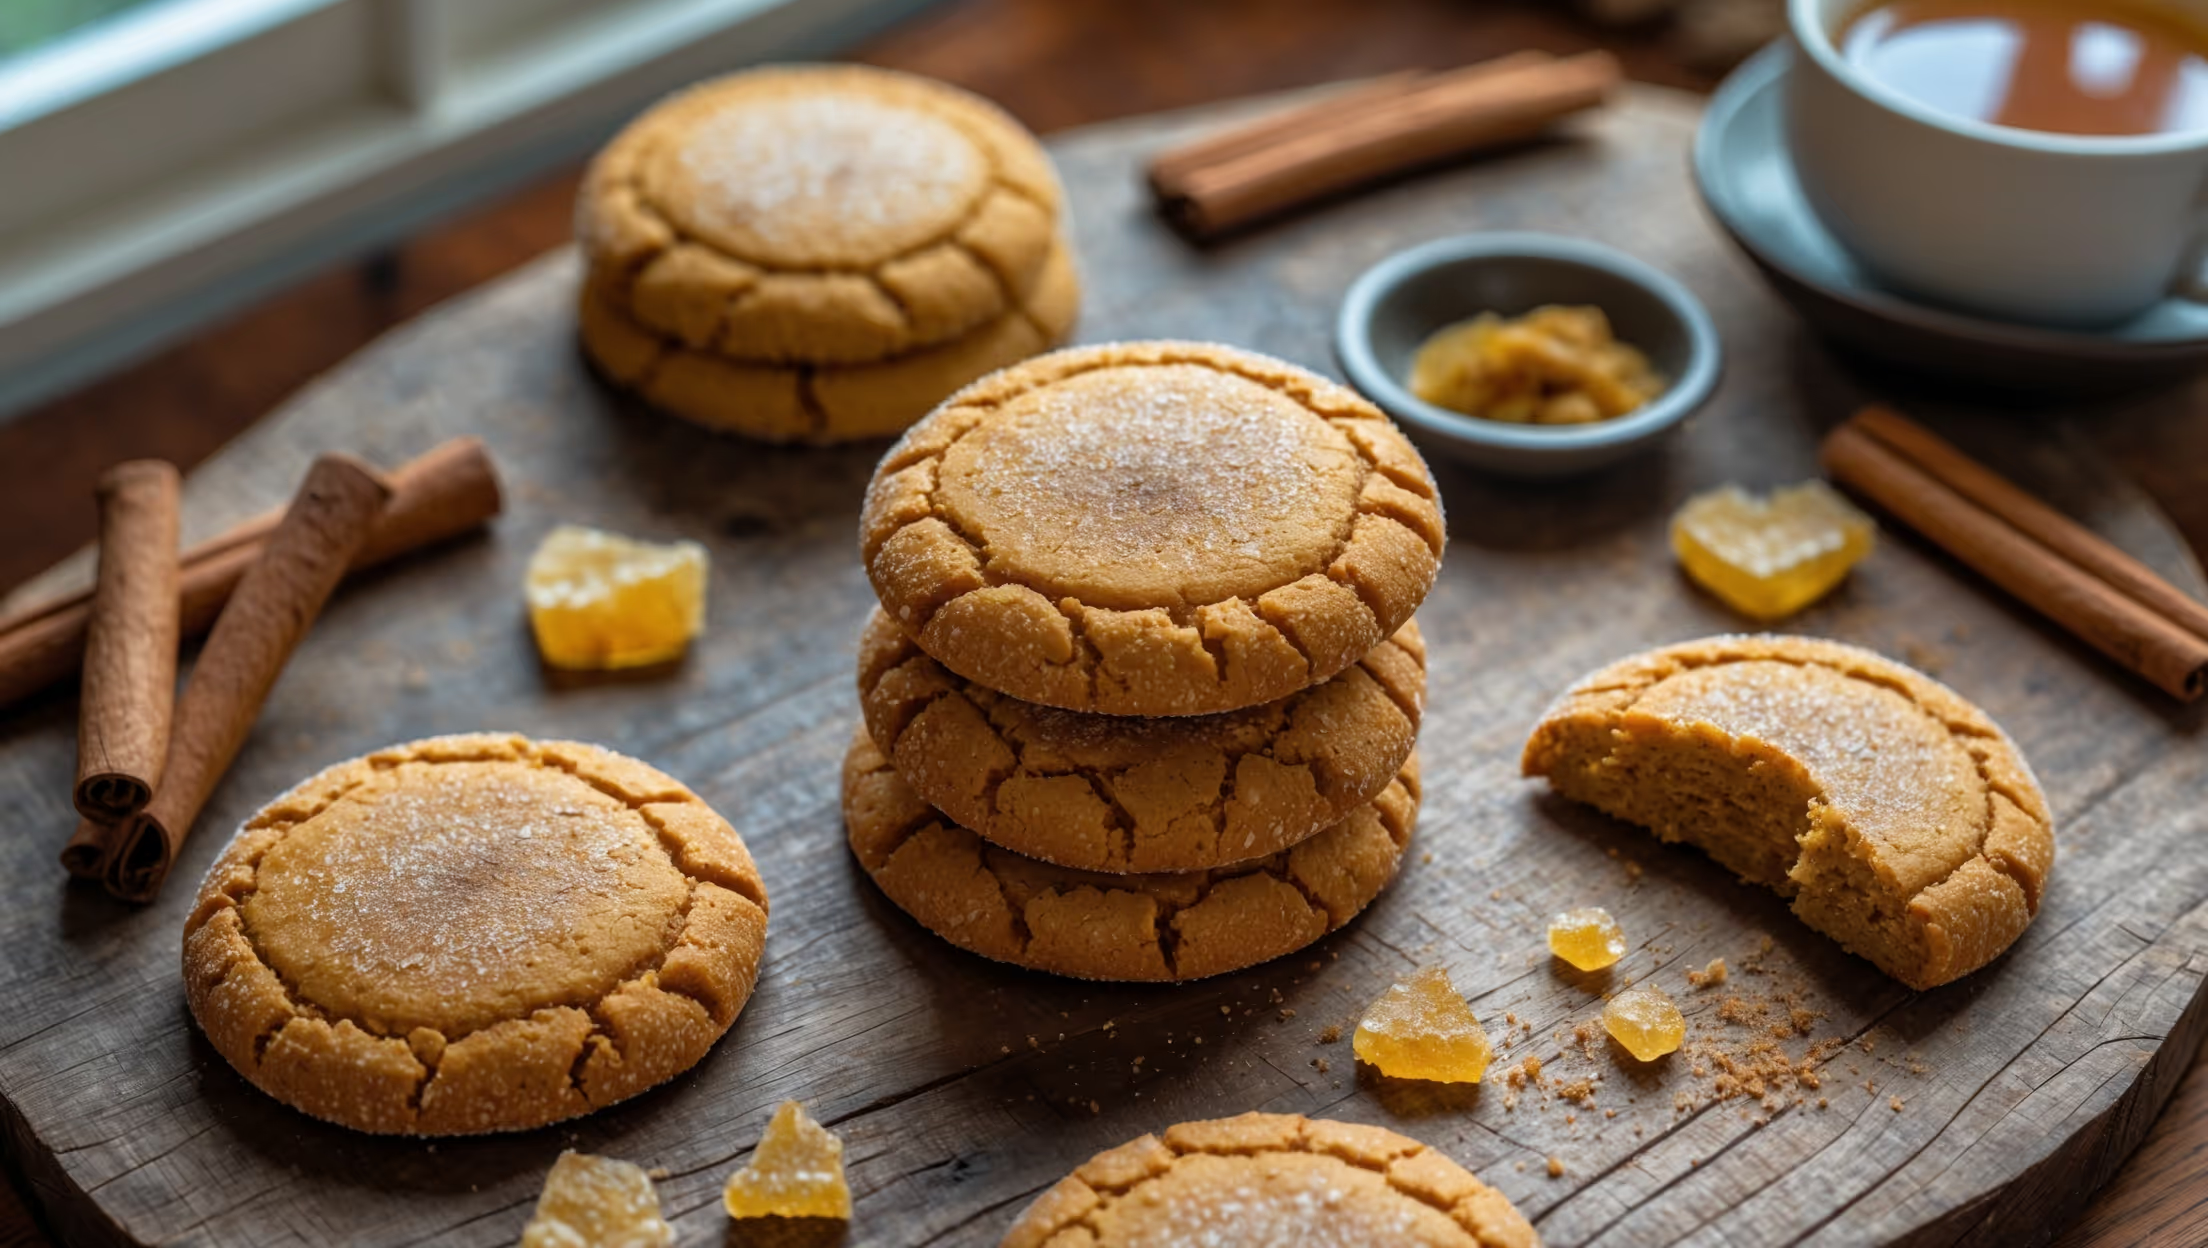
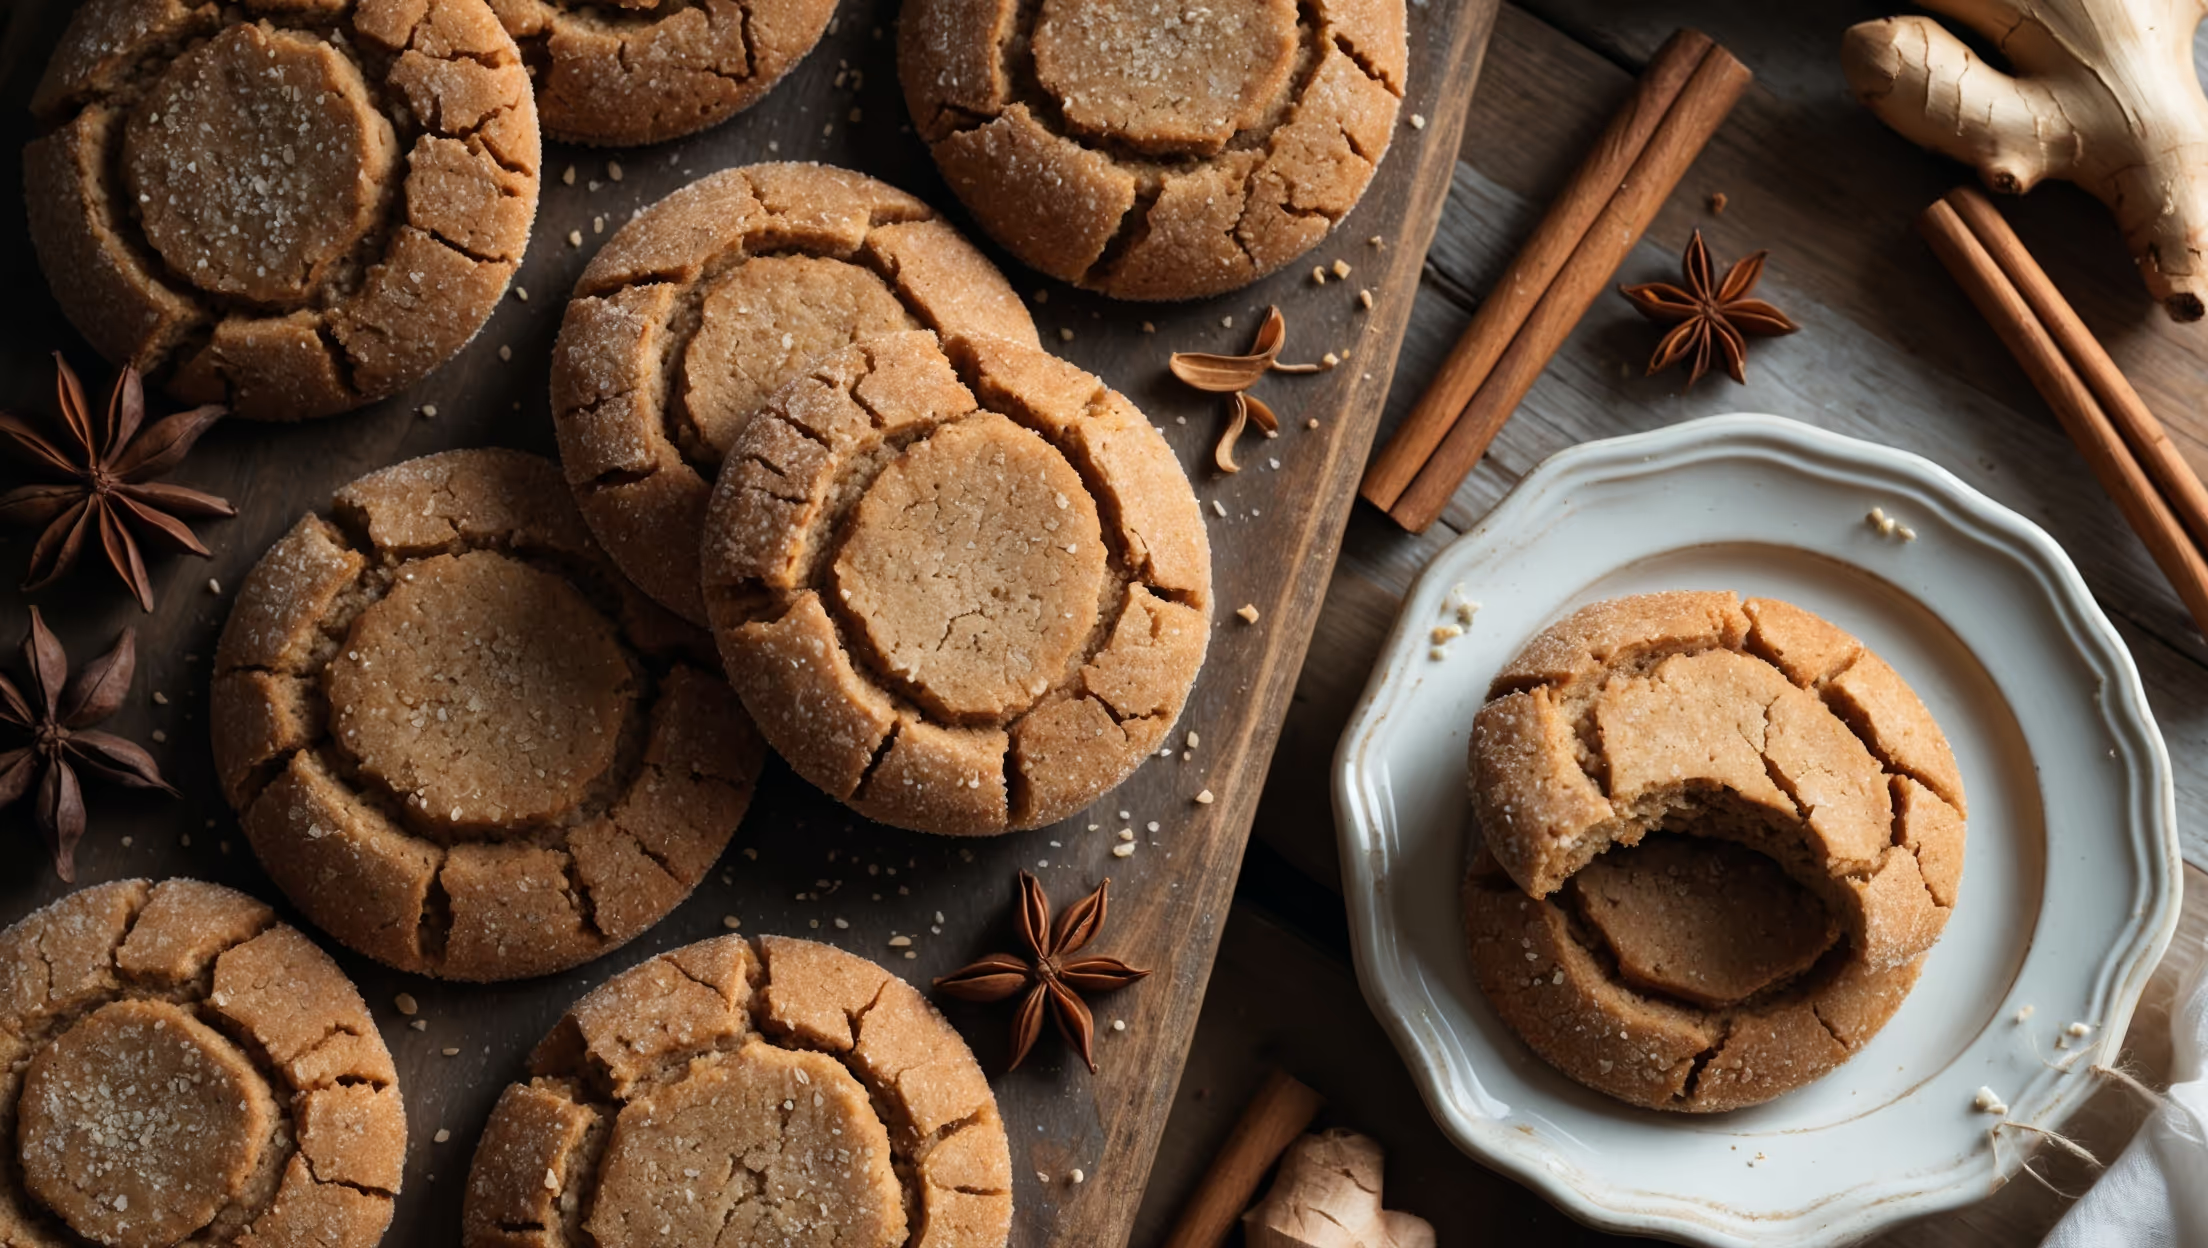
Directions
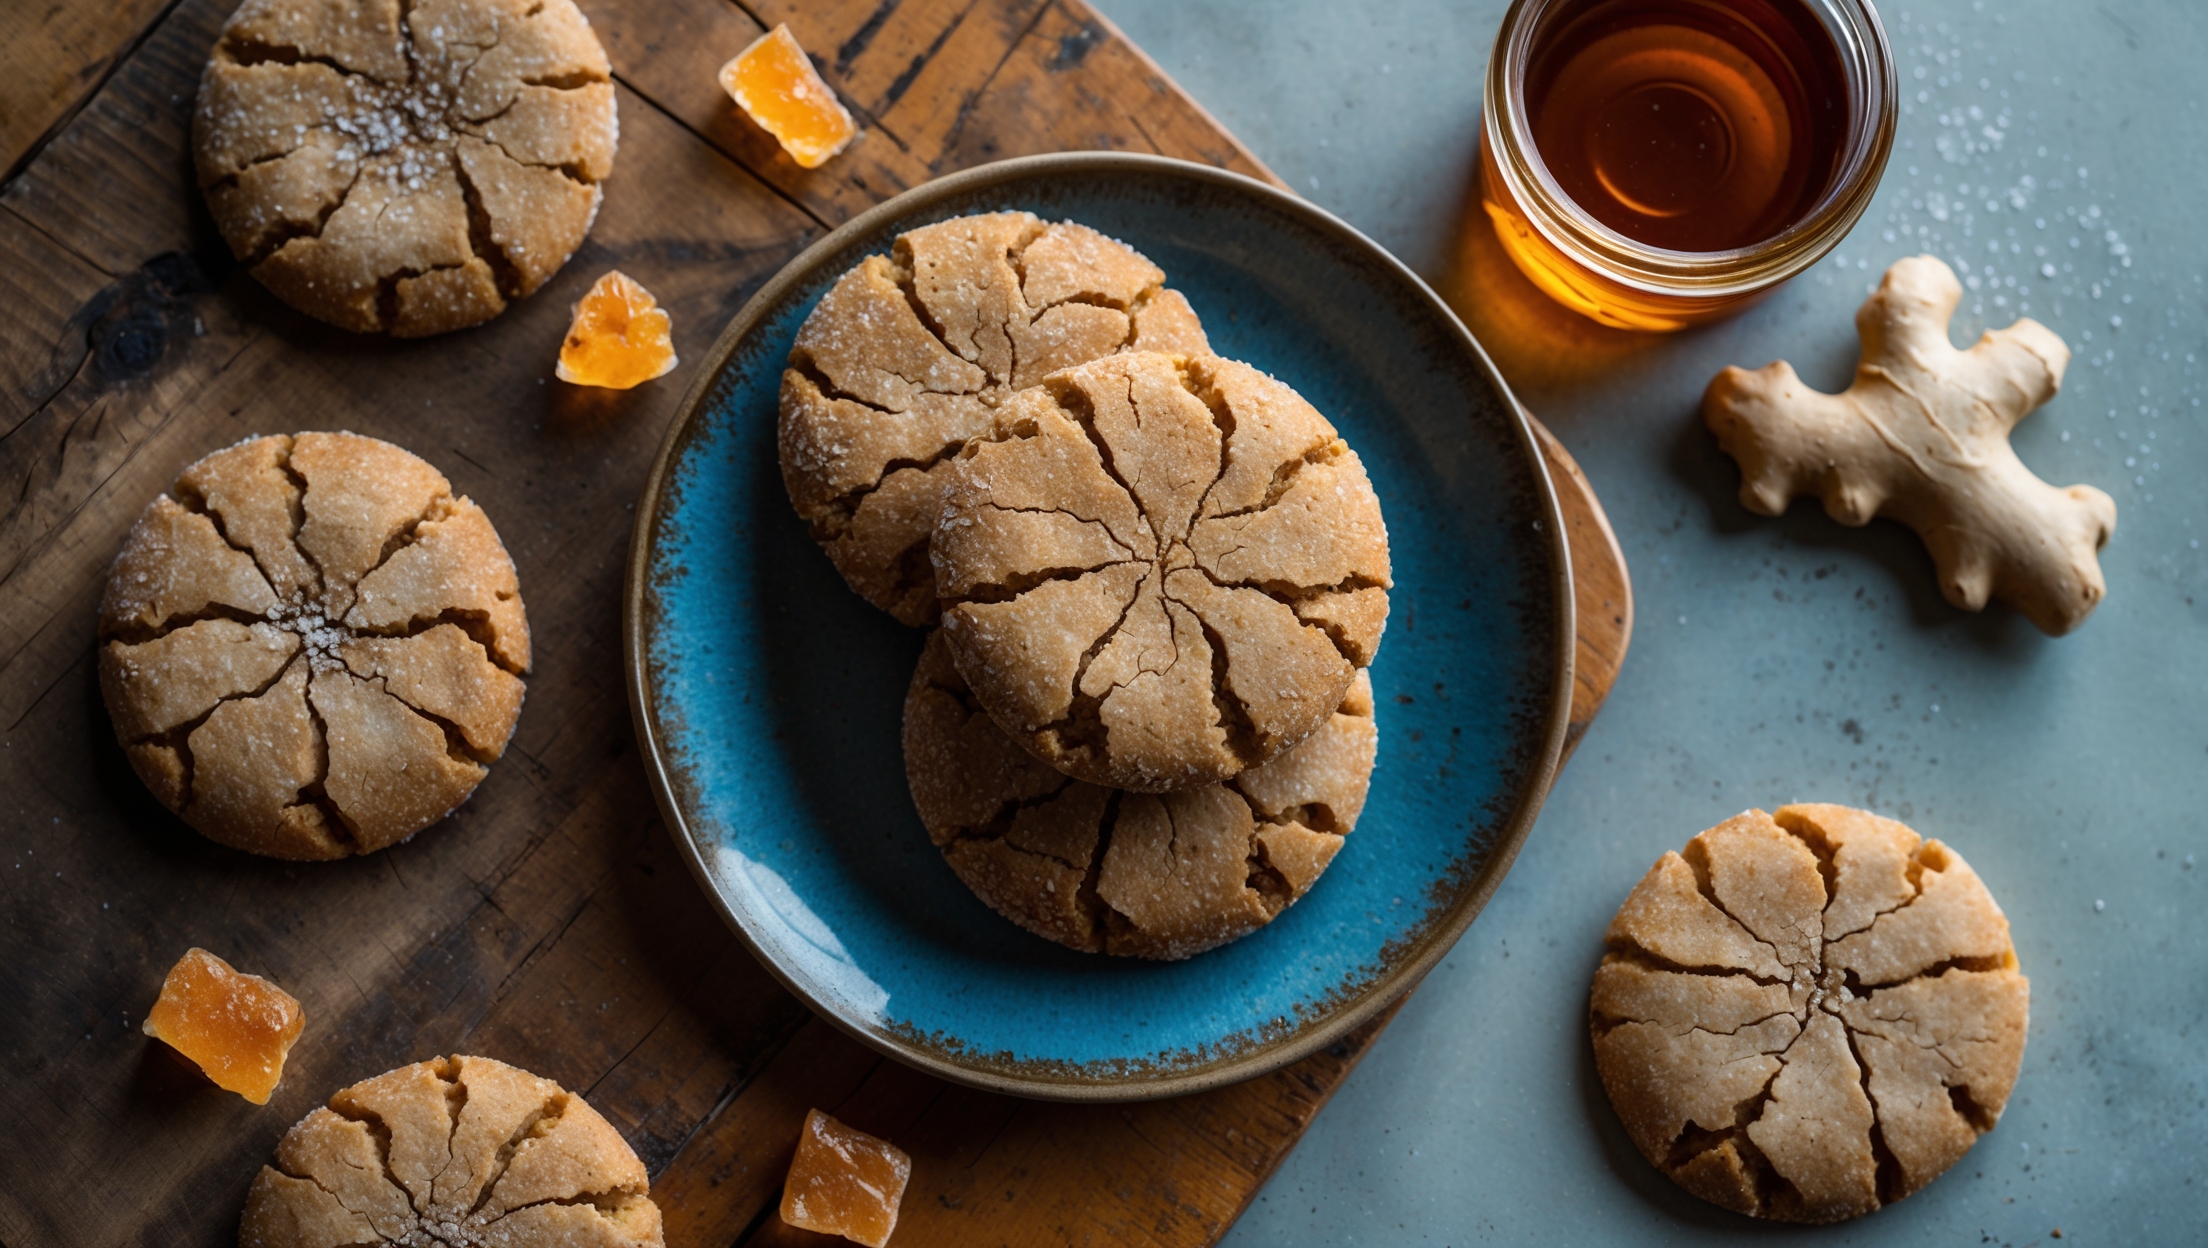
<ol class="no-list-style"><li class="MethodStepper"><h4 class="step-title">Step 1</h4>In a medium bowl, whisk together the flour, baking soda, salt, and all spices (ground ginger, cinnamon, cardamom, cloves, black pepper, and star anise if using). This thorough mixing ensures the spices will be evenly distributed throughout your cookies, giving each bite that perfect chai flavor profile.</li><li class="MethodStepper"><h4 class="step-title">Step 2</h4>In the bowl of your stand mixer fitted with the paddle attachment (or using a hand mixer), cream the softened butter with both sugars on medium-high speed for about 3 minutes until light and fluffy. This process incorporates air into the mixture, creating a foundation for cookies with the perfect texture.</li><li class="MethodStepper"><h4 class="step-title">Step 3</h4>Add the egg and beat until fully incorporated, about 1 minute. Scrape down the sides of the bowl as needed to ensure everything mixes evenly.</li><li class="MethodStepper"><h4 class="step-title">Step 4</h4>Add the freshly grated ginger, molasses, and vanilla extract to the butter mixture. Beat on medium speed until smooth and well combined. The fresh ginger adds a zingy brightness that dried ginger alone can't provide.</li><li class="MethodStepper"><h4 class="step-title">Step 5</h4>With the mixer on low speed, gradually add the flour mixture, mixing just until no dry streaks remain. Overmixing at this stage can develop too much gluten, resulting in tough cookies rather than tender ones. Fold in the chopped crystallized ginger if using.</li><li class="MethodStepper"><h4 class="step-title">Step 6</h4>Cover the dough and refrigerate for at least 1 hour, or up to 24 hours. This chilling time allows the flavors to meld and the flour to fully hydrate, while also firming up the dough so it's easier to handle and less likely to spread too much during baking.</li><li class="MethodStepper"><h4 class="step-title">Step 7</h4>When ready to bake, preheat your oven to 180°C (350°F). Line baking sheets with parchment paper. Place the extra granulated sugar in a small bowl for rolling.</li><li class="MethodStepper"><h4 class="step-title">Step 8</h4>Using a cookie scoop or tablespoon, portion the dough into 25g balls (about 1½ tablespoons each). Roll each ball between your palms to smooth, then roll in the granulated sugar until completely coated. This sugar coating will give your cookies their characteristic crackled appearance and slight crunch.</li><li class="MethodStepper"><h4 class="step-title">Step 9</h4>Place the dough balls on the prepared baking sheets, spacing them about 5cm (2 inches) apart as they will spread during baking. For thicker, chewier cookies, leave the dough balls tall; for thinner, crisper cookies, slightly flatten them with your palm.</li><li class="MethodStepper"><h4 class="step-title">Step 10</h4>Bake for 10-12 minutes, until the edges are set but the centers still look slightly soft and underdone. The cookies will continue to firm up as they cool, so removing them at this stage ensures they'll have perfectly chewy centers.</li><li class="MethodStepper"><h4 class="step-title">Step 11</h4>Allow the cookies to cool on the baking sheets for 5 minutes – they're quite delicate when hot. Then transfer to a wire rack to cool completely. As they cool, you'll see the characteristic cracking on the surface intensify, giving them that beautiful rustic appearance.</li><li class="MethodStepper"><h4 class="step-title">Step 12</h4>Store completely cooled cookies in an airtight container at room temperature for up to 5 days. To maintain maximum chewiness, you can add a slice of bread to the container (replace it when it becomes stale). For longer storage, these cookies freeze beautifully for up to 3 months.</li></ol>