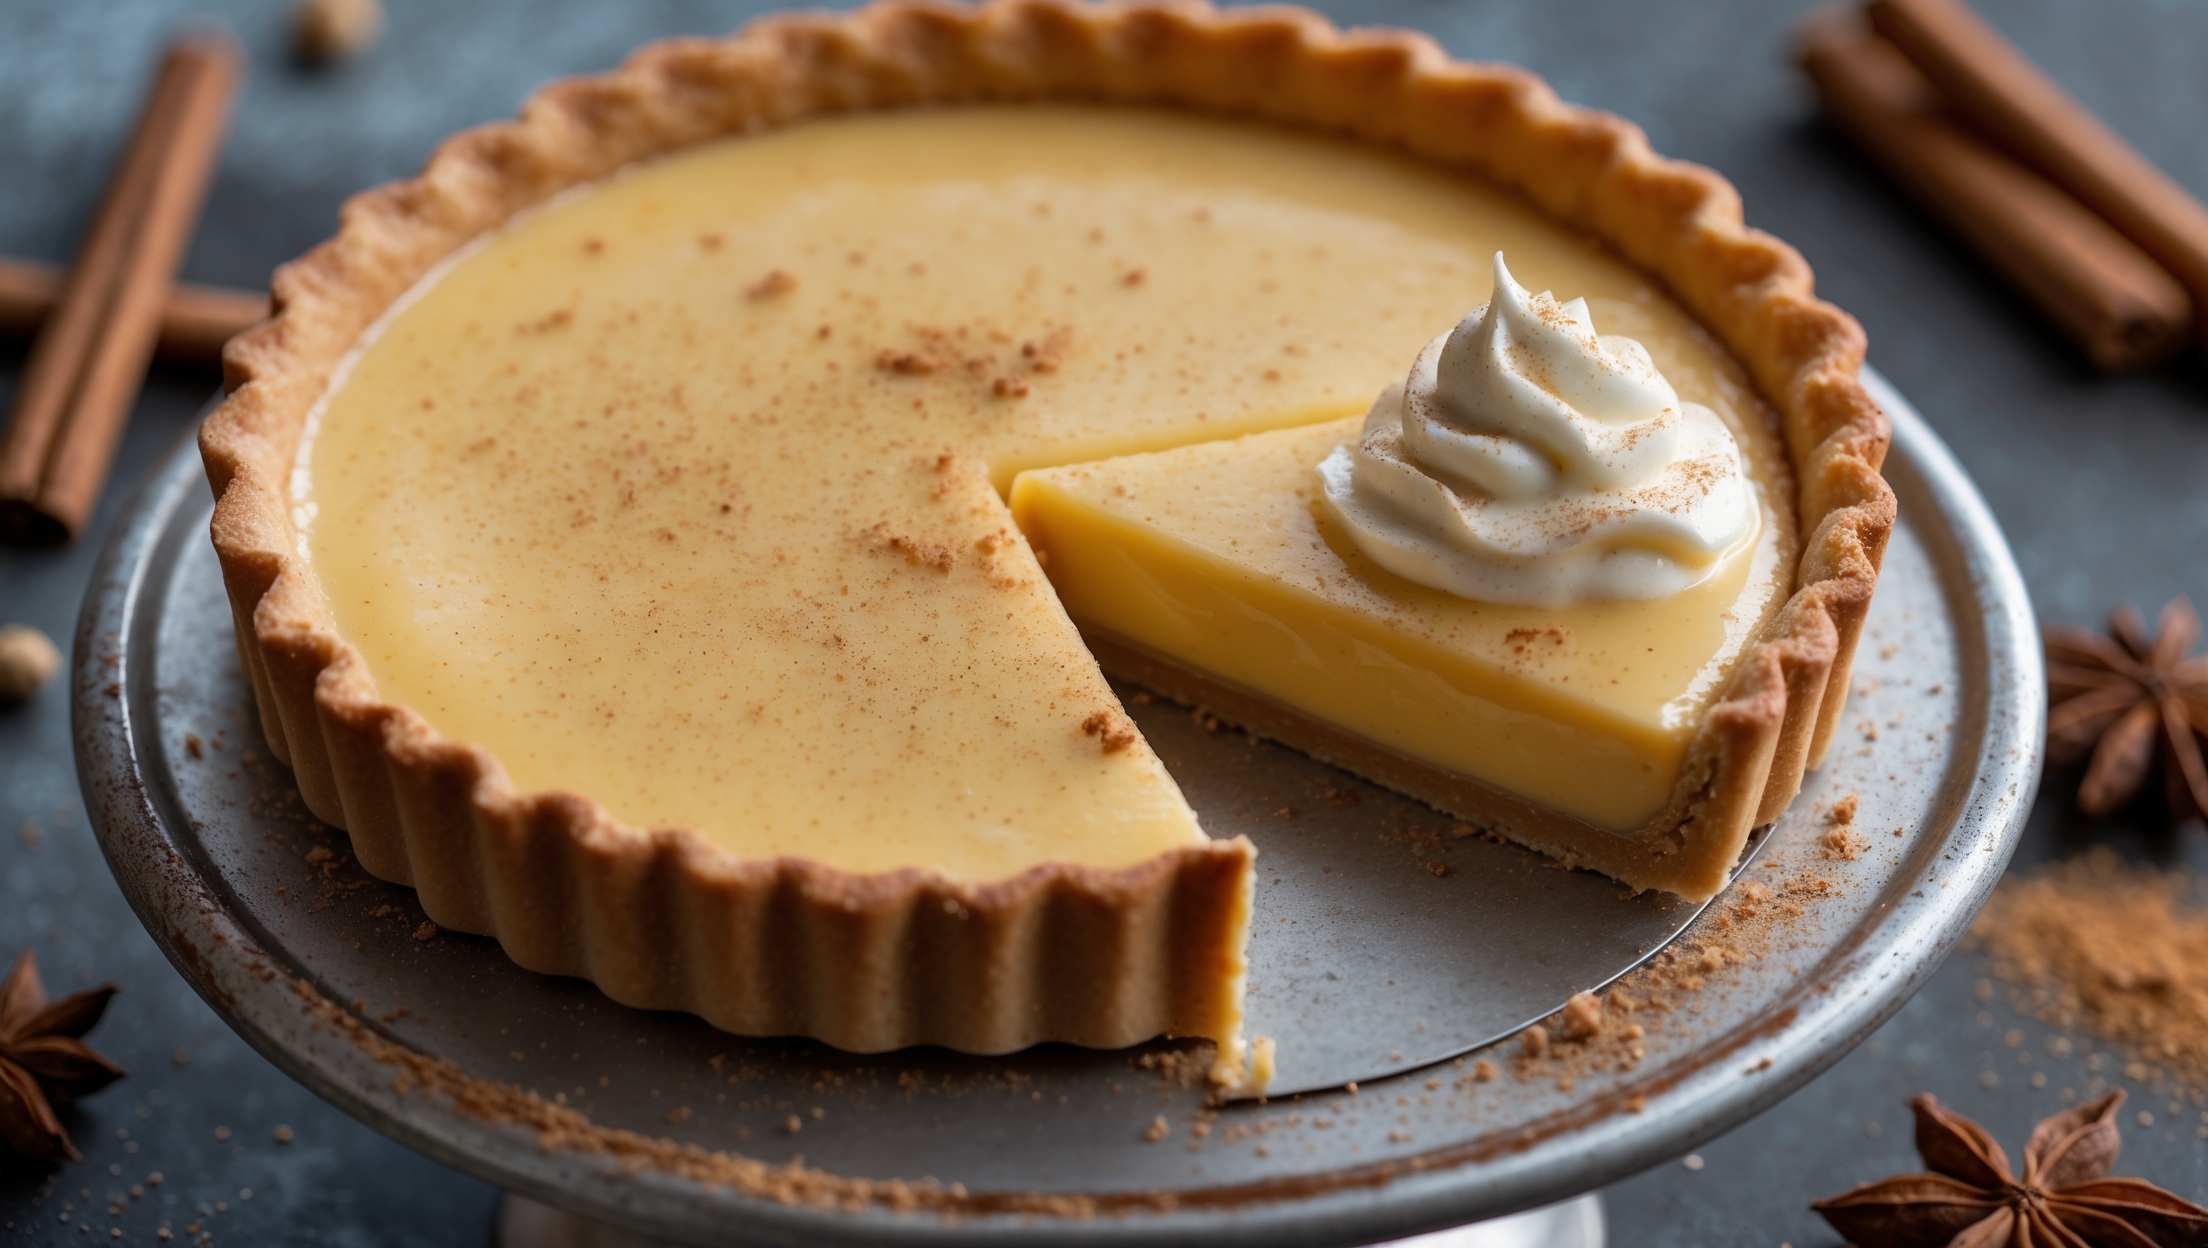
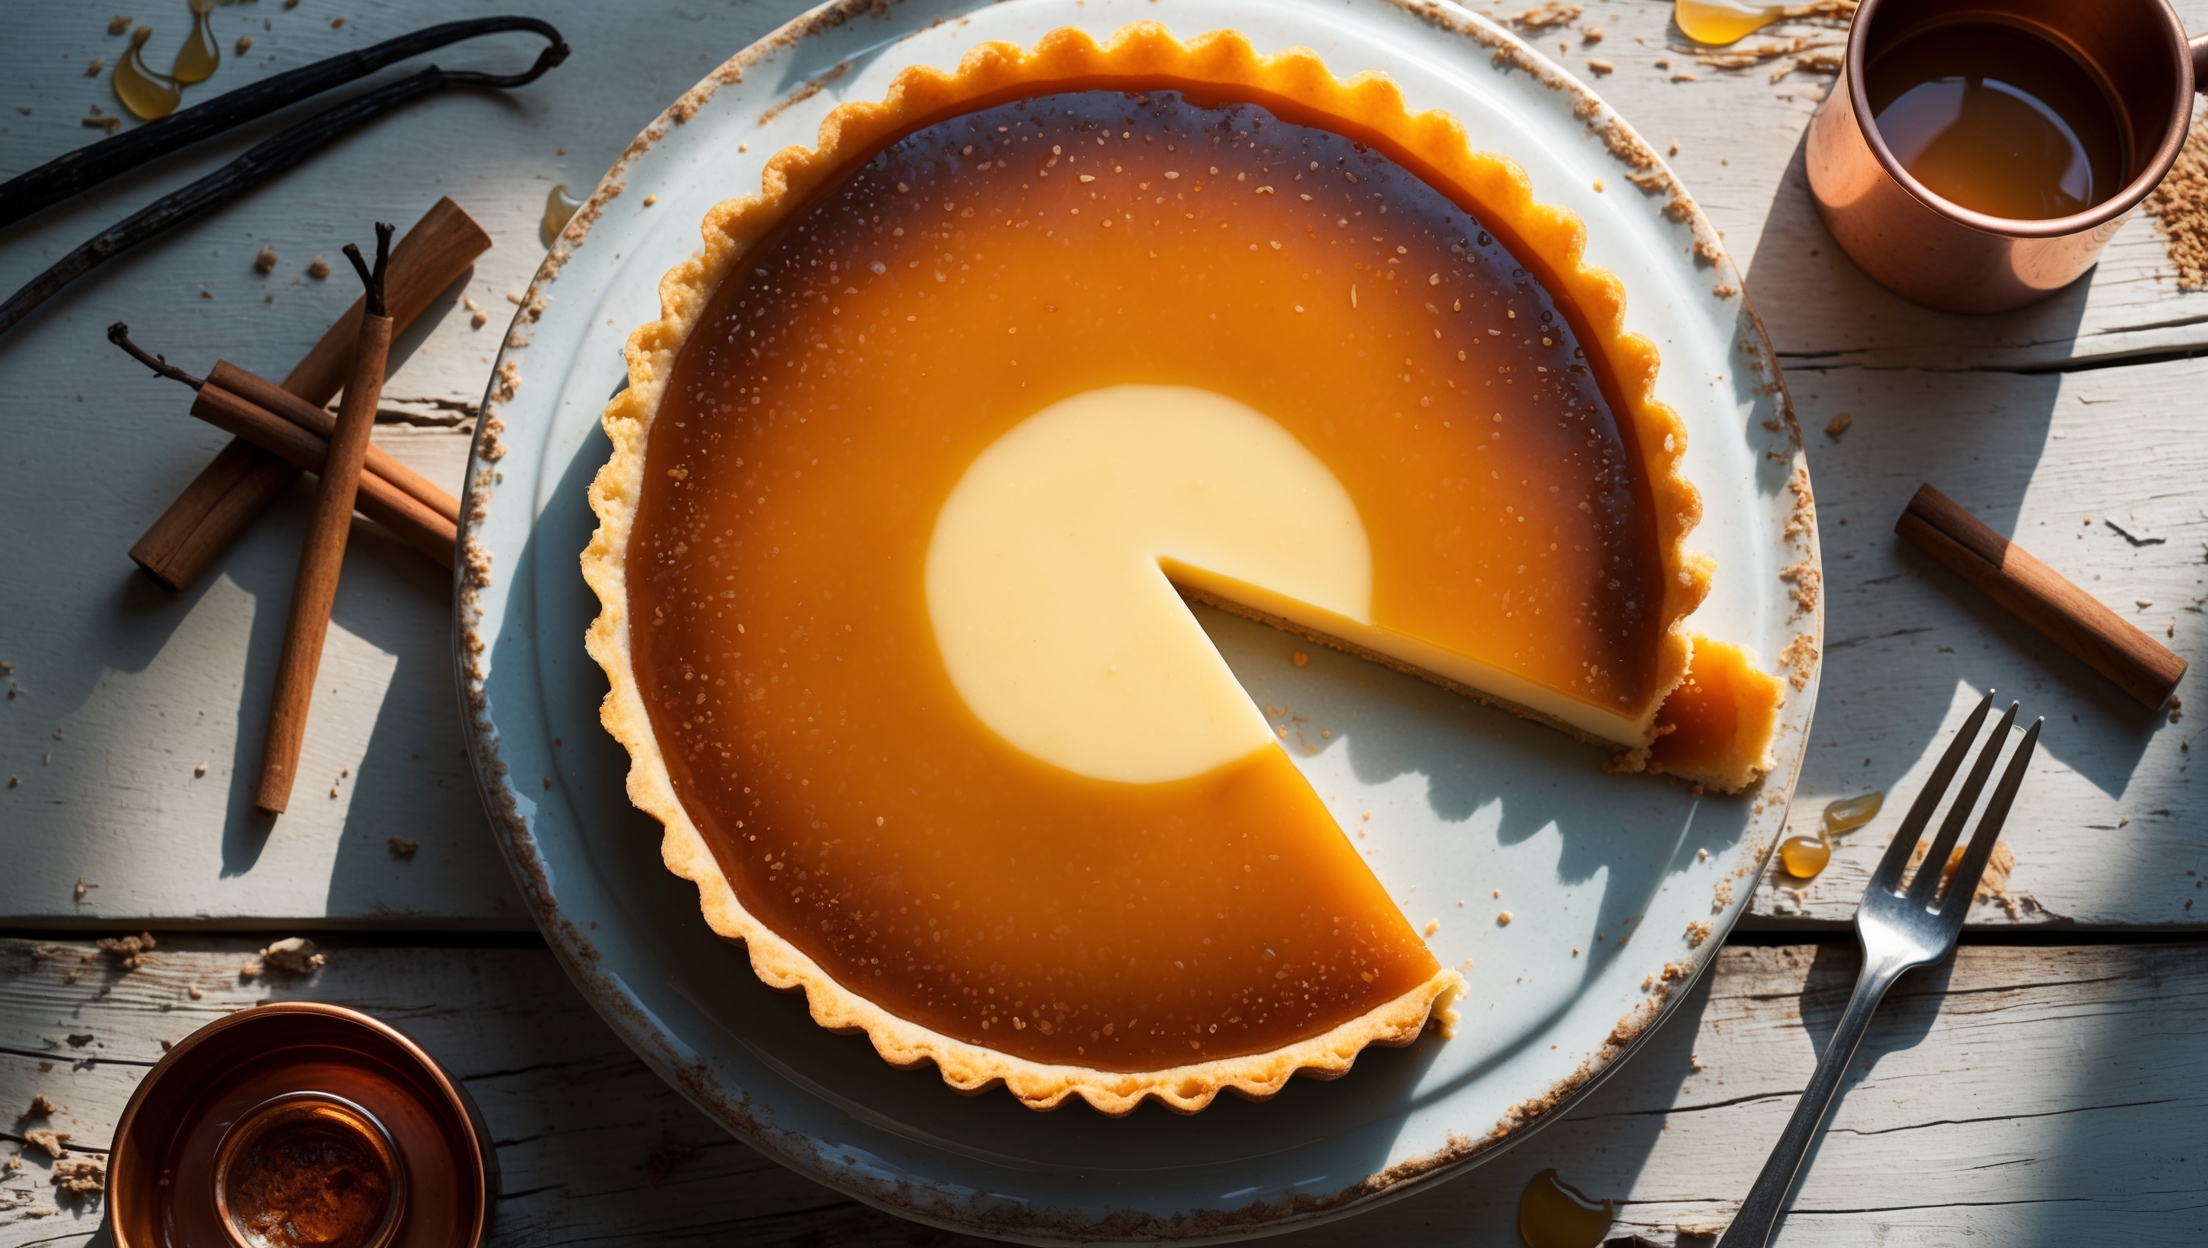
Caramel Custard Tart Recipe
Ingredients
Equipment
Directions
FAQs
Find answers to your most pressing questions about this delicious recipe right here.
This tart requires plain flour, unsalted butter, caster sugar, eggs, whole milk, vanilla, cornflour, and granulated sugar. The three components are a buttery shortcrust pastry base, silky vanilla-infused custard filling, and a crackling caramel top layer.
Learn how to cook Caramel Custard Tart by first blind-baking a shortcrust pastry shell, then creating a silky vanilla custard filling that's baked until just set. The final step involves making a glossy amber caramel topping by cooking sugar until it reaches the perfect colour, then pouring it over the cooled tart to create that signature crackling top.
Cracking can occur if the caramel layer is too thick or if the tart is refrigerated too long. A sticky texture typically means the caramel didn't reach a high enough temperature. For perfect caramel, cook to a deep amber colour (around 170°C) and pour in a thin, even layer.
Prevent soggy bottoms by properly blind baking the pastry case until it's golden and feels dry to touch. Pricking the base with a fork, using baking beans, and allowing the pastry case to cool slightly before adding the custard filling also helps create a barrier against moisture.
Yes! Make the pastry case and custard filling a day ahead, then add the caramel topping 2-3 hours before serving. The caramel layer is best on the day it's made, as it maintains that perfect crack when cut. Store in the refrigerator but bring to room temperature before serving.
Custard Tarts
Try following recommended recipes