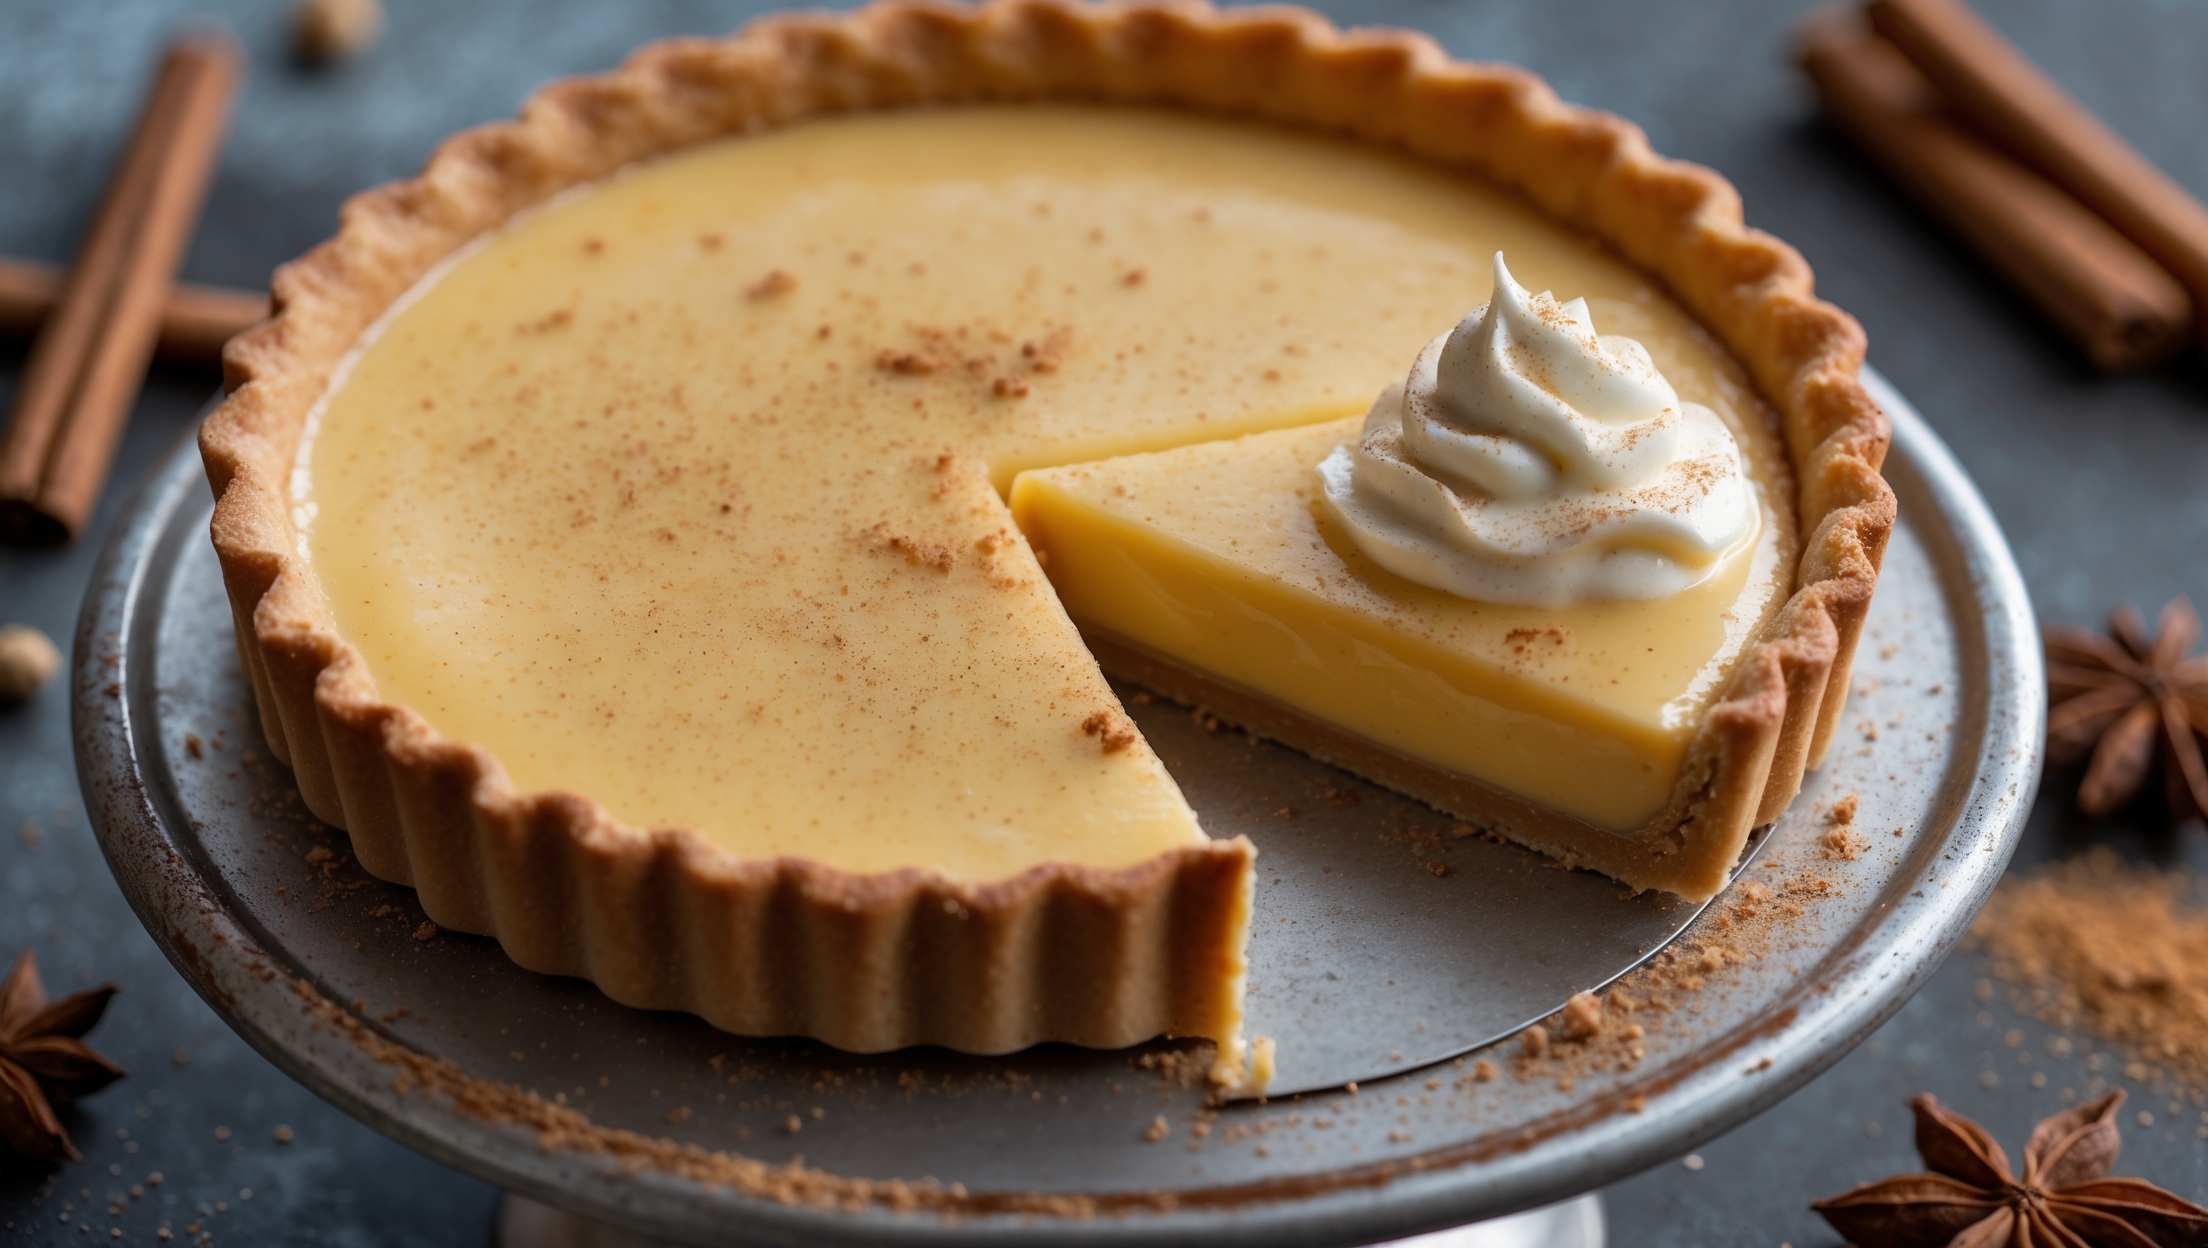
Brown Sugar Custard Tart Recipe

Ingredients
Equipment
Directions
FAQs
Find answers to your most pressing questions about this delicious recipe right here.
This tart requires plain flour, cold butter, icing sugar, eggs, double cream, whole milk, light and dark brown sugar, vanilla extract, nutmeg, and salt. The brown sugars create a delicious caramel flavour, while the combination of cream and milk ensures a silky smooth custard texture.
Learn how to cook Brown Sugar Custard Tart by first creating a buttery shortcrust pastry, blind baking it until golden, then filling with a silky brown sugar custard mixture. The key is baking the filled tart until just set with a slight wobble in the centre (around 75°C internally), then allowing it to cool completely for the perfect caramel-infused dessert with a crisp pastry base.
Cracks in custard tarts typically occur from overbaking or baking at too high a temperature. The perfect custard should be removed from the oven when it still has a slight wobble in the centre. Using a water bath (bain-marie) can also help prevent cracking by creating a gentle, even heat environment.
While a loose-bottomed tin makes removal easier, you can use a regular tart tin or pie dish. Line it with baking parchment with overhang to create "handles" for lifting. Alternatively, serve directly from the dish – the taste will be identical even if presentation differs slightly.
You can prepare this tart up to 3 days in advance, storing it covered in the refrigerator. The pastry will soften slightly over time, but the flavours actually improve after 24 hours as they meld together. For the best texture, bring to room temperature before serving.
Custard Tarts
Try following recommended recipes