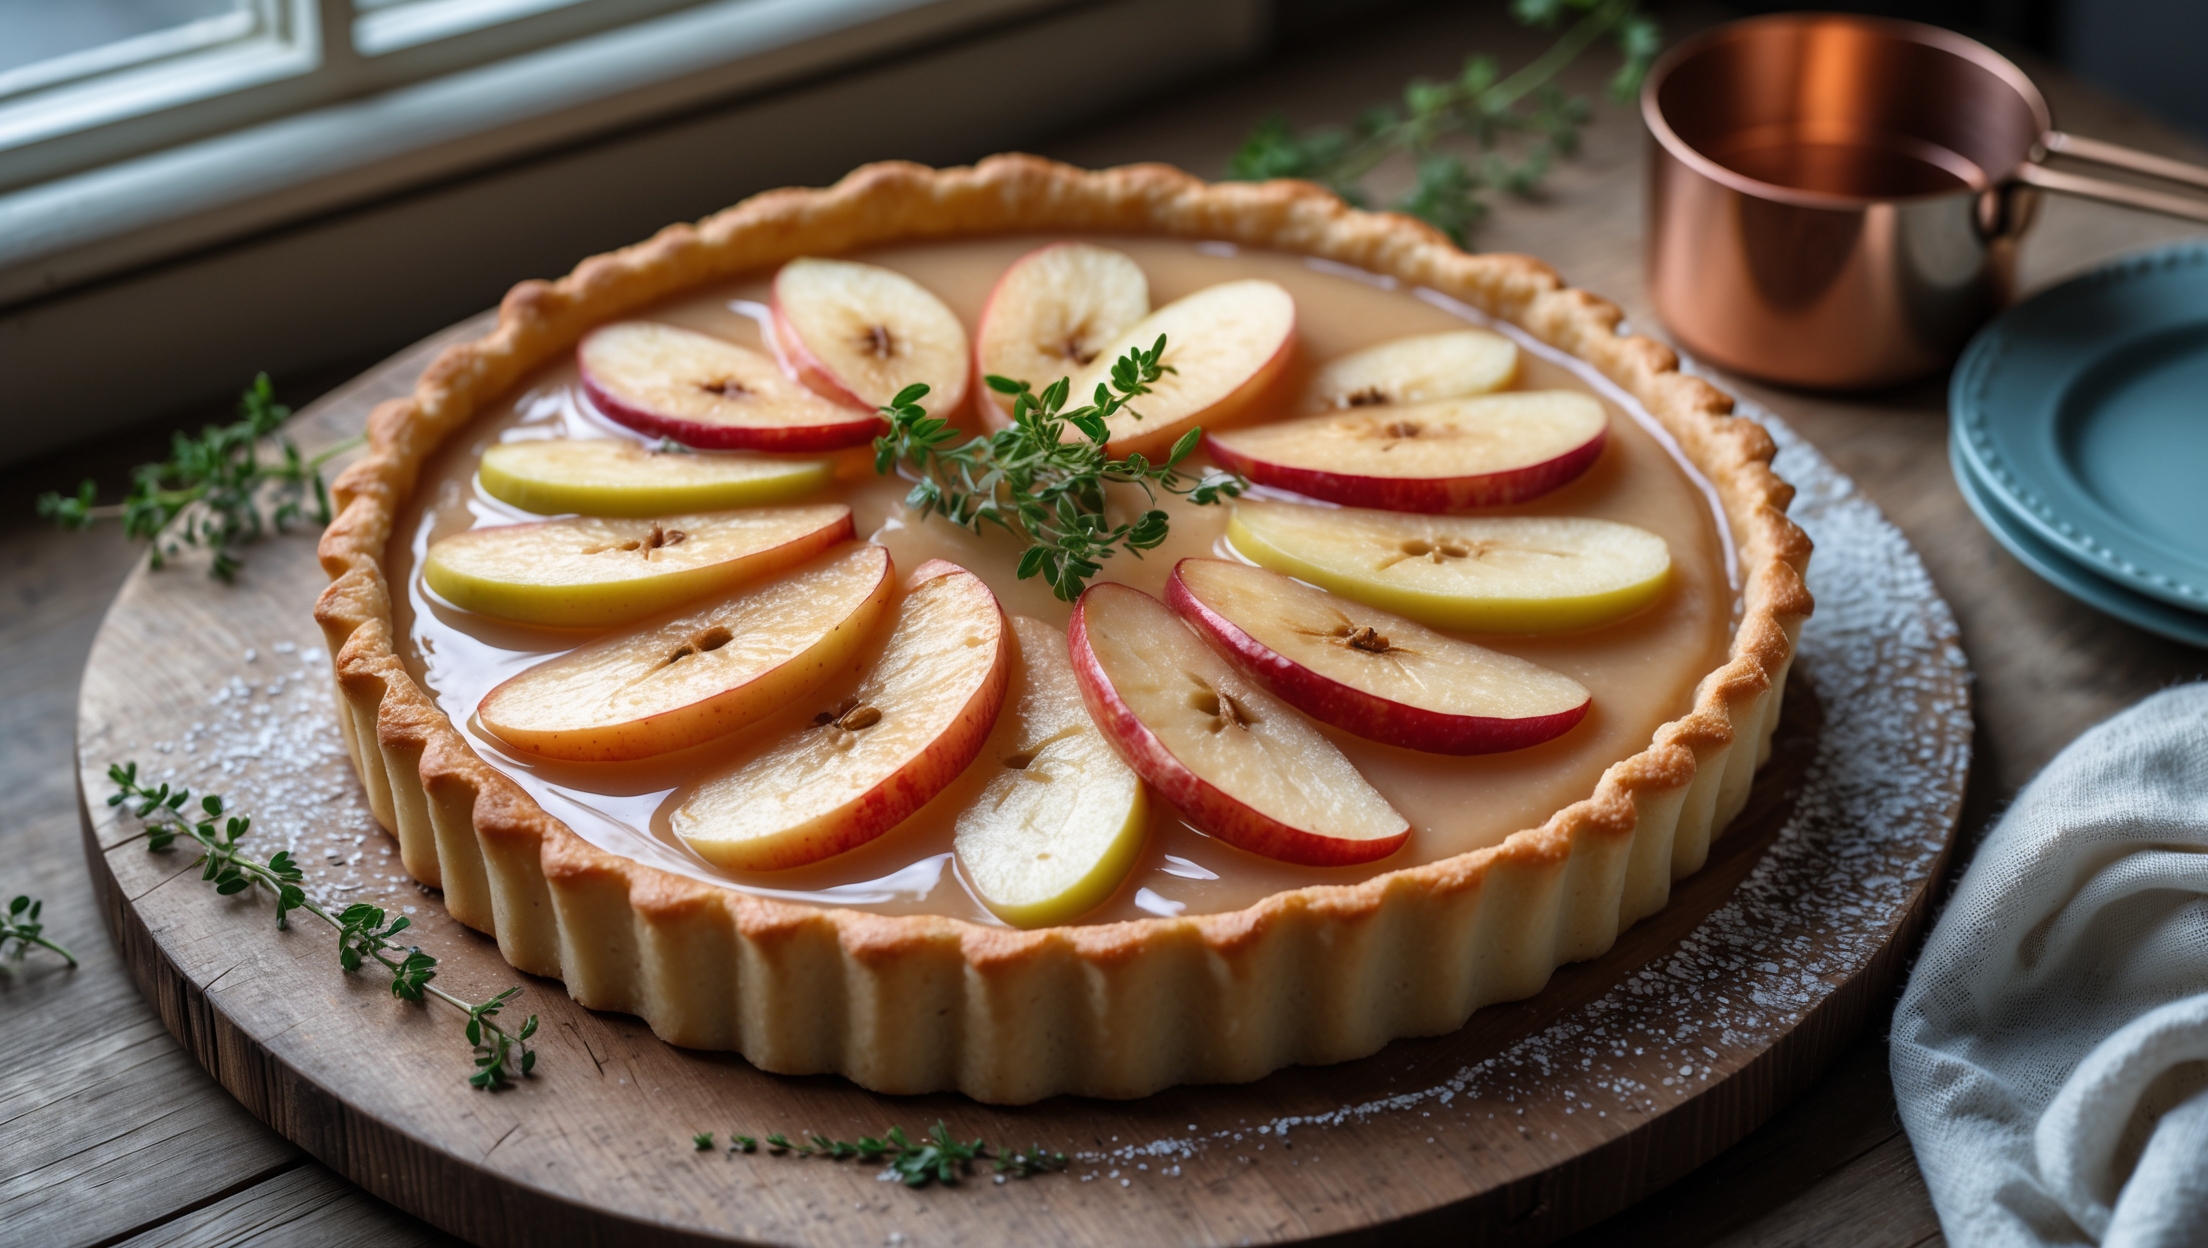
Directions
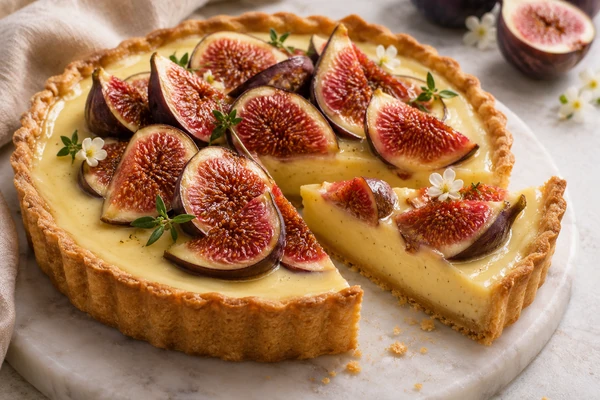
<ol class="no-list-style"><li class="MethodStepper"><h4 class="step-title">Step 1</h4>Begin by making the pastry. In a large bowl, combine the flour, icing sugar and salt. Add the cold cubed butter and rub it into the flour mixture using your fingertips until it resembles breadcrumbs. The cold butter will create pockets of steam during baking, resulting in a flaky texture.</li><li class="MethodStepper"><h4 class="step-title">Step 2</h4>Mix the egg yolk with 2 tablespoons of ice-cold water, then drizzle it into the flour mixture. Using a knife, cut through the mixture until it starts to come together, adding the remaining tablespoon of water if needed. The dough should just hold together when pressed – be careful not to overwork it or the pastry will become tough.</li><li class="MethodStepper"><h4 class="step-title">Step 3</h4>Gently shape the dough into a flat disc, wrap in cling film and refrigerate for at least 30 minutes. This resting period allows the gluten to relax and prevents shrinkage during baking, while the butter firms up, creating a better flaky texture.</li><li class="MethodStepper"><h4 class="step-title">Step 4</h4>Preheat your oven to 180°C (160°C fan)/350°F. Roll out the chilled pastry on a lightly floured surface to about 3mm thickness, making sure it's large enough to line your tart tin with some overhang. Carefully drape the pastry over your rolling pin and transfer it to the tin, gently pressing it into the corners without stretching the dough.</li><li class="MethodStepper"><h4 class="step-title">Step 5</h4>Trim the excess pastry, leaving a slight overhang to account for shrinkage. Prick the base all over with a fork, then line with parchment paper and fill with baking beans or rice. Blind bake for 15 minutes, then remove the beans and paper and bake for another 5-8 minutes until the pastry is dry and just starting to turn golden. The initial blind bake with weights prevents the pastry from puffing up.</li><li class="MethodStepper"><h4 class="step-title">Step 6</h4>While the pastry case cools slightly, prepare the custard filling. In a large bowl, whisk together the eggs and caster sugar until pale and slightly thickened. Heat the double cream in a saucepan until it's just about to simmer (do not boil), then remove from heat.</li><li class="MethodStepper"><h4 class="step-title">Step 7</h4>Gradually pour the warm cream into the egg mixture, whisking continuously to prevent the eggs from scrambling. This tempering technique gradually raises the temperature of the eggs without cooking them. Add the blood orange zest, juice, and vanilla extract, then whisk to combine.</li><li class="MethodStepper"><h4 class="step-title">Step 8</h4>Strain the custard mixture through a fine-mesh sieve into a jug to remove any egg lumps or zest pieces that might affect the silky texture of your finished custard. This step ensures your custard will be perfectly smooth.</li><li class="MethodStepper"><h4 class="step-title">Step 9</h4>Place the tart shell on a baking sheet (this makes it easier to transfer to the oven without spilling). Pour the strained custard into the warm pastry case, filling it about 4/5 of the way up – the custard will expand slightly as it bakes.</li><li class="MethodStepper"><h4 class="step-title">Step 10</h4>Carefully transfer to the oven and bake for 25-30 minutes, or until the custard is just set with a slight wobble in the center. It should not be liquid but should have a gentle tremor like set jelly when gently shaken. The custard will continue to set as it cools.</li><li class="MethodStepper"><h4 class="step-title">Step 11</h4>Remove from the oven and allow to cool completely at room temperature, then refrigerate for at least 2 hours or overnight to fully set the custard. Patience here is key for achieving the perfect sliceable texture.</li><li class="MethodStepper"><h4 class="step-title">Step 12</h4>When ready to serve, arrange the blood orange slices in an overlapping pattern on top of the custard. Try to remove as much pith as possible from your oranges and pat the slices dry with paper towels to prevent excess moisture from making the tart soggy.</li><li class="MethodStepper"><h4 class="step-title">Step 13</h4>Heat the apricot jam with the water in a small saucepan until melted and smooth. Using a pastry brush, gently brush this glaze over the blood orange slices to give them a beautiful shine and to preserve their vibrant color.</li><li class="MethodStepper"><h4 class="step-title">Step 14</h4>Dust lightly with icing sugar just before serving for an elegant finish. This tart is best enjoyed on the day it's assembled, but the pastry case and custard can be prepared a day ahead and stored separately until ready to assemble.</li></ol>