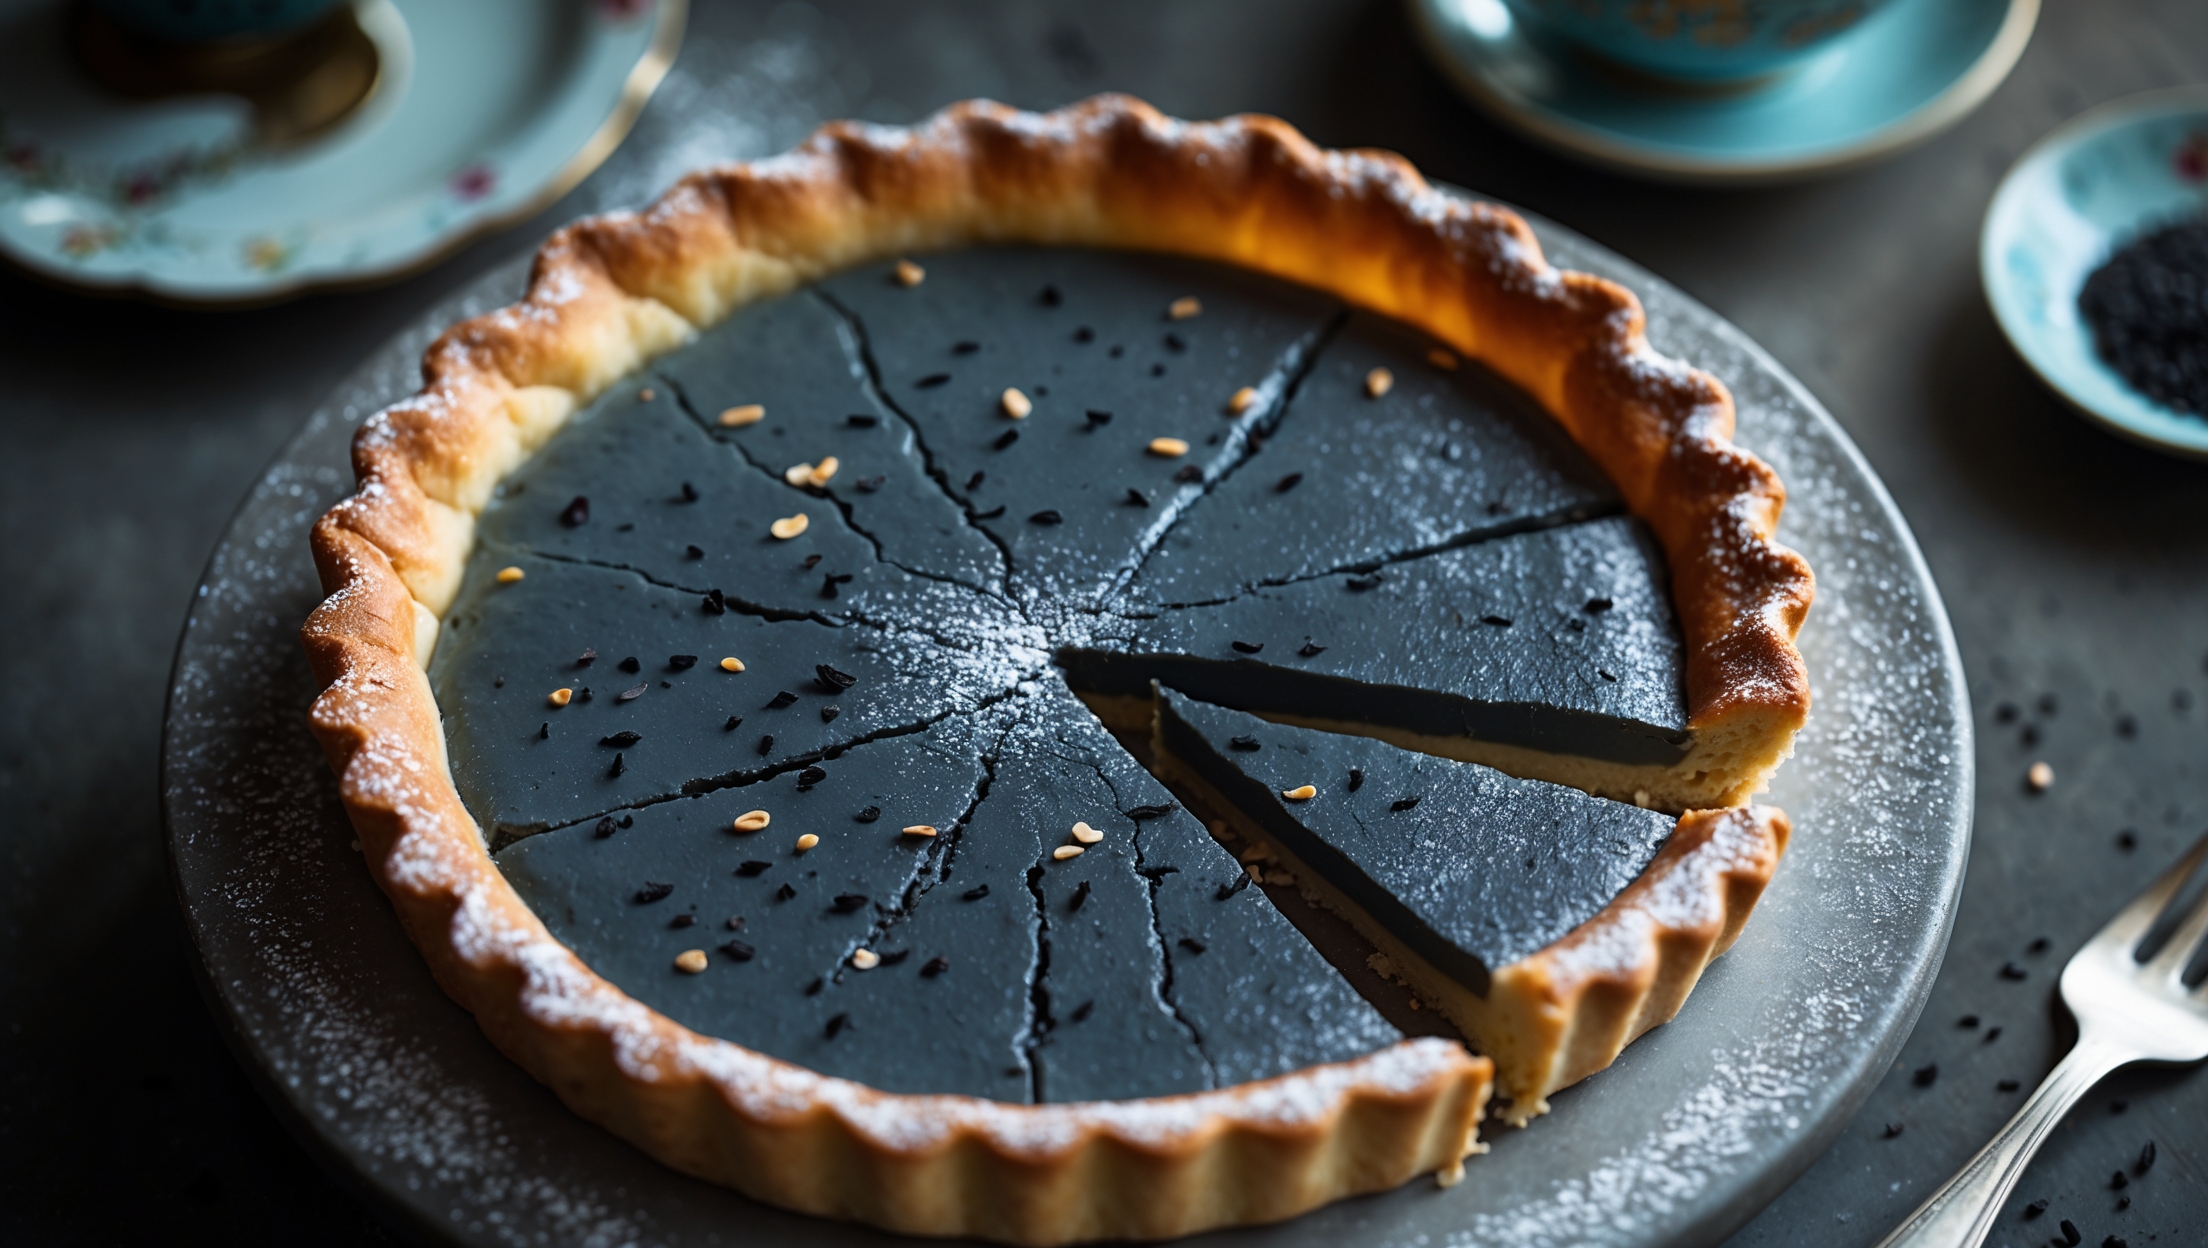
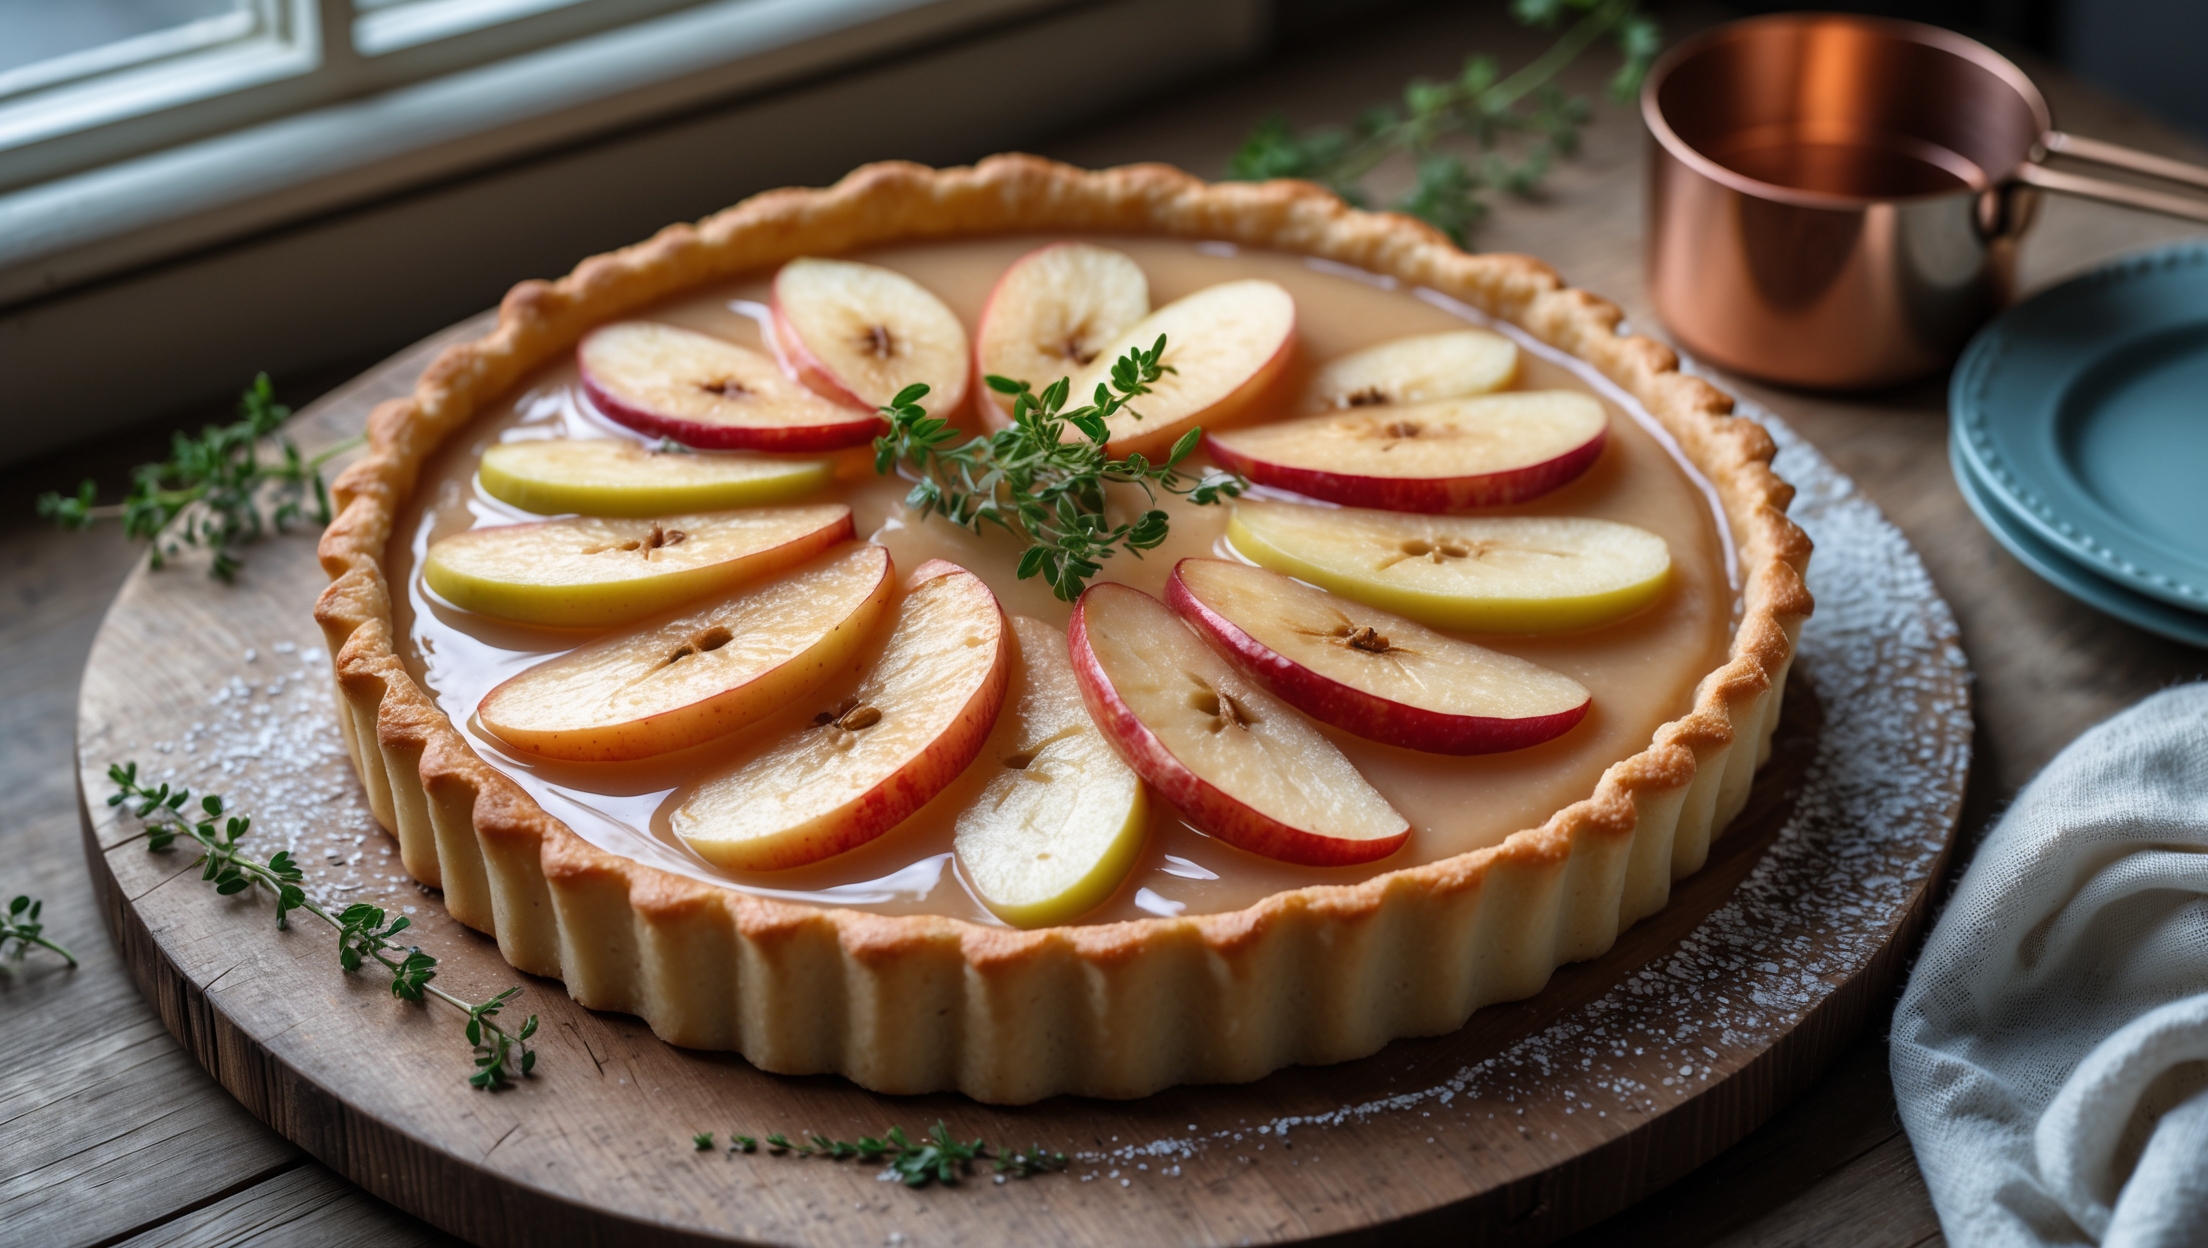
Directions
<ol class="no-list-style"> <li class="MethodStepper"> <h4 class="step-title">Step 1</h4> For the pastry, place the flour, salt and cubed cold butter in a food processor and pulse until the mixture resembles fine breadcrumbs. The cold butter creates small pockets of fat that will steam during baking, creating flaky layers in your pastry. If making by hand, rub the butter into the flour using your fingertips, keeping everything as cool as possible. </li> <li class="MethodStepper"> <h4 class="step-title">Step 2</h4> Add the icing sugar and pulse briefly to combine. Then add the egg yolk and gradually add the ice-cold water, 1 tablespoon at a time, pulsing until the dough just comes together. Be careful not to add too much water as this can make the pastry tough - the dough should just hold together when pinched. </li> <li class="MethodStepper"> <h4 class="step-title">Step 3</h4> Turn the dough onto a lightly floured surface and gently bring it together into a disc without kneading (which would develop gluten and make the pastry tough). Wrap in cling film and chill in the refrigerator for at least 30 minutes. This resting period is crucial as it relaxes the gluten and firms up the butter, preventing pastry shrinkage during baking. </li> <li class="MethodStepper"> <h4 class="step-title">Step 4</h4> Preheat your oven to 190°C (170°C fan). Roll out the chilled pastry on a lightly floured surface to about 3-4mm thickness, creating a circle large enough to line your 23cm tart tin. Roll the pastry over your rolling pin to help transfer it to the tin. Gently press the pastry into the corners without stretching it, then trim the excess, leaving a slight overhang to allow for shrinkage. </li> <li class="MethodStepper"> <h4 class="step-title">Step 5</h4> Prick the base all over with a fork to prevent air bubbles forming. Line the pastry case with baking parchment and fill with baking beans or rice. This blind baking process ensures your pastry base cooks properly without puffing up. Chill for another 15 minutes to prevent shrinkage. </li> <li class="MethodStepper"> <h4 class="step-title">Step 6</h4> Bake the pastry case blind for 15 minutes, then remove the parchment and baking beans. Return to the oven for another 5-8 minutes until the base is pale golden and feels dry to the touch. If the edges are browning too quickly, cover them with foil. Remove from the oven and trim any excess pastry with a sharp knife. Lower the oven temperature to 160°C (140°C fan). </li> <li class="MethodStepper"> <h4 class="step-title">Step 7</h4> While the pastry cools slightly, prepare the custard filling. In a medium saucepan, heat the milk with the vanilla pod and seeds (or vanilla bean paste) until just below boiling point. Remove from heat and let infuse for 5 minutes before removing the vanilla pod. </li> <li class="MethodStepper"> <h4 class="step-title">Step 8</h4> In a large bowl, whisk together the egg yolks and caster sugar until pale and creamy. Add the cornflour and whisk until smooth. The cornflour is essential as it stabilizes the custard, preventing it from curdling when heated and giving it a silky-smooth texture. </li> <li class="MethodStepper"> <h4 class="step-title">Step 9</h4> Gradually pour the warm milk into the egg mixture, whisking constantly to prevent scrambling the eggs. Return the entire mixture to the saucepan and cook over medium-low heat, stirring continuously with a wooden spoon or heatproof spatula. The custard will thicken quite suddenly, so don't leave it unattended! Cook until the custard coats the back of the spoon and a finger drawn through it leaves a clear path. </li> <li class="MethodStepper"> <h4 class="step-title">Step 10</h4> Remove from heat and stir in the butter until melted and incorporated, which adds richness and gives the custard a beautiful sheen. Pass the custard through a fine-mesh sieve into a clean bowl to ensure perfect smoothness. Cover the surface directly with cling film to prevent a skin forming and allow to cool for 10 minutes. </li> <li class="MethodStepper"> <h4 class="step-title">Step 11</h4> Pour the slightly cooled custard into the baked pastry case, smoothing the surface with an offset spatula. Bake for 20-25 minutes until the custard is set but still has a slight wobble in the center - it will continue to set as it cools. The custard should reach 75°C on a digital thermometer if you want to be precise. </li> <li class="MethodStepper"> <h4 class="step-title">Step 12</h4> Allow the tart to cool completely at room temperature, then chill in the refrigerator for at least 2 hours or overnight to fully set the custard. This patience will be rewarded with clean slices when serving. </li> <li class="MethodStepper"> <h4 class="step-title">Step 13</h4> Just before serving, arrange the fresh blackberries on top of the custard in concentric circles or your preferred pattern. If using blackberries of varying sizes, place larger ones around the edge and smaller ones in the center for visual appeal. </li> <li class="MethodStepper"> <h4 class="step-title">Step 14</h4> For the glaze, warm the apricot jam with water in a small saucepan until completely melted. Pass through a fine sieve to remove any fruit pieces, then use a pastry brush to gently apply the glaze to the blackberries. This gives them a beautiful shine and helps preserve their freshness. </li> <li class="MethodStepper"> <h4 class="step-title">Step 15</h4> Refrigerate the finished tart for 30 minutes to set the glaze, then carefully remove from the tin. Serve chilled. The tart is best enjoyed on the day of assembly but will keep for up to 2 days in the refrigerator. The contrast between the crisp pastry, creamy custard, and juicy blackberries makes every bite a perfect balance of textures and flavors. </li> </ol>