Artichoke and Parmesan Quiche Recipe

A savory, custardy quiche filled with tender artichoke hearts and nutty Parmesan cheese, encased in buttery, flaky shortcrust pastry.
Difficulty:
Intermediate
Prep Time:
30 mins
Cook Time:
45 mins
Serves:
1 quiche (8 slices)
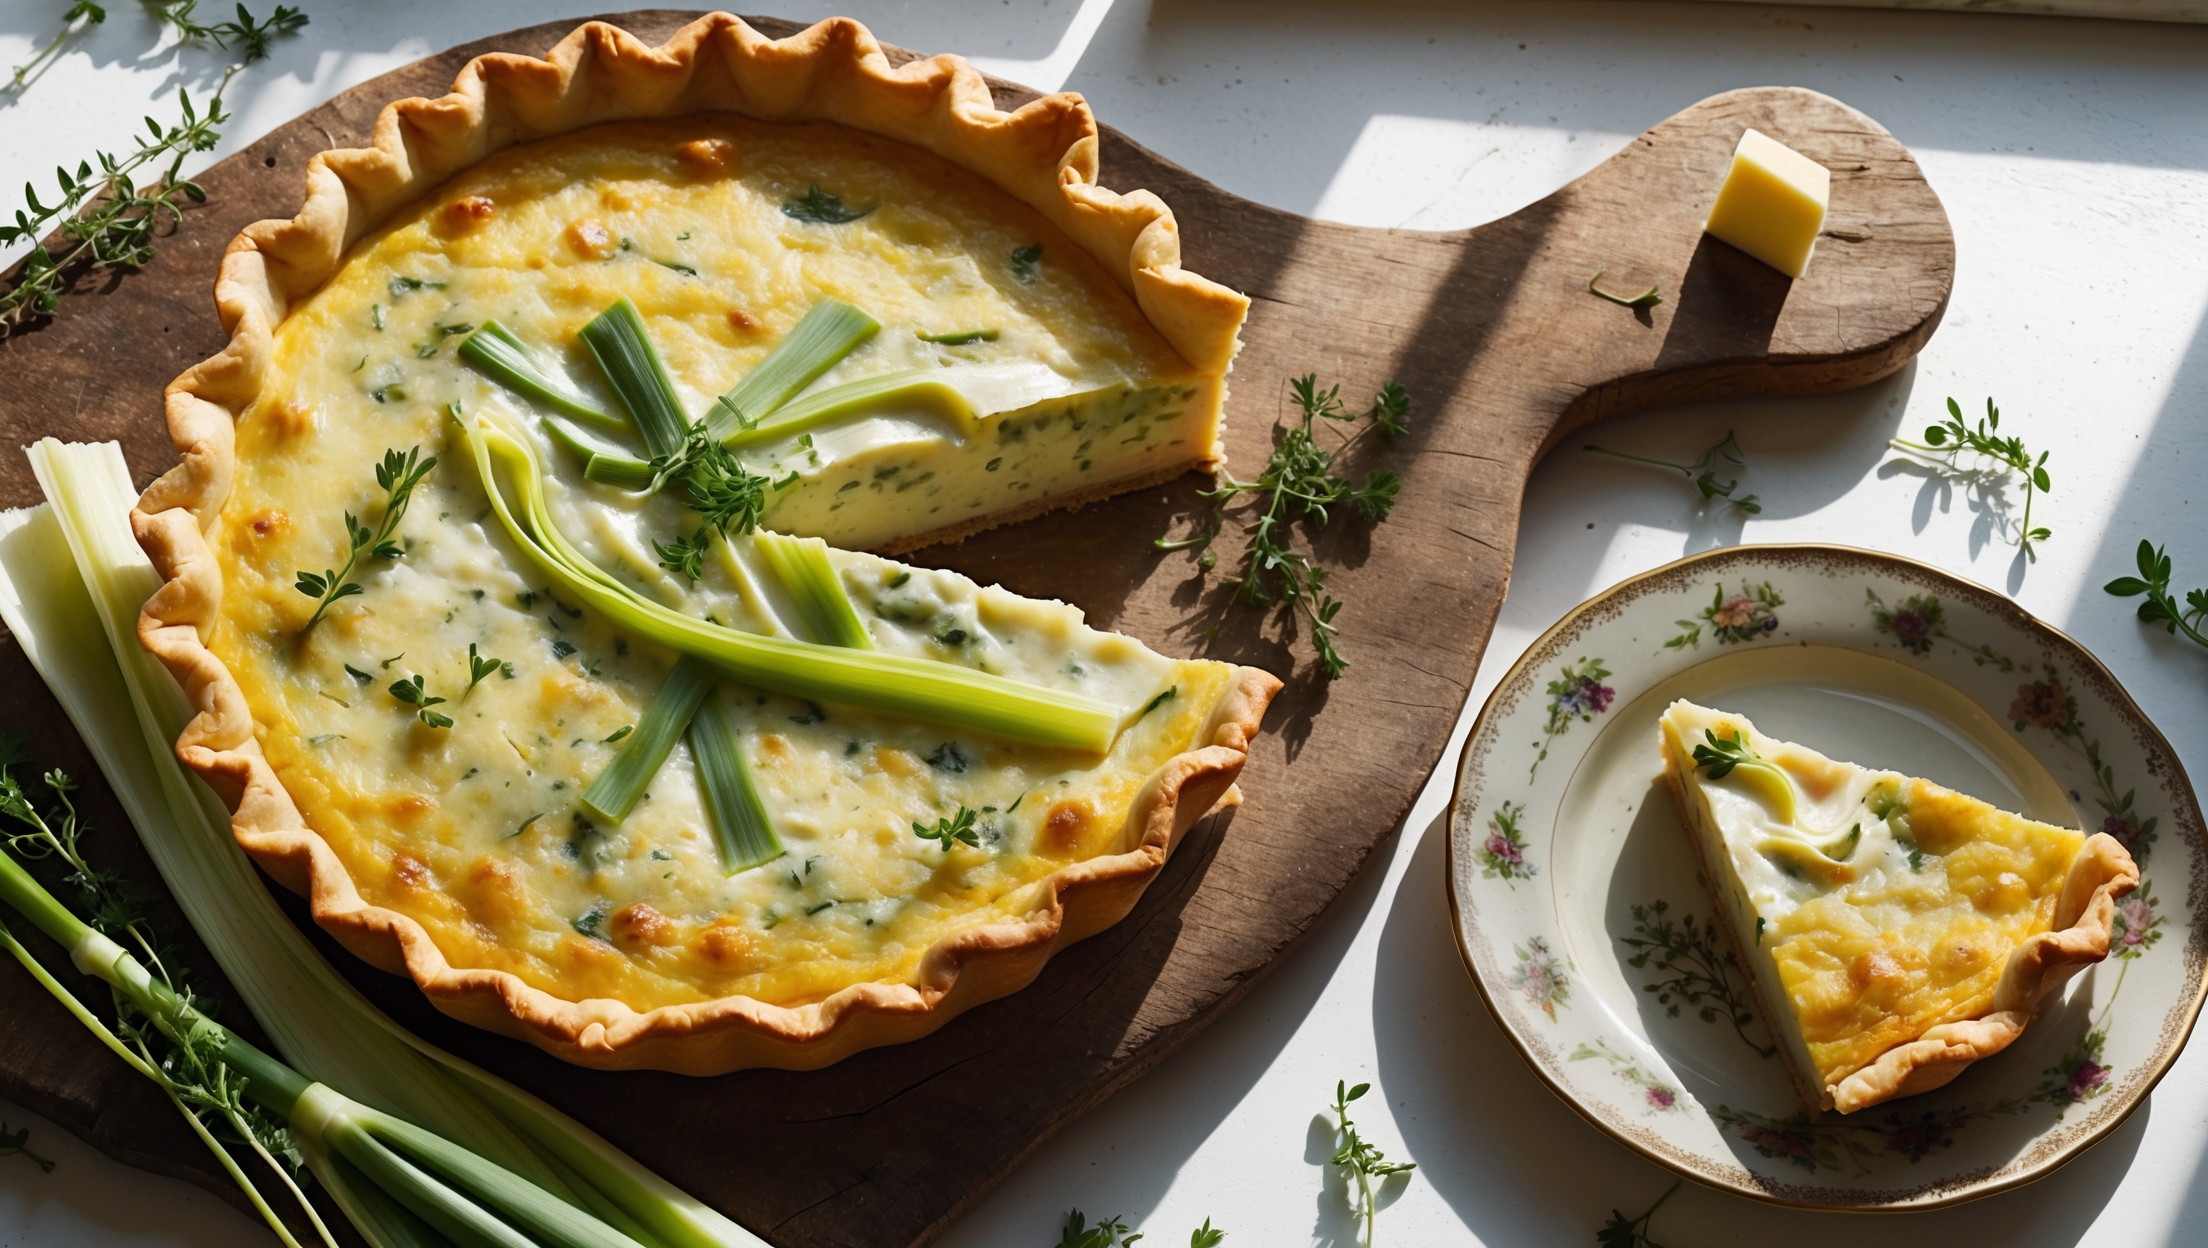
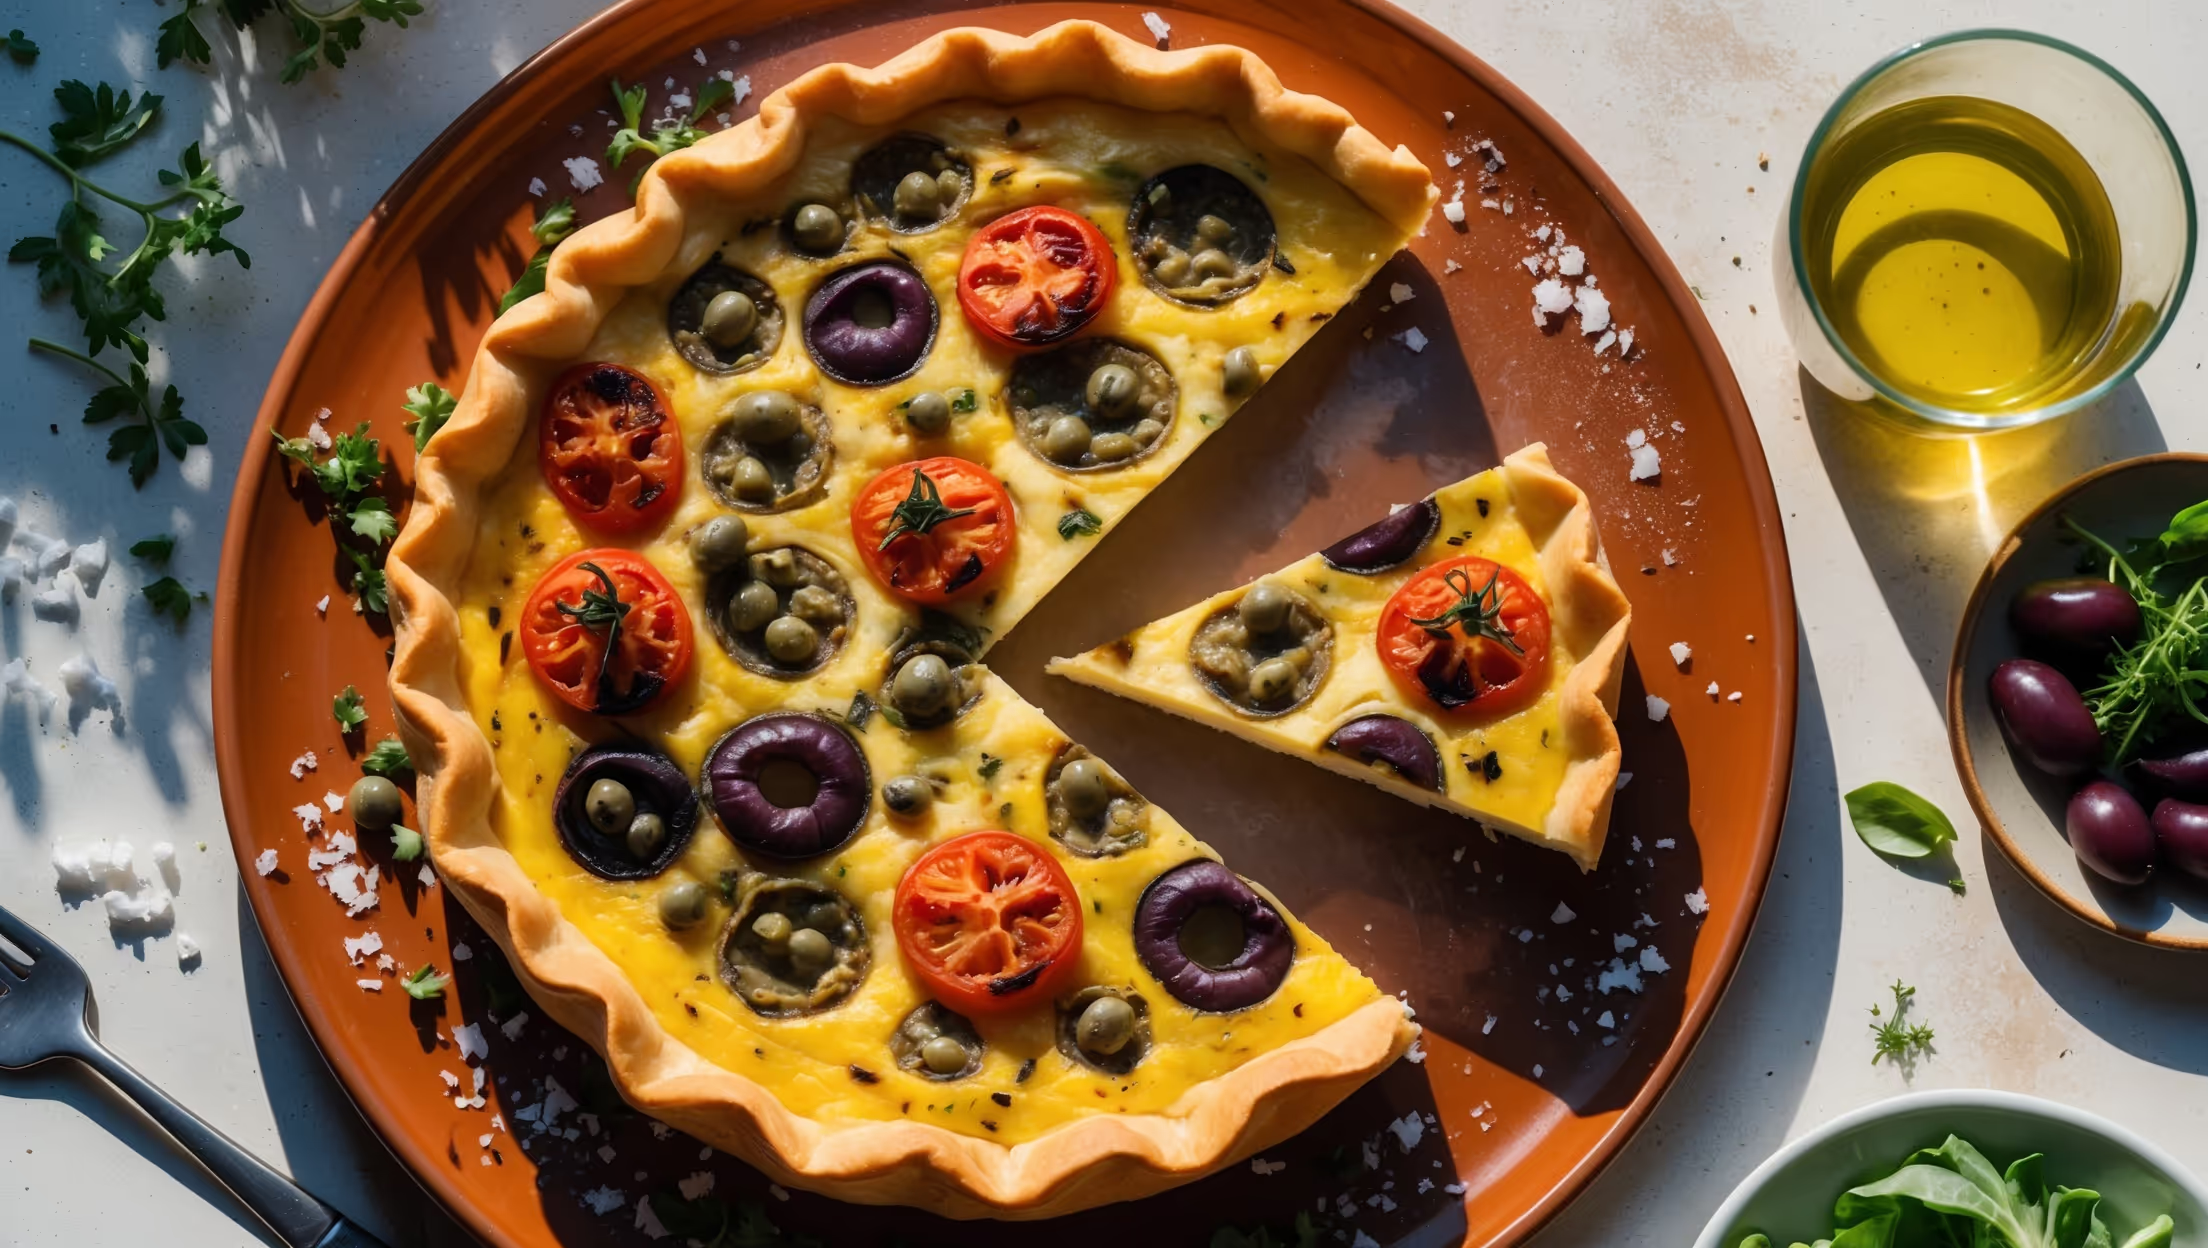
An overhead shot of a golden-brown Artichoke and Parmesan Quiche with a perfectly crimped edge, photographed in soft natural light on a marble countertop. The cross-section reveals layers of creamy egg custard studded with vibrant artichoke pieces and pockets of melted Parmesan cheese. Steam gently rises from the freshly-cut slice, with a few fresh thyme sprigs and additional artichoke hearts arranged alongside for styling. A vintage silver cake server rests beside the quiche, ready to lift out a generous wedge that showcases the contrast between the flaky pastry and silky filling.

Ingredients

<ul class="ingredients-main-list"><li class="ingredients-single-item">For the pastry:</li><li class="ingredients-single-item">200g plain flour</li><li class="ingredients-single-item">100g cold unsalted butter, cubed</li><li class="ingredients-single-item">1/4 tsp salt</li><li class="ingredients-single-item">3-4 tbsp ice-cold water</li><li class="ingredients-single-item">For the filling:</li><li class="ingredients-single-item">280g artichoke hearts, drained and quartered (jarred or canned)</li><li class="ingredients-single-item">100g Parmesan cheese, freshly grated</li><li class="ingredients-single-item">4 large eggs</li><li class="ingredients-single-item">250ml double cream</li><li class="ingredients-single-item">100ml whole milk</li><li class="ingredients-single-item">2 tbsp fresh thyme leaves (or 2 tsp dried)</li><li class="ingredients-single-item">1/2 tsp freshly ground black pepper</li><li class="ingredients-single-item">1/4 tsp grated nutmeg</li><li class="ingredients-single-item">1/2 tsp salt</li></ul>

Equipment

<ul class="equipment-main-list"><li class="equipment-single-item">23cm (9-inch) fluted tart tin with removable base</li><li class="equipment-single-item">Baking beans or rice (for blind baking)</li><li class="equipment-single-item">Baking parchment</li><li class="equipment-single-item">Rolling pin</li></ul>
BAKE SMARTER

Kitchen Converter

Quickly switch between common baking units without leaving the recipe.

Convert
Result—

Volume uses US cups, tablespoons, and teaspoons. Converting weight to volume depends on the ingredient.

Directions

<ol class="no-list-style"><li class="MethodStepper"><h4 class="step-title">Step 1</h4>Start by making the pastry. Place the flour and salt in a large bowl, then add the cold cubed butter. Using your fingertips, rub the butter into the flour until the mixture resembles breadcrumbs. Working with cold butter is crucial as it creates pockets of fat that evaporate during baking, creating those desirable flaky layers.</li><li class="MethodStepper"><h4 class="step-title">Step 2</h4>Add the ice-cold water one tablespoon at a time, mixing with a knife until the dough just comes together. Be careful not to overwork the dough or add too much water, as this will develop gluten and make your pastry tough. The dough should be just moist enough to hold together when pinched.</li><li class="MethodStepper"><h4 class="step-title">Step 3</h4>Form the dough into a disc, wrap in cling film, and refrigerate for at least 30 minutes. This resting period relaxes the gluten and firms up the butter, resulting in a more tender, flaky crust.</li><li class="MethodStepper"><h4 class="step-title">Step 4</h4>Preheat your oven to 190°C (170°C fan). Roll out the chilled pastry on a lightly floured surface to about 3mm thickness and large enough to line your tart tin. Carefully transfer the pastry to the tin, pressing it gently into the fluted edges. Trim any excess, leaving a slight overhang to allow for shrinkage.</li><li class="MethodStepper"><h4 class="step-title">Step 5</h4>Line the pastry case with baking parchment and fill with baking beans or rice. Blind bake for 15 minutes, then remove the beans and parchment and bake for a further 5 minutes until the base is just starting to color. This pre-baking ensures your crust doesn't become soggy from the wet filling.</li><li class="MethodStepper"><h4 class="step-title">Step 6</h4>While the pastry case is baking, prepare your filling. Pat the artichoke hearts dry with kitchen paper to remove excess moisture (this prevents a watery quiche), then quarter them if they're whole. Grate the Parmesan cheese and set aside about 20g for topping.</li><li class="MethodStepper"><h4 class="step-title">Step 7</h4>In a large bowl, whisk together the eggs, double cream, milk, thyme, salt, pepper, and nutmeg until well combined. The nutmeg might seem unusual, but it enhances the savory notes of the cheese without being detectable as a distinct flavor.</li><li class="MethodStepper"><h4 class="step-title">Step 8</h4>Reduce the oven temperature to 180°C (160°C fan). Scatter most of the artichoke hearts and 80g of Parmesan over the base of the pastry case. Pour in the egg mixture carefully, then arrange the remaining artichoke pieces on top for visual appeal. Sprinkle with the reserved Parmesan.</li><li class="MethodStepper"><h4 class="step-title">Step 9</h4>Bake the quiche for 25-30 minutes until the filling is set but still has a slight wobble in the center. The custard will continue cooking from residual heat after removal from the oven. If the pastry edges brown too quickly, cover them loosely with foil.</li><li class="MethodStepper"><h4 class="step-title">Step 10</h4>Allow the quiche to cool in the tin for at least 20 minutes before removing. This cooling period allows the custard to fully set and makes slicing cleaner. Serve warm or at room temperature for the best flavor – the nutty Parmesan and subtle artichoke flavors develop more fully when not piping hot.</li></ol>


Nutrition Facts (per serving)

🍽️ Serving Size: 1 slice
🔥 Calories: 385 calories
🥑 Fat: 28 g
🧈 Saturated Fat: 16 g
🍞 Carbohydrates: 18 g
🍭 Sugar: 2 g
🍗 Protein: 14 g
🫀 Cholesterol: 165 mg
🧂 Sodium: 420 mg

Chef’s Notes

A few helpful details for making this recipe.

Why do you need to blind bake the pastry case for quiche?

Blind baking creates a moisture barrier that prevents the wet filling from making the pastry soggy. It ensures a crisp, fully-cooked base that can support the custard filling. Without this step, you risk ending up with a disappointing, undercooked pastry bottom.

Can I make this quiche ahead of time and reheat it?

Yes! This quiche actually benefits from being made ahead. Bake it fully, cool completely, then refrigerate for up to 3 days. Reheat in a 160°C oven for 15-20 minutes. The flavours meld beautifully, and the texture remains silky when properly reheated.

What's the secret to a perfectly creamy quiche filling?

The perfect creamy quiche filling relies on the right ratio of eggs to dairy (usually 1 egg per 120ml liquid). Use a combination of double cream and whole milk for richness, don't overbeat the eggs, and ensure gentle baking until just set with a slight wobble in the centre.

Want to try something else in ...

More recipes you might like

Keep exploring with more recipes from What's Baking.