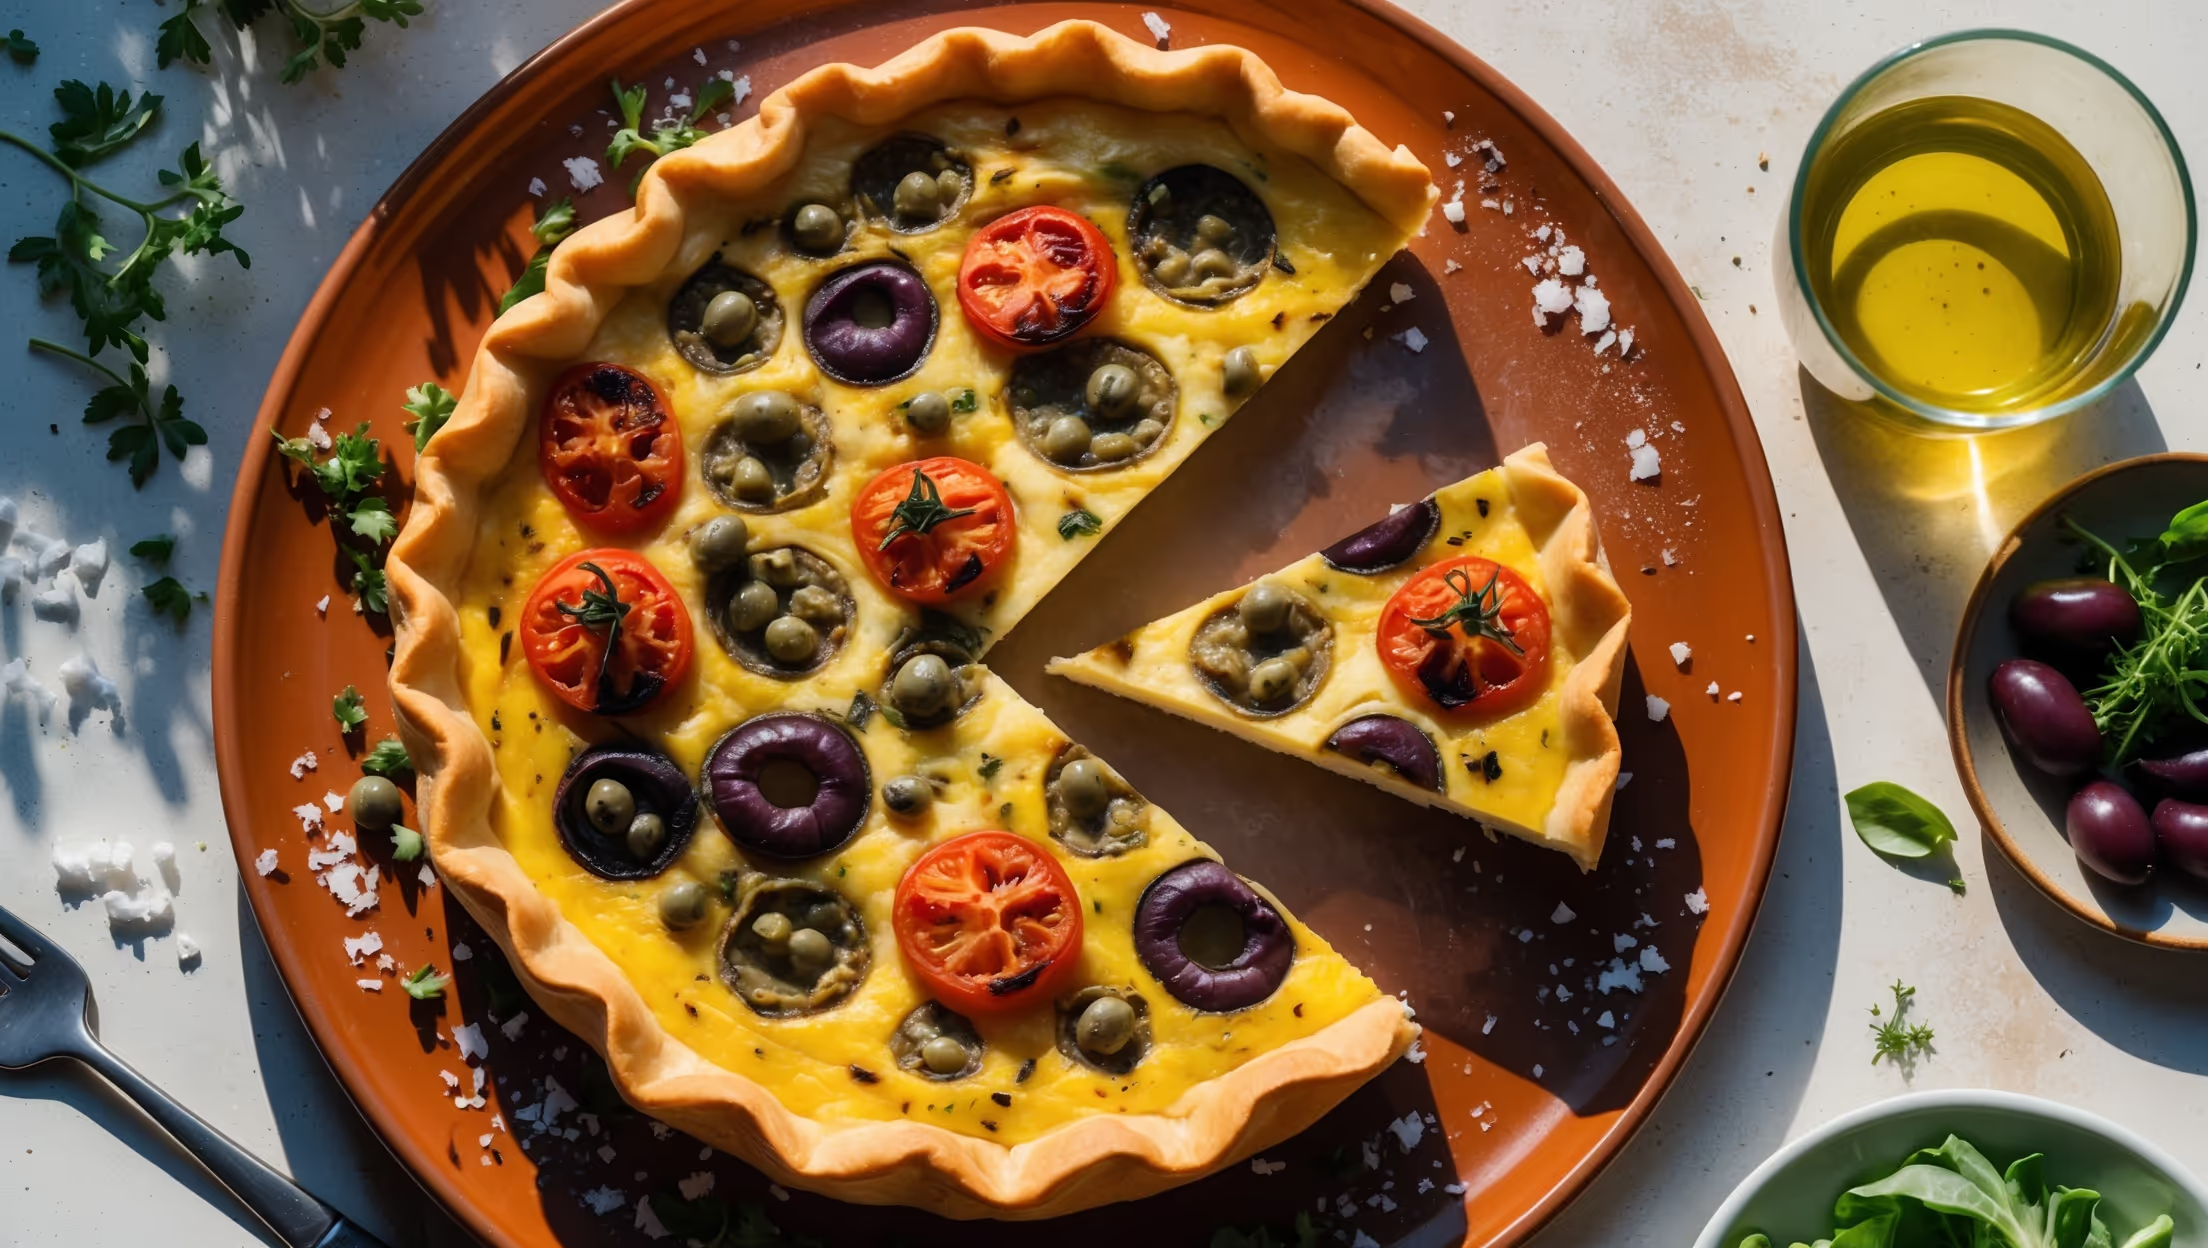
Directions
<ol class="no-list-style"><li class="MethodStepper"><h4 class="step-title">Step 1</h4>To make the pastry, place the flour and salt in a food processor (or large bowl if making by hand). Add the cold cubed butter and pulse until the mixture resembles fine breadcrumbs. The cold butter is essential as it creates steam pockets during baking, resulting in a flaky crust.</li><li class="MethodStepper"><h4 class="step-title">Step 2</h4>Gradually add the ice-cold water, 1 tablespoon at a time, pulsing briefly after each addition until the dough just begins to come together. It should hold when pressed between your fingers but shouldn't be sticky.</li><li class="MethodStepper"><h4 class="step-title">Step 3</h4>Turn the dough onto a lightly floured surface and form into a disc without overworking it (overhandling develops gluten, making the pastry tough). Wrap in cling film and refrigerate for at least 30 minutes – this relaxes the gluten and firms up the butter.</li><li class="MethodStepper"><h4 class="step-title">Step 4</h4>Preheat your oven to 190°C (170°C fan/gas mark 5). Roll out the chilled pastry on a lightly floured surface to about 3-4mm thickness and large enough to line your tart tin with a slight overhang.</li><li class="MethodStepper"><h4 class="step-title">Step 5</h4>Carefully transfer the pastry to your tart tin, gently pressing it into the edges and corners without stretching. Trim any excess pastry leaving a slight overhang (about 1cm) to allow for shrinkage. Prick the base with a fork and return to the fridge for 15 minutes – this prevents the pastry from shrinking during baking.</li><li class="MethodStepper"><h4 class="step-title">Step 6</h4>Line the chilled pastry case with baking parchment and fill with baking beans or rice. Blind bake for 15 minutes, then remove the beans and parchment and return to the oven for another 5-7 minutes until the base is lightly golden and feels dry to the touch. Trim any overhanging pastry for a neat edge. Reduce the oven temperature to 180°C (160°C fan/gas mark 4).</li><li class="MethodStepper"><h4 class="step-title">Step 7</h4>While the pastry is baking, prepare the filling. Heat the olive oil in a frying pan over medium heat, add the onion and cook gently for 5-7 minutes until soft and translucent but not browned. Add the garlic and cook for another minute until fragrant. Set aside to cool slightly.</li><li class="MethodStepper"><h4 class="step-title">Step 8</h4>Pat the artichokes dry with kitchen paper to remove excess moisture (this prevents a soggy quiche). In a large bowl, whisk together the eggs, cream, and milk until well combined. Season with salt, pepper, and the freshly grated nutmeg – the nutmeg adds a subtle warmth that complements the artichokes beautifully.</li><li class="MethodStepper"><h4 class="step-title">Step 9</h4>Scatter two-thirds of the grated cheese over the base of the pastry case, followed by the cooked onion mixture, artichoke quarters, olive halves, and thyme leaves, distributing them evenly.</li><li class="MethodStepper"><h4 class="step-title">Step 10</h4>Carefully pour the egg mixture into the pastry case, ensuring the filling is evenly distributed but not overflowing. Sprinkle the remaining cheese over the top. Place the tart tin on a baking sheet to catch any spills.</li><li class="MethodStepper"><h4 class="step-title">Step 11</h4>Bake in the preheated oven for 30-35 minutes until the filling is just set with a slight wobble in the center – it will continue to firm up as it cools. The top should be golden and puffed up slightly. If the pastry edges begin to brown too quickly, cover them loosely with foil.</li><li class="MethodStepper"><h4 class="step-title">Step 12</h4>Allow the quiche to cool in the tin for 15 minutes before carefully removing. This resting period allows the custard to set completely and makes the quiche easier to slice. Serve warm or at room temperature with a crisp green salad. The quiche can be stored in the refrigerator for up to 3 days and gently reheated if desired.</li></ol>