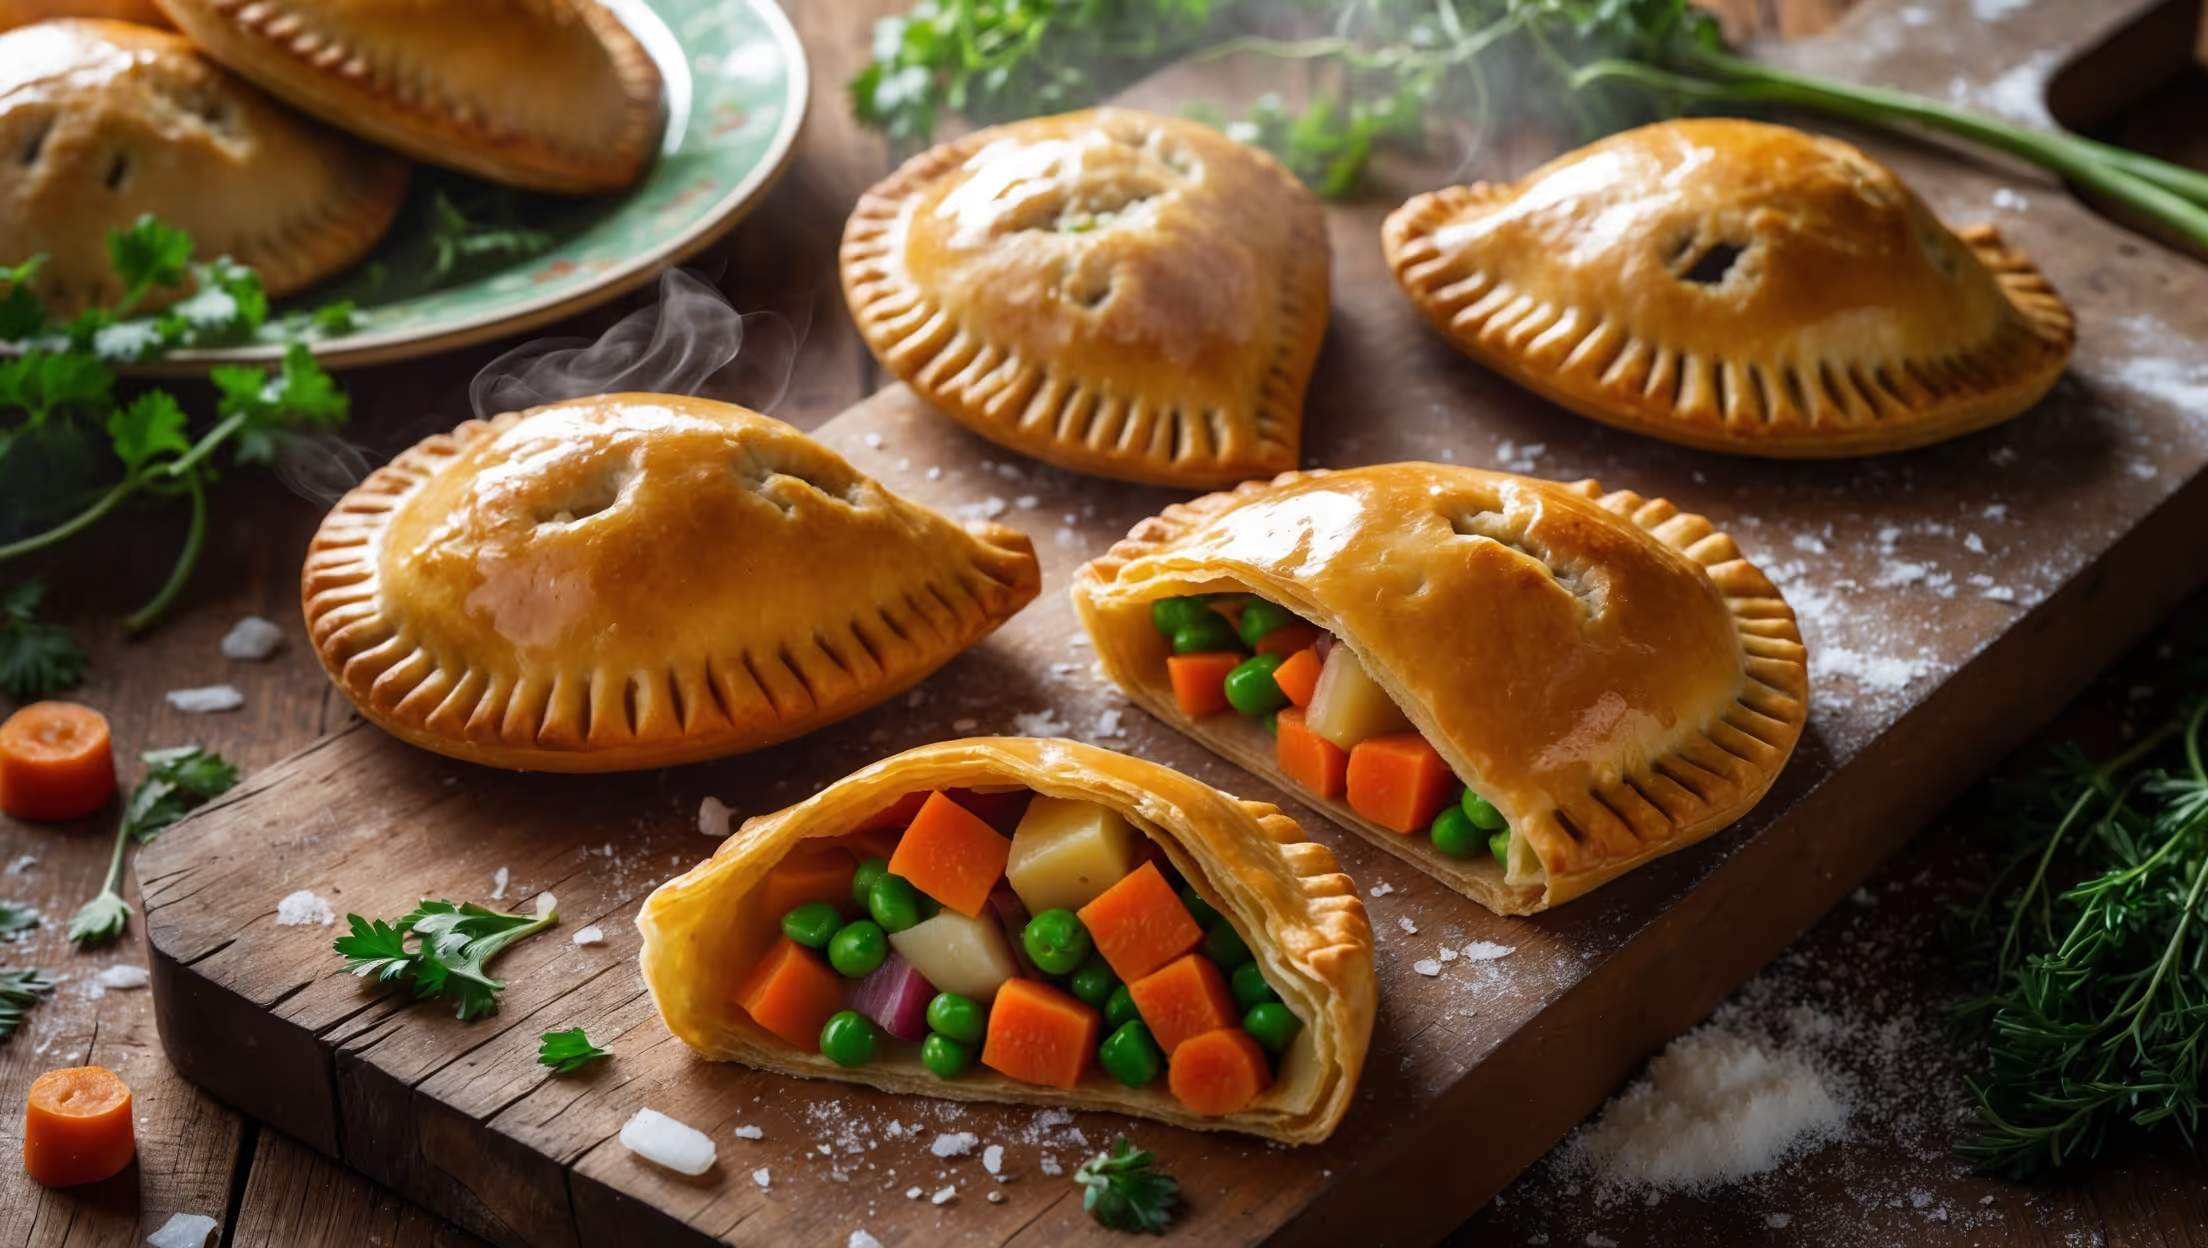
Directions
<ol class="no-list-style"> <li class="MethodStepper"> <h4 class="step-title">Step 1</h4> Start by making the pastry. Place the flour and salt in a large bowl and mix thoroughly. Add the cold cubed butter and use your fingertips to rub it into the flour until the mixture resembles breadcrumbs. Working with cold butter is essential as it creates steam pockets during baking, resulting in flaky layers. </li> <li class="MethodStepper"> <h4 class="step-title">Step 2</h4> Gradually add the ice-cold water, 1 tablespoon at a time, mixing with a knife until the dough just comes together. Be careful not to overwork or add too much water – the dough should be firm but pliable. Shape into a disc, wrap in cling film, and refrigerate for at least 30 minutes. Chilling allows the gluten to relax and the butter to firm up, resulting in a more tender pastry. </li> <li class="MethodStepper"> <h4 class="step-title">Step 3</h4> Meanwhile, prepare your filling. Heat the olive oil in a large frying pan over medium heat and add the onions. Cook for 3-4 minutes until softened but not browned. Add the garlic and cook for another minute until fragrant. </li> <li class="MethodStepper"> <h4 class="step-title">Step 4</h4> Add the diced potatoes, carrots, and swede to the pan. Cook for about 10 minutes, stirring occasionally, until the vegetables begin to soften but still maintain some firmness – they'll continue cooking in the oven. </li> <li class="MethodStepper"> <h4 class="step-title">Step 5</h4> Mix the cornflour with the cold water to create a slurry. Add the vegetable stock concentrate, herbs, salt, and pepper to the pan, then stir in the cornflour mixture. Cook for 1-2 minutes until the liquid thickens slightly. Remove from heat and stir in the frozen peas. Allow the filling to cool completely before assembling your pasties – hot filling would melt the pastry butter and prevent proper lamination. </li> <li class="MethodStepper"> <h4 class="step-title">Step 6</h4> Preheat your oven to 200°C (180°C fan, Gas Mark 6) and line a baking tray with parchment paper. Remove the pastry from the refrigerator and roll it out on a lightly floured surface to about 3-4mm thickness. </li> <li class="MethodStepper"> <h4 class="step-title">Step 7</h4> Using a 15cm diameter plate or pastry cutter as a guide, cut out 6 circles (you may need to re-roll scraps). Place about 3 heaped tablespoons of filling slightly off-center on each circle, leaving a 1.5cm border around the edge. Be careful not to overfill, or your pasties might burst during baking. </li> <li class="MethodStepper"> <h4 class="step-title">Step 8</h4> Brush the pastry edges with a little beaten egg, then fold the pastry over the filling to create a half-moon shape. Press the edges together firmly, then crimp by folding the edge over itself and pinching at intervals to create a decorative rope pattern. This seal is not just decorative – it ensures no filling leaks during baking. </li> <li class="MethodStepper"> <h4 class="step-title">Step 9</h4> Transfer the pasties to the prepared baking tray. Cut a small steam vent in the top of each pasty, then brush generously with beaten egg for a golden, shiny finish. The steam vent is crucial as it allows moisture to escape, preventing soggy pastry. </li> <li class="MethodStepper"> <h4 class="step-title">Step 10</h4> Bake in the preheated oven for 25-30 minutes, or until the pasties are golden brown and the pastry is crisp and cooked through. If they start browning too quickly, cover loosely with foil for the remainder of the cooking time. </li> <li class="MethodStepper"> <h4 class="step-title">Step 11</h4> Allow the pasties to cool on the baking tray for 5 minutes before transferring to a wire rack. They can be enjoyed warm or at room temperature. The pasties will keep for up to 3 days in an airtight container in the refrigerator, or can be frozen for up to 3 months. To reheat, warm in a 180°C oven for 10-15 minutes until heated through. </li> </ol>