Banoffee Pie Recipe

Learn how to make the best homemade Banoffee Pie with this easy baking recipe. With layers of buttery biscuit base, rich caramel, fresh bananas, and billowy cream, this classic British dessert is simple yet impressive. Perfect for beginners looking to create a showstopping dessert without complicated techniques.
Difficulty:
Beginner
Prep Time:
30 mins
Cook Time:
15 mins
Serves:
1 pie (8 slices)
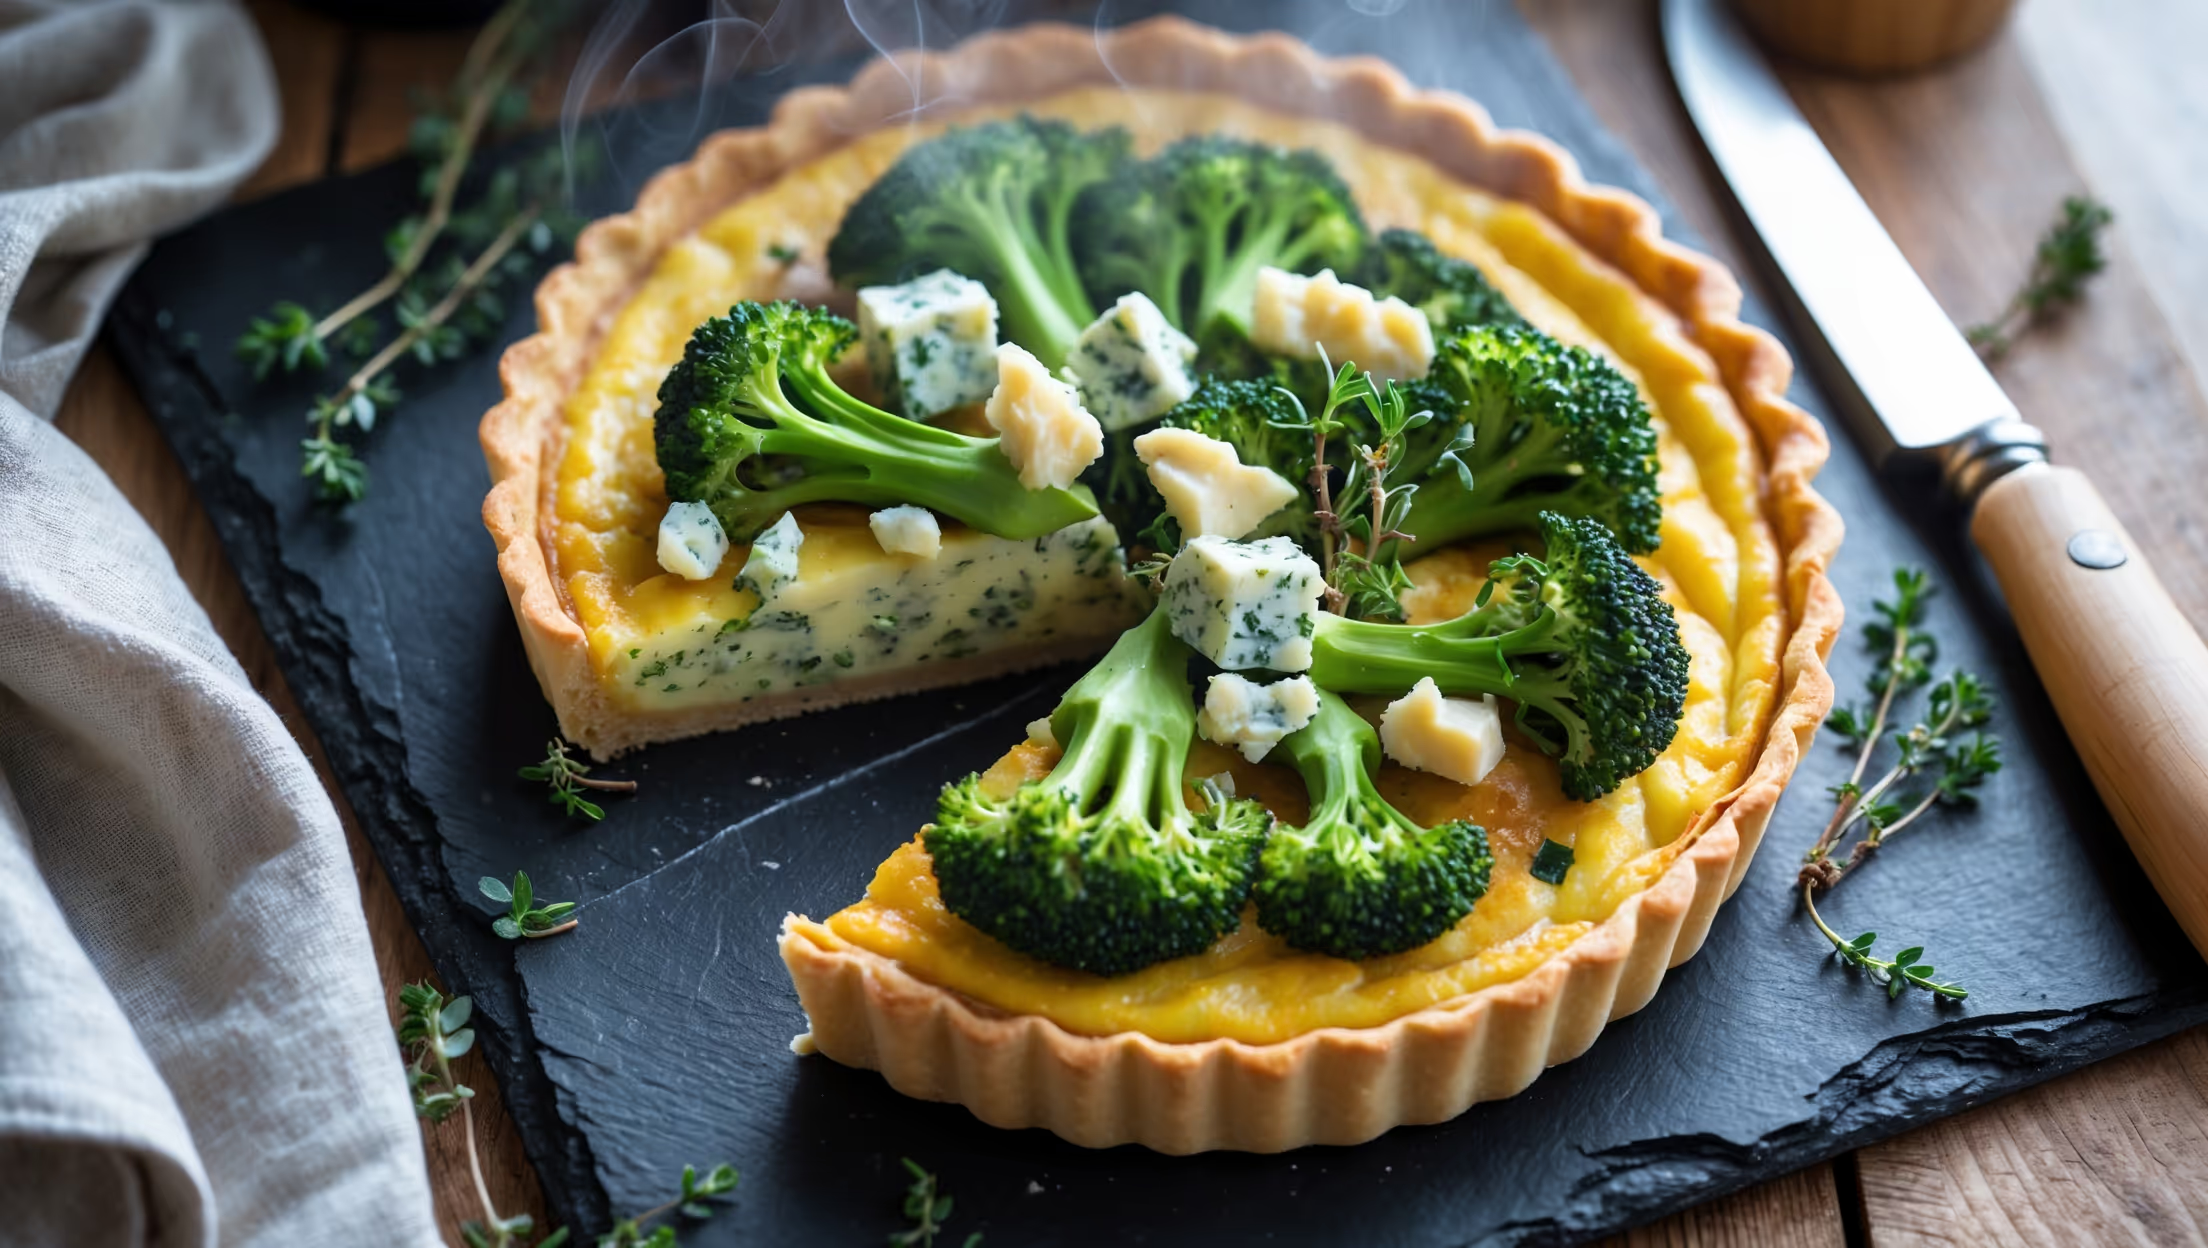
An overhead shot of a Banoffee Pie showcasing its distinct layers - the golden biscuit base, amber-colored caramel, perfectly arranged banana slices, and cloud-like whipped cream topped with delicate chocolate shavings. The pie is presented on a rustic ceramic plate against a light wooden table, with a slice being removed to reveal the beautiful cross-section of layers. Natural light streams in from a nearby window, highlighting the glossy caramel dripping slightly at the edges and the contrasting textures between the crunchy base and creamy toppings. A few fresh banana slices and scattered chocolate curls surround the pie, with a vintage cake server poised beside it.

Ingredients

<ul class="ingredients-main-list"> <li class="ingredients-single-item">250g digestive biscuits (or graham crackers)</li> <li class="ingredients-single-item">100g unsalted butter, melted</li> <li class="ingredients-single-item">1 tin (397g) sweetened condensed milk</li> <li class="ingredients-single-item">100g light brown sugar</li> <li class="ingredients-single-item">100g unsalted butter</li> <li class="ingredients-single-item">4 ripe bananas</li> <li class="ingredients-single-item">300ml double cream</li> <li class="ingredients-single-item">2 tbsp icing sugar</li> <li class="ingredients-single-item">1 tsp vanilla extract</li> <li class="ingredients-single-item">50g dark chocolate, for grating</li> </ul>

Equipment

<ul class="equipment-main-list"> <li class="equipment-single-item">23cm loose-bottomed tart tin</li> <li class="equipment-single-item">Food processor (optional)</li> <li class="equipment-single-item">Heavy-bottomed saucepan</li> <li class="equipment-single-item">Electric whisk or stand mixer</li> </ul>

Directions

<ol class="no-list-style"> <li class="MethodStepper"> <h4 class="step-title">Step 1</h4> Begin by making the biscuit base. Place the digestive biscuits in a food processor and pulse until you have fine crumbs. If you don't have a food processor, place the biscuits in a sealed plastic bag and crush with a rolling pin. The finer the crumbs, the better your base will hold together. </li> <li class="MethodStepper"> <h4 class="step-title">Step 2</h4> Mix the biscuit crumbs with the melted butter in a bowl until thoroughly combined. The mixture should resemble wet sand and hold together when pressed between your fingers. </li> <li class="MethodStepper"> <h4 class="step-title">Step 3</h4> Press the mixture firmly into the base and up the sides of your tart tin, using the back of a spoon to compact it evenly. Creating a firm, well-packed base now will prevent it from crumbling when you serve the pie later. Chill in the refrigerator for at least 30 minutes to set. </li> <li class="MethodStepper"> <h4 class="step-title">Step 4</h4> For the caramel, place the condensed milk, brown sugar, and butter in a heavy-bottomed saucepan over medium heat. Stir continuously as the mixture comes to a gentle boil - this prevents burning and ensures even caramelization. This will take about 5-7 minutes. </li> <li class="MethodStepper"> <h4 class="step-title">Step 5</h4> Continue to cook the caramel, stirring constantly, until it thickens and turns a rich amber color (about another 5 minutes). The mixture should coat the back of a spoon and leave a clear trail when you draw your finger through it. Be patient - rushing this step can result in a runny filling. </li> <li class="MethodStepper"> <h4 class="step-title">Step 6</h4> Pour the hot caramel onto the chilled biscuit base, spreading it evenly with a spatula. Return to the refrigerator and chill for at least 1 hour until the caramel is firm to the touch. The cooling process allows the caramel to set properly, creating distinct layers in your finished pie. </li> <li class="MethodStepper"> <h4 class="step-title">Step 7</h4> When ready to serve, slice the bananas about 5mm thick and arrange them in overlapping layers on top of the set caramel. Work quickly as bananas can discolor when exposed to air (a light brush of lemon juice can help prevent this if you're preparing in advance). </li> <li class="MethodStepper"> <h4 class="step-title">Step 8</h4> In a large bowl, whip the double cream with the icing sugar and vanilla extract until it forms soft peaks. Be careful not to overwhip - the cream should be billowy and just hold its shape when you lift the beaters. Overwhipping will create a butter-like texture that won't spread nicely. </li> <li class="MethodStepper"> <h4 class="step-title">Step 9</h4> Spoon or pipe the whipped cream over the bananas, creating decorative swirls if desired. The cream layer should be generous but still allow some of the bananas to peek through around the edges. </li> <li class="MethodStepper"> <h4 class="step-title">Step 10</h4> Finish the pie by grating dark chocolate over the top for a beautiful contrast and slight bitter note that balances the sweetness. For best results, serve the pie immediately, or return to the refrigerator for up to 2 hours before serving. The pie is best enjoyed on the day it's assembled, as the bananas will eventually soften the cream and biscuit base. </li> </ol>

FAQs

Find answers to your most pressing questions about this delicious recipe right here.

What ingredients are used in Banoffee Pie Recipe?

Banoffee Pie requires digestive biscuits, butter, sweetened condensed milk, light brown sugar, ripe bananas, double cream, icing sugar, vanilla extract, and dark chocolate for grating. These ingredients create the distinct layers of biscuit base, caramel, banana, and whipped cream.

How to cook Banoffee Pie Recipe at home?

Learn how to cook Banoffee Pie Recipe by creating a buttery biscuit base, making homemade caramel from condensed milk and brown sugar, layering with fresh banana slices, and topping with sweetened whipped cream. The only actual cooking involved is preparing the caramel—the rest is assembly, making this an approachable yet impressive dessert for beginners.

Can I make the caramel for this dessert in advance?

Yes, you can prepare the caramel 2-3 days in advance and store it in the refrigerator in an airtight container. This not only saves time on the day of serving but also allows the caramel to set properly, resulting in cleaner slices when you cut the finished pie.

Why does my caramel filling sometimes turn runny?

Runny caramel typically results from insufficient cooking time. Ensure you simmer the mixture for at least 10-12 minutes total, stirring constantly until it reaches a thick, amber consistency that coats the back of a spoon. Adequate refrigeration time (minimum 1 hour) is also crucial for proper setting.

What's the best way to prevent bananas from browning in this classic dessert?

To prevent bananas from browning, add them just before serving or brush them lightly with lemon juice. For the best presentation, assemble the complete pie no more than 2-3 hours before serving. The whipped cream layer also helps protect bananas from air exposure.

Want to try something else in ...

Shortcrust Pastry

Try following recommended recipes

{ "@context": "http://schema.org/", "@type": "Recipe", "name": "Banoffee Pie Recipe", "author": { "@type": "Person", "name": "Gurbir Aujla", "brand": "What's Baking?", "jobTitle": "Baker" }, "datePublished": "2024-05-30", "description": "Learn how to make the best homemade Banoffee Pie with this easy baking recipe. With layers of buttery biscuit base, rich caramel, fresh bananas, and billowy cream, this classic British dessert is simple yet impressive. Perfect for beginners looking to create a showstopping dessert without complicated techniques.", "prepTime": "PT30M", "cookTime": "PT15M", "totalTime": "PT45M", "keywords": "banoffee pie, caramel dessert, banana dessert, british dessert, no-bake dessert", "recipeYield": "8", "recipeCategory": "Dessert", "recipeCuisine": "British", "nutrition": { "@type": "NutritionInformation", "calories": "485 calories", "carbohydrateContent": "54 g", "proteinContent": "4 g", "fatContent": "28 g", "saturatedFatContent": "17 g", "cholesterolContent": "85 mg", "sodiumContent": "320 mg", "sugarContent": "42 g", "servingSize": "1 slice" }, "recipeIngredient": [ "250g digestive biscuits (or graham crackers)", "100g unsalted butter, melted", "1 tin (397g) sweetened condensed milk", "100g light brown sugar", "100g unsalted butter", "4 ripe bananas", "300ml double cream", "2 tbsp icing sugar", "1 tsp vanilla extract", "50g dark chocolate, for grating" ], "recipeInstructions": [ { "@type": "HowToStep", "name": "Prepare the biscuit base", "text": "Place the digestive biscuits in a food processor and pulse until you have fine crumbs. If you don't have a food processor, place the biscuits in a sealed plastic bag and crush with a rolling pin. The finer the crumbs, the better your base will hold together." }, { "@type": "HowToStep", "name": "Make the crust mixture", "text": "Mix the biscuit crumbs with the melted butter in a bowl until thoroughly combined. The mixture should resemble wet sand and hold together when pressed between your fingers." }, { "@type": "HowToStep", "name": "Form the pie base", "text": "Press the mixture firmly into the base and up the sides of your tart tin, using the back of a spoon to compact it evenly. Creating a firm, well-packed base now will prevent it from crumbling when you serve the pie later. Chill in the refrigerator for at least 30 minutes to set." }, { "@type": "HowToStep", "name": "Begin the caramel", "text": "For the caramel, place the condensed milk, brown sugar, and butter in a heavy-bottomed saucepan over medium heat. Stir continuously as the mixture comes to a gentle boil - this prevents burning and ensures even caramelization. This will take about 5-7 minutes." }, { "@type": "HowToStep", "name": "Cook the caramel", "text": "Continue to cook the caramel, stirring constantly, until it thickens and turns a rich amber color (about another 5 minutes). The mixture should coat the back of a spoon and leave a clear trail when you draw your finger through it. Be patient - rushing this step can result in a runny filling." }, { "@type": "HowToStep", "name": "Set the caramel layer", "text": "Pour the hot caramel onto the chilled biscuit base, spreading it evenly with a spatula. Return to the refrigerator and chill for at least 1 hour until the caramel is firm to the touch. The cooling process allows the caramel to set properly, creating distinct layers in your finished pie." }, { "@type": "HowToStep", "name": "Add banana layer", "text": "When ready to serve, slice the bananas about 5mm thick and arrange them in overlapping layers on top of the set caramel. Work quickly as bananas can discolor when exposed to air (a light brush of lemon juice can help prevent this if you're preparing in advance)." }, { "@type": "HowToStep", "name": "Make whipped cream", "text": "In a large bowl, whip the double cream with the icing sugar and vanilla extract until it forms soft peaks. Be careful not to overwhip - the cream should be billowy and just hold its shape when you lift the beaters. Overwhipping will create a butter-like texture that won't spread nicely." }, { "@type": "HowToStep", "name": "Top with cream", "text": "Spoon or pipe the whipped cream over the bananas, creating decorative swirls if desired. The cream layer should be generous but still allow some of the bananas to peek through around the edges." }, { "@type": "HowToStep", "name": "Finish and serve", "text": "Finish the pie by grating dark chocolate over the top for a beautiful contrast and slight bitter note that balances the sweetness. For best results, serve the pie immediately, or return to the refrigerator for up to 2 hours before serving. The pie is best enjoyed on the day it's assembled, as the bananas will eventually soften the cream and biscuit base." } ], "aggregateRating": { "@type": "AggregateRating", "ratingValue": "5", "ratingCount": "158" }, "review": [ { "@type": "Review", "author": "Eliza Rodriguez", "datePublished": "2024-05-28", "reviewBody": "Decadent and impressive looking! Made this for a dinner party and my guests couldn't believe it was homemade. The caramel turned out perfect and the balance of flavors was divine.", "name": "Showstopping Dessert", "reviewRating": { "@type": "Rating", "ratingValue": "5" } }, { "@type": "Review", "author": "Aarav Patel", "datePublished": "2024-05-25", "reviewBody": "Perfect balance of flavors! The sweetness of the caramel with the fresh bananas and cream is heavenly. I was nervous about making caramel but the instructions were so clear. Worth every calorie!", "name": "Heavenly Combination", "reviewRating": { "@type": "Rating", "ratingValue": "5" } }, { "@type": "Review", "author": "Olivia Chen", "datePublished": "2024-05-22", "reviewBody": "The caramel set beautifully! I've tried other banoffee pie recipes before but this one is by far the best. Made it twice in one week because my family kept requesting it. No leftovers at family dinner!", "name": "Family Favorite", "reviewRating": { "@type": "Rating", "ratingValue": "5" } }, { "@type": "Review", "author": "Liam Kowalski", "datePublished": "2024-05-20", "reviewBody": "Guests begged for the recipe! This was so impressive looking yet actually quite simple to make. The step-by-step instructions were easy to follow and the result was better than any restaurant version I've tried.", "name": "Impressive Yet Simple", "reviewRating": { "@type": "Rating", "ratingValue": "5" } }, { "@type": "Review", "author": "Sofia Nakamura", "datePublished": "2024-05-15", "reviewBody": "Better than restaurant version! I was intimidated to try making banoffee pie but this recipe broke it down so well. The tip about cooking the caramel properly made all the difference. Definitely making this again!", "name": "Restaurant Quality", "reviewRating": { "@type": "Rating", "ratingValue": "5" } } ] }
{ "@context": "https://schema.org", "@type": "FAQPage", "mainEntity": [ { "@type": "Question", "name": "What ingredients are used in Banoffee Pie Recipe?", "acceptedAnswer": { "@type": "Answer", "text": "Banoffee Pie requires digestive biscuits, butter, sweetened condensed milk, light brown sugar, ripe bananas, double cream, icing sugar, vanilla extract, and dark chocolate for grating. These ingredients create the distinct layers of biscuit base, caramel, banana, and whipped cream." } }, { "@type": "Question", "name": "How to cook Banoffee Pie Recipe at home?", "acceptedAnswer": { "@type": "Answer", "text": "Learn how to cook Banoffee Pie Recipe by creating a buttery biscuit base, making homemade caramel from condensed milk and brown sugar, layering with fresh banana slices, and topping with sweetened whipped cream. The only actual cooking involved is preparing the caramel—the rest is assembly, making this an approachable yet impressive dessert for beginners." } }, { "@type": "Question", "name": "Can I make the caramel for this dessert in advance?", "acceptedAnswer": { "@type": "Answer", "text": "Yes, you can prepare the caramel 2-3 days in advance and store it in the refrigerator in an airtight container. This not only saves time on the day of serving but also allows the caramel to set properly, resulting in cleaner slices when you cut the finished pie." } }, { "@type": "Question", "name": "Why does my caramel filling sometimes turn runny?", "acceptedAnswer": { "@type": "Answer", "text": "Runny caramel typically results from insufficient cooking time. Ensure you simmer the mixture for at least 10-12 minutes total, stirring constantly until it reaches a thick, amber consistency that coats the back of a spoon. Adequate refrigeration time (minimum 1 hour) is also crucial for proper setting." } }, { "@type": "Question", "name": "What's the best way to prevent bananas from browning in this classic dessert?", "acceptedAnswer": { "@type": "Answer", "text": "To prevent bananas from browning, add them just before serving or brush them lightly with lemon juice. For the best presentation, assemble the complete pie no more than 2-3 hours before serving. The whipped cream layer also helps protect bananas from air exposure." } } ] }