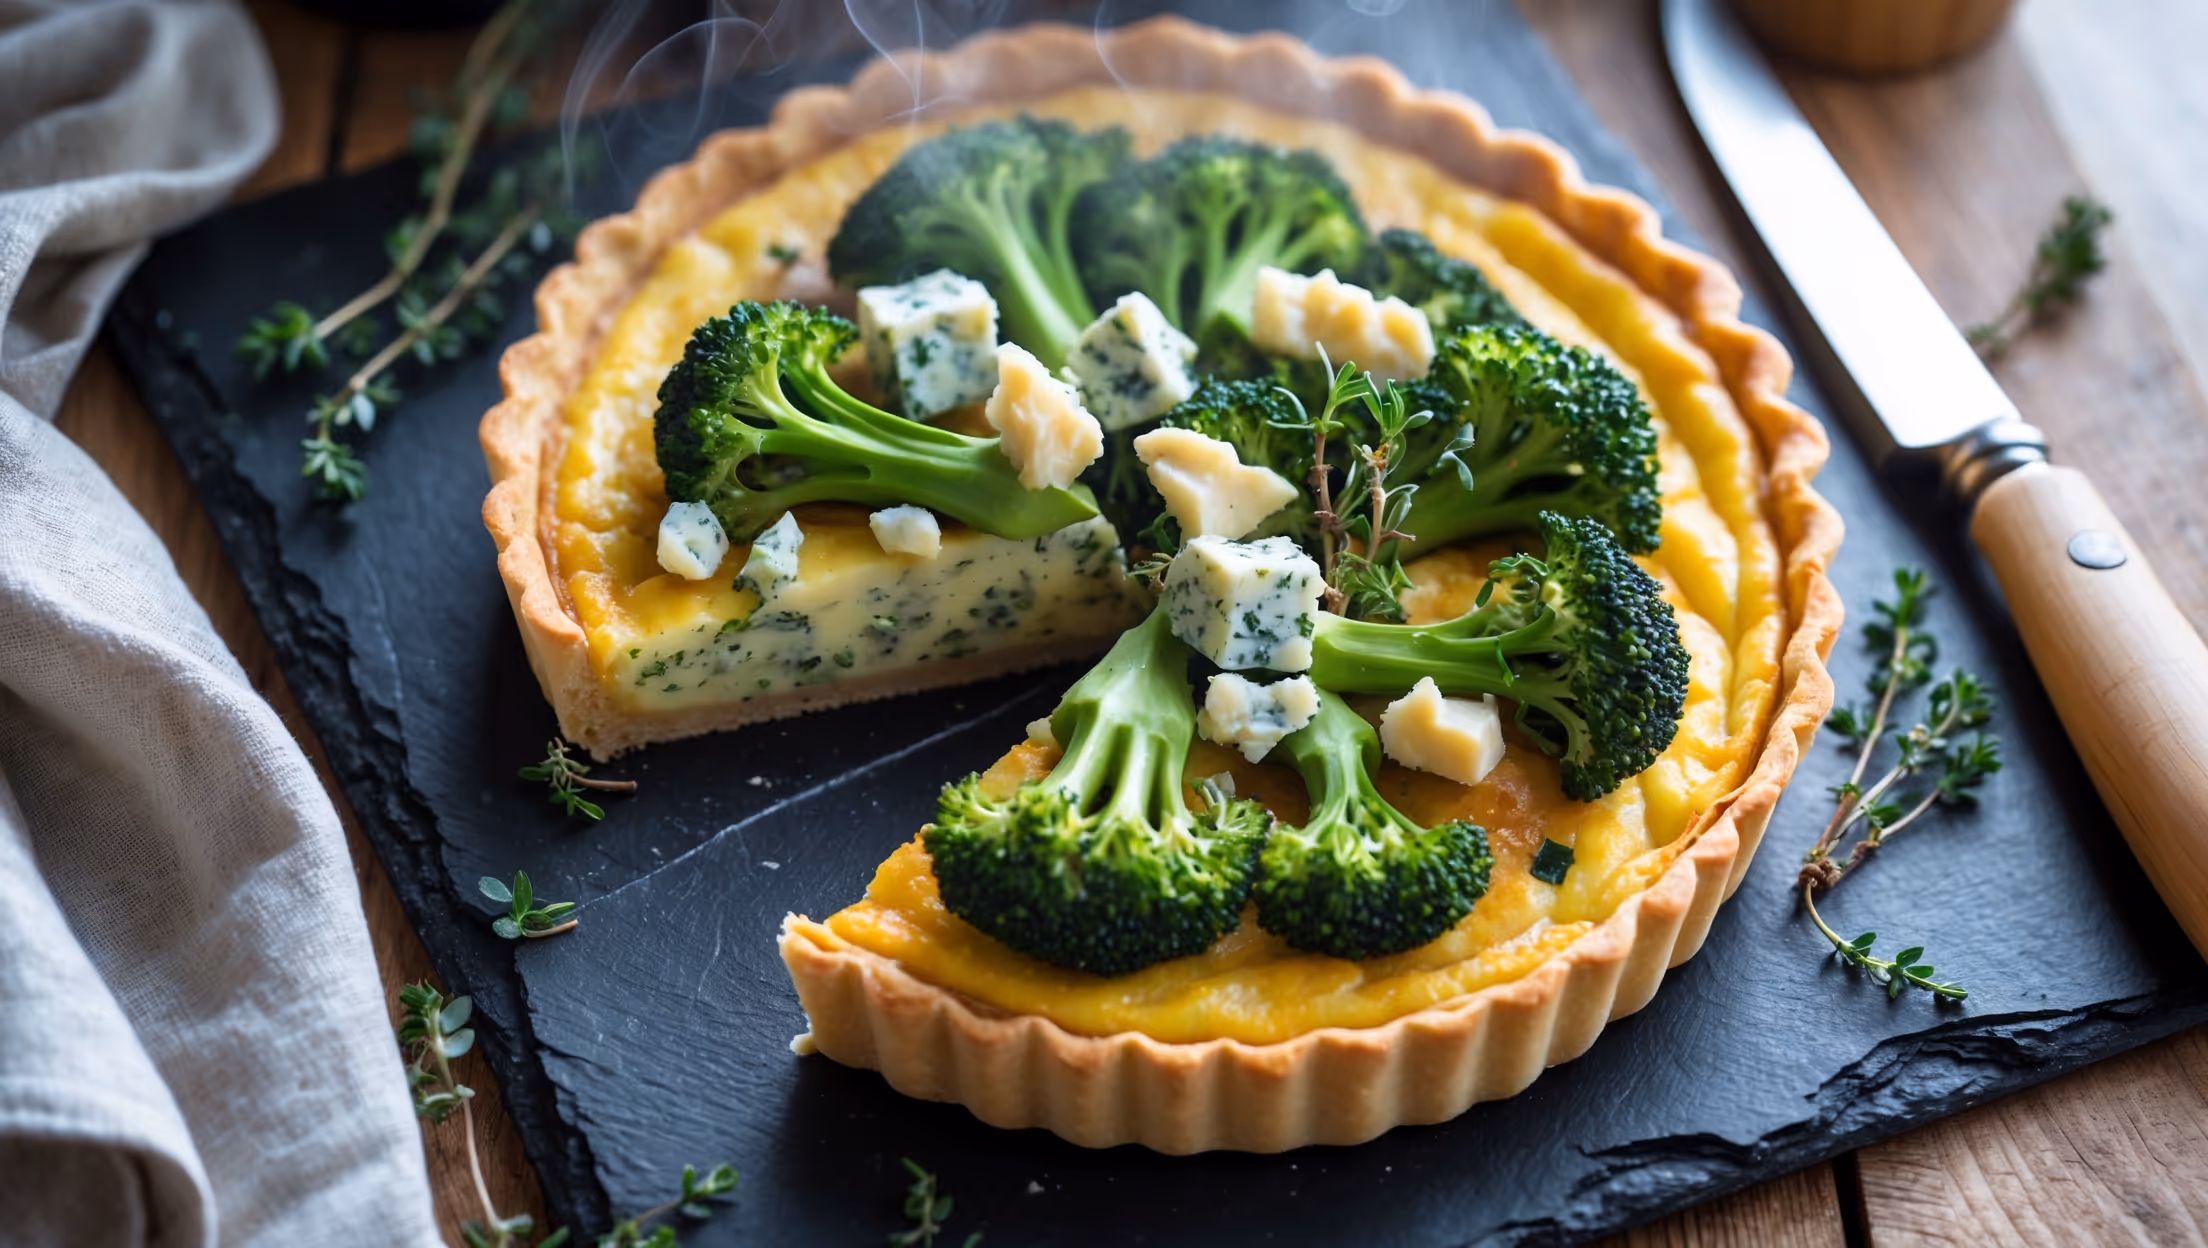
Pear Custard Tart Recipe

Ingredients
Equipment
Directions
FAQs
Find answers to your most pressing questions about this delicious recipe right here.
This elegant tart requires plain flour, unsalted butter, caster sugar, eggs, cream, milk, vanilla, cinnamon, and fresh pears. The pastry combines flour, butter, sugar and egg, while the silky custard features eggs, sugar, cream, milk, and vanilla extract.
Learn how to cook Pear Custard Tart by first creating a buttery shortcrust pastry that's blind baked until golden. Meanwhile, prepare thin slices of pear and make a silky vanilla-infused custard. Arrange the pear slices in the baked pastry case, pour over the custard, and bake until just set with a slight wobble. Finish with a touch of warmed apricot jam for a professional glaze.
Cracking or rubbery texture indicates overcooking. The custard should be removed from the oven when it still has a slight wobble in the centre – it will continue setting as it cools. Baking at too high a temperature can also cause issues. The perfect custard has a silky, tender texture with a delicate set.
Firm but ripe pears like Bosc, Conference or Comice pears work beautifully. They should hold their shape during baking without becoming mushy. Avoid overly soft pears that will disintegrate into the custard. The pears should be just ripe enough to be flavourful but still firm enough to slice neatly.
Prevent soggy pastry by thoroughly blind baking the case until lightly golden. The crucial step is brushing the warm pastry with melted butter before adding the filling, creating a moisture barrier. Always let the blind-baked case cool slightly before adding wet fillings, and consider dusting with a little flour for extra protection.
Shortcrust Pastry
Try following recommended recipes