Directions
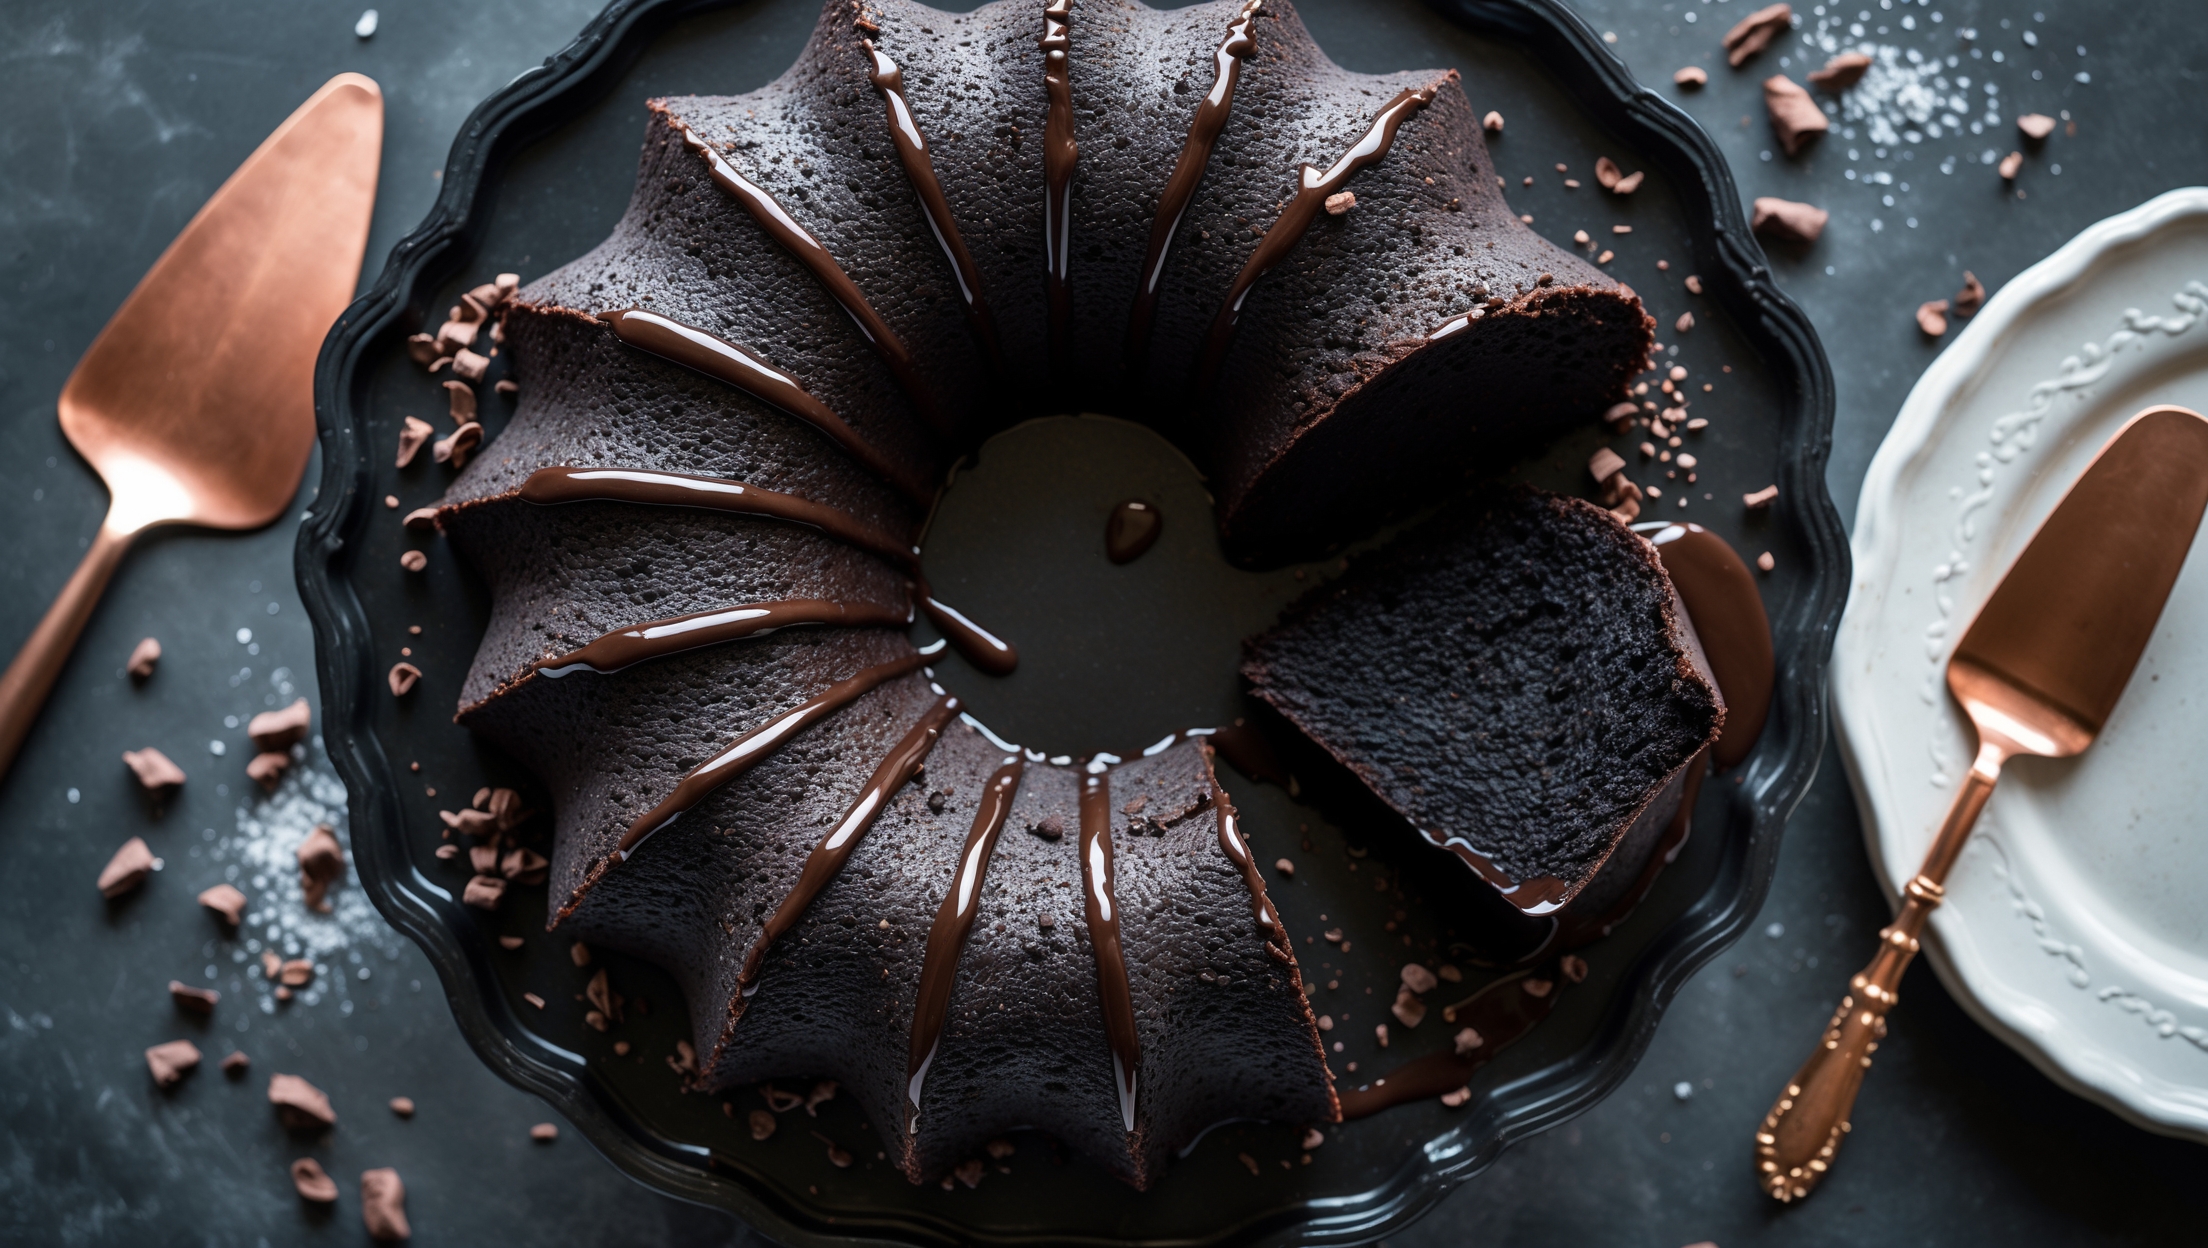
<ol class="no-list-style"><li class="MethodStepper"><h4 class="step-title">Step 1</h4>Preheat your oven to 165°C (325°F). Thoroughly grease a 25cm (10-inch) Bundt pan with butter, ensuring you get into all the crevices. Dust with cocoa powder, tapping out any excess. This careful preparation ensures your cake will release perfectly after baking.</li><li class="MethodStepper"><h4 class="step-title">Step 2</h4>In a medium bowl, whisk together the flour, cocoa powder, salt, and baking powder until thoroughly combined. Sift this mixture to remove any lumps - this is crucial for achieving that perfect tender crumb in your finished cake.</li><li class="MethodStepper"><h4 class="step-title">Step 3</h4>In the bowl of your stand mixer fitted with the paddle attachment (or using a hand mixer), cream the butter on medium speed until smooth and creamy, about 1 minute. Gradually add the sugar and beat on medium-high speed for 5 full minutes until very light and fluffy. This extended creaming process incorporates air into the batter, creating essential structure for your cake.</li><li class="MethodStepper"><h4 class="step-title">Step 4</h4>Add the eggs one at a time, beating well after each addition and scraping down the sides of the bowl as needed. Beat in the vanilla extract. Don't worry if the mixture looks slightly curdled - this is normal and will smooth out when you add the dry ingredients.</li><li class="MethodStepper"><h4 class="step-title">Step 5</h4>With the mixer on low speed, gradually add the dry ingredients to the butter mixture, mixing just until combined. Be careful not to overmix, which can develop the gluten in the flour and lead to a tough cake. Fold in the chopped walnuts by hand using a rubber spatula.</li><li class="MethodStepper"><h4 class="step-title">Step 6</h4>Spoon the batter into your prepared Bundt pan, smoothing the top with a spatula. The batter will be quite thick - this is exactly what you want for a proper tunnel of fudge cake. Tap the pan gently on the counter a few times to release any large air bubbles.</li><li class="MethodStepper"><h4 class="step-title">Step 7</h4>Bake in the preheated oven for 50-55 minutes. The cake is done when the top feels set and springs back slightly when touched, and a toothpick inserted about 5cm (2 inches) from the edge of the pan comes out with a few moist crumbs. The center will still seem undercooked - this is crucial for creating the fudge tunnel effect! Do not overbake or you'll lose the signature tunnel.</li><li class="MethodStepper"><h4 class="step-title">Step 8</h4>Place the pan on a cooling rack and allow the cake to cool in the pan for exactly 1 hour - no more, no less. This timing is important for proper setting of the fudge tunnel. Then invert the cake onto the rack and let it cool completely, at least 2 more hours, before glazing.</li><li class="MethodStepper"><h4 class="step-title">Step 9</h4>For the ganache, place the chopped chocolate in a heat-proof bowl. In a small saucepan, heat the cream, butter, and golden syrup until it just begins to simmer at the edges (do not boil). Pour the hot cream mixture over the chocolate and let it sit for 1 minute, then whisk until smooth. Stir in the vanilla extract.</li><li class="MethodStepper"><h4 class="step-title">Step 10</h4>Let the ganache cool for about 10 minutes until it thickens slightly but is still pourable. Place the cooling rack with your cake over a baking sheet to catch drips, then pour the ganache evenly over the cake, allowing it to drip down the sides naturally. Let the ganache set for at least 30 minutes before serving.</li><li class="MethodStepper"><h4 class="step-title">Step 11</h4>To serve, slice with a sharp knife, wiping the blade clean between cuts for the most beautiful presentation. Each slice should reveal the namesake tunnel of fudge running through the center. Store any leftover cake covered at room temperature for up to 3 days, or refrigerate for up to 5 days. Bring to room temperature before serving for the best texture and flavor.</li></ol>