Directions
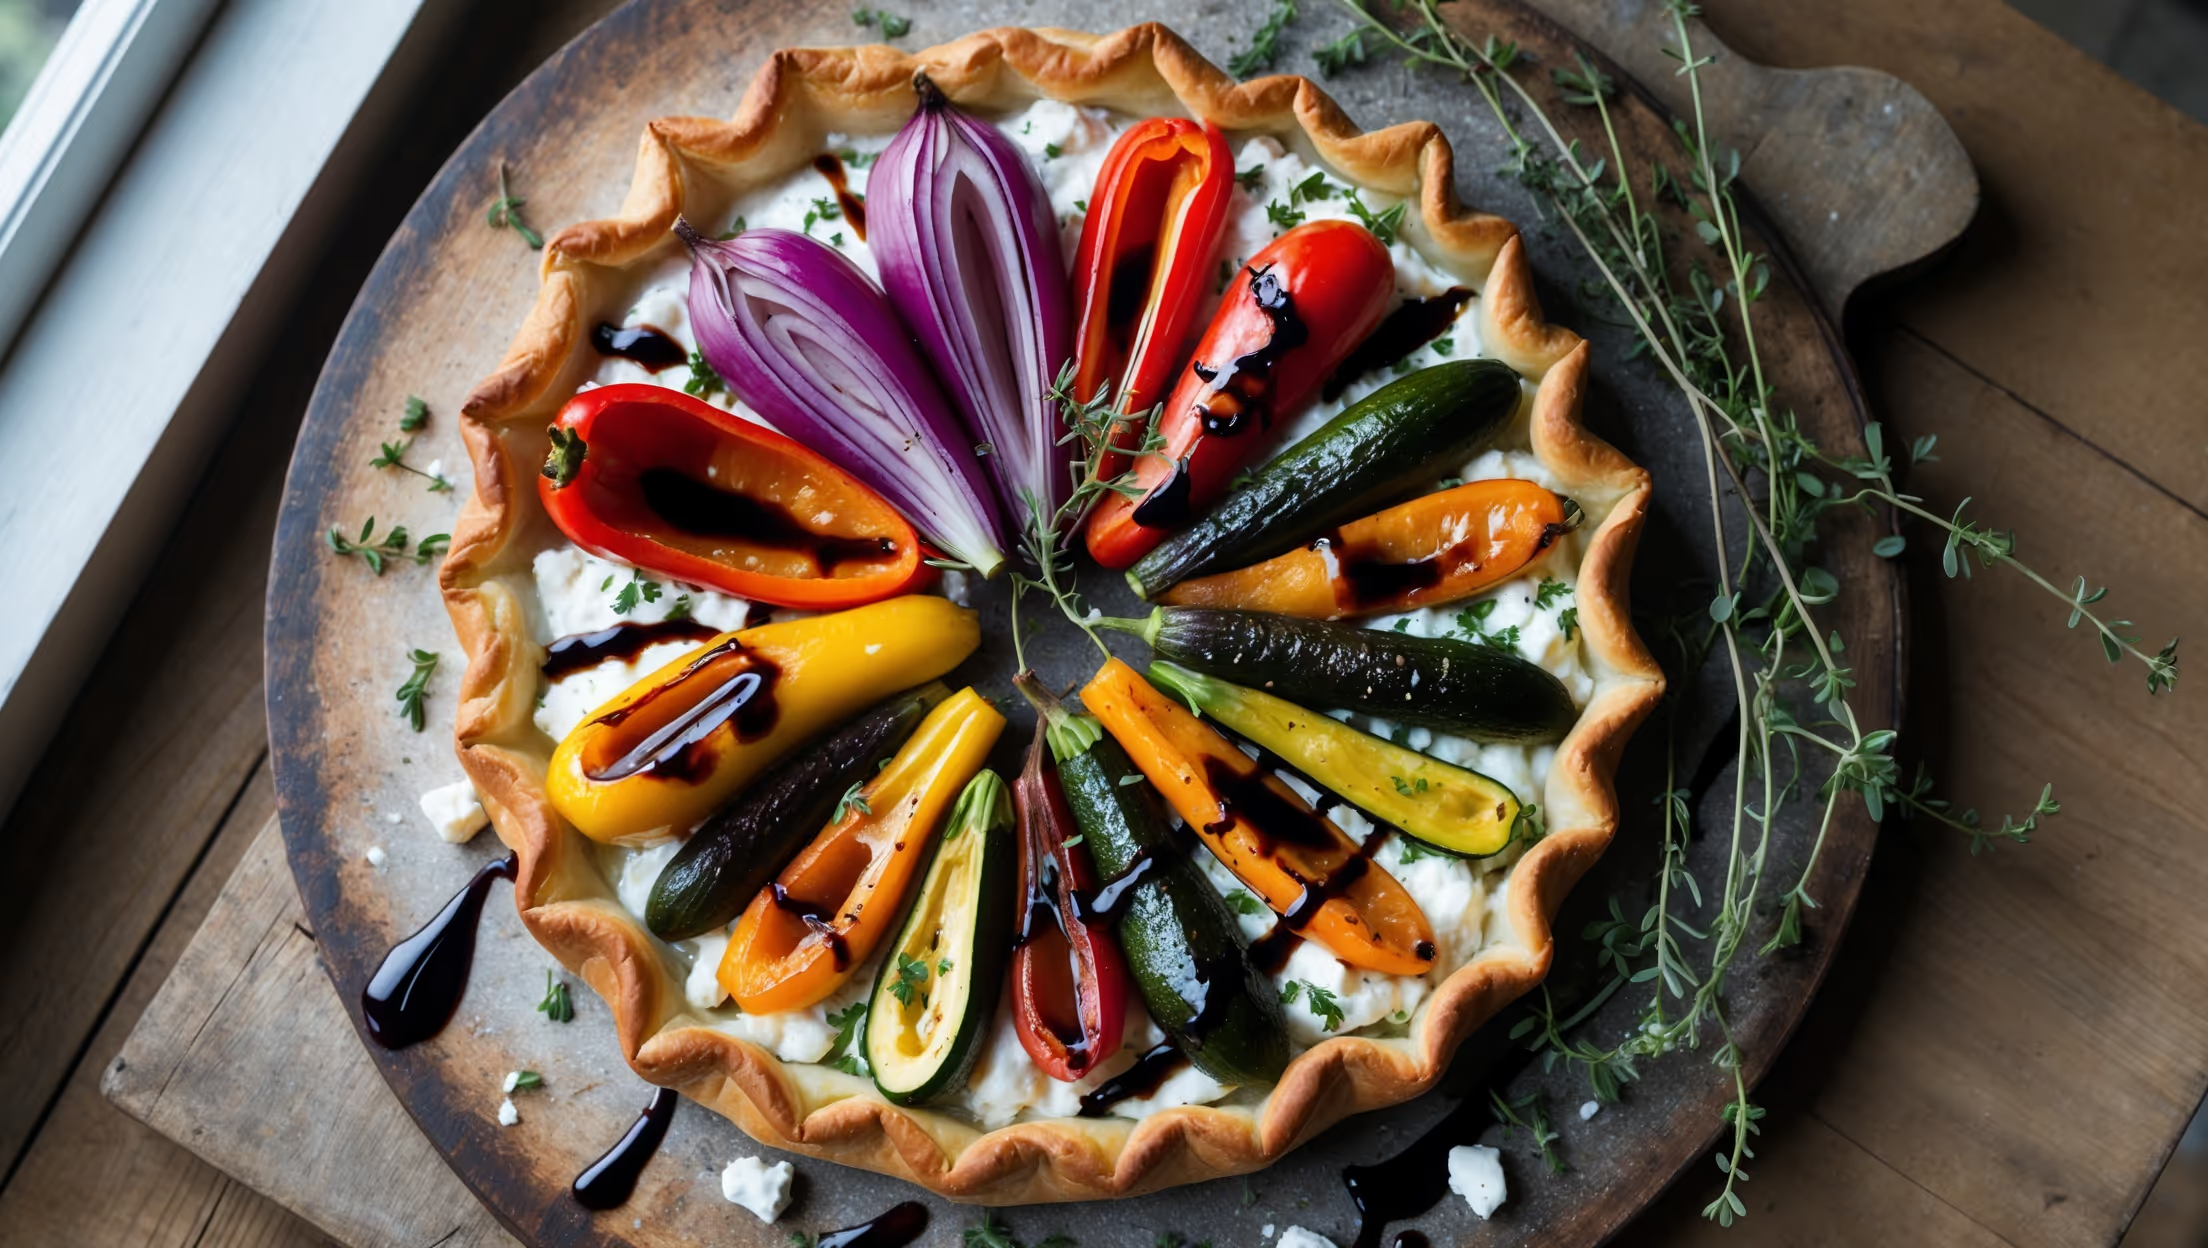
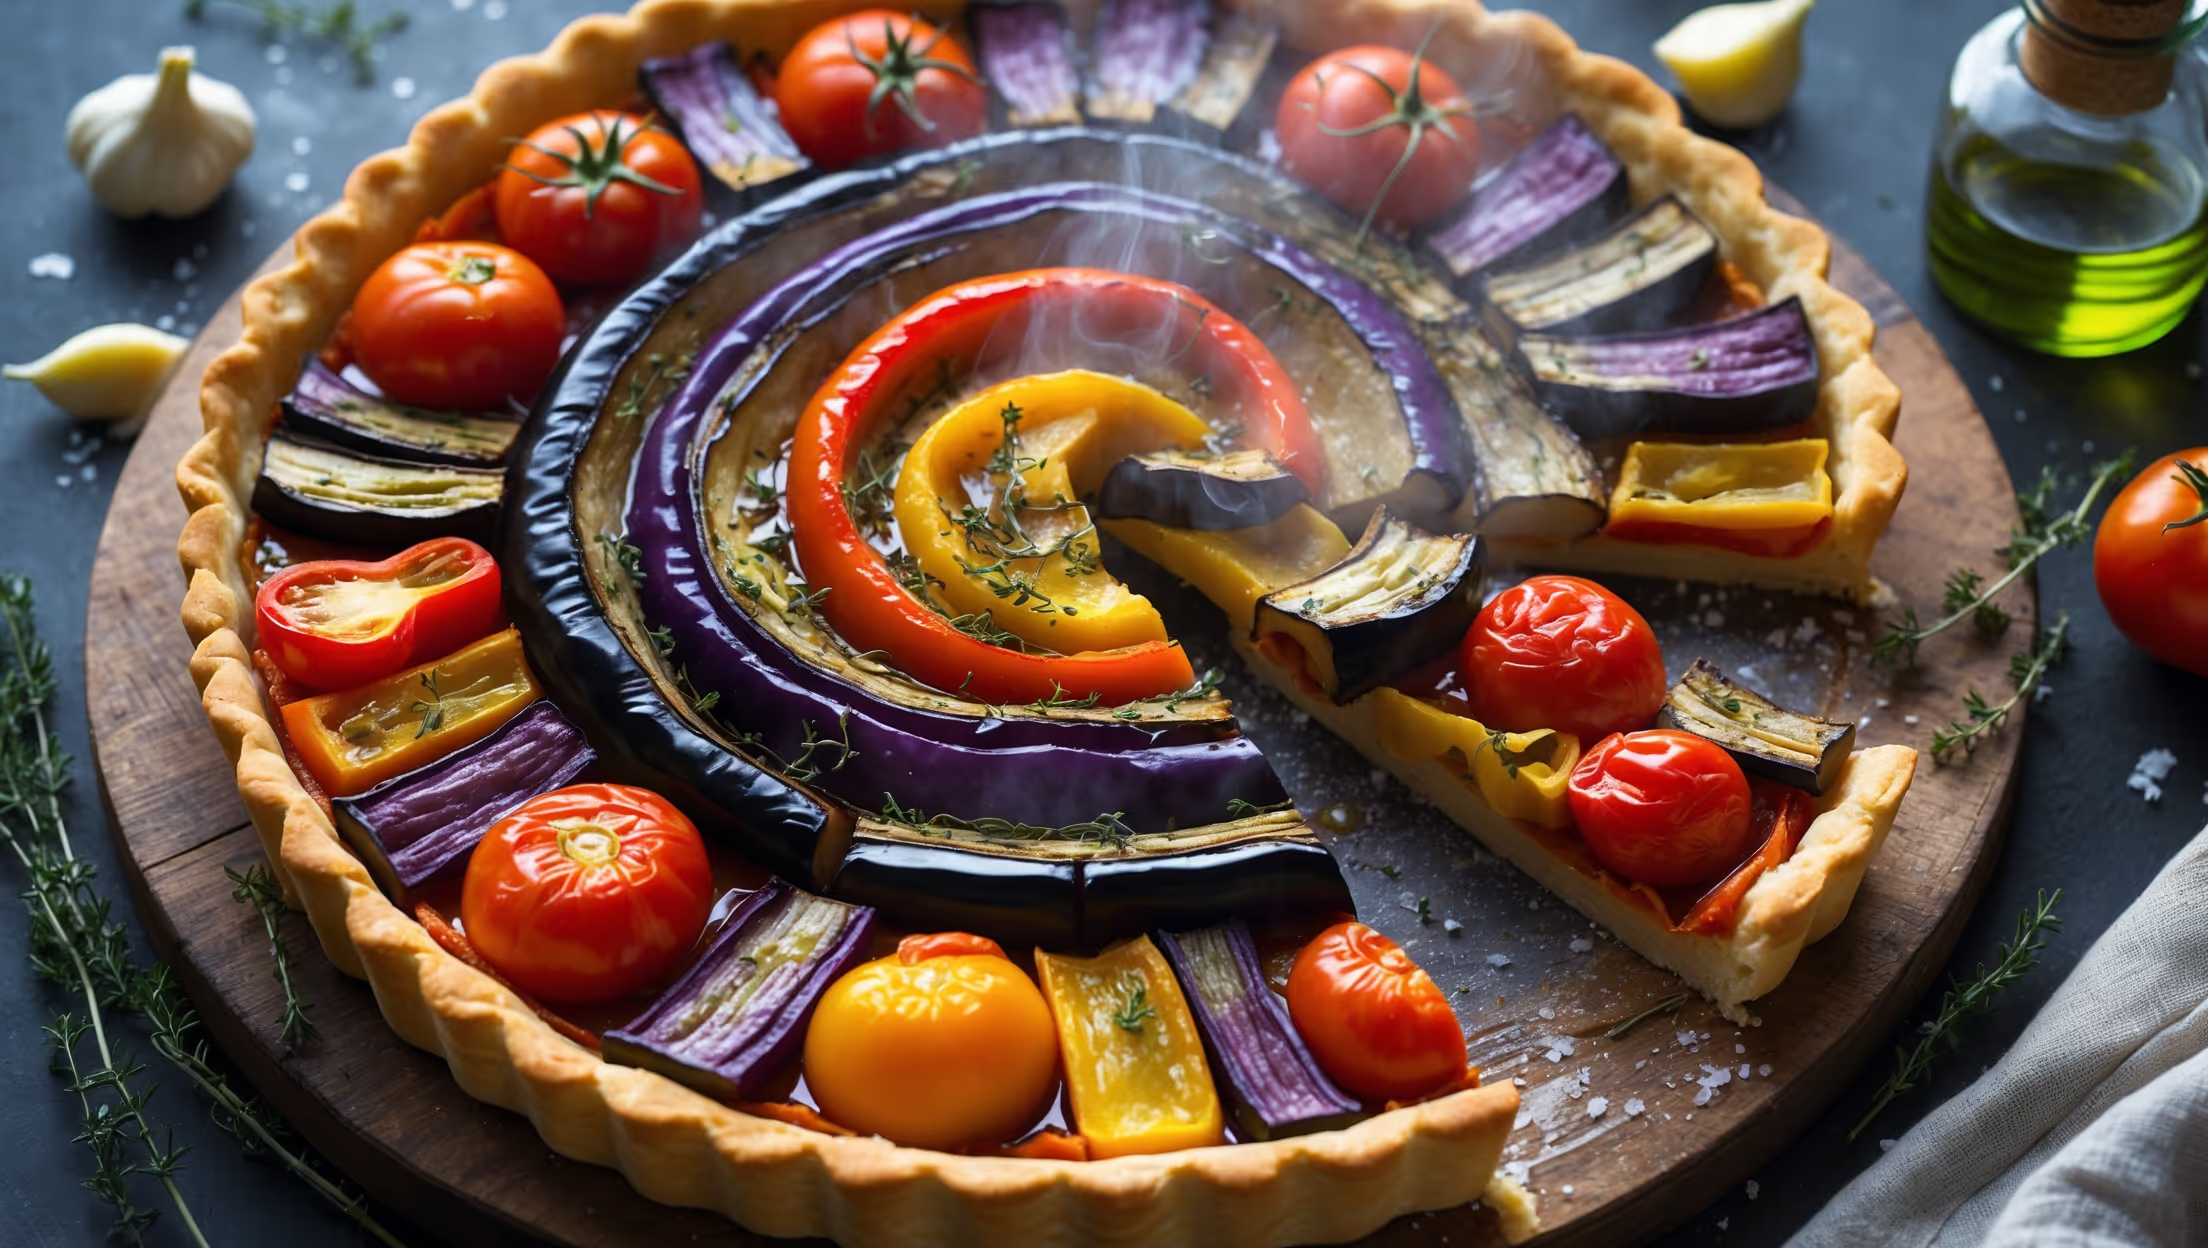
<ol class="no-list-style"><li class="MethodStepper"><h4 class="step-title">Step 1</h4>Begin by making the pastry. In a food processor or large bowl, combine the flour and salt. Add the cold cubed butter and pulse or rub with your fingertips until the mixture resembles fine breadcrumbs. The cold butter creates pockets of steam during baking, resulting in flaky layers.</li><li class="MethodStepper"><h4 class="step-title">Step 2</h4>Beat the egg with 2 tablespoons of ice-cold water. Add this to the flour mixture and pulse or stir with a knife until the dough just comes together - add the remaining tablespoon of water only if needed. Cold ingredients prevent gluten development, ensuring your pastry remains tender.</li><li class="MethodStepper"><h4 class="step-title">Step 3</h4>Form the dough into a disc, wrap in cling film and refrigerate for at least 30 minutes. This resting period relaxes the gluten and firms up the butter, preventing the pastry from shrinking during baking.</li><li class="MethodStepper"><h4 class="step-title">Step 4</h4>While the pastry chills, preheat your oven to 200°C (180°C fan). Place all the prepared vegetables and unpeeled garlic cloves on a large baking tray. Drizzle with olive oil, sprinkle with herbs de Provence, season with salt and pepper, and toss to coat. Spread in a single layer - overcrowding will steam rather than roast the vegetables.</li><li class="MethodStepper"><h4 class="step-title">Step 5</h4>Roast the vegetables for 25-30 minutes, turning halfway through, until they're tender and slightly caramelized at the edges. The caramelization process converts the vegetables' natural sugars into complex flavor compounds, adding depth to your tart.</li><li class="MethodStepper"><h4 class="step-title">Step 6</h4>While the vegetables roast, roll out the chilled pastry on a lightly floured surface to a circle about 3-4mm thick and large enough to line your 23cm tart tin. Carefully transfer the pastry to the tin, gently pressing it into the corners without stretching. Trim the excess leaving a small overhang to allow for shrinkage.</li><li class="MethodStepper"><h4 class="step-title">Step 7</h4>Prick the base all over with a fork (this prevents air bubbles), line with parchment paper, and fill with baking beans or rice. Blind bake for 15 minutes, then remove the beans and paper and bake for another 5-7 minutes until the base is lightly golden and feels dry to the touch. This crucial step ensures your pastry won't become soggy when filled.</li><li class="MethodStepper"><h4 class="step-title">Step 8</h4>Reduce the oven temperature to 180°C (160°C fan). Squeeze the roasted garlic cloves from their skins and mash with a fork. In a bowl, combine the ricotta, half the goat cheese, mashed roasted garlic, most of the thyme leaves (reserve some for garnish), basil, egg, and season with salt and pepper.</li><li class="MethodStepper"><h4 class="step-title">Step 9</h4>Spread the cheese mixture evenly over the base of the pastry case. Arrange the roasted vegetables decoratively on top, and crumble the remaining goat cheese over the vegetables. The protein structure in the cheese mixture will set during baking, creating a stable base for the vegetables.</li><li class="MethodStepper"><h4 class="step-title">Step 10</h4>Bake the tart for 20-25 minutes until the filling is set and the pastry is golden brown. You'll know it's perfectly baked when the center is just set with a slight wobble - it will continue to firm up as it cools.</li><li class="MethodStepper"><h4 class="step-title">Step 11</h4>Allow the tart to cool in the tin for 10 minutes before carefully removing. This resting period allows the proteins in the filling to fully set and makes the tart easier to slice. Scatter over the reserved fresh thyme leaves and drizzle with balsamic glaze if using. Serve warm or at room temperature for the best flavor development.</li></ol>