Directions
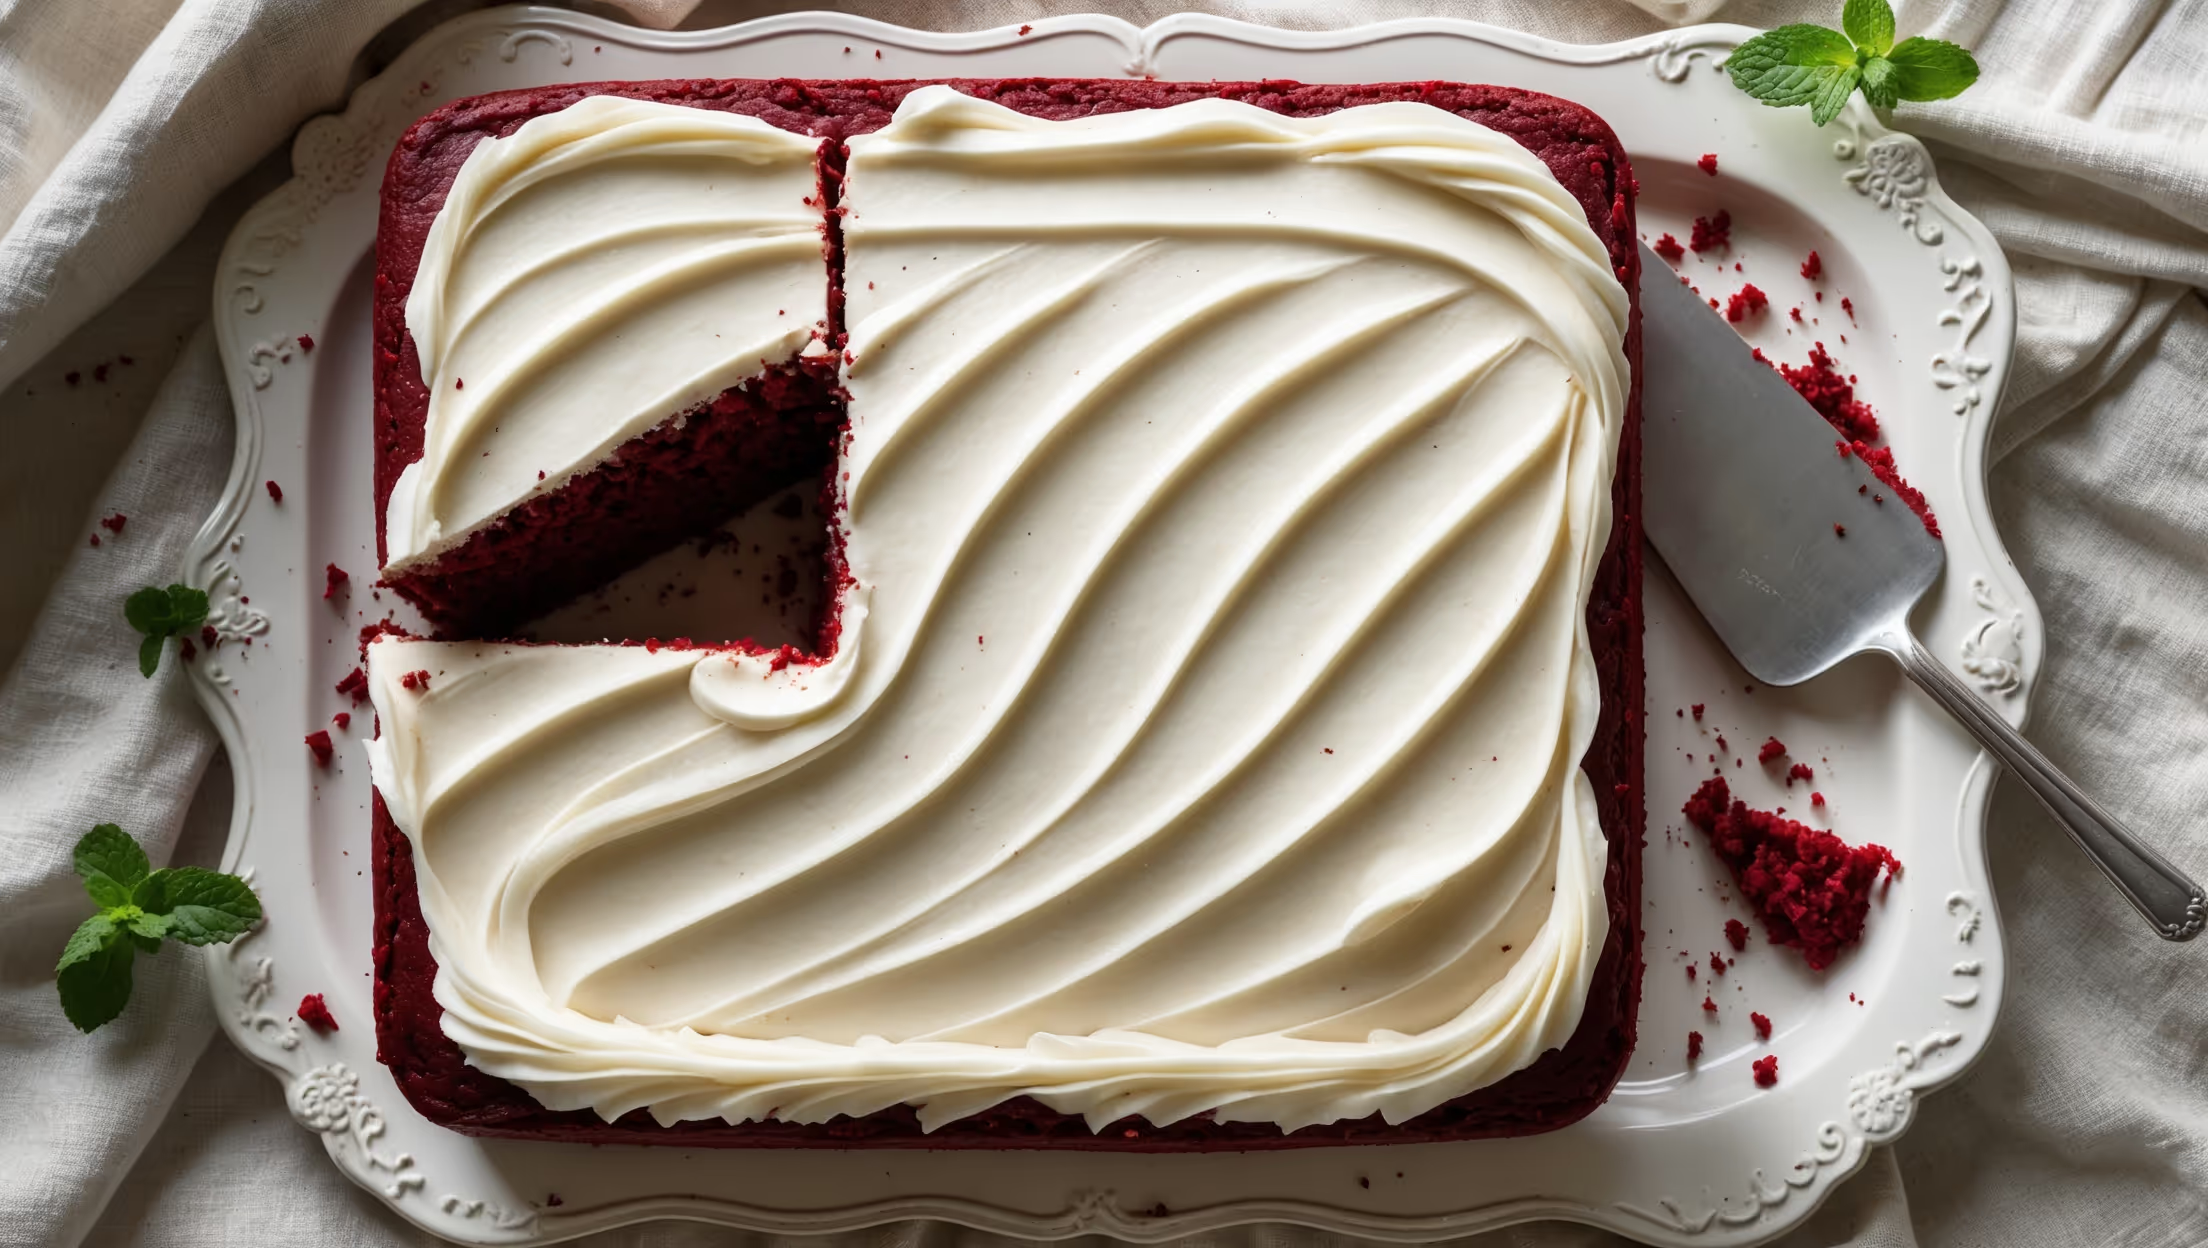
<ol class="no-list-style"><li class="MethodStepper"><h4 class="step-title">Step 1</h4>Preheat your oven to 180°C (350°F). Grease your 33x23cm baking pan and line with parchment paper, leaving some overhang on the sides to easily lift the cake out later. This will ensure your cake releases perfectly without sticking.</li><li class="MethodStepper"><h4 class="step-title">Step 2</h4>In a medium bowl, whisk together the flour, cocoa powder, baking soda, and salt. Sifting these dry ingredients will eliminate any lumps and ensure even distribution of the leavening agents, resulting in a uniform rise.</li><li class="MethodStepper"><h4 class="step-title">Step 3</h4>In a large mixing bowl, cream the softened butter and sugar together until light and fluffy, about 3-4 minutes. This process incorporates air into the mixture, creating a lighter cake texture. Don't rush this step – proper creaming is essential for the cake's structure.</li><li class="MethodStepper"><h4 class="step-title">Step 4</h4>Add the eggs one at a time, beating well after each addition. The mixture should be pale yellow and very fluffy. Scrape down the sides of the bowl to ensure everything is evenly incorporated.</li><li class="MethodStepper"><h4 class="step-title">Step 5</h4>In a separate bowl or measuring jug, whisk together the buttermilk, vegetable oil, vinegar, red food coloring, and vanilla extract. The buttermilk and vinegar are crucial as they react with the baking soda to create the cake's tender crumb, while also enhancing the subtle chocolate flavor.</li><li class="MethodStepper"><h4 class="step-title">Step 6</h4>Gradually add the dry ingredients to the butter mixture in three parts, alternating with the buttermilk mixture (beginning and ending with the dry ingredients). Mix on low speed just until combined after each addition. Overmixing will develop too much gluten, resulting in a tough cake rather than a tender one.</li><li class="MethodStepper"><h4 class="step-title">Step 7</h4>Pour the batter into your prepared pan, smoothing the top with a spatula. Give the pan a gentle tap on the counter to release any large air bubbles that might create holes in your finished cake.</li><li class="MethodStepper"><h4 class="step-title">Step 8</h4>Bake for 30-35 minutes, or until a toothpick inserted in the center comes out with a few moist crumbs (but no wet batter). Don't overbake! Red velvet should remain moist, and it will continue to cook slightly as it cools.</li><li class="MethodStepper"><h4 class="step-title">Step 9</h4>Allow the cake to cool in the pan for 15 minutes, then use the parchment paper overhang to carefully lift it out and transfer to a wire rack to cool completely. Patience is key – frosting a warm cake will cause the frosting to melt and slide off.</li><li class="MethodStepper"><h4 class="step-title">Step 10</h4>For the cream cheese frosting, beat the softened cream cheese and butter together until smooth and creamy, about 2 minutes. Ensure both are properly softened to avoid lumps in your frosting.</li><li class="MethodStepper"><h4 class="step-title">Step 11</h4>Gradually add the sifted icing sugar, vanilla extract, and a pinch of salt. Beat on low speed until incorporated, then increase to medium-high and beat until light and fluffy, about 3-4 minutes. The frosting should hold soft peaks and spread easily.</li><li class="MethodStepper"><h4 class="step-title">Step 12</h4>Once the cake is completely cool, spread the frosting evenly over the top using an offset spatula, creating decorative swirls if desired. For the most beautiful presentation, use sweeping motions to create peaks and valleys in the frosting.</li><li class="MethodStepper"><h4 class="step-title">Step 13</h4>For the best flavor development, allow the frosted cake to sit at room temperature for about an hour before serving. This gives the flavors time to meld together. Store any leftover cake covered in the refrigerator for up to 5 days, bringing to room temperature before serving for the best texture and flavor.</li></ol>