Directions
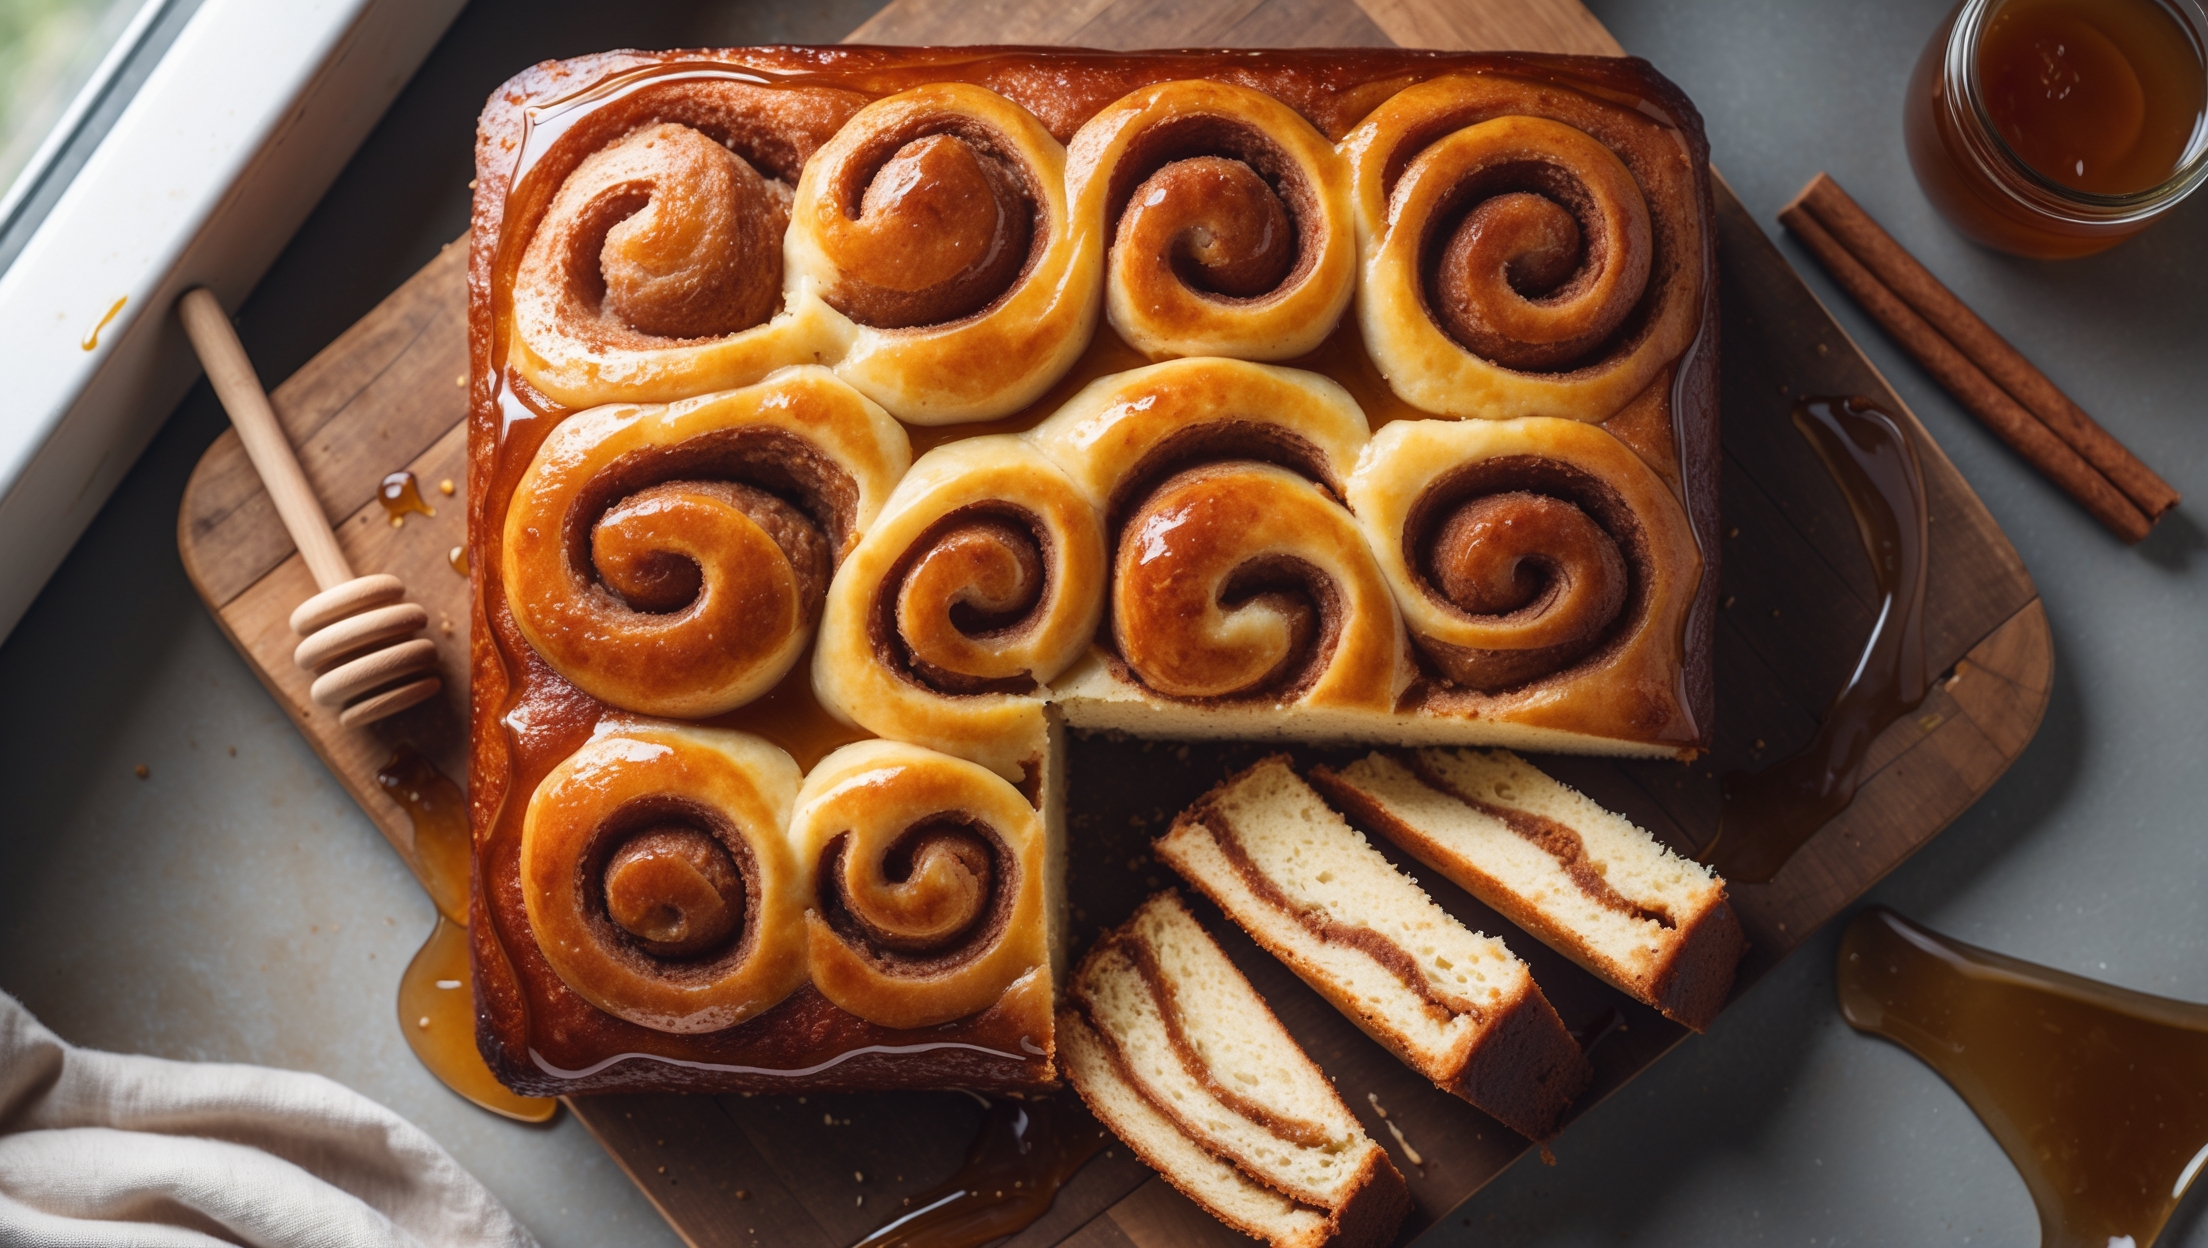
<ol class="no-list-style"><li class="MethodStepper"><h4 class="step-title">Step 1</h4>Preheat your oven to 180°C (350°F) and position a rack in the center. Line your 33 × 23 cm baking tin with parchment paper, leaving some overhang for easy removal, then lightly grease any exposed sides. This preparation ensures your cake won't stick and will lift out beautifully when finished.</li><li class="MethodStepper"><h4 class="step-title">Step 2</h4>In a medium bowl, whisk together the flour, baking powder, and salt until well combined. Whisking the dry ingredients separately ensures they'll distribute evenly through the batter later, preventing any pockets of baking powder or salt in your finished cake.</li><li class="MethodStepper"><h4 class="step-title">Step 3</h4>In a large mixing bowl or the bowl of your stand mixer, beat the softened butter, granulated sugar, and honey on medium-high speed for 4-5 minutes until pale and fluffy. This extended beating time is crucial as it creates air pockets that will help your cake rise and develop a tender crumb.</li><li class="MethodStepper"><h4 class="step-title">Step 4</h4>Add the eggs one at a time, beating well after each addition until fully incorporated. Then mix in the vanilla extract. Don't rush this step – proper incorporation of each egg creates an emulsion that helps maintain the cake's structure.</li><li class="MethodStepper"><h4 class="step-title">Step 5</h4>Reduce the mixer speed to low and add the flour mixture in three portions, alternating with the buttermilk, beginning and ending with the flour mixture (flour-buttermilk-flour-buttermilk-flour). Mix just until combined after each addition. This alternating method prevents overmixing and ensures a tender crumb. The batter should look smooth and silky.</li><li class="MethodStepper"><h4 class="step-title">Step 6</h4>In a small bowl, prepare your cinnamon swirl mixture by combining the brown sugar, cinnamon, and flour. Pour in the melted butter and stir until the mixture resembles wet sand. Having the right consistency here is important – it should be spreadable but not too runny.</li><li class="MethodStepper"><h4 class="step-title">Step 7</h4>Pour half of the cake batter into the prepared baking tin, spreading it into an even layer with your offset spatula. Sprinkle half of the cinnamon mixture evenly over the batter, then carefully pour the remaining batter on top, smoothing it gently. Be patient when adding the second layer of batter – dollop it evenly across the surface, then carefully spread to avoid disturbing the cinnamon layer too much.</li><li class="MethodStepper"><h4 class="step-title">Step 8</h4>Sprinkle the remaining cinnamon mixture over the top. Using a butter knife or skewer, swirl the mixture through the cake with a light hand, creating a marbled effect. Don't overmix or you'll lose the distinct swirl pattern that gives this cake its characteristic look.</li><li class="MethodStepper"><h4 class="step-title">Step 9</h4>Bake for 28-32 minutes, or until a toothpick inserted into the center comes out with just a few moist crumbs (not wet batter). The cake should spring back slightly when gently pressed in the center. Avoid overbaking as this will lead to a dry cake.</li><li class="MethodStepper"><h4 class="step-title">Step 10</h4>While the cake is baking, prepare the glaze by whisking together the icing sugar, milk, honey, and vanilla until smooth. The consistency should be pourable but thick enough to coat the back of a spoon. If it's too thick, add a tiny bit more milk; if too thin, add more icing sugar.</li><li class="MethodStepper"><h4 class="step-title">Step 11</h4>Allow the cake to cool in the tin for 15 minutes. This cooling period is essential as it allows the cake structure to set while still warm enough for the glaze to partially absorb. Then pour the glaze evenly over the warm cake, using your offset spatula to spread it if needed. The warmth of the cake will help the glaze to set with a slight shine.</li><li class="MethodStepper"><h4 class="step-title">Step 12</h4>Let the cake cool completely before cutting into squares to serve. For the cleanest cuts, use a sharp knife dipped in hot water and wiped clean between slices. The cake will keep at room temperature, tightly covered, for up to 3 days, though the texture is most divine on the first day when the contrast between the soft cake and the slightly crisp glaze is at its peak.</li></ol>